Gluing tile to wood is easier than you think! First, prep the wood by cleaning and sanding it. Then, choose a flexible adhesive like epoxy or polyurethane. Apply the adhesive evenly, press the tile firmly onto the wood, and let it cure fully. With these steps, your tiles will stay put for a long time!
Ever tried gluing tile to wood, only to have it pop off later? It’s a common problem! The good news is, with the right steps and materials, you can get those tiles to stick and stay stuck. Don’t worry, it’s not as hard as it sounds!
In this guide, I’ll walk you through each step. We’ll cover everything from preparing the wood to choosing the best adhesive. By the end, you’ll have the know-how to complete your tiling project with confidence. Let’s get started and make your project a success!
What You’ll Need to Glue Tile to Wood
Before you start, gather all your materials. Having everything on hand will make the process smoother and faster. Here’s a list of what you’ll need:
- Tiles: Choose the tiles you want to glue to the wood. Make sure they are clean and free of any debris.
- Wood Surface: The wood should be clean, dry, and stable. Plywood or solid wood works best.
- Flexible Adhesive: Epoxy, polyurethane adhesive, or a specialized tile adhesive for wood.
- Sanding Block or Sandpaper: To prepare the wood surface.
- Cleaning Supplies: Soap, water, and a clean cloth.
- Trowel or Spreader: To apply the adhesive evenly.
- Measuring Tape: To measure and mark the tile placement.
- Pencil: For marking the wood.
- Clamps or Weights: To hold the tiles in place while the adhesive cures (optional).
- Safety Glasses: To protect your eyes.
- Gloves: To protect your hands.
Step-by-Step Guide: How to Glue Tile to Wood
Follow these simple steps to successfully glue tile to wood. Each step is designed to be easy to follow, even if you’re a beginner.
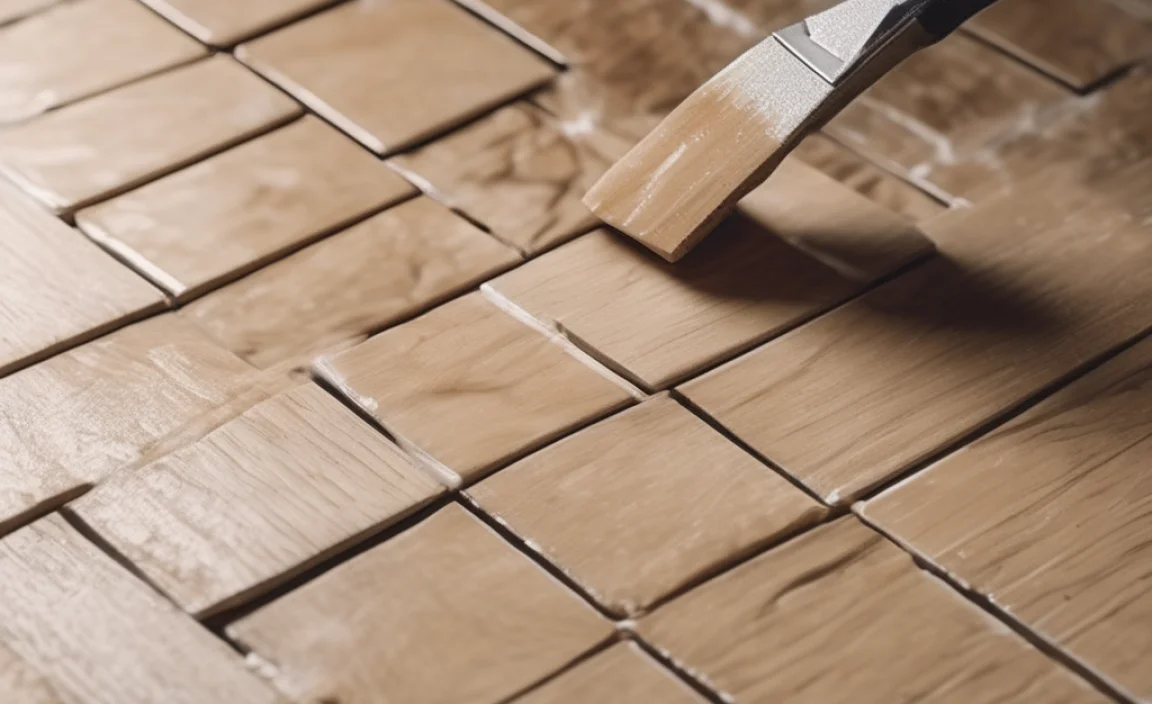
Step 1: Prepare the Wood Surface
The first step is to prepare the wood surface. This ensures the adhesive bonds properly. Here’s how:
- Clean the Wood: Use soap and water to clean the wood. Remove any dirt, dust, or grease. Let it dry completely.
- Sand the Surface: Use a sanding block or sandpaper to rough up the surface. This gives the adhesive something to grip onto.
- Wipe Away Dust: After sanding, wipe away any dust with a clean, damp cloth.
A clean and slightly rough surface is ideal for a strong bond. Make sure the wood is completely dry before moving on.
Step 2: Choose the Right Adhesive
Choosing the right adhesive is crucial for a long-lasting bond. Here are some good options:
- Epoxy: Epoxy is strong and waterproof. It’s great for areas that might get wet.
- Polyurethane Adhesive: This type of adhesive is flexible and works well with wood.
- Tile Adhesive for Wood: Some adhesives are specifically made for gluing tile to wood. These are often the best choice.
Consider the environment where the tile will be. If it’s a high-moisture area, choose a waterproof adhesive like epoxy.
| Adhesive Type | Pros | Cons | Best Use |
|---|---|---|---|
| Epoxy | Strong, waterproof, durable | Can be brittle, may require mixing | Wet areas, heavy tiles |
| Polyurethane Adhesive | Flexible, good for wood | Not as strong as epoxy | General use, lighter tiles |
| Tile Adhesive for Wood | Specifically formulated for wood and tile, easy to use | May not be as strong as other options | General use, small projects |
Step 3: Apply the Adhesive
Now it’s time to apply the adhesive. Follow these steps for the best results:
- Read the Instructions: Always read the adhesive instructions first. Each product may have specific directions.
- Apply Evenly: Use a trowel or spreader to apply the adhesive evenly to the wood surface.
- Comb the Adhesive: If using a notched trowel, comb the adhesive to create ridges. This helps the tile grip better.
- Work in Small Sections: Apply adhesive to a small area at a time. This prevents the adhesive from drying out before you place the tiles.
Make sure the adhesive layer is not too thick. A thin, even layer is better for a strong bond. If you’re using epoxy that requires mixing, make sure to mix it according to the manufacturer’s instructions. Bob Vila offers great tips on mixing epoxy.
Step 4: Place the Tiles
Carefully place the tiles onto the adhesive. Here’s how to do it right:
- Position the Tile: Place the tile in the desired position on the wood.
- Press Firmly: Press down firmly on the tile to ensure it makes good contact with the adhesive.
- Use Spacers: If you’re placing multiple tiles, use tile spacers to keep them evenly spaced.
- Check Alignment: Make sure the tiles are aligned correctly.
Take your time and be precise. Once the adhesive sets, it can be hard to adjust the tiles.
Step 5: Cure the Adhesive
Let the adhesive cure properly. This is a critical step for a strong, lasting bond:
- Refer to Instructions: Check the adhesive instructions for the recommended curing time.
- Wait Patiently: Let the adhesive cure for the specified time. Avoid moving or disturbing the tiles during this time.
- Use Clamps or Weights: If needed, use clamps or weights to hold the tiles in place while the adhesive cures.
Curing times can vary from a few hours to several days. Be patient and let the adhesive do its job.
Step 6: Clean Up
Once the adhesive is fully cured, clean up any excess adhesive or grout. Here’s how:
- Remove Excess Adhesive: Use a utility knife or scraper to carefully remove any excess adhesive from the tile surfaces.
- Clean the Tiles: Use a damp cloth to clean the tiles and remove any residue.
- Apply Grout (Optional): If you’re using grout, apply it according to the manufacturer’s instructions.
- Clean Again: After grouting, clean the tiles again to remove any grout haze.
A clean finish will make your project look professional and polished.
Tips for a Successful Tile-to-Wood Project
Here are some extra tips to help you succeed:
- Test First: Before starting your project, test the adhesive on a small, inconspicuous area of the wood and tile. This ensures the adhesive bonds well and doesn’t damage the materials.
- Use the Right Tools: Using the right tools makes the job easier and more efficient. Invest in a good trowel, spacers, and cleaning supplies.
- Work in a Well-Ventilated Area: Some adhesives can release fumes, so work in a well-ventilated area to avoid inhaling harmful vapors.
- Protect Your Work Area: Cover your work area with a drop cloth to protect it from spills and splatters.
- Take Your Time: Rushing the job can lead to mistakes. Take your time and focus on each step.
Common Mistakes to Avoid
Avoid these common mistakes to ensure your project goes smoothly:
- Not Preparing the Surface: Failing to properly clean and sand the wood surface can lead to poor adhesion.
- Using the Wrong Adhesive: Using an adhesive that’s not suitable for wood or tile can result in the tiles coming loose.
- Applying Too Much Adhesive: Applying too much adhesive can create a messy and uneven surface.
- Not Allowing Enough Curing Time: Not allowing the adhesive to fully cure can weaken the bond.
- Ignoring Instructions: Ignoring the adhesive manufacturer’s instructions can lead to unexpected problems.
FAQ: Gluing Tile to Wood
1. Can I use any type of tile on wood?
Yes, but smaller, lighter tiles work best. Heavy tiles might be too much for the wood and adhesive to handle.
2. What kind of wood is best for tiling?
Plywood or solid wood are good choices. Make sure the wood is stable and not prone to warping.
3. Do I need to seal the wood before applying tile?
Sealing the wood isn’t always necessary, but it can help protect it from moisture. Use a wood sealer if you’re concerned about water damage.
4. How long does it take for the adhesive to dry?
Drying times vary depending on the adhesive. Check the manufacturer’s instructions, but it usually takes 24-72 hours.
5. Can I use construction adhesive instead of tile adhesive?
Construction adhesive can work, but tile adhesive is specifically designed for this purpose and usually provides a better bond.
6. What should I do if the tiles start to come loose?
If tiles come loose, remove them carefully, clean the area, and reapply adhesive. Make sure to press them firmly into place and allow them to cure properly.
7. Is it okay to grout over wood?
Yes, but make sure the wood is properly sealed to prevent moisture damage. Use a flexible grout to accommodate any movement in the wood.
Troubleshooting Tips
Even with careful planning, you might run into some issues. Here’s how to handle them:
- Tiles Not Sticking: If the tiles aren’t sticking, make sure you’ve properly prepared the wood surface. Use a stronger adhesive or add more pressure during the curing process.
- Uneven Tile Placement: If the tiles are uneven, use a level to check your work as you go. Adjust the adhesive thickness as needed to create a smooth surface.
- Adhesive Squeezing Out: If adhesive is squeezing out between the tiles, you’re probably using too much. Reduce the amount of adhesive you apply.
- Grout Cracking: If the grout is cracking, it could be due to movement in the wood. Use a flexible grout and ensure the wood is stable.
Alternative Methods for Attaching Tile to Wood
While adhesive is the most common method, here are a couple of alternatives:
- Mechanical Fasteners: For larger projects or areas with heavy use, consider using mechanical fasteners like screws or nails in addition to adhesive. This provides extra support and stability.
- Mortar: Though less common, mortar can be used to attach tile to wood, especially if you’re working with thicker tiles. Make sure to use a flexible mortar mix.
Safety Precautions
Safety should always be your top priority. Here are some precautions to keep in mind:
- Wear Safety Glasses: Protect your eyes from dust and debris.
- Use Gloves: Protect your hands from adhesive and cleaning chemicals.
- Work in a Well-Ventilated Area: Avoid inhaling fumes from adhesives and cleaning products.
- Follow Instructions: Always read and follow the manufacturer’s instructions for all materials.
- Dispose of Waste Properly: Dispose of used adhesive, cleaning cloths, and other waste materials according to local regulations.
Cost Considerations
Before starting your project, it’s good to have an idea of the costs involved. Here’s a breakdown:
| Item | Estimated Cost |
|---|---|
| Tiles | $1 – $10 per tile |
| Adhesive | $10 – $30 per container |
| Sanding Supplies | $5 – $15 |
| Cleaning Supplies | $5 – $10 |
| Trowel/Spreader | $5 – $20 |
| Spacers | $5 – $10 |
| Grout (Optional) | $10 – $20 per bag |
These are just estimates. Actual costs may vary depending on the materials you choose and where you purchase them. Always shop around to find the best deals.
Conclusion
Gluing tile to wood doesn’t have to be a daunting task. With the right preparation, materials, and techniques, you can achieve a professional-looking result. Remember to clean and sand the wood surface, choose a flexible adhesive, apply it evenly, and allow it to cure properly. By following these steps and tips, you’ll be able to create beautiful and durable tiled surfaces on wood. So go ahead, grab your tools, and start your tiling project today!