Quick Summary:
Installing a Moen bathroom faucet is easier than you might think! First, shut off the water supply. Then, disconnect the old faucet. Clean the sink area. Install the new Moen faucet, connecting the water lines securely. Turn the water back on and check for leaks. You’ll have a new faucet in no time!
Is your bathroom faucet old, leaky, or just plain outdated? Replacing it can seem daunting, but with a little guidance, you can easily install a new Moen faucet yourself. It’s a fantastic way to upgrade your bathroom without spending a fortune on a plumber.
This guide breaks down the process into simple, manageable steps. We’ll walk you through everything from gathering the right tools to connecting the water lines. Ready to get started? Let’s dive in and give your bathroom a fresh, new look!
Tools and Materials You’ll Need
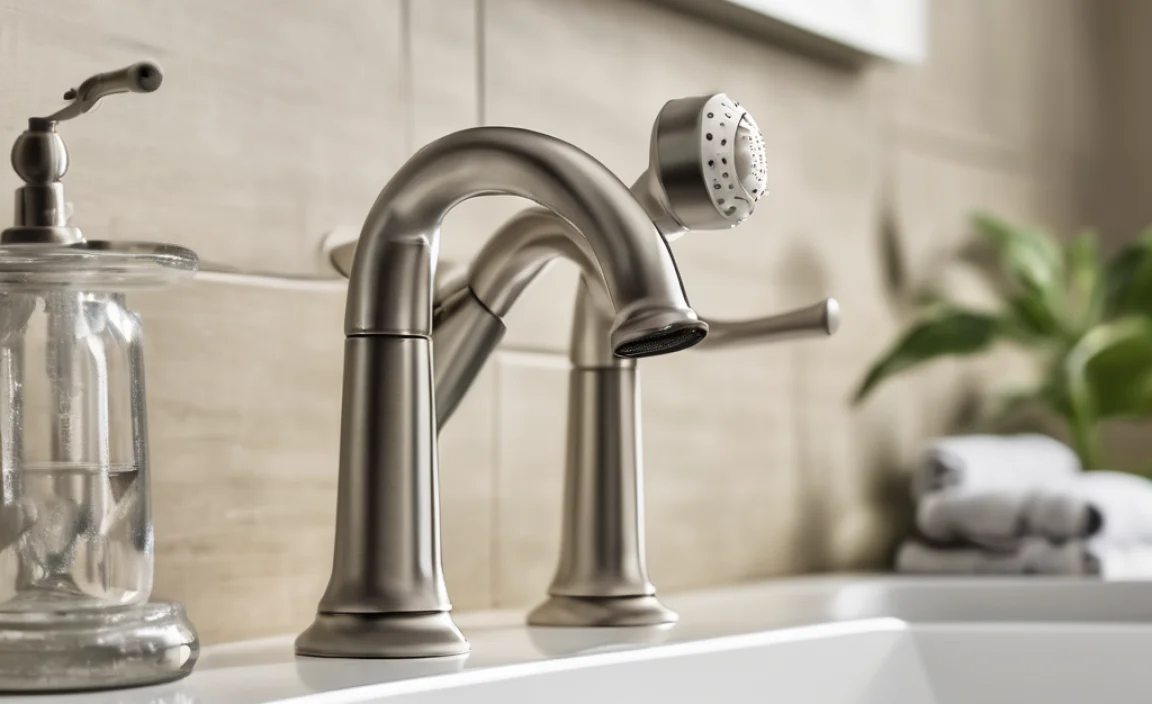
Before you begin, make sure you have everything you need. This will save you time and frustration.
- New Moen Bathroom Faucet: Choose a style that fits your bathroom decor.
- Basin Wrench: For loosening and tightening hard-to-reach nuts.
- Adjustable Wrench: For general tightening and loosening.
- Plumber’s Putty: To seal the faucet base.
- Teflon Tape: To seal threaded connections.
- Supply Line Connectors: New ones are recommended for a secure fit.
- Bucket and Towels: To catch water and clean up spills.
- Screwdriver (Phillips and Flathead): For removing old faucet parts.
- Pliers: For gripping and turning small parts.
- Safety Glasses: To protect your eyes.
- Gloves: To protect your hands.
- Clean Rags or Sponge: For cleaning the sink area.
Step-by-Step Guide to Installing Your Moen Bathroom Faucet
Step 1: Turn Off the Water Supply
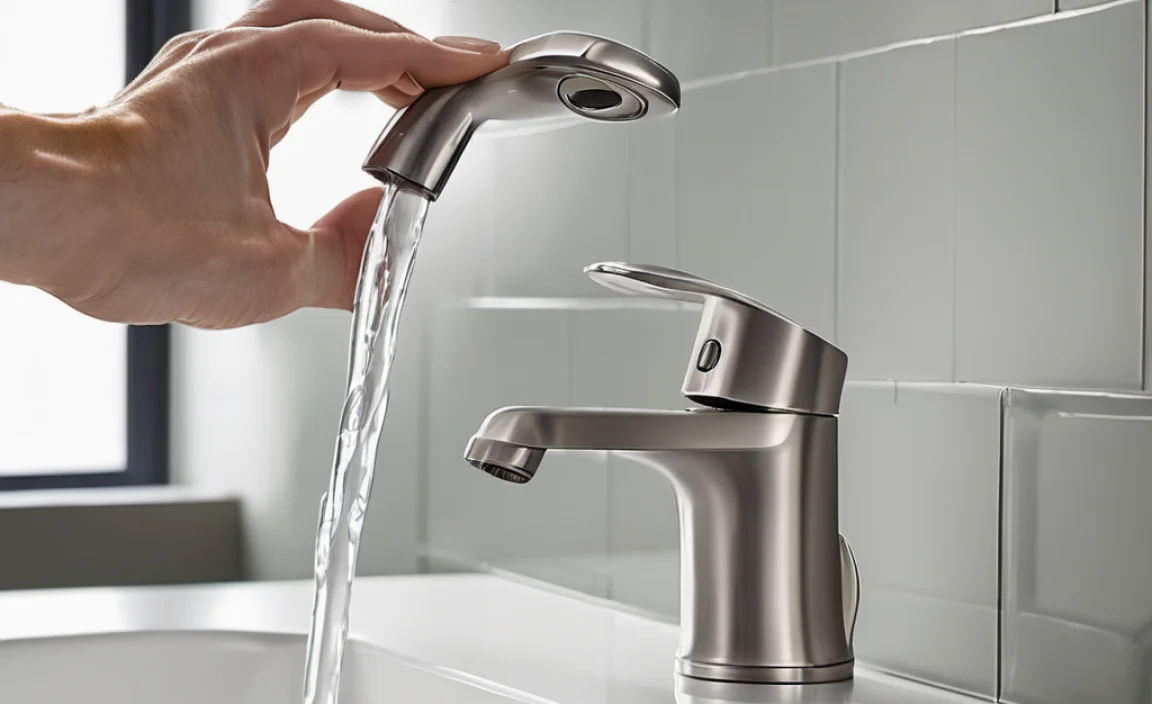
The first and most important step is to turn off the water supply to the faucet. Look for the shut-off valves under the sink. Turn both the hot and cold water valves clockwise until they are completely closed.
- If you don’t have shut-off valves under the sink, you’ll need to turn off the main water supply to your house. The main valve is usually located in the basement, garage, or near the water meter.
- Once the water is shut off, turn on the old faucet to relieve any remaining pressure in the lines.
Step 2: Disconnect the Old Faucet
Now it’s time to remove the old faucet. Place a bucket under the sink to catch any water that might still be in the supply lines.
- Disconnect the Water Supply Lines: Use a wrench to disconnect the water supply lines from the old faucet. Be prepared for a little water to spill out.
- Loosen the Mounting Nuts: Use a basin wrench to loosen the nuts that hold the old faucet in place. These nuts are usually located underneath the sink and can be hard to reach.
- Remove the Old Faucet: Once the mounting nuts are loose, you should be able to lift the old faucet out of the sink.
Step 3: Clean the Sink Area
With the old faucet removed, take the time to clean the sink area. Remove any old plumber’s putty or sealant. Use a cleaner to remove any dirt or grime. A clean surface will ensure a good seal for the new faucet.
- Use a putty knife or scraper to remove old plumber’s putty.
- Clean the area with a household cleaner and a sponge.
- Dry the surface thoroughly before installing the new faucet.
Step 4: Install the New Moen Faucet
Now for the exciting part – installing your new Moen faucet! Follow these steps carefully to ensure a proper installation.
- Attach the Supply Lines: Connect the new supply lines to the faucet body according to the manufacturer’s instructions. Use Teflon tape on the threads to prevent leaks.
- Insert the Faucet: Carefully insert the faucet into the holes in the sink. Make sure it is properly aligned.
- Secure the Faucet: From underneath the sink, attach the mounting hardware (usually nuts and washers) to secure the faucet in place. Use a basin wrench to tighten the nuts. Be careful not to overtighten, as this could damage the sink or faucet.
Step 5: Connect the Water Supply Lines
Connect the other ends of the water supply lines to the shut-off valves. Use a wrench to tighten the connections. Again, use Teflon tape on the threads to prevent leaks.
- Make sure the supply lines are not kinked or twisted.
- Tighten the connections securely, but don’t overtighten.
Step 6: Apply Plumber’s Putty
Apply a bead of plumber’s putty around the base of the faucet where it meets the sink. This will create a watertight seal. Remove any excess putty with your finger or a damp cloth.
- Roll the plumber’s putty into a rope shape before applying it.
- Press the putty firmly against the sink surface.
- Remove any excess putty with a damp cloth.
Step 7: Turn On the Water and Check for Leaks
Slowly turn the water supply valves back on. Check all connections for leaks. If you see any leaks, tighten the connections slightly. If the leaks persist, you may need to reapply Teflon tape or plumber’s putty.
- Start by turning the water on just a little bit to avoid pressure surges.
- Check the connections under the sink and around the base of the faucet.
- If you find any leaks, turn off the water and tighten the connections.
Step 8: Test the Faucet
Once you’ve checked for leaks, test the faucet by turning it on and off. Make sure the water flows smoothly and that the hot and cold water mix properly. Congratulations, you’ve installed your new Moen bathroom faucet!
- Check the water pressure to make sure it is adequate.
- Look for any unusual noises or vibrations.
- Enjoy your new faucet!
Tips for a Smooth Installation

- Read the Instructions: Always read the manufacturer’s instructions before starting any installation project.
- Use the Right Tools: Using the right tools will make the job easier and prevent damage to the faucet or sink.
- Don’t Overtighten: Overtightening connections can damage the threads and cause leaks.
- Take Your Time: Don’t rush the installation process. Take your time and do it right the first time.
- Call a Plumber: If you’re not comfortable with any part of the installation process, don’t hesitate to call a professional plumber.
Common Mistakes to Avoid
| Mistake | Solution |
|---|---|
| Forgetting to turn off the water supply | Always turn off the water supply before disconnecting any plumbing. |
| Overtightening connections | Tighten connections securely, but don’t overtighten. |
| Not using Teflon tape or plumber’s putty | Use Teflon tape on threaded connections and plumber’s putty around the base of the faucet to prevent leaks. |
| Using old supply lines | Replace old supply lines with new ones for a secure fit. |
| Rushing the installation | Take your time and follow the instructions carefully. |
Moen Faucet Features and Benefits
Moen faucets are known for their quality, durability, and stylish designs. Here are some of the features and benefits you can expect from your new Moen faucet:
- Durable Construction: Moen faucets are made from high-quality materials that are built to last.
- Stylish Designs: Moen offers a wide range of styles to complement any bathroom decor.
- Easy to Install: Moen faucets are designed for easy installation, even for beginners.
- Water-Saving Technology: Many Moen faucets feature water-saving technology to help you conserve water and save money.
- Warranty: Moen faucets come with a warranty, so you can be confident in your purchase.
Troubleshooting Common Issues
| Issue | Possible Cause | Solution |
|---|---|---|
| Leaking faucet | Loose connections, worn-out O-rings, or damaged cartridges | Tighten connections, replace O-rings, or replace the cartridge |
| Low water pressure | Clogged aerator, kinked supply lines, or closed shut-off valves | Clean the aerator, straighten supply lines, or fully open shut-off valves |
| Noisy faucet | Loose parts, high water pressure, or water hammer | Tighten loose parts, install a pressure regulator, or install water hammer arrestors |
| Water not mixing properly | Clogged cartridge or debris in the faucet body | Replace the cartridge or flush the faucet body |
Maintaining Your New Moen Faucet
To keep your new Moen faucet looking and functioning its best, follow these maintenance tips:
- Clean Regularly: Clean the faucet regularly with a mild soap and water solution. Avoid using abrasive cleaners, as they can damage the finish.
- Check for Leaks: Periodically check for leaks and address them promptly.
- Replace Worn Parts: Replace worn O-rings, cartridges, and other parts as needed.
- Clean the Aerator: Clean the aerator regularly to remove mineral deposits and maintain good water flow.
Cost Considerations
The cost of installing a Moen bathroom faucet can vary depending on several factors, including the cost of the faucet, the cost of any additional materials (like new supply lines), and whether you hire a professional plumber.
- Faucet Cost: Moen bathroom faucets range in price from around $50 to $500 or more, depending on the style and features.
- Materials Cost: New supply lines, Teflon tape, and plumber’s putty can add another $20 to $50 to the cost.
- Plumber Cost: If you hire a professional plumber, you can expect to pay $100 to $300 or more for installation.
Doing it yourself can save you a significant amount of money. Plus, you’ll gain valuable DIY skills!
Where to Buy Moen Faucets
Moen faucets are available at most home improvement stores, as well as online retailers. Here are a few places where you can buy Moen faucets:
- Home Depot: Offers a wide selection of Moen faucets at competitive prices. Home Depot
- Lowe’s: Another great option for finding Moen faucets in various styles and finishes. Lowe’s
- Amazon: Offers a convenient way to shop for Moen faucets online, with fast shipping and a wide selection. Amazon
- Specialty Plumbing Stores: These stores often carry a wider selection of high-end Moen faucets.
Frequently Asked Questions (FAQ)
Q: How long does it take to install a Moen bathroom faucet?
A: Most people can install a Moen bathroom faucet in about 1 to 2 hours. If you’re a beginner, it might take a little longer. Just take your time and follow the steps carefully.
Q: Do I need any special tools to install a Moen faucet?
A: You’ll need a few basic plumbing tools like a basin wrench, adjustable wrench, screwdriver, and pliers. Teflon tape and plumber’s putty are also essential.
Q: Can I install a Moen faucet if I’ve never done plumbing before?
A: Yes, you can! This guide is designed for beginners. Just follow the steps carefully and don’t be afraid to ask for help if you get stuck.
Q: How do I know if my new faucet is leaking?
A: After turning the water back on, check all the connections under the sink and around the base of the faucet. If you see any water droplets or dampness, you have a leak.
Q: What do I do if my new faucet is leaking?
A: First, turn off the water supply. Then, tighten the connections that are leaking. If that doesn’t work, try reapplying Teflon tape or plumber’s putty. If the leak persists, you may need to call a plumber.
Q: How often should I clean my Moen faucet?
A: Clean your Moen faucet regularly, at least once a week, with a mild soap and water solution. This will help prevent mineral buildup and keep it looking its best.
Q: What if I can’t loosen the old faucet’s mounting nuts?
A: Sometimes, old mounting nuts can be really stuck. Try spraying them with a penetrating oil like WD-40 and let it sit for a while before trying again. If they’re still stuck, you might need to use a nut splitter.
Conclusion
Installing a new Moen bathroom faucet is a simple and rewarding DIY project. By following these step-by-step instructions, you can upgrade your bathroom and save money on plumber fees. Remember to take your time, use the right tools, and don’t be afraid to ask for help if you need it. With a little effort, you’ll have a beautiful new faucet that you can be proud of!

