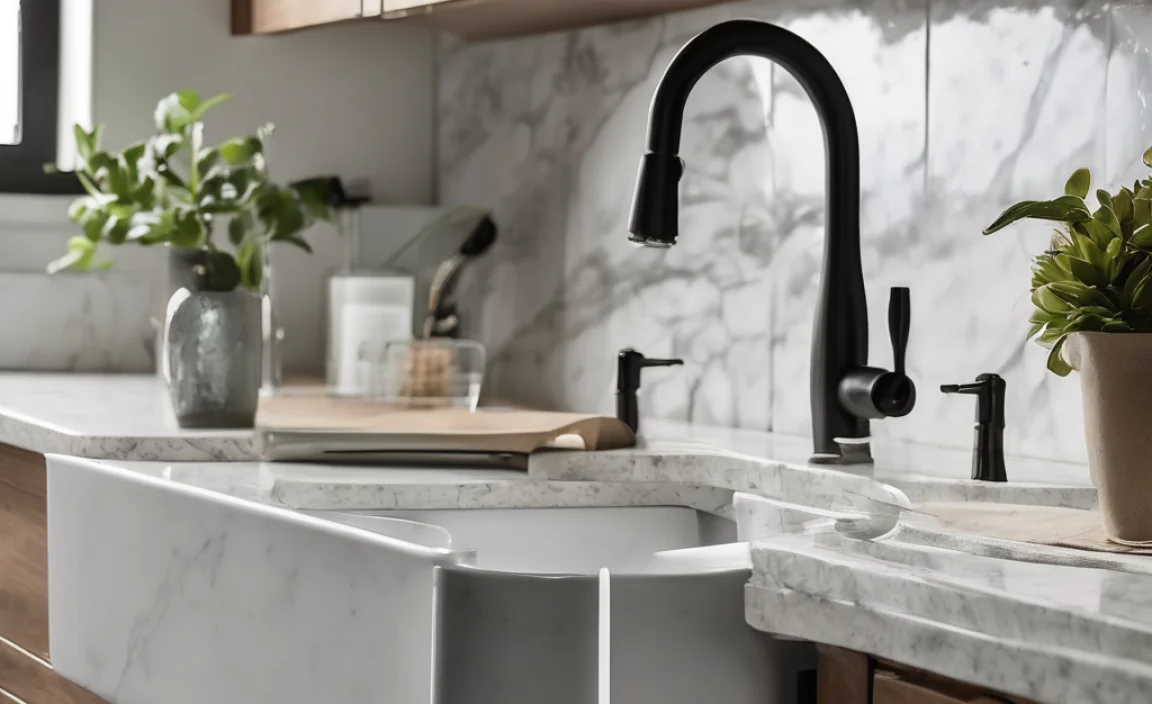
Installing a top mount (or drop-in) sink on granite countertops is easier than you might think! You’ll need basic tools, silicone caulk, and some patience. This guide walks you through each step, so you can confidently upgrade your kitchen or bathroom sink. Let’s get started!
Granite countertops add a touch of elegance to any kitchen or bathroom. But what happens when it’s time to replace that old, worn-out sink? Many homeowners worry about damaging their expensive granite. The good news? Installing a top mount sink is a manageable DIY project.
This guide will show you how to safely and correctly install a new top mount sink. We’ll cover everything from removing the old sink to sealing the new one, ensuring a watertight and professional-looking finish. Let’s dive in!
Tools and Materials You’ll Need
Before you begin, gather all the necessary tools and materials. Having everything on hand will make the installation process smoother and faster.
- New top mount sink
- Silicone caulk (100% silicone, mold and mildew resistant)
- Caulk gun
- Plumber’s putty
- Adjustable wrench
- Basin wrench
- Screwdrivers (Phillips and flathead)
- Pliers
- Utility knife
- Safety glasses
- Gloves
- Shop towels or rags
- Measuring tape
- Pencil or marker
- Putty knife or scraper
Step-by-Step Guide to Installing Your Top Mount Sink
Follow these steps carefully to ensure a successful installation. Remember to prioritize safety and take your time.
Step 1: Prepare the Work Area
Clear the area under the sink. Turn off the water supply to the faucet. You’ll usually find shut-off valves under the sink. If you don’t have shut-off valves, you’ll need to turn off the main water supply to your home. Place a bucket under the pipes to catch any remaining water.
Step 2: Disconnect the Old Sink
- Disconnect the Water Supply: Use an adjustable wrench to disconnect the water supply lines from the faucet. Have a bucket ready to catch any drips.
- Disconnect the Drain: Loosen the slip nuts on the P-trap (the curved pipe under the sink) using pliers or a basin wrench. Carefully remove the P-trap and drainpipe.
- Detach the Faucet and Sprayer: Disconnect the faucet and sprayer from the sink. This usually involves unscrewing mounting nuts from underneath the sink.
- Cut the Caulk: Use a utility knife to carefully cut through the caulk around the perimeter of the old sink where it meets the granite countertop.
Step 3: Remove the Old Sink
Gently push the old sink upwards from underneath, if possible. If it’s stuck, use a putty knife or scraper to carefully loosen the edges. Lift the sink out of the countertop opening. Be careful, as it may be heavy.
Step 4: Clean the Countertop
Use a putty knife or scraper to remove any old caulk or adhesive from the granite countertop. Clean the surface with a damp cloth and mild detergent. Make sure the surface is clean and dry before proceeding.
Step 5: Prepare the New Sink
- Install the Faucet: If the new faucet wasn’t pre-installed, install it now according to the manufacturer’s instructions.
- Install the Drain Assembly: Apply plumber’s putty to the underside of the drain flange. Insert the flange into the sink drain opening. Attach the rubber gasket, cardboard washer, and mounting nut from underneath the sink. Tighten the nut securely.
- Install the Mounting Clips: Most top mount sinks come with mounting clips. Attach these clips to the sink according to the manufacturer’s instructions. These clips will secure the sink to the countertop.
Step 6: Apply Silicone Caulk
Apply a bead of 100% silicone caulk around the perimeter of the countertop opening. This caulk will create a watertight seal between the sink and the granite.
Step 7: Install the New Sink
Carefully lower the new sink into the countertop opening. Press down firmly to ensure the sink is flush with the countertop and the caulk makes good contact. Make sure the sink is properly aligned.
Step 8: Secure the Sink
From underneath the countertop, tighten the mounting clips to secure the sink. Tighten them evenly to ensure the sink is level and properly seated. Wipe away any excess caulk with a damp cloth.
Step 9: Reconnect the Plumbing
- Reconnect the Drain: Reattach the P-trap and drainpipe to the new sink’s drain assembly. Tighten the slip nuts securely, but don’t overtighten.
- Reconnect the Water Supply: Reconnect the water supply lines to the faucet. Tighten the connections with an adjustable wrench.
Step 10: Test for Leaks
Turn the water supply back on slowly. Check for leaks around the faucet, drain, and water supply connections. If you find any leaks, tighten the connections or apply more plumber’s putty or silicone caulk as needed.
Step 11: Final Touches
Clean up any remaining caulk or debris. Allow the silicone caulk to cure for at least 24 hours before using the sink. This will ensure a watertight seal.
Tips for a Successful Installation
- Read the Instructions: Always read and follow the manufacturer’s instructions for both the sink and the faucet.
- Use the Right Caulk: Use 100% silicone caulk that is mold and mildew resistant. This will prevent leaks and keep your sink area clean.
- Don’t Overtighten: When tightening plumbing connections, avoid overtightening. This can damage the pipes or fittings.
- Take Your Time: Don’t rush the installation process. Taking your time will help you avoid mistakes and ensure a professional-looking result.
- Get Help If Needed: If you’re not comfortable with any part of the installation, don’t hesitate to call a plumber.
Common Mistakes to Avoid
Even experienced DIYers can make mistakes. Here are some common pitfalls to watch out for:
- Using the Wrong Type of Caulk: Using the wrong type of caulk can lead to leaks and water damage. Always use 100% silicone caulk.
- Overtightening Plumbing Connections: Overtightening can damage pipes and fittings, leading to leaks.
- Forgetting to Turn Off the Water Supply: Forgetting to turn off the water supply can result in a flood.
- Not Cleaning the Countertop: Not cleaning the countertop can prevent the caulk from adhering properly.
- Rushing the Installation: Rushing can lead to mistakes and a poor-quality result.
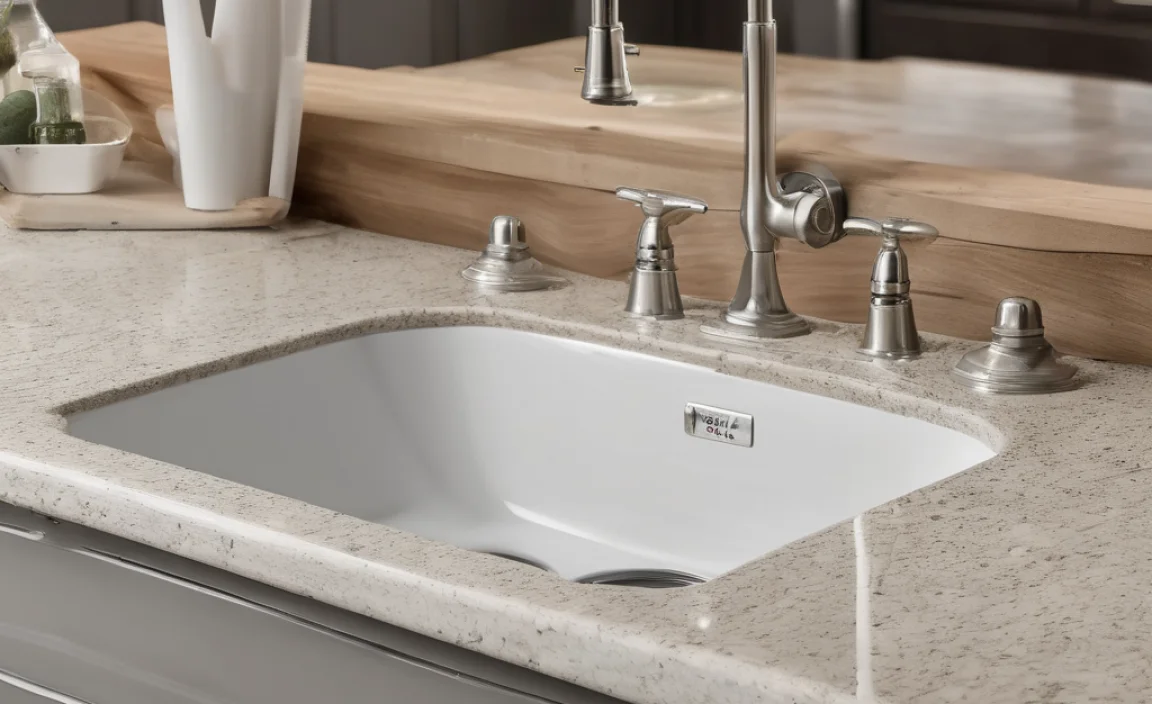
Choosing the Right Top Mount Sink
With so many options available, selecting the perfect top mount sink can feel overwhelming. Here’s what to consider:
- Material: Stainless steel is durable and easy to clean. Composite granite offers a stylish look and is resistant to scratches and stains.
- Size: Measure your existing countertop opening to ensure the new sink will fit.
- Bowl Configuration: Single-bowl sinks offer more space for large pots and pans. Double-bowl sinks are great for multitasking.
- Style: Choose a style that complements your kitchen or bathroom décor.
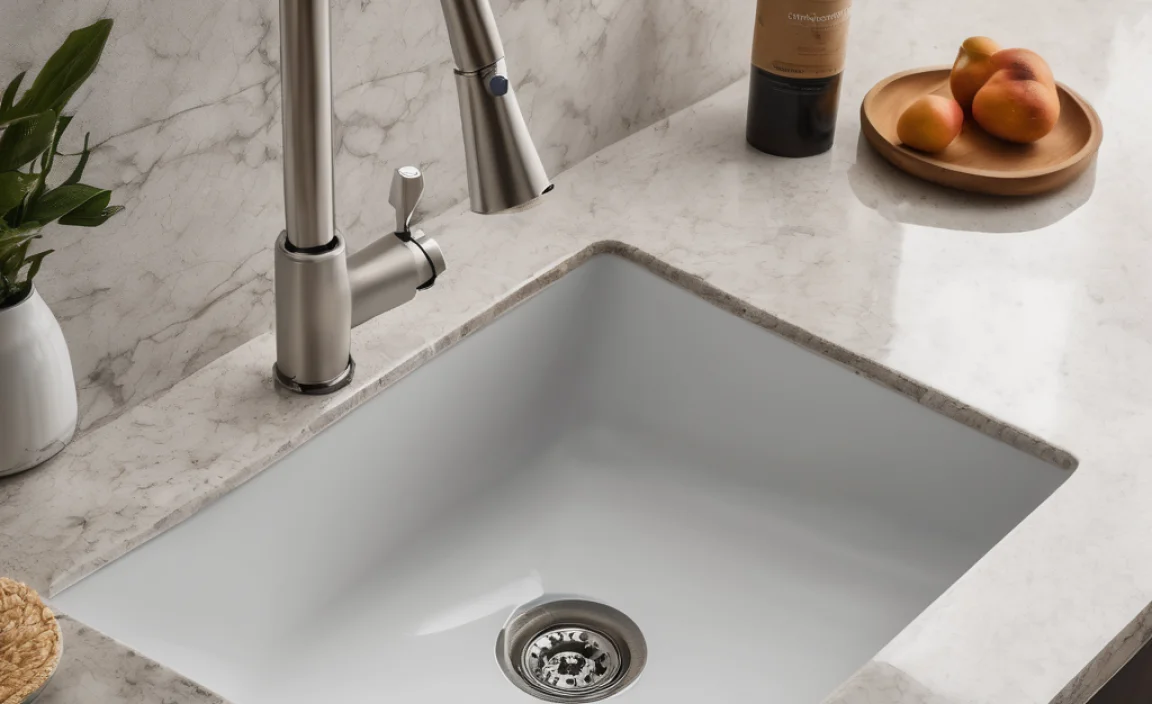
Maintaining Your Top Mount Sink
Proper maintenance will keep your top mount sink looking its best for years to come. Here are some tips:
- Clean Regularly: Clean your sink regularly with mild soap and water.
- Avoid Abrasive Cleaners: Avoid using abrasive cleaners, as they can scratch the surface.
- Rinse Thoroughly: Rinse the sink thoroughly after each use to prevent soap scum buildup.
- Dry the Sink: Dry the sink after each use to prevent water spots.
- Address Clogs Promptly: Address any clogs promptly to prevent drain problems.
Table: Sink Material Comparison
| Material | Pros | Cons | Typical Cost |
|---|---|---|---|
| Stainless Steel | Durable, easy to clean, affordable | Can scratch, noisy | $100 – $500 |
| Composite Granite | Stylish, scratch-resistant, heat-resistant | More expensive, can stain | $200 – $800 |
| Cast Iron | Durable, classic look, sound-dampening | Heavy, can chip, requires special cleaners | $300 – $1000 |
| Fireclay | Durable, stain-resistant, unique look | Expensive, can chip | $400 – $1200 |
Table: Troubleshooting Common Sink Problems
| Problem | Possible Cause | Solution |
|---|---|---|
| Leaking Drain | Loose connections, worn-out plumber’s putty | Tighten connections, replace plumber’s putty |
| Slow Drain | Clogged drainpipe | Use a plunger, drain snake, or drain cleaner |
| Leaking Faucet | Worn-out O-rings or cartridges | Replace O-rings or cartridges |
| Loose Sink | Loose mounting clips | Tighten mounting clips |
| Caulk Peeling | Poor adhesion, improper caulk | Remove old caulk, clean surface, apply new silicone caulk |
FAQ: Installing a Top Mount Sink on Granite Countertops
Q: Can I really install a top mount sink myself?
A: Yes, absolutely! With the right tools and a bit of patience, most homeowners can install a top mount sink. Just follow the steps carefully.
Q: What kind of caulk should I use?
A: Always use 100% silicone caulk that is mold and mildew resistant. This will provide a watertight seal and prevent mold growth.
Q: How do I remove the old sink without damaging the granite?
A: Use a utility knife to carefully cut through the old caulk. Then, gently pry the sink loose with a putty knife or scraper. Avoid using excessive force.
Q: What if the drainpipe is clogged?
A: Try using a plunger or a drain snake to clear the clog. If that doesn’t work, you may need to disassemble the drainpipe and clean it manually.
Q: How long does it take to install a top mount sink?
A: Most installations take between 2 to 4 hours, depending on your experience and the complexity of the job.
Q: Do I need any special tools for granite countertops?
A: No, you don’t need special tools specifically for granite. The tools are the same as you would use for any other countertop material.
Q: What if I find a leak after installation?
A: First, try tightening the connections. If the leak persists, you may need to reapply plumber’s putty or silicone caulk to the affected area.
External Resources for Sink Installation
For additional information and resources, check out these helpful websites:
- Environmental Protection Agency (EPA) – Safe Water: Learn about safe water practices and regulations.
- The Family Handyman: Provides detailed DIY guides and tips for home improvement projects.
- This Old House: Offers expert advice and step-by-step instructions for various home projects.
Conclusion
Installing a top mount sink on granite countertops is a rewarding DIY project that can save you money and enhance your home. By following these steps and tips, you can confidently tackle this task and achieve a professional-looking result. Remember to prioritize safety, take your time, and don’t hesitate to seek help if needed. With a little effort, you’ll have a beautiful new sink that you can be proud of!