Quick Summary: Need a quick fix for a missing or broken bathtub stopper? No problem! Grab a plastic bag and some water to make a temporary plug. For a longer-lasting solution, try a rubber sink stopper or a wine cork. You can even craft a custom stopper from household items like sponges or clay. Let’s get that tub water staying where it should!
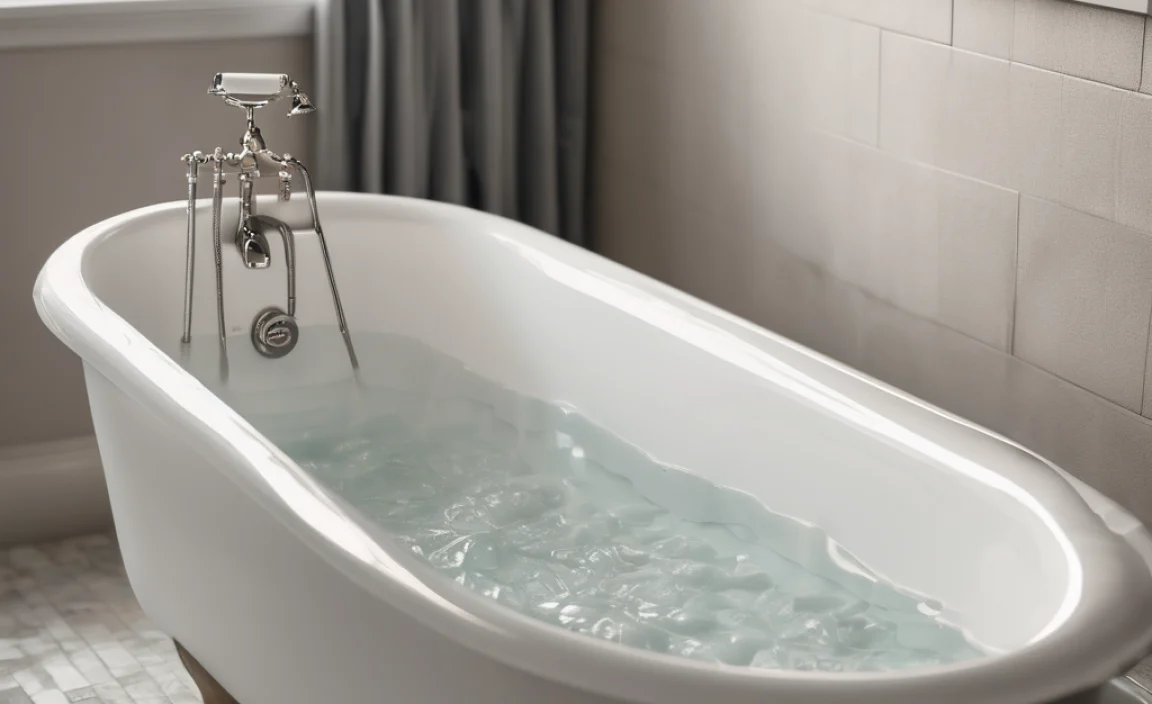
Is your bathtub refusing to hold water? A missing or broken stopper can be a real pain. Instead of letting that precious hot water drain away, you can easily create a temporary or even a more permanent stopper using items you probably already have around the house. It’s simpler than you think, and you don’t need any special skills.
In this guide, I’ll walk you through several easy methods to make a bathtub stopper. Whether you need a quick fix or a longer-term solution, we’ve got you covered. Let’s dive in and get your tub ready for a relaxing soak!
Quick Fixes: Temporary Bathtub Stoppers
Sometimes, you just need a stopper *right now*. Here are a couple of super-fast solutions using everyday items.
Plastic Bag and Water
This is your go-to method when you need a stopper in seconds.
- Grab a plastic bag: A sandwich bag or small grocery bag works best. Make sure it doesn’t have any holes.
- Fill it with water: About halfway full should do the trick.
- Tie it tightly: Secure the bag with a knot to prevent leaks.
- Place it over the drain: Center the water-filled bag directly over the drain opening. The weight of the water will help create a seal.
Pros: Super quick, uses readily available materials.
Cons: Only a temporary fix, may leak if the bag isn’t sealed well.
Washcloth
A simple washcloth can also work in a pinch.
- Get a washcloth: A thicker washcloth works better.
- Wet the washcloth: This helps it mold to the drain and creates a better seal.
- Place it over the drain: Push it down into the drain opening as much as possible.
Pros: Easy and convenient.
Cons: Not very reliable, may float or leak.
Simple Solutions: Store-Bought Alternatives
For a slightly more reliable fix, consider these readily available options from your local store.
Universal Sink Stopper
These rubber stoppers are designed to fit a variety of drain sizes and are available at most hardware stores and supermarkets. They’re inexpensive and provide a decent seal.
- Purchase a universal sink stopper: Look for one that’s sized appropriately for your drain.
- Place it over the drain: Make sure it covers the entire opening.
- Press down firmly: This will help create a good seal.
Pros: Inexpensive, reusable, and readily available.
Cons: May not fit all drain sizes perfectly, can sometimes slip.
Rubber Drain Stopper
A basic rubber drain stopper is another good option, especially if you know the size of your drain. These are usually available in standard sizes.
- Measure your drain: Get the diameter of your bathtub drain opening.
- Buy a rubber stopper: Purchase one that matches the size of your drain.
- Place it in the drain: Ensure it sits snugly and covers the entire opening.
Pros: Provides a good seal if properly sized, durable.
Cons: Requires knowing your drain size, can dry out and crack over time.
Suction Cup Stopper
Suction cup stoppers use suction to stay in place and block the drain. These are often made of silicone or rubber and can be very effective.
- Purchase a suction cup stopper: These are available at most home goods stores.
- Clean the area around the drain: Make sure the surface is free of dirt and debris.
- Place the stopper over the drain: Press down firmly to create a good suction seal.
Pros: Easy to use, provides a good seal on smooth surfaces.
Cons: May not work well on textured or uneven surfaces, suction can fail over time.
DIY Creations: Homemade Bathtub Stoppers

Feeling crafty? Here are a few ideas for making your own bathtub stopper using common household materials.
Wine Cork Stopper
A wine cork can be surprisingly effective, especially if you shape it to fit the drain.
- Gather wine corks: You might need a few, depending on the size of your drain.
- Shape the cork: Use a knife or sandpaper to whittle the cork to a size that fits snugly in the drain. Be careful not to cut yourself!
- Test the fit: Make sure the cork fits snugly in the drain opening.
- Seal the cork (optional): Coat the cork with a sealant like beeswax or waterproof glue to prevent it from absorbing water and expanding.
Pros: Eco-friendly, uses readily available materials.
Cons: May require some shaping, can absorb water if not sealed.
Sponge Stopper
A sponge can be cut and shaped to create a custom-fit stopper.
- Get a sponge: A dense sponge works best.
- Cut the sponge: Cut the sponge slightly larger than the drain opening.
- Shape the sponge: Compress the sponge and push it into the drain. It should expand to fill the space.
Pros: Easy to customize, inexpensive.
Cons: Can absorb water and become soggy, may not create a perfect seal.
Clay Stopper
Modeling clay or playdough can be molded into a stopper, but it needs to be sealed to prevent it from dissolving in water.
- Get modeling clay or playdough: Make sure it’s non-toxic.
- Mold the clay: Shape the clay into a plug that fits the drain opening. Make it slightly larger than the drain.
- Let it dry: Allow the clay to dry completely. This may take a day or two.
- Seal the clay: Coat the dried clay with a waterproof sealant, such as varnish or epoxy resin.
- Test the stopper: Place the sealed clay stopper in the drain and see if it holds water.
Pros: Can be custom-shaped, uses readily available materials.
Cons: Requires drying and sealing, can be messy.
Advanced DIY: More Durable Homemade Stoppers
If you’re looking for a more robust and long-lasting homemade solution, these options require a bit more effort but can provide excellent results.
Epoxy Resin Stopper
Epoxy resin can be used to create a custom-molded stopper that is both durable and waterproof.
- Gather materials: You’ll need epoxy resin, a mold (like a small plastic container or the drain itself covered in plastic wrap), and a mixing stick.
- Prepare the mold: If you’re using the drain as a mold, cover it with plastic wrap to prevent the epoxy from sticking.
- Mix the epoxy resin: Follow the manufacturer’s instructions for mixing the resin and hardener.
- Pour the epoxy: Pour the mixed epoxy into the mold.
- Let it cure: Allow the epoxy to cure completely, according to the manufacturer’s instructions.
- Remove the stopper: Once cured, remove the stopper from the mold.
- Sand the edges: Use sandpaper to smooth any rough edges.
Pros: Very durable, waterproof, custom-shaped.
Cons: Requires working with epoxy resin, takes time to cure.
Silicone Stopper
Silicone caulk can be used to create a flexible and waterproof stopper.
- Gather materials: You’ll need silicone caulk, a caulking gun, and a mold (like a small plastic container or the drain itself covered in plastic wrap).
- Prepare the mold: If you’re using the drain as a mold, cover it with plastic wrap to prevent the silicone from sticking.
- Apply the silicone: Apply the silicone caulk into the mold, building up layers to create a stopper shape.
- Let it cure: Allow the silicone to cure completely, according to the manufacturer’s instructions. This usually takes 24-48 hours.
- Remove the stopper: Once cured, remove the stopper from the mold.
- Trim the edges: Use a utility knife to trim any excess silicone.
Pros: Flexible, waterproof, relatively easy to work with.
Cons: Can take a while to cure, may shrink slightly as it cures.
Troubleshooting Tips
Even with the best-laid plans, things can sometimes go wrong. Here are a few troubleshooting tips to help you get your makeshift stopper working effectively.
- Leakage: If your stopper is leaking, try adding more material or ensuring a tighter seal. For plastic bags, double-bag them. For homemade stoppers, check for gaps and fill them with additional material or sealant.
- Poor Fit: If your stopper doesn’t fit snugly, reshape it or try a different material. For corks, try whittling them down further. For sponges, use a larger sponge.
- Slipping: If your stopper is slipping out of place, try adding a non-slip surface, such as a rubber band or a piece of non-slip matting.
- Material Degradation: Some materials, like sponges and clay, can degrade over time when exposed to water. If this happens, replace the stopper with a fresh one or try a more durable material like epoxy resin or silicone.
Maintaining Your Bathtub Stopper
To keep your bathtub stopper working effectively and extend its lifespan, follow these maintenance tips:
- Regular Cleaning: Clean your stopper regularly to remove soap scum, hair, and other debris. This will help maintain a good seal and prevent clogs.
- Proper Storage: When not in use, store your stopper in a dry place to prevent mold and mildew growth.
- Inspect Regularly: Check your stopper regularly for signs of wear and tear, such as cracks, tears, or deformation. Replace it as needed.
Safety Considerations
When making or using a bathtub stopper, safety should always be a priority.
- Avoid Sharp Objects: When shaping corks or other materials, be careful not to cut yourself. Use a sharp knife or sandpaper and work slowly and deliberately.
- Use Non-Toxic Materials: When using clay or other molding materials, make sure they are non-toxic, especially if you have children or pets.
- Ventilation: When working with epoxy resin or silicone caulk, work in a well-ventilated area to avoid inhaling harmful fumes.
- Supervision: If children are helping with the project, supervise them closely and make sure they understand the safety precautions.
Table: Bathtub Stopper Options
| Stopper Type | Materials Needed | Pros | Cons | Durability |
|---|---|---|---|---|
| Plastic Bag | Plastic bag, water | Quick, easy, readily available | Temporary, may leak | Very low |
| Washcloth | Washcloth | Simple, convenient | Unreliable, may float | Very low |
| Universal Sink Stopper | Rubber stopper | Inexpensive, reusable | May not fit all drains | Medium |
| Rubber Drain Stopper | Rubber stopper | Good seal, durable | Requires knowing drain size | Medium |
| Suction Cup Stopper | Suction cup stopper | Easy to use, good seal | May not work on textured surfaces | Medium |
| Wine Cork | Wine cork, knife/sandpaper, sealant (optional) | Eco-friendly, uses readily available materials | Requires shaping, may absorb water | Low to Medium |
| Sponge | Sponge | Easy to customize, inexpensive | Absorbs water, may not seal well | Low |
| Clay | Modeling clay/playdough, sealant | Custom-shaped, readily available | Requires drying and sealing, messy | Medium |
| Epoxy Resin | Epoxy resin, mold | Very durable, waterproof, custom-shaped | Requires epoxy, takes time to cure | High |
| Silicone | Silicone caulk, caulking gun, mold | Flexible, waterproof, easy to work with | Takes time to cure, may shrink | High |
FAQ
What if I don’t have any of the materials listed?
Get creative! Look around your house for anything that can block the drain. A small bowl covered with a cloth, a wad of plastic wrap, or even a stack of coins covered with tape can work in an emergency.
How do I measure my bathtub drain size?
Use a ruler or measuring tape to measure the diameter (the distance across the circle) of the drain opening. This will help you choose the right size stopper.
Can I use hot glue as a sealant for my homemade stopper?
Hot glue can work as a temporary sealant, but it may not be waterproof in the long run. For a more durable seal, use a waterproof sealant like varnish, epoxy resin, or silicone caulk.
How do I clean my bathtub drain to ensure a better seal?
Remove any hair or debris from the drain opening. You can use a bent wire hanger or a drain snake to pull out any clogs. Then, clean the area around the drain with a mild soap and water.
Are there any eco-friendly options for bathtub stoppers?
Yes! Wine corks and natural sponges are both eco-friendly options. You can also look for stoppers made from recycled rubber or other sustainable materials.
How long will a homemade bathtub stopper last?
It depends on the materials you use. A plastic bag or washcloth will only last for a single use. A well-sealed clay or epoxy resin stopper can last for several months or even years with proper care.
Is it safe to use a metal object as a bathtub stopper?
While a metal object might block the drain, it’s generally not recommended. Metal can scratch or damage the tub’s surface. Also, be careful of rust. If you must use metal, wrap it in a soft cloth to protect the tub.
Conclusion
So, there you have it! Making a bathtub stopper doesn’t have to be a headache. Whether you opt for a quick fix with a plastic bag, a simple store-bought solution, or a creative DIY project, you can easily find a way to keep your tub water where it belongs. With a little ingenuity and some common household items, you can enjoy a relaxing bath without watching the water swirl down the drain. Now go ahead, get that tub filled, and enjoy a well-deserved soak!