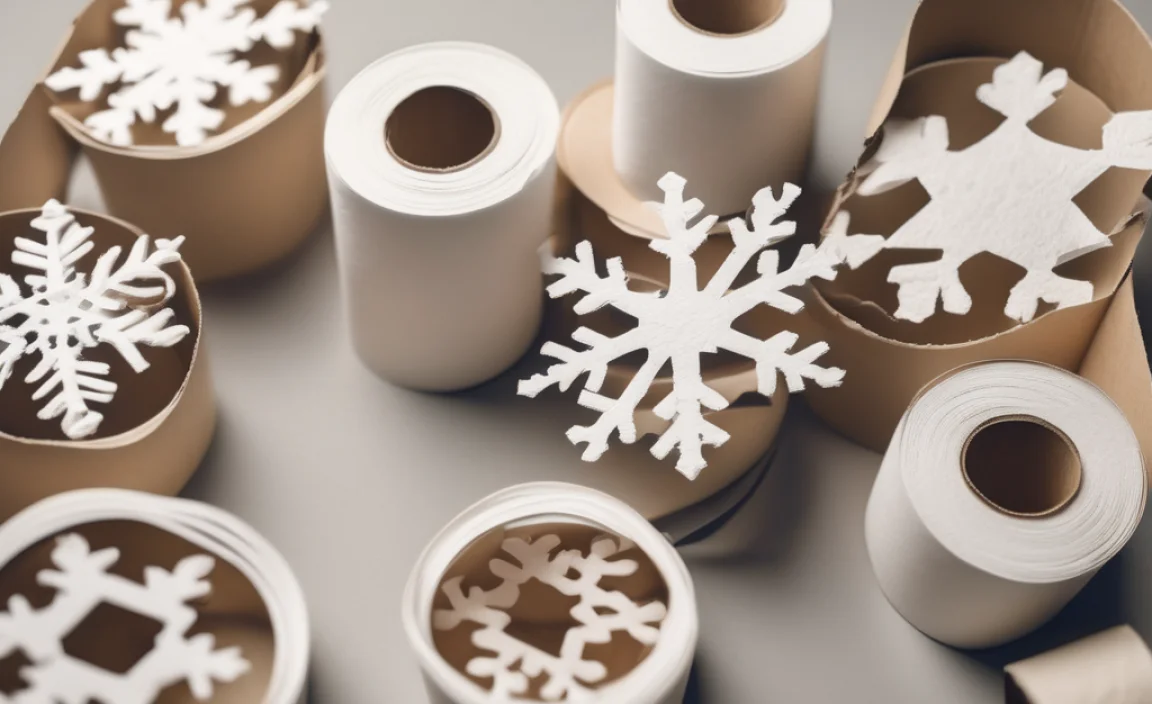
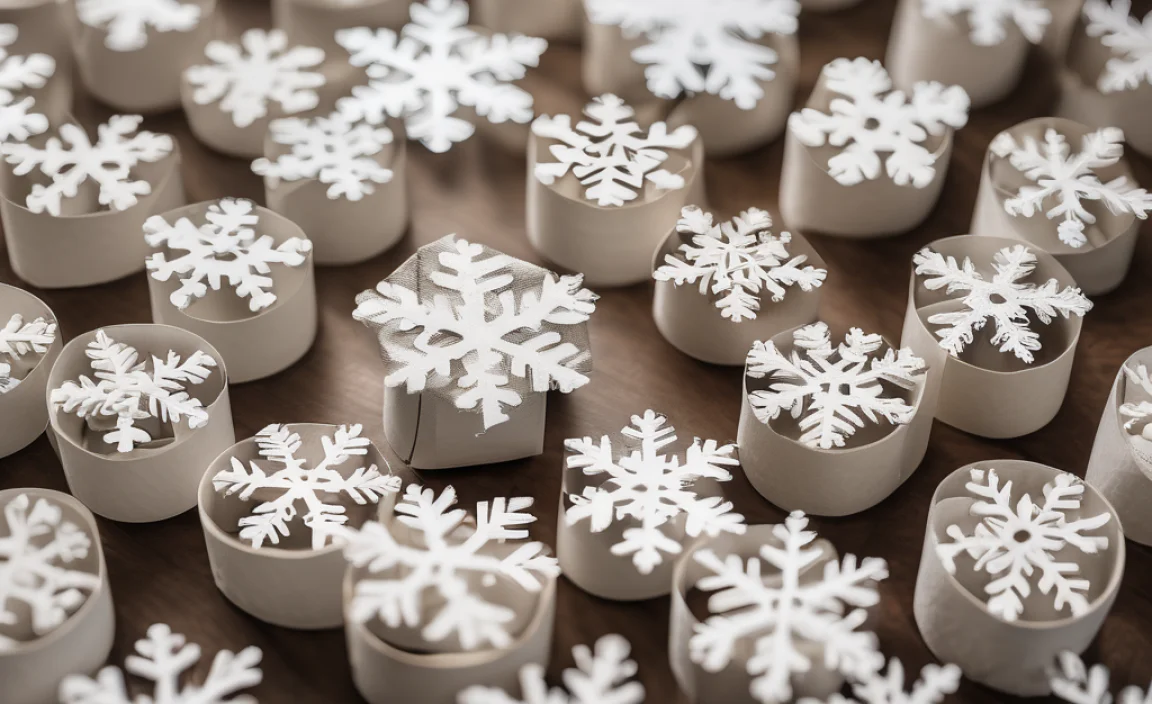
Want to make beautiful snowflakes using materials you already have at home? It’s easy! Just flatten toilet paper rolls, cut them into strips, and glue them together to create unique snowflake designs. This is a fun and budget-friendly craft perfect for kids and adults alike!
Winter is here, and what better way to celebrate than by crafting your own snowflakes? But who says you need fancy materials? We’re going to show you how to transform humble toilet paper rolls into stunning, unique snowflakes. It’s a fantastic way to recycle, get creative, and add a personal touch to your home decor.
This project is super simple, totally achievable, and a great activity for the whole family. Ready to turn trash into treasure? Let’s get started!
Materials You’ll Need
Before we dive in, gather these basic supplies. Don’t worry, you probably already have most of them!
- Toilet paper rolls (or paper towel rolls cut to size)
- Scissors
- Glue (hot glue gun, craft glue, or school glue)
- Ruler or measuring tape
- Pencil
- Optional: Glitter, paint, or markers for decorating
Step-by-Step Guide: Creating Your Toilet Paper Roll Snowflakes
Follow these simple steps to make your own beautiful snowflakes.
Step 1: Flatten the Toilet Paper Rolls
Take each toilet paper roll and flatten it completely. Press down firmly to create a crease. This will make it easier to cut even strips.
Step 2: Cut the Rolls into Strips
Using a ruler and pencil, mark the flattened roll into equal segments. Aim for strips that are about 1/2 to 1 inch wide. The width will affect the final look of your snowflake, so experiment with different sizes!
Carefully cut along the marked lines to create your strips. You’ll need about 6-8 strips per snowflake, depending on the design you choose.
Step 3: Shape the Strips
Now it’s time to get creative with the shapes! Here are a few basic shapes you can try:
- Teardrop Shape: Pinch one end of a strip to form a point, creating a teardrop shape.
- Eye Shape: Pinch both ends of a strip to form an eye shape.
- Diamond Shape: Fold the strip in half and glue the ends together.
Feel free to experiment with your own shapes! The possibilities are endless.
Step 4: Assemble the Snowflake
This is where your snowflake starts to take form. Using your glue of choice, attach the shaped strips together to create a snowflake pattern.
Here’s one simple method:
- Arrange six strips in a star or flower shape.
- Glue the strips together at the center point.
- Add additional strips between the existing ones to create a more intricate design.
For best results, allow the glue to dry completely between steps.
Step 5: Decorate (Optional)
Once your snowflake is assembled and the glue is dry, it’s time to add some sparkle!
- Glitter: Sprinkle glitter over the snowflake while the glue is still wet.
- Paint: Use acrylic paints to add color and detail.
- Markers: Draw patterns and designs with markers.
Let your creativity shine! There’s no right or wrong way to decorate.
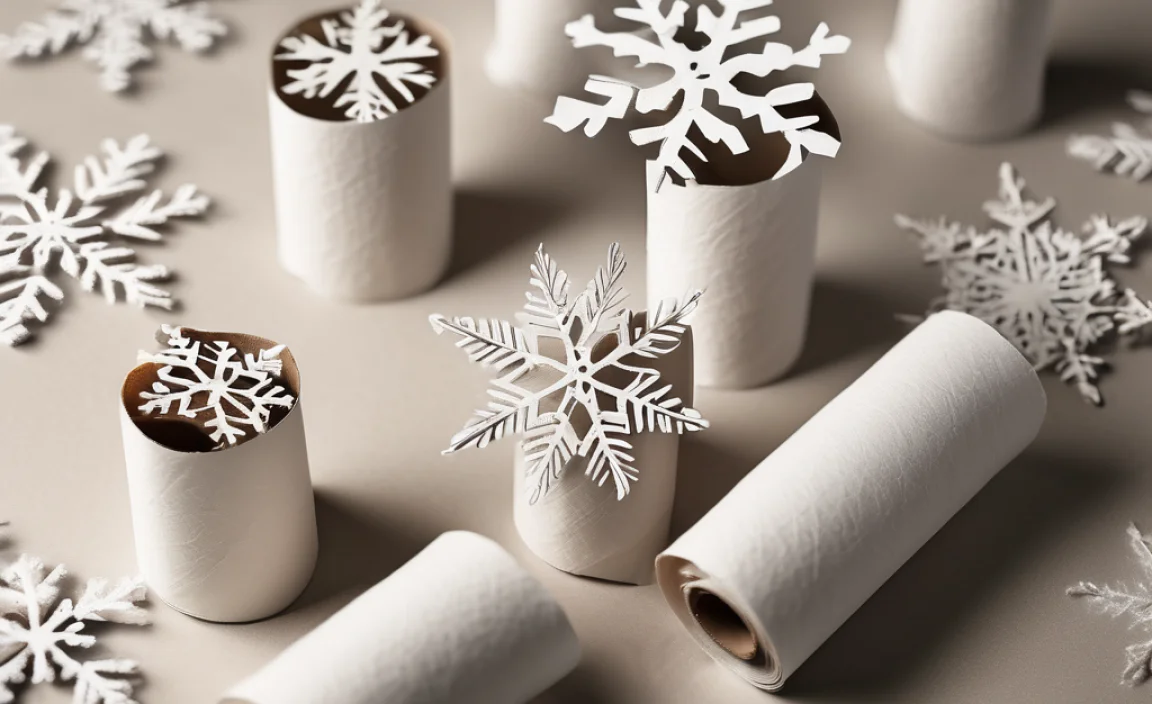
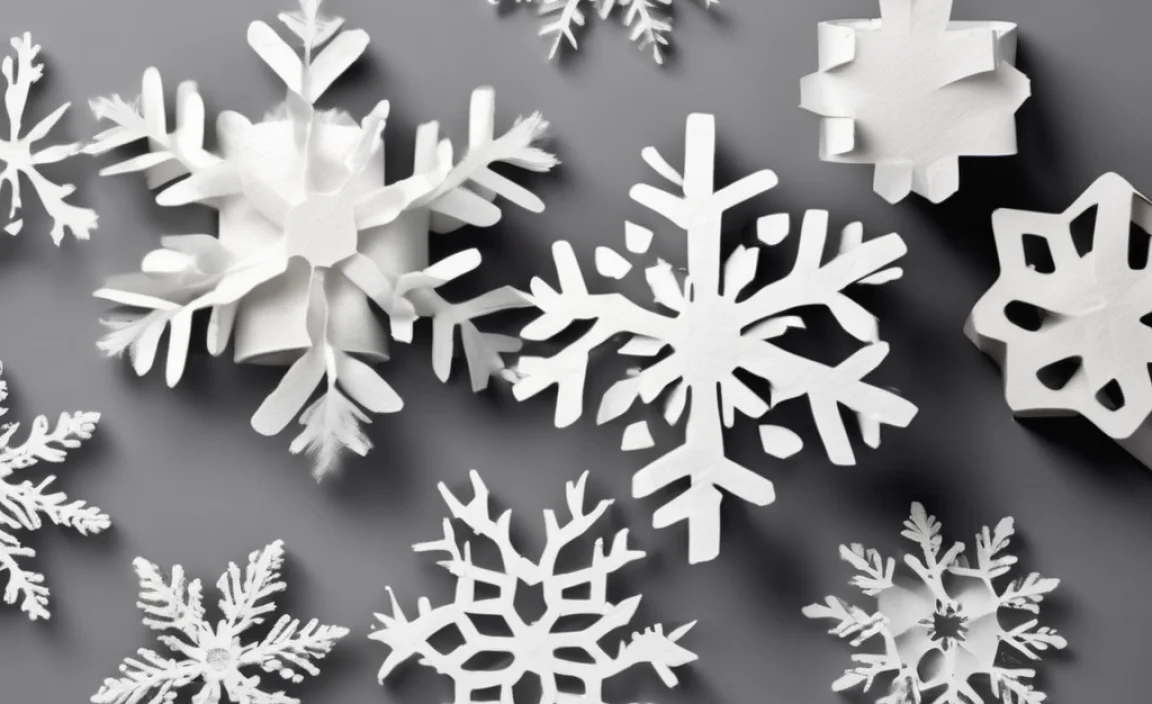
Different Snowflake Designs to Try
Want some inspiration? Here are a few different snowflake designs you can create using toilet paper roll strips.
Basic Six-Point Snowflake
This is the classic snowflake design. Simply arrange six identical shapes around a central point.
Layered Snowflake
Create a layered effect by gluing smaller snowflakes on top of larger ones.
Spiral Snowflake
Use curled strips to create a spiral effect in the center of the snowflake.
Geometric Snowflake
Experiment with different geometric shapes, such as squares, triangles, and diamonds, to create a unique design.
Tips for Success
Here are a few tips to help you create the best toilet paper roll snowflakes:
- Use a hot glue gun for faster drying: A hot glue gun will help the pieces stick together quickly, but be careful when using it, especially if kids are helping.
- Let the glue dry completely: Before moving on to the next step, make sure the glue is completely dry. This will prevent the snowflake from falling apart.
- Experiment with different shapes and sizes: Don’t be afraid to try new things! The more you experiment, the more unique your snowflakes will be.
- Use paper towel rolls for larger snowflakes: If you want to make larger snowflakes, use paper towel rolls instead of toilet paper rolls.
Safety First!
Crafting is fun, but safety is always the top priority. Keep these tips in mind while you’re creating your snowflakes:
- Supervise children: If kids are helping with the project, make sure they are supervised at all times, especially when using scissors or hot glue guns.
- Use a cutting mat: Protect your work surface by using a cutting mat when cutting the toilet paper rolls.
- Ventilate the area: If you’re using spray paint or other potentially harmful materials, make sure the area is well-ventilated.
Cost Breakdown
One of the best things about this craft is how budget-friendly it is! Here’s a rough cost breakdown:
| Item | Cost |
|---|---|
| Toilet paper rolls | Free (recycled) |
| Glue | $0 – $5 (depending on type and quantity) |
| Scissors | $0 (already have) – $10 |
| Glitter, paint, markers (optional) | $0 – $10 |
| Total | $0 – $25 |
As you can see, you can easily make beautiful snowflakes for little to no cost!
Troubleshooting
Having trouble with your snowflakes? Here are a few common problems and their solutions:
| Problem | Solution |
|---|---|
| Snowflake is falling apart | Make sure you’re using enough glue and letting it dry completely. A stronger glue might be necessary. |
| Strips are uneven | Use a ruler and pencil to mark the strips before cutting. Take your time and cut carefully. |
| Snowflake looks lopsided | Try to make sure the strips are symmetrical and evenly spaced. Adjust as needed before the glue dries completely. |
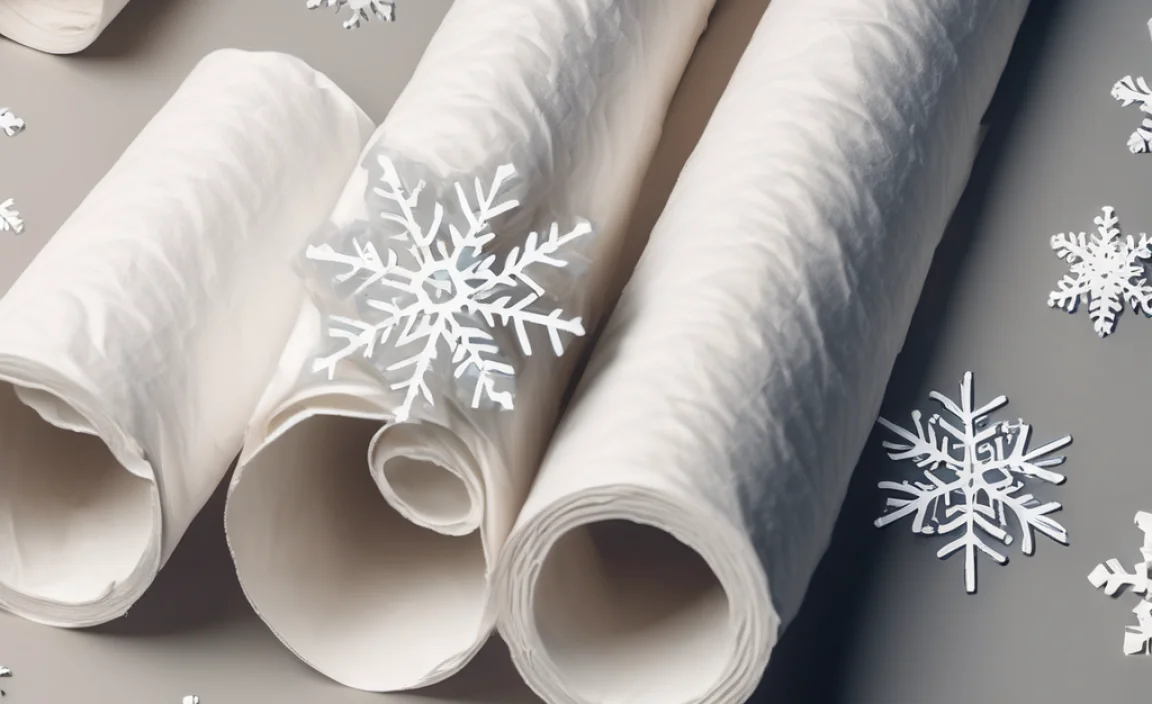
Alternative Materials
Don’t have toilet paper rolls? No problem! Here are a few alternative materials you can use:
- Paper towel rolls: Cut them down to size.
- Cardstock or construction paper: Cut into strips and shape as desired.
- Newspaper or magazine pages: Recycle old paper by turning it into snowflakes.
How to Display Your Snowflakes
Now that you’ve created your beautiful snowflakes, it’s time to show them off! Here are a few ideas for displaying them:
- Hang them from the ceiling: Use string or fishing line to hang the snowflakes from the ceiling. This will create a magical winter wonderland effect.
- Attach them to windows: Use tape or adhesive putty to attach the snowflakes to your windows.
- Create a garland: String the snowflakes together to create a festive garland.
- Use them as gift toppers: Add a snowflake to your gift wrapping for a personal touch.
The Environmental Impact
Making snowflakes out of toilet paper rolls is not only fun and creative, but it’s also a great way to reduce waste and help the environment. By recycling materials that would otherwise be thrown away, you’re doing your part to conserve resources and reduce pollution. According to the EPA, recycling helps conserve natural resources and reduces the need to extract raw materials. Plus, it’s a great way to teach kids about the importance of sustainability.
For more information on recycling and its impact, you can visit the EPA’s Recycling Basics page.
Beyond Snowflakes: Other Crafts with Toilet Paper Rolls
Once you’ve mastered the art of making snowflakes, you can explore other fun crafts using toilet paper rolls. Here are a few ideas:
- Animals: Create adorable animals like bunnies, cats, and dogs.
- Flowers: Make colorful flowers for a spring-themed decoration.
- Ornaments: Design festive ornaments for your Christmas tree.
- Storage containers: Decorate toilet paper rolls and use them to store small items like pencils, paintbrushes, or craft supplies.
Frequently Asked Questions
Here are some common questions about making snowflakes out of toilet paper rolls.
Can I use different types of glue?
Yes, you can use different types of glue. Hot glue guns are the fastest and most effective, but craft glue or school glue will also work. Just keep in mind that they may take longer to dry.
How many toilet paper rolls do I need for one snowflake?
You’ll need about 6-8 strips per snowflake, which typically comes from one or two toilet paper rolls, depending on how wide you cut the strips.
What if my strips are not even?
If your strips are uneven, don’t worry too much! You can trim them to be more uniform, or simply embrace the imperfections for a more rustic look. Each snowflake is unique!
Can I paint the toilet paper rolls before cutting them?
Yes, you can paint the toilet paper rolls before cutting them. This can be a great way to add color and detail to your snowflakes. Just make sure the paint is completely dry before you start cutting.
Is this craft suitable for young children?
This craft is suitable for older children with supervision. Younger children can help with simpler tasks like flattening the rolls or adding glitter, but adult supervision is required when using scissors or hot glue guns.
How can I make my snowflakes more durable?
To make your snowflakes more durable, use a stronger glue and consider coating them with a sealant or varnish after they’re finished. This will help protect them from moisture and damage.
Can I add other embellishments to my snowflakes?
Absolutely! Feel free to add other embellishments like beads, sequins, or buttons to your snowflakes. The more creative you get, the more unique and beautiful your snowflakes will be.
Conclusion
So there you have it! Making snowflakes out of toilet paper rolls is a simple, fun, and eco-friendly craft that anyone can enjoy. With just a few basic supplies and a little bit of creativity, you can transform ordinary toilet paper rolls into stunning winter decorations. Whether you’re crafting with kids, looking for a budget-friendly project, or simply want to add a personal touch to your home decor, this DIY snowflake tutorial is the perfect solution.
Don’t be afraid to experiment with different shapes, sizes, and decorations. The possibilities are endless, and each snowflake you create will be a unique work of art. So gather your supplies, get crafting, and let the winter fun begin!