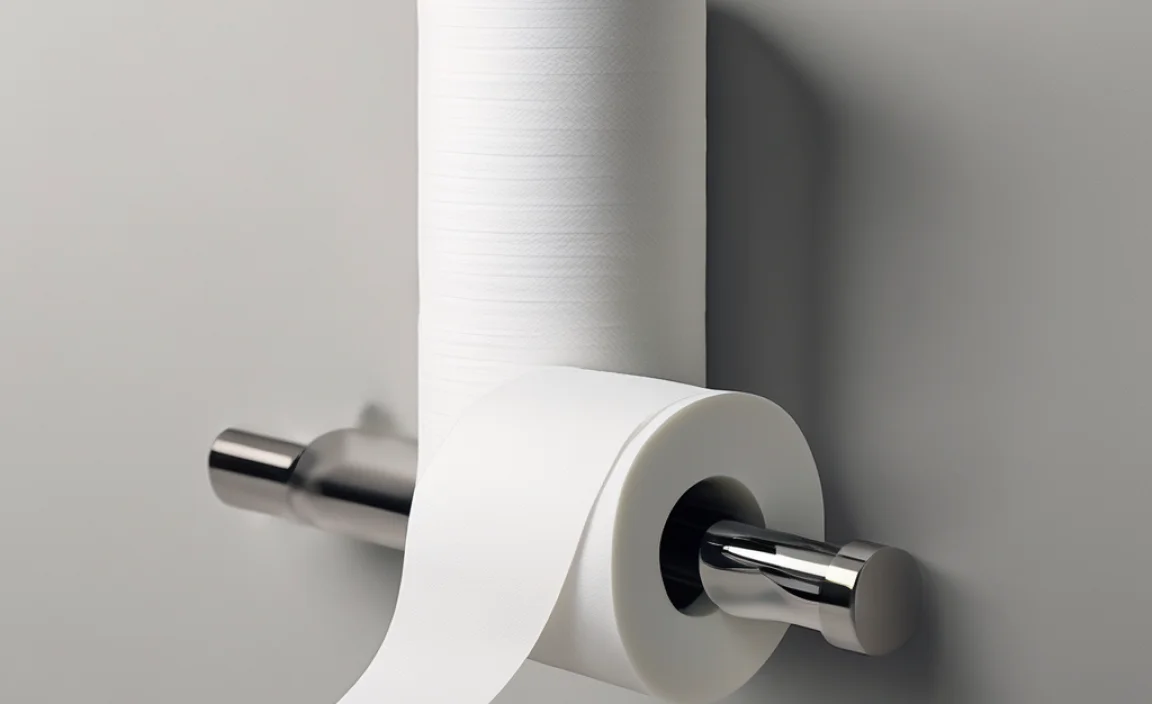
Removing a glue stick from a glue gun is simple. First, unplug the glue gun and let it cool down slightly. Then, gently pull the glue stick out from the back. If it’s stuck, try pushing a new glue stick in to help force the old one out. Always be careful to avoid burns!
Ever get frustrated when your glue gun jams or you need to switch glue types? It’s a common problem! Sometimes, the glue stick gets stuck, or you want to remove a half-used stick for a different project. Don’t worry, it’s easier than you think to get that glue stick out safely.
In this guide, I’ll show you step-by-step how to remove a glue stick from your glue gun without damaging it or yourself. We’ll cover everything from letting it cool properly to using simple tools if needed. Let’s get started!
Understanding Glue Gun Basics
Before we dive into removing a glue stick, let’s quickly cover the basics of how a glue gun works. This helps you understand why the glue might be stuck and how to safely handle the tool.
How a Glue Gun Works
A glue gun uses a heating element to melt solid glue sticks. You feed the glue stick into the back of the gun, and a trigger mechanism pushes it forward into the heated chamber. The melted glue then comes out of the nozzle, ready for your project.
Here’s a quick breakdown:
- Heating Element: Melts the glue stick.
- Trigger: Pushes the glue stick forward.
- Nozzle: Where the melted glue comes out.
Why Glue Sticks Get Stuck
Glue sticks can get stuck for a few reasons:
- Cooling Down: If the glue cools inside the gun, it can harden and stick.
- Mismatched Glue: Using the wrong size or type of glue stick can cause jams.
- Debris: Dirt or small particles can get into the gun and interfere with the glue flow.
Safety First: Preparing to Remove the Glue Stick
Safety is key when dealing with a hot glue gun. Here’s how to prep before you start removing that stuck glue stick.
Unplug the Glue Gun
Always, always unplug the glue gun from the power outlet before you begin any maintenance. This prevents accidental heating and potential burns or electrical shock.
Let It Cool (Slightly)
Allow the glue gun to cool down a bit. You don’t want it completely cold, as the glue will be too hard to move. Aim for a slightly warm temperature where the glue is softened but not scalding hot. About 10-15 minutes of cooling time should do the trick.
Protect Your Hands
Wear heat-resistant gloves or use a cloth to protect your hands from any residual heat. This is especially important if you need to handle the nozzle area.
Step-by-Step Guide: Removing the Glue Stick
Now, let’s get to the actual removal process. Here’s a detailed guide to help you get that glue stick out without any fuss.
Method 1: The Gentle Push
This is often the simplest and most effective method.
- Locate the Back of the Gun: Find where the glue stick enters the gun.
- Insert a New Glue Stick: Gently push a new glue stick into the back of the gun. The new stick should push the old one forward.
- Apply Gentle Pressure: Keep applying gentle, steady pressure until the old glue stick starts to move.
- Pull it Out: Once the old glue stick is moving, carefully pull it out from the nozzle end.
Method 2: Using Pliers (If Necessary)
If the gentle push doesn’t work, you might need a little extra grip.
- Cool the Nozzle Area: Make sure the nozzle area isn’t too hot to handle.
- Grip the Glue Stick: Use pliers to grip the exposed end of the glue stick near the nozzle.
- Gently Twist and Pull: Gently twist and pull the glue stick. Avoid using excessive force, as you don’t want to break the stick inside the gun.
- Repeat if Needed: If it’s still stuck, try heating the nozzle area slightly with a hairdryer to soften the glue. Then, try twisting and pulling again.
Method 3: The Hair Dryer Trick
Heat can be your friend when dealing with stubborn glue.
- Set Up Your Hair Dryer: Use a hair dryer on a low heat setting.
- Heat the Nozzle Area: Aim the hair dryer at the nozzle area for a few minutes. This will help soften the glue inside.
- Try Pushing Again: After heating, try pushing a new glue stick in from the back or gently pulling with pliers.
Method 4: Disassembling the Glue Gun (Last Resort)
This should only be done if other methods fail, and you’re comfortable taking apart the glue gun.
- Consult the Manual: Check your glue gun’s manual for disassembly instructions.
- Remove Screws: Carefully remove any screws holding the glue gun together.
- Separate the Housing: Gently separate the housing to expose the internal components.
- Remove the Glue Stick: Once you have access to the inside, you should be able to manually remove the stuck glue stick.
- Reassemble: Carefully reassemble the glue gun, making sure all parts are properly aligned.
Dealing with Different Types of Glue Sticks
Different types of glue sticks may require slightly different approaches. Here’s a quick guide.
Standard Glue Sticks
These are the most common type and usually respond well to the gentle push or hair dryer methods.
High-Temperature Glue Sticks
These melt at higher temperatures and may require more heat to soften. Be extra careful when handling a hot glue gun with this type of glue.
Low-Temperature Glue Sticks
These melt at lower temperatures and are generally easier to remove. The gentle push method usually works well.
Colored or Glitter Glue Sticks
These can sometimes leave more residue inside the gun. Make sure to clean the nozzle thoroughly after removing them.
Preventing Glue Sticks from Getting Stuck
Prevention is better than cure! Here’s how to keep your glue gun running smoothly.
Use the Right Size Glue Stick
Always use the correct size glue stick for your glue gun. Using a stick that’s too small or too large can cause jams.
Don’t Mix Glue Types
Avoid mixing different types of glue sticks. They may have different melting points and can cause clogs.
Keep the Glue Gun Clean
Regularly clean your glue gun to remove any debris or residue. Use a soft cloth to wipe down the nozzle and exterior.
Store Glue Sticks Properly
Store your glue sticks in a cool, dry place. This prevents them from becoming sticky or deformed.
Essential Tools for Glue Gun Maintenance
Having the right tools on hand can make glue gun maintenance much easier.
- Pliers: For gripping and pulling stubborn glue sticks.
- Heat-Resistant Gloves: To protect your hands from heat.
- Soft Cloth: For cleaning the nozzle and exterior.
- Hair Dryer: To gently heat and soften the glue.
- Small Screwdriver Set: For disassembling the glue gun (if necessary).
Troubleshooting Common Issues
Sometimes, things don’t go as planned. Here are some common issues and how to fix them.
Glue Stick Breaks Inside the Gun
If the glue stick breaks inside, try using a small, pointed object (like a skewer) to push the pieces out from the nozzle end. Be careful not to damage the internal components.
Glue Gun Overheats
If your glue gun overheats, unplug it immediately and let it cool down completely. Check the heating element for any damage. If it’s damaged, you may need to replace the glue gun.
Glue Doesn’t Flow Smoothly
If the glue isn’t flowing smoothly, the nozzle may be clogged. Try cleaning the nozzle with a soft cloth or a nozzle cleaning tool.
Glue Gun Maintenance Schedule
Regular maintenance can extend the life of your glue gun and keep it working efficiently. Here’s a simple maintenance schedule to follow:
| Frequency | Task | Description |
|---|---|---|
| After Each Use | Wipe Down Nozzle | Use a soft, dry cloth to wipe away any excess glue from the nozzle. |
| Monthly | Check Cord and Plug | Inspect the power cord and plug for any signs of damage or wear. |
| Every 3 Months | Deep Clean Nozzle | Use a nozzle cleaning tool or a pin to remove any buildup inside the nozzle. |
| As Needed | Remove Stuck Glue Sticks | Follow the steps outlined in this guide to safely remove any stuck glue sticks. |
Choosing the Right Glue Gun
Selecting the right glue gun can make a big difference in your crafting and DIY projects. Here are some factors to consider when choosing a glue gun:
- Temperature: Decide whether you need a high-temperature, low-temperature, or dual-temperature glue gun based on your projects.
- Size: Consider the size of the glue gun and how comfortable it feels in your hand.
- Corded vs. Cordless: Cordless glue guns offer more flexibility, but corded models provide consistent power.
- Features: Look for features like an insulated nozzle, drip-resistant tip, and ergonomic handle.
Glue Gun Safety Tips
Using a glue gun safely is crucial to avoid burns and accidents. Here are some essential safety tips:
- Always Unplug: Unplug the glue gun when not in use or when changing glue sticks.
- Use a Heat-Resistant Surface: Place the glue gun on a heat-resistant surface when it’s hot.
- Avoid Touching the Nozzle: Never touch the nozzle when the glue gun is hot to prevent burns.
- Wear Safety Glasses: Protect your eyes from hot glue splatters by wearing safety glasses.
- Keep Away from Children: Store glue guns and glue sticks out of reach of children.
- Work in a Well-Ventilated Area: Ensure good ventilation to avoid inhaling fumes from the melting glue.
FAQ: Removing Glue Sticks from Glue Guns
What if the glue stick is completely stuck and won’t budge?
Try heating the nozzle area with a hair dryer on a low setting for a few minutes. This will soften the glue and make it easier to remove. You can also try using pliers to gently twist and pull the glue stick.
Can I use oil to help remove a stuck glue stick?
No, avoid using oil or lubricants inside the glue gun. These can interfere with the heating element and cause damage. Stick to using heat and gentle pressure.
Is it okay to leave a half-used glue stick in the gun?
It’s generally okay to leave a half-used glue stick in the gun, but it’s best to remove it if you won’t be using the gun for an extended period. This prevents the glue from hardening and causing a jam.
How often should I clean my glue gun?
Clean your glue gun after each use by wiping the nozzle with a soft cloth. For a more thorough cleaning, do it every month or so, depending on how often you use the gun.
What type of glue stick is best for my glue gun?
Always use the type of glue stick recommended by the manufacturer of your glue gun. Using the wrong type can cause jams and damage the gun.
Can I use a metal tool to push the glue stick out?
Avoid using metal tools inside the glue gun, as they can damage the heating element. Stick to using a new glue stick or a wooden skewer to gently push the stuck stick out.
What should I do if my glue gun starts smoking?
If your glue gun starts smoking, unplug it immediately and let it cool down completely. Check the heating element for any damage. If the smoking continues, it’s best to replace the glue gun.
Conclusion
Removing a glue stick from a glue gun doesn’t have to be a headache. By following these simple steps and safety tips, you can keep your glue gun in top shape and ready for your next project. Remember to always prioritize safety and take your time. With a little patience and the right techniques, you’ll be able to tackle any stuck glue stick situation like a pro.
So, go ahead and get crafting! And remember, a little maintenance goes a long way in keeping your tools happy and working for you.