Removing a kitchen faucet with a U-shaped bracket might seem tricky, but it’s totally doable! First, shut off the water supply. Next, loosen the nuts holding the bracket using a basin wrench. Wiggle the faucet free, disconnecting water lines as you go. Clean the sink area and you’re all set for a new faucet!
Is your kitchen faucet leaking, outdated, or just plain ugly? Replacing it can give your kitchen a fresh, new look. One of the most common challenges is dealing with the U-shaped bracket that holds many faucets in place. It can be tough to reach and even tougher to loosen. Don’t worry! This guide breaks down the process into simple steps. You’ll learn how to safely remove that old faucet and get your kitchen ready for an upgrade. Let’s get started!
Tools You’ll Need
Before you begin, gather these tools. Having everything ready will make the job go much smoother.
- Basin wrench
- Adjustable wrench
- Penetrating oil (like WD-40)
- Bucket or bowl
- Old towels or rags
- Safety glasses
- Gloves
- Flashlight or headlamp
Safety First!
Always prioritize safety. Water and electricity don’t mix, and you don’t want to risk injury.
- Turn off the water: Shut off both hot and cold water supply valves under the sink.
- Wear safety glasses: Protect your eyes from debris.
- Use gloves: Protect your hands from sharp edges and chemicals.
- Be careful with electricity: If you have a garbage disposal or other electrical appliances under the sink, make sure they are turned off at the breaker.
Step-by-Step Guide to Removing Your Kitchen Faucet
Step 1: Prepare the Area
Clear everything out from under the sink to give yourself plenty of room to work. Place a bucket and some old towels under the faucet to catch any water that might spill.
Step 2: Shut Off the Water Supply
Locate the shut-off valves under the sink. These usually have small, oval-shaped handles. Turn them clockwise until they are completely closed. If your valves are old and stiff, don’t force them. You might need to replace them if they don’t shut off completely. As an extra precaution, turn on the faucet to relieve any remaining pressure in the lines.
Step 3: Disconnect the Water Supply Lines
Use an adjustable wrench to disconnect the water supply lines from the faucet tailpieces. Have your bucket ready to catch any water that remains in the lines. These lines can be a bit stubborn, so be patient. If they are really stuck, a little penetrating oil can help.
Step 4: Loosen the U-Shaped Bracket Nuts
This is often the trickiest part. The U-shaped bracket is held in place by nuts that are hard to reach. This is where a basin wrench comes in handy. A basin wrench has a long handle and a swiveling head that can grip nuts in tight spaces. Here’s how to use it:
- Position the basin wrench on one of the nuts.
- Make sure the wrench is securely gripping the nut.
- Turn the wrench counterclockwise to loosen the nut.
- Repeat for the other nut on the U-shaped bracket.
If the nuts are corroded or stuck, spray them with penetrating oil and let it sit for a few minutes before trying again. You might need to use some elbow grease!
Step 5: Remove the U-Shaped Bracket
Once the nuts are loose, you should be able to remove the U-shaped bracket. It might be a bit tight, so wiggle it gently until it comes free.
Step 6: Disconnect Any Other Connections
Some faucets have additional connections, such as a sprayer hose or a soap dispenser line. Disconnect these carefully, making sure to have a bucket or towel handy to catch any spills.
Step 7: Remove the Old Faucet
With the bracket and connections removed, you should now be able to lift the old faucet out of the sink. It might be stuck to the sink surface, so gently rock it back and forth until it comes loose.
Step 8: Clean the Sink Area
Once the old faucet is removed, clean the sink area thoroughly. Remove any old putty or sealant. A plastic putty knife or scraper can be helpful for this. Make sure the surface is clean and dry before installing the new faucet.
Dealing with Common Problems
Sometimes, things don’t go exactly as planned. Here are some common problems you might encounter and how to solve them:
Problem: Stuck Nuts
If the nuts on the U-shaped bracket are stuck, try these solutions:
- Penetrating Oil: Apply penetrating oil and let it sit for at least 15 minutes.
- Heat: Use a hair dryer to heat the nuts. The heat can help to loosen corrosion.
- Basin Wrench Extension: Use a pipe or wrench extension to add leverage to your basin wrench.
Problem: Stripped Nuts
If you strip the nuts, try using a nut splitter. This tool can cut the nut off without damaging the faucet or sink.
Problem: Corroded Water Lines
If the water lines are corroded, it’s best to replace them. You can buy new water lines at most hardware stores.
Problem: Tight Spaces
Working in tight spaces can be challenging. Here are some tips:
- Use a Headlamp: A headlamp will free up your hands and provide better visibility.
- Take Breaks: If you get frustrated, take a break and come back to it later.
- Ask for Help: If you’re really struggling, don’t be afraid to ask a friend or family member for help.
Tips for a Smooth Faucet Removal
- Take Pictures: Before you start disconnecting anything, take pictures of the existing setup. This can be helpful when you’re installing the new faucet.
- Label Everything: Use masking tape and a marker to label the water lines and any other connections.
- Read the Instructions: If you’re installing a new faucet, read the instructions carefully before you start.
- Don’t Over-Tighten: When you’re installing the new faucet, don’t over-tighten the nuts and connections. This can damage the faucet or the sink.
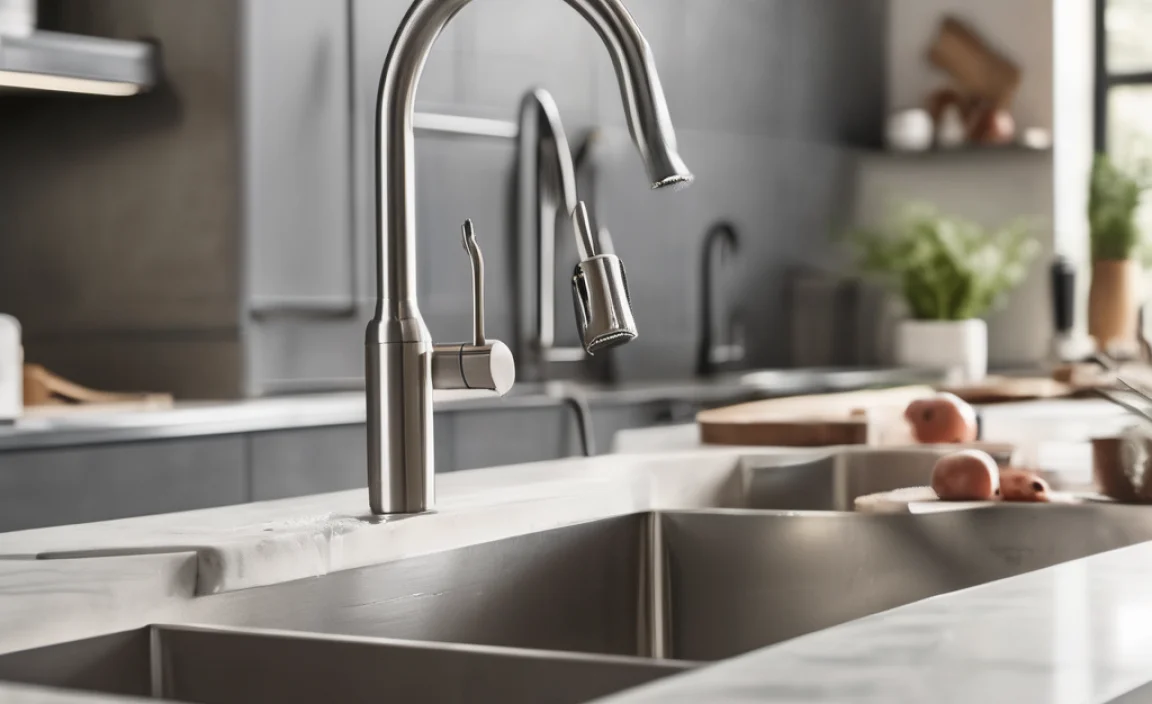
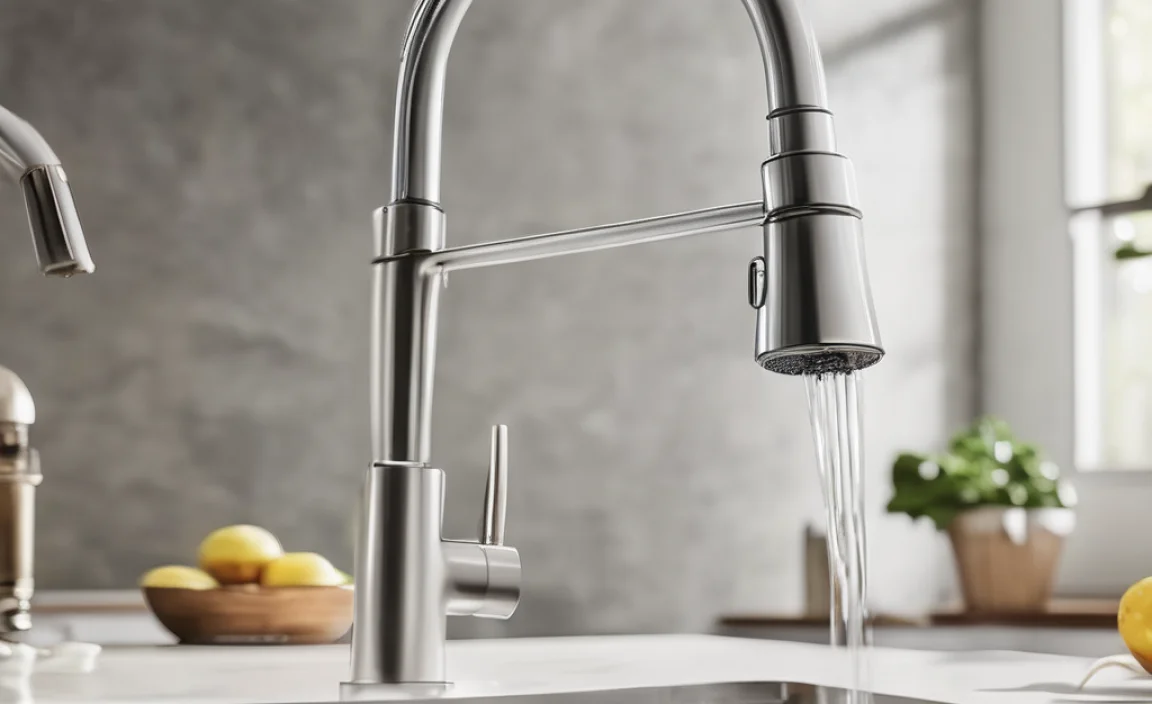
Choosing the Right Replacement Faucet
With your old faucet removed, you’re ready to install a new one. But with so many options, how do you choose the right one?
Faucet Types
Consider the different types of faucets available:
- Pull-Down Faucets: These have a sprayer head that pulls down from the faucet, making it easy to rinse dishes and clean the sink.
- Pull-Out Faucets: Similar to pull-down faucets, but the sprayer head pulls out horizontally.
- Two-Handle Faucets: These have separate handles for hot and cold water.
- Single-Handle Faucets: These have a single handle that controls both temperature and water flow.
- Touchless Faucets: These use sensors to turn the water on and off, which can be more hygienic.
Finish and Style
Choose a finish and style that complements your kitchen décor. Popular finishes include:
- Chrome: A classic, shiny finish that is easy to clean.
- Brushed Nickel: A warm, muted finish that resists fingerprints.
- Oil-Rubbed Bronze: A rich, dark finish that adds a touch of elegance.
- Matte Black: A modern, sleek finish that is becoming increasingly popular.
Features
Think about the features that are important to you:
- Water Efficiency: Look for faucets with a WaterSense label, which means they use less water without sacrificing performance.
- Spray Patterns: Some faucets have different spray patterns, such as a stream, spray, or aerated flow.
- Spout Height: Choose a spout height that is appropriate for your sink. A high-arc spout can make it easier to fill large pots and pans.
Table: Comparing Faucet Types
| Faucet Type | Pros | Cons | Best For |
|---|---|---|---|
| Pull-Down | Easy to rinse, flexible sprayer | Can be pricier, more complex installation | Busy kitchens, large sinks |
| Pull-Out | Great reach, good for double sinks | Sprayer can be awkward | Double sinks, smaller kitchens |
| Two-Handle | Classic look, precise temp control | Less water-efficient, harder to clean | Traditional kitchens, specific design preferences |
| Single-Handle | Easy to use, modern design | Temperature adjustment can be tricky | Modern kitchens, easy use |
| Touchless | Hygienic, water-saving | Expensive, requires power | Modern, high-tech kitchens |
Table: Common Faucet Problems and Solutions
| Problem | Possible Causes | Solutions |
|---|---|---|
| Dripping Faucet | Worn-out O-rings, corroded valve seat | Replace O-rings, clean or replace valve seat |
| Low Water Pressure | Clogged aerator, closed shut-off valves | Clean aerator, fully open shut-off valves |
| Leaky Hose | Loose connections, damaged hose | Tighten connections, replace hose |
| Stiff Handle | Mineral buildup, corroded parts | Clean parts, lubricate with silicone grease |
| No Hot Water | Faulty water heater, closed shut-off valve | Check water heater, open hot water shut-off valve |
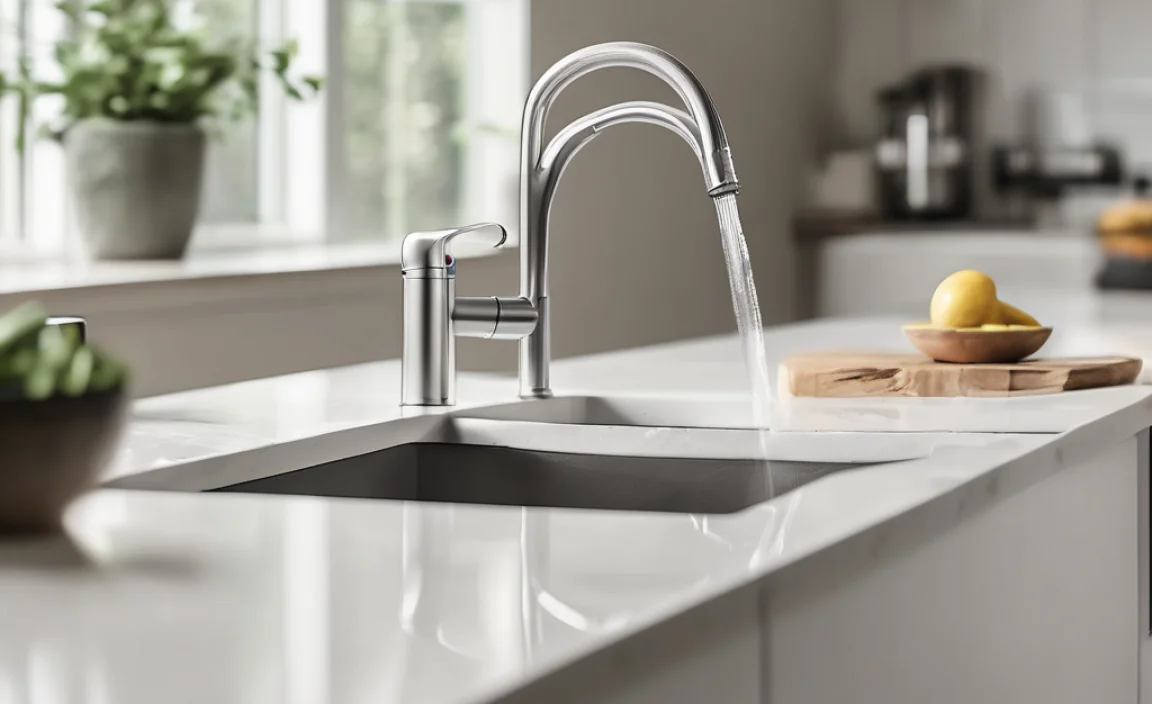
Installing Your New Faucet
Now that you’ve removed the old faucet, it’s time to install the new one. Here’s a general overview of the installation process:
- Prepare the Sink: Clean the sink surface and apply plumber’s putty or sealant around the base of the new faucet.
- Insert the Faucet: Carefully insert the new faucet into the sink hole.
- Attach the Mounting Hardware: From underneath the sink, attach the mounting hardware, such as the U-shaped bracket or mounting plate.
- Connect the Water Lines: Connect the water supply lines to the faucet tailpieces. Make sure the connections are tight, but don’t over-tighten them.
- Connect Any Other Connections: Connect any other connections, such as the sprayer hose or soap dispenser line.
- Turn on the Water: Slowly turn on the water supply valves and check for leaks. If you see any leaks, tighten the connections.
Always refer to the manufacturer’s instructions for specific installation details.
Maintaining Your New Faucet
To keep your new faucet looking and working its best, follow these maintenance tips:
- Clean Regularly: Clean the faucet regularly with a mild soap and water. Avoid using abrasive cleaners, which can damage the finish.
- Check for Leaks: Periodically check for leaks around the base of the faucet and the water line connections.
- Replace Worn Parts: If you notice any drips or leaks, replace worn parts, such as O-rings or cartridges.
- Descale the Aerator: If your water is hard, descale the aerator regularly to remove mineral buildup.
Water Conservation Tips
Conserving water not only helps the environment but also saves you money on your water bill. Here are some simple tips:
- Fix Leaks Promptly: Even a small drip can waste a significant amount of water over time.
- Install Water-Efficient Fixtures: Look for faucets and showerheads with a WaterSense label.
- Turn Off the Water While Brushing Your Teeth: This can save several gallons of water per day.
- Take Shorter Showers: Reducing your shower time by just a few minutes can make a big difference.
- Use a Dishwasher and Washing Machine Efficiently: Run these appliances only when they are fully loaded.
FAQ: Removing a Kitchen Faucet with a U-Shaped Bracket
Q: What is a U-shaped bracket on a kitchen faucet?
A: It’s a metal piece shaped like a “U” that secures the faucet to the sink from underneath. It uses nuts tightened against the sink to hold the faucet in place.
Q: Why is it so hard to remove a faucet with a U-shaped bracket?
A: The nuts holding the bracket are often in a tight, hard-to-reach spot under the sink. They can also corrode over time, making them even harder to loosen.
Q: What’s a basin wrench, and why do I need one?
A: A basin wrench is a long-handled tool with a swiveling head designed to reach and grip nuts in tight spaces, like those under a sink. It’s essential for removing U-shaped brackets.
Q: What if the nuts are completely stuck or rusted?
A: Try applying penetrating oil (like WD-40) and letting it soak for a while. You can also use a hair dryer to heat the nuts, which can help loosen them. If all else fails, a nut splitter might be necessary.
Q: How do I prevent leaks after installing a new faucet?
A: Make sure all connections are tightened properly, but don’t overtighten them. Use plumber’s tape on threaded connections, and check for leaks after turning the water back on. If you see any leaks, tighten the connections further.
Q: Do I need to turn off the water before removing the faucet?
A: Yes, absolutely! Shut off the hot and cold water supply valves under the sink to prevent a flood. It’s also a good idea to turn on the faucet briefly to relieve any remaining pressure in the lines.
Q: Can I reuse the old water supply lines with my new faucet?
A: It’s generally recommended to replace the water supply lines when installing a new faucet. Old lines can be corroded or worn, which can cause leaks. New lines are inexpensive and provide a fresh, reliable connection.
Conclusion
Removing a kitchen faucet with a U-shaped bracket doesn’t have to be a daunting task. By following these simple steps and using the right tools, you can easily remove your old faucet and prepare your kitchen for a stylish upgrade. Remember to take your time, be patient, and prioritize safety. Once you’ve mastered this skill, you’ll be ready to tackle other plumbing projects around your home. Happy DIY-ing!