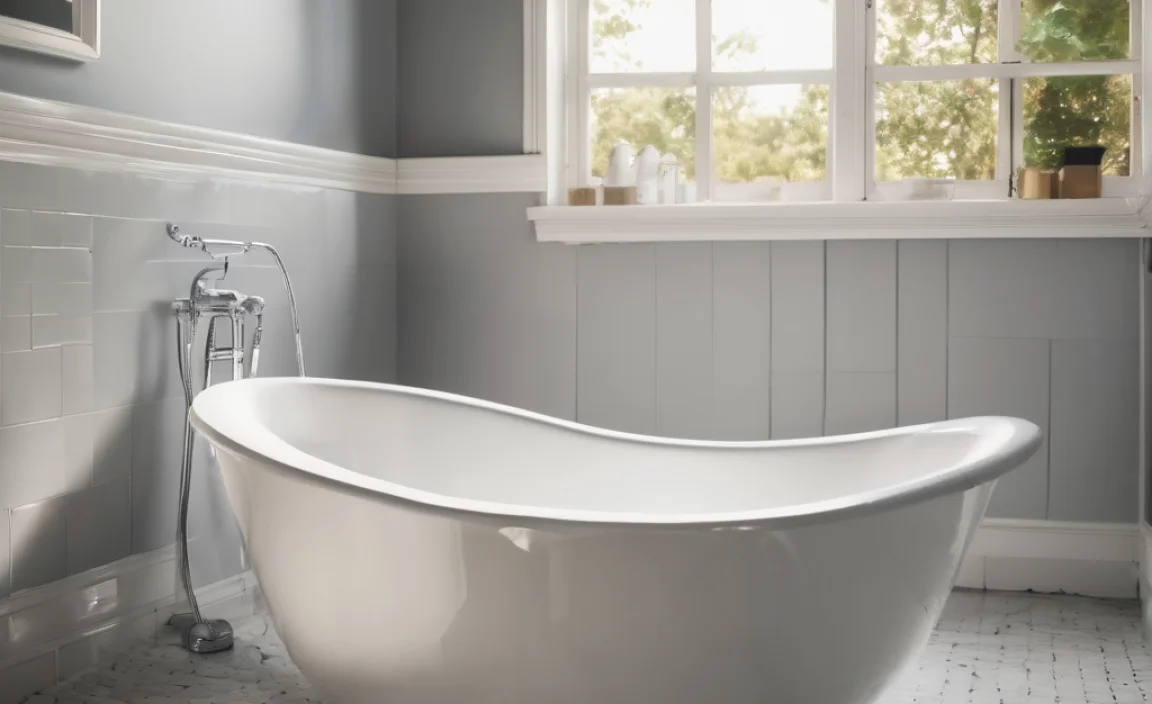
Fixing a chip in your bathtub is easier than you think! Clean the area, apply a bathtub repair kit (epoxy or acrylic), let it dry, and sand it smooth. With a little patience, your tub will look like new. No need to replace the whole thing – save money and time with this simple DIY fix!
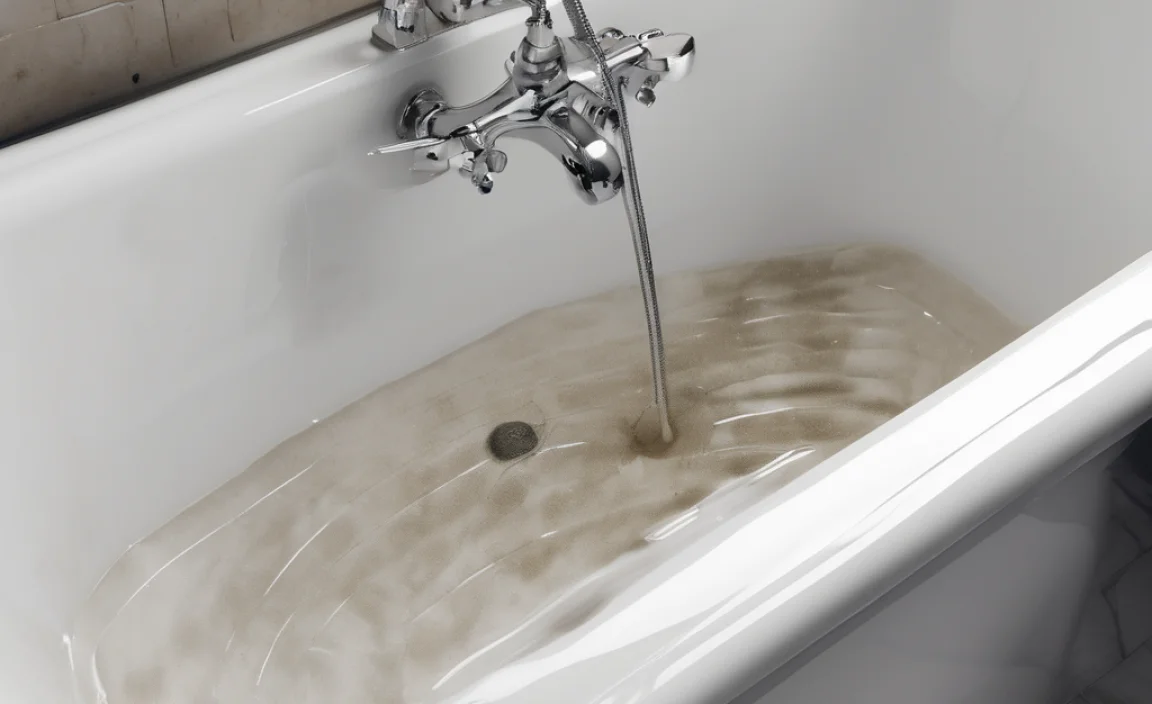
A chipped bathtub is not only unsightly but can also lead to bigger problems. Water can seep into the chip, causing rust or even structural damage over time. It’s a common issue, and the good news is, you don’t need to be a professional to fix it. You can easily repair a chip in your bathtub yourself, saving you money and hassle.
This guide will walk you through each step, from gathering your supplies to the final touches. We’ll cover everything from choosing the right repair kit to sanding and polishing for a seamless finish. Get ready to say goodbye to that annoying chip and hello to a fresh, clean bathtub!
What You’ll Need
Before you start, gather these essential supplies. Having everything ready will make the repair process smooth and efficient.
- Bathtub Repair Kit: Choose epoxy or acrylic based on your tub material.
- Cleaning Supplies: Mildew cleaner, abrasive cleanser, and a clean cloth.
- Sandpaper: Various grits (120, 240, 400, and 600) for smoothing.
- Mixing Stick: For mixing the repair compound.
- Putty Knife or Applicator: For applying the compound smoothly.
- Painter’s Tape: To protect surrounding areas.
- Safety Gear: Gloves and a mask for protection.
- Color Matching Kit (Optional): If your repair kit doesn’t match your tub color.
Step-by-Step Guide to Repairing a Chip in Your Bathtub
Follow these steps to repair your chipped bathtub and restore its appearance.
Step 1: Clean the Damaged Area
Start by thoroughly cleaning the chipped area. This ensures the repair compound adheres properly.
- Apply Mildew Cleaner: Spray the area with mildew cleaner and let it sit for a few minutes.
- Scrub the Area: Use an abrasive cleanser and a cloth to scrub away any dirt, grime, or soap scum.
- Rinse Thoroughly: Rinse the area with clean water and ensure all residue is removed.
- Dry Completely: Use a clean, dry cloth to dry the area thoroughly. A hair dryer on a low setting can help speed up the drying process.
Step 2: Prepare the Area
Protect the surrounding area and prepare the chip for repair.
- Apply Painter’s Tape: Use painter’s tape to carefully outline the chipped area. This will protect the surrounding surface from the repair compound and sanding.
- Remove Loose Material: Use a small tool (like a toothpick or the edge of a putty knife) to remove any loose or flaking material from the chip.
- Clean Again: Wipe the area again with a clean cloth to remove any debris from the chip.
Step 3: Mix the Repair Compound
Carefully mix the repair compound according to the manufacturer’s instructions.
- Read the Instructions: Each repair kit is different, so read the instructions carefully.
- Measure the Components: Use the provided measuring tools to measure the correct amount of each component (resin and hardener).
- Mix Thoroughly: Use the mixing stick to mix the components thoroughly. Mix for the recommended time (usually 2-3 minutes) until the mixture is uniform in color and consistency.
Step 4: Apply the Repair Compound
Apply the mixed compound to the chip, filling it completely.
- Apply a Small Amount: Use the putty knife or applicator to apply a small amount of the mixed compound to the chip.
- Fill the Chip: Gently press the compound into the chip, making sure to fill it completely. Overfill slightly to allow for sanding later.
- Smooth the Surface: Use the putty knife to smooth the surface of the compound. Try to make it as even as possible with the surrounding surface.
Step 5: Allow to Dry
Let the repair compound dry completely according to the manufacturer’s instructions. This is crucial for a durable repair.
- Check Drying Time: Check the instructions for the recommended drying time. This can vary from a few hours to overnight.
- Protect the Area: Keep the area protected from water and contact during the drying time.
- Be Patient: Avoid the temptation to touch or test the compound before it is fully dry.
Step 6: Sand the Repaired Area
Once the compound is dry, sand it smooth to blend with the surrounding surface.
- Start with Coarse Sandpaper: Use 120-grit sandpaper to remove any excess compound and level the surface. Sand gently in a circular motion.
- Move to Medium Sandpaper: Switch to 240-grit sandpaper to further smooth the surface. Continue sanding in a circular motion.
- Use Fine Sandpaper: Use 400-grit sandpaper to refine the surface and remove any scratches from the previous sanding.
- Finish with Extra-Fine Sandpaper: Use 600-grit sandpaper for the final smoothing. This will give the surface a polished look.
- Clean the Area: Wipe the area with a clean, damp cloth to remove any sanding dust.
Step 7: Polish the Repaired Area
Polish the repaired area to match the shine of the surrounding surface.
- Apply Polishing Compound: Apply a small amount of polishing compound to a clean cloth.
- Polish the Surface: Rub the polishing compound onto the repaired area in a circular motion.
- Buff the Surface: Use a clean, dry cloth to buff the surface and remove any remaining polishing compound.
- Inspect the Repair: Check the repair to ensure it is smooth and blends seamlessly with the surrounding surface.
Step 8: Remove Painter’s Tape and Clean Up
Carefully remove the painter’s tape and clean up the area.
- Remove the Tape: Carefully peel off the painter’s tape, being careful not to damage the surrounding surface.
- Clean the Area: Clean the entire area with a mild cleanser to remove any residue from the repair process.
- Rinse and Dry: Rinse the area with clean water and dry it thoroughly.
Choosing the Right Repair Kit
Selecting the right repair kit is crucial for a successful and long-lasting repair. Here’s what to consider:
- Type of Material: Determine what your bathtub is made of (acrylic, porcelain, fiberglass, or enamel). Choose a repair kit specifically designed for that material.
- Color Matching: Some kits come with a color-matching system. If your tub’s color is not a standard white, this can be very helpful.
- Epoxy vs. Acrylic:
- Epoxy: Stronger and more durable, but can be more difficult to work with.
- Acrylic: Easier to apply and sand, but may not be as durable as epoxy.
- Reviews: Check online reviews to see what other users have experienced with different repair kits.
- Kit Contents: Ensure the kit includes everything you need: repair compound, hardener, mixing stick, applicator, and sandpaper.
Tips for a Perfect Repair
Here are some additional tips to help you achieve a professional-looking repair:
- Work in a Well-Ventilated Area: Repair compounds can have strong odors. Make sure the area is well-ventilated.
- Apply Thin Layers: If the chip is deep, apply the compound in thin layers, allowing each layer to dry before applying the next. This prevents the compound from shrinking or cracking.
- Use a Heat Gun (Carefully): A heat gun on a low setting can help speed up the drying process, but be careful not to overheat the compound.
- Practice Your Technique: Before applying the compound to the chip, practice on a piece of cardboard or plastic to get a feel for the material.
- Consider Professional Help: If you’re not comfortable doing the repair yourself, or if the chip is very large or complex, consider hiring a professional.
Troubleshooting Common Issues
Even with careful preparation, you might encounter some issues during the repair process. Here’s how to handle them:
| Issue | Possible Cause | Solution |
|---|---|---|
| Compound Cracks While Drying | Applied too thick; dried too quickly | Apply compound in thinner layers; control room temperature |
| Poor Adhesion | Surface not cleaned properly; wrong type of repair kit | Thoroughly clean surface; use correct repair kit for tub material |
| Uneven Surface After Sanding | Insufficient sanding; uneven application | Re-sand with progressively finer sandpaper; reapply compound if necessary |
| Color Mismatch | Kit color doesn’t match tub; fading over time | Use a color-matching kit; consider professional color matching services |
| Repair Doesn’t Last | Insufficient drying time; heavy use | Ensure full drying time; avoid harsh chemicals |
Safety Precautions
Safety should always be a priority when working with repair compounds and tools.
- Wear Gloves: Protect your hands from the chemicals in the repair compound.
- Wear a Mask: Avoid inhaling the fumes from the repair compound.
- Eye Protection: Wear safety glasses to protect your eyes from splashes or debris.
- Ventilation: Work in a well-ventilated area to avoid inhaling harmful fumes.
- Read Instructions: Always read and follow the manufacturer’s instructions for the repair kit and tools.
Cost Analysis: DIY vs. Professional Repair
One of the biggest advantages of repairing a bathtub chip yourself is the cost savings. Here’s a comparison:
| Option | Estimated Cost | Pros | Cons |
|---|---|---|---|
| DIY Repair | $20 – $50 (for a repair kit) | Cost-effective; convenient; learn a new skill | Requires time and effort; potential for mistakes; may not be as durable as professional repair |
| Professional Repair | $100 – $300+ | Professional results; convenient; durable repair | More expensive; requires scheduling; less control over the process |
| Bathtub Replacement | $500 – $2000+ (including installation) | Completely new bathtub; opportunity to upgrade | Most expensive option; time-consuming; disruptive to bathroom |
Maintaining Your Repaired Bathtub
Once you’ve repaired the chip, proper maintenance will help keep your bathtub looking its best and prevent future damage.
- Regular Cleaning: Clean your bathtub regularly with a mild cleanser to prevent the buildup of soap scum and grime.
- Avoid Abrasive Cleaners: Avoid using abrasive cleaners or scrub brushes, as they can scratch the surface of the bathtub and damage the repair.
- Repair Chips Promptly: If you notice any new chips or damage, repair them promptly to prevent water from seeping in and causing further damage.
- Use a Bath Mat: Place a bath mat in the bathtub to prevent items from being dropped and causing chips.
- Avoid Harsh Chemicals: Avoid using harsh chemicals or solvents in the bathtub, as they can damage the surface and the repair.
FAQ: Repairing Bathtub Chips
1. Can I use super glue to fix a chip in my bathtub?
No, super glue is not suitable for repairing bathtub chips. It’s not waterproof, durable, or designed to withstand the conditions in a bathroom. Use a proper bathtub repair kit for a long-lasting fix.
2. How long does a bathtub repair last?
A properly done bathtub repair can last for several years, depending on usage and how well you maintain it. Regular cleaning and avoiding harsh chemicals will extend its lifespan.
3. What if the color of the repair kit doesn’t match my bathtub?
If the color doesn’t match, you can purchase a color-matching kit specifically designed for bathtub repairs. These kits allow you to mix different pigments to achieve a perfect match.
4. Can I repair a chip in a cast iron bathtub?
Yes, you can repair a chip in a cast iron bathtub. Use a repair kit specifically designed for porcelain or enamel surfaces, as these are commonly used on cast iron tubs.
5. Is it worth repairing a bathtub chip, or should I replace the whole tub?
Repairing a chip is definitely worth it for small to medium-sized chips. It’s much cheaper and less time-consuming than replacing the entire tub. However, if the damage is extensive or the tub is very old and worn, replacement might be a better option.
6. How do I prevent future chips in my bathtub?
To prevent future chips, use a bath mat to cushion dropped items, avoid using abrasive cleaners, and be gentle when cleaning. Regularly inspect your bathtub for any signs of wear or damage and address them promptly.
7. Can I use a car paint touch-up kit for bathtub repairs?
While it might seem like a convenient option, car paint touch-up kits are not designed for the wet and humid environment of a bathroom. They may not adhere well, could discolor over time, and aren’t as durable as specialized bathtub repair kits.
Conclusion
Repairing a chip in your bathtub is a simple and cost-effective DIY project that can save you money and extend the life of your tub. By following these step-by-step instructions, you can achieve professional-looking results and restore your bathtub to its former glory. Remember to take your time, follow safety precautions, and choose the right repair kit for your tub material. With a little effort, you can enjoy a beautiful, chip-free bathtub for years to come. So grab your supplies, roll up your sleeves, and get ready to transform your bathroom!
Related Posts
- Boost Eco-Friendly Stays: Top Composting Ideas for Hotels

Anaerobic Composting Ideas: Essential Tips
What Does Urinating A Lot Mean? Causes & Insights Explained
Do Mushrooms Show Up On A Urine Test? Find Out Now!
Do Toilets Need To Be Vented? Discover The Truth!- Organic Compost Odor: Genius Solutions

What Does Turbid Urine Mean? Uncover The Causes & Signs!
Cold Composting Pets: Easy & Affordable