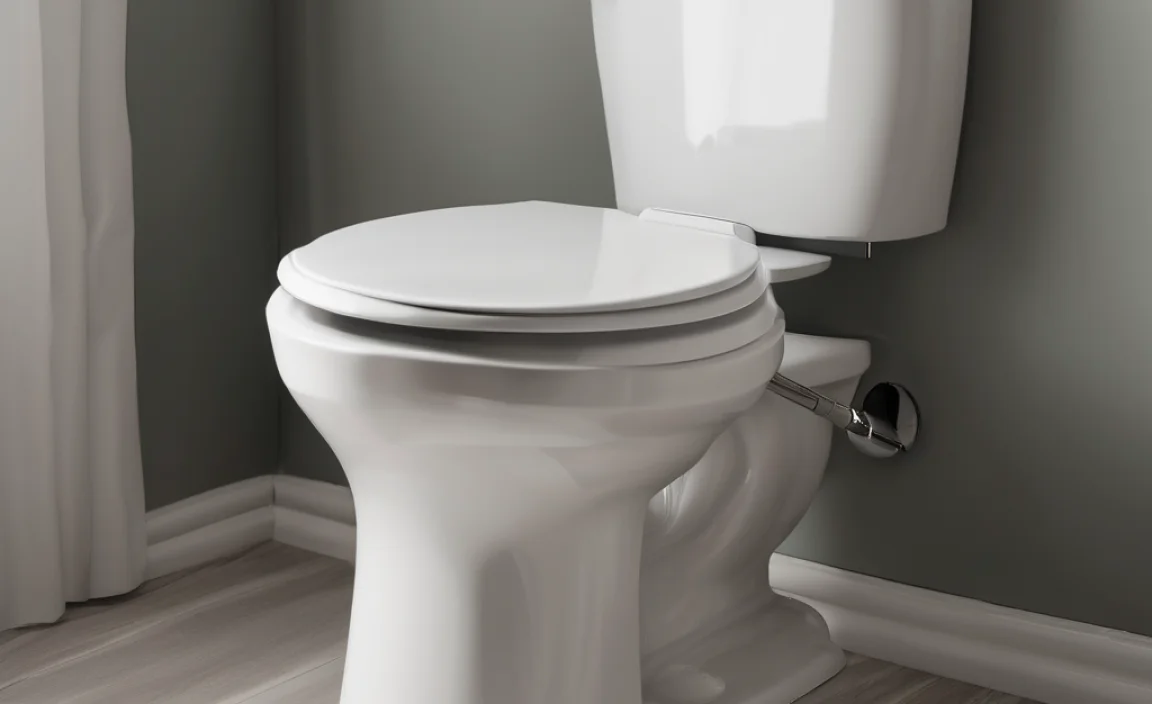
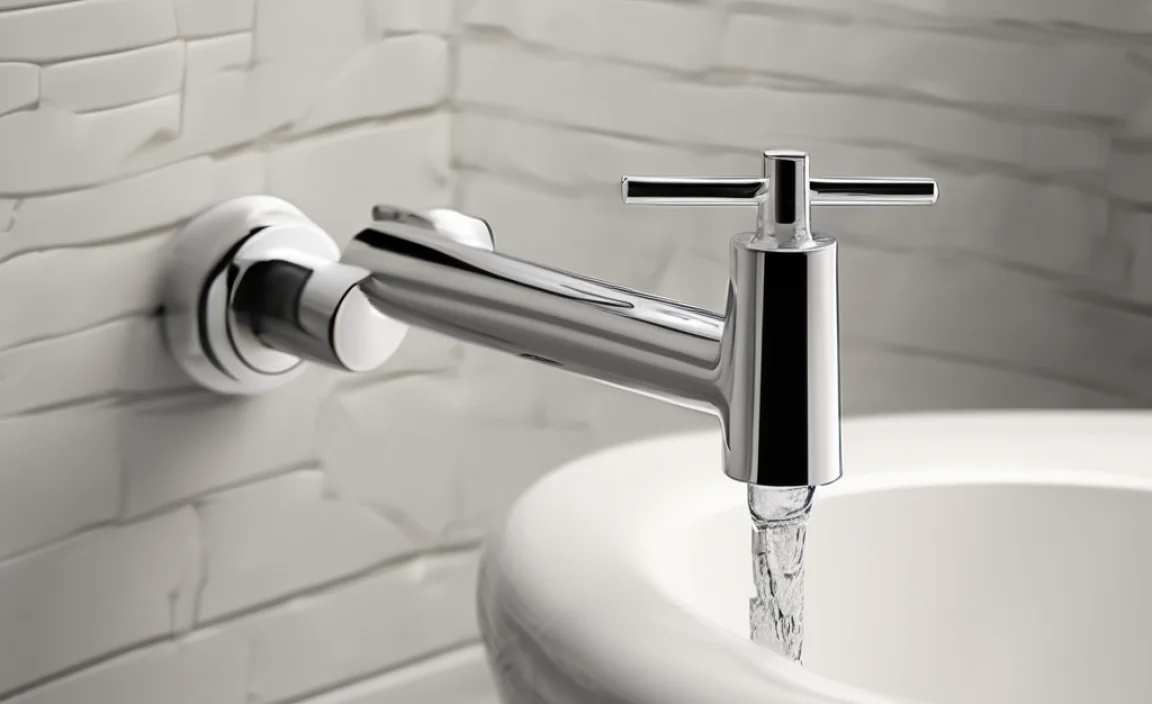
Have you ever flushed a toilet and nothing happened? Or maybe the handle feels loose? It can be frustrating! The good news is, you can fix it. Learning how to replace a toilet flush lever is easier than you think.
Is your toilet handle wobbly or broken? Don’t worry, you don’t need to call a plumber right away. Sometimes, all you need is a new flush lever. Let’s find out how to do it ourselves!
Replacing a toilet flush lever is a simple project. With a few tools and some patience, you can do it. It will save you money. Plus, you’ll feel proud of fixing it yourself. Let’s explore the steps involved.
Key Takeaways
- Knowing how to replace a toilet flush lever saves money and prevents water waste.
- Always turn off the water supply before starting any toilet repairs.
- Gather necessary tools like a wrench, pliers, and new flush lever.
- Carefully disconnect the old lever and chain for a smooth removal.
- Install the new lever, ensuring the chain has proper slack for flushing.
How to Tell if You Need a New Flush Lever
Is your toilet handle jiggly? Does it not flush right? These are signs you might need a new flush lever. A flush lever connects the handle to the flushing mechanism. When it’s broken, the toilet won’t flush correctly. Sometimes, the lever gets bent or the plastic breaks. Other times, the chain detaches, making the handle useless. Ignoring these signs can waste water. It can also lead to bigger problems. Replacing the lever is a quick fix. It can save water and keep your toilet working well. Check the handle and chain regularly. This helps catch problems early. A working toilet is important for a happy home.
- Handle feels loose or wobbly.
- Toilet doesn’t flush completely.
- You have to jiggle the handle.
- The handle is visibly broken.
- Water runs constantly in the bowl.
Think of your toilet handle like a car’s gas pedal. If the pedal is broken, the car won’t go. The flush lever works the same way. It starts the flushing process. When it’s faulty, the toilet doesn’t work right. You might have to hold the handle down. Or, the toilet might not flush at all. Replacing the lever is like fixing the gas pedal. It gets everything working smoothly again. Regular checks keep your toilet in top shape. Knowing when to replace the lever prevents bigger issues. It keeps your bathroom hassle-free.
Fun Fact or Stat: A leaky toilet can waste up to 200 gallons of water per day!
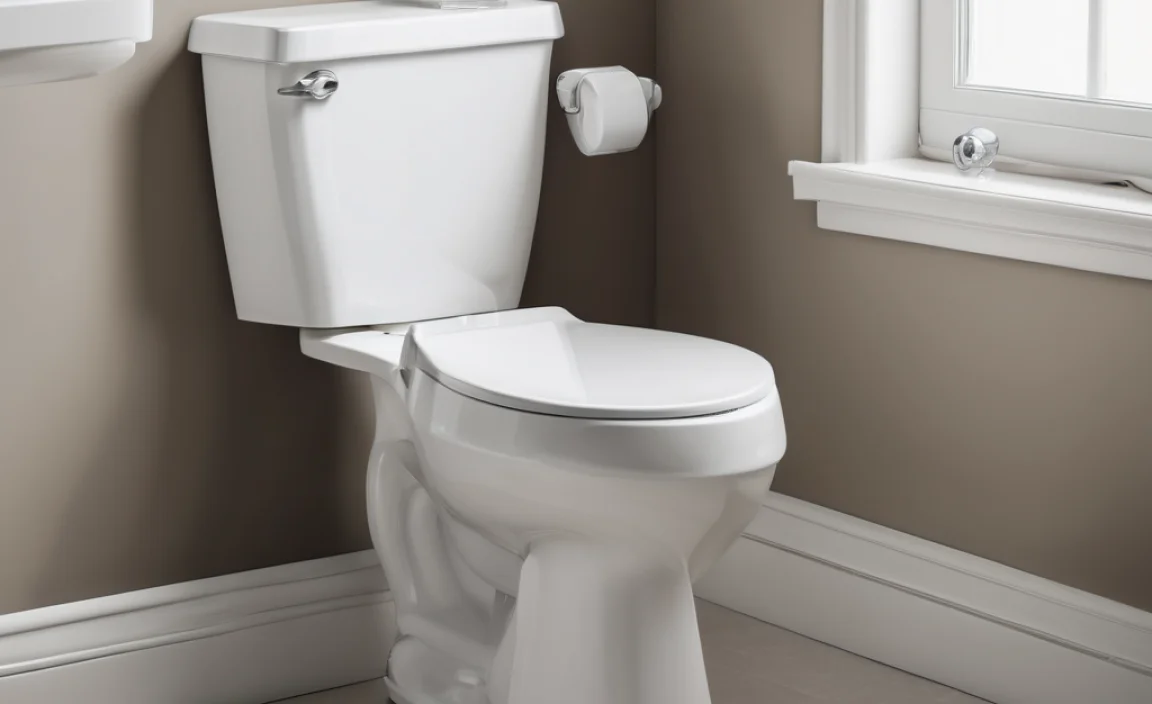
Why is My Toilet Handle Loose?
Why is the toilet handle so loose? A loose handle is often a sign of a worn-out flush lever. The nut that holds the lever in place can loosen over time. This causes the handle to wobble. Also, the lever arm can bend or break. This makes it hard to flush. Sometimes, the chain connecting the lever to the flapper is too loose or too tight. This also makes the handle feel loose. Check these parts to find the problem. Tighten the nut or replace the lever if needed. Adjust the chain for proper tension. A tight handle ensures a smooth flush every time. A loose handle is a common issue. Fixing it is easy and keeps your toilet working well.
What Tools Do I Need?
Do you have the right tools? Having the right tools makes the job easier. You’ll need an adjustable wrench. This helps loosen and tighten nuts. Pliers are useful for gripping small parts. A small bucket is good for catching drips. A sponge helps clean up any spills. A new flush lever is essential. Make sure it fits your toilet model. A pair of gloves keeps your hands clean. A screwdriver might be needed for some levers. Having these tools ready saves time and frustration. It makes the replacement process smooth and simple. Gathering the right tools is the first step to success.
Can I Replace It Myself?
Can you really do this yourself? Yes, you can! Replacing a toilet flush lever is a simple DIY project. It doesn’t require special skills. Most people can do it in under 30 minutes. Follow the steps carefully. Turn off the water supply first. This prevents leaks. Use the right tools. Don’t force anything. If you’re unsure, watch a video online. Many tutorials show you how. Doing it yourself saves money. You’ll feel proud of fixing it. It’s a great way to learn basic plumbing skills. So, grab your tools and give it a try. You’ll be surprised how easy it is!
Fun Fact or Stat: The average toilet is flushed about 5 times per day!
Gathering the Right Tools and Materials

Before you start, gather your tools and materials. This makes the job go smoothly. You’ll need a new flush lever. Make sure it fits your toilet model. An adjustable wrench is important for loosening nuts. Pliers help with gripping small parts. A bucket catches any water drips. A sponge cleans up spills. Gloves keep your hands clean. A screwdriver might be needed. Having everything ready prevents delays. It also makes the process less stressful. Check your toolbox. Make sure you have everything you need. This simple step sets you up for success. Being prepared saves time and frustration.
- New toilet flush lever
- Adjustable wrench
- Pliers
- Small bucket
- Sponge
- Gloves
Imagine you’re baking a cake. You wouldn’t start without all the ingredients, right? Replacing a flush lever is similar. You need the right tools and parts. The new lever is the main ingredient. The wrench and pliers are your mixing bowls and spoons. The bucket is like an oven mitt. It protects you from messes. Gloves keep your hands clean. Having everything ready makes the job much easier. It ensures you can complete the task without running to the store. Preparation is key to a successful DIY project. It makes the whole process smoother and more enjoyable.
Fun Fact or Stat: Toilets use about 27% of the water in your home!
Finding the Right Replacement Lever
How do you find the right replacement lever? Check your toilet’s model number. This helps you find a lever that fits. Take the old lever with you to the store. Compare it to the new ones. Make sure the size and shape match. Some levers are universal. They fit many toilet models. Others are specific to certain brands. Read the packaging carefully. It tells you which toilets the lever fits. Ask a store employee for help. They can guide you to the right one. Getting the right lever is important. It ensures a proper fit and smooth flushing. A wrong lever can cause leaks or not work at all.
What Type of Flush Lever Do I Need?
What type of flush lever do you need? There are different types of flush levers. Some are made of plastic. Others are made of metal. Metal levers are usually more durable. Plastic levers are cheaper. Consider your budget and how often you use the toilet. There are also front-mount and side-mount levers. Front-mount levers are in the front of the toilet tank. Side-mount levers are on the side. Choose the type that matches your toilet. Check the mounting position before you buy. The right type ensures a proper fit and long-lasting use. Select the lever that best meets your needs.
Where Can I Buy a New Flush Lever?
Where can you buy a new flush lever? You can buy a flush lever at many places. Hardware stores sell them. Home improvement stores also have them. Online retailers like Amazon carry them. Plumbing supply stores are another option. Compare prices at different stores. Look for deals and discounts. Check the store’s return policy. This is important if the lever doesn’t fit. Read reviews before buying online. This helps you choose a good quality lever. Buying from a reputable store ensures you get a reliable product. Shop around to find the best price and selection. A good lever makes your toilet work like new.
Fun Fact or Stat: The first flushing toilet was invented in 1596 by Sir John Harington!
Step-by-Step: Removing the Old Flush Lever
Now, let’s remove the old flush lever. First, turn off the water supply to the toilet. You’ll find a valve behind the toilet. Turn it clockwise to shut off the water. Flush the toilet to drain the tank. This makes the job easier and prevents spills. Disconnect the chain from the lever. Use pliers if needed. Loosen the nut holding the lever in place. Turn it counterclockwise. Carefully remove the old lever. Be gentle to avoid breaking anything. Clean the area around the opening. This prepares it for the new lever. Removing the old lever is a key step. It sets the stage for a smooth replacement.
- Turn off the water supply.
- Flush the toilet to empty the tank.
- Disconnect the chain from the lever.
- Loosen the nut holding the lever.
- Remove the old lever carefully.
Imagine you’re taking apart a toy. You need to be careful not to break anything. Removing the old flush lever is similar. You start by turning off the water. This is like unplugging the toy. You don’t want any surprises! Next, you disconnect the chain. This is like taking off the toy’s accessories. Then, you loosen the nut. This is like unscrewing the toy’s parts. Finally, you remove the lever. This is like taking the toy apart. Be gentle and patient. This prevents damage. Removing the old lever correctly is important. It ensures the new lever fits properly. Taking your time makes the job easier.
Fun Fact or Stat: A dual-flush toilet can save up to 67% more water than a standard toilet!
Disconnecting the Chain
How do you disconnect the chain? The chain connects the flush lever to the flapper. The flapper is the rubber piece at the bottom of the tank. It lifts up to let water flow into the bowl. To disconnect the chain, unhook it from the lever. Some chains have a small clip. Others have a hook. Use your fingers or pliers to unhook it. Be careful not to break the chain. If the chain is rusty, it might be hard to remove. Wiggle it gently to loosen it. Once the chain is disconnected, you can remove the lever. Disconnecting the chain is a simple step. It prepares you for removing the old lever.
Loosening the Nut
How do you loosen the nut? The nut holds the flush lever in place. It’s usually located inside the tank. Use an adjustable wrench to loosen it. Turn the wrench counterclockwise. If the nut is tight, spray it with WD-40. This helps loosen it. Be careful not to damage the tank. Hold the lever in place while loosening the nut. This prevents it from spinning. If the nut is plastic, be extra gentle. Plastic can break easily. Once the nut is loose, you can remove it by hand. Loosening the nut is a crucial step. It allows you to remove the old lever.
What if the Lever is Stuck?
What if the lever is stuck? Sometimes, the lever is hard to remove. It might be stuck due to rust or mineral buildup. Try spraying WD-40 on the nut and lever. Let it sit for a few minutes. This helps loosen the parts. Gently wiggle the lever back and forth. This can help break the seal. If it’s still stuck, use pliers to grip the nut. Turn it gently. Be careful not to break the lever or the tank. If all else fails, call a plumber. They have special tools to remove stuck parts. Don’t force it too much. This can cause damage. Patience is key to removing a stuck lever.
Fun Fact or Stat: The average person spends about 3 years of their life on the toilet!
Installing the New Toilet Flush Lever
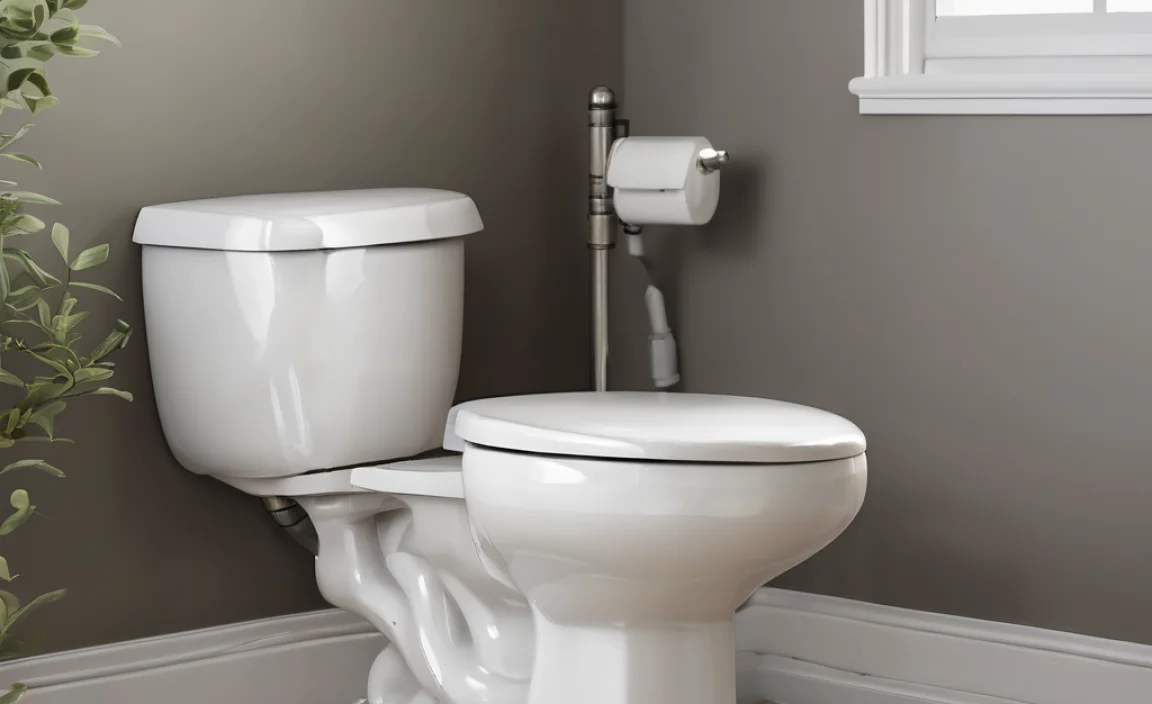
Now it’s time to install the new lever. First, insert the new lever into the hole. Make sure it’s facing the right way. The handle should be on the outside of the tank. Attach the nut to the lever inside the tank. Tighten the nut with your wrench. Don’t overtighten it. This can crack the plastic. Connect the chain to the lever. Adjust the chain length. It should have a little slack. Too much slack and the toilet won’t flush. Too little slack and the flapper won’t seal. Test the flush. Make sure everything works properly. Installing the new lever is the final step. It brings your toilet back to life.
- Insert the new lever into the hole.
- Attach the nut inside the tank.
- Tighten the nut with a wrench.
- Connect the chain to the lever.
- Adjust the chain length for proper slack.
Think of installing the new lever like putting a puzzle piece in place. You need to make sure it fits correctly. You start by inserting the lever into the hole. This is like finding the right spot for the puzzle piece. Then, you attach the nut. This is like securing the piece in place. You tighten the nut with a wrench. This is like making sure the piece is snug. Next, you connect the chain. This is like connecting the puzzle pieces together. You adjust the chain length. This is like fine-tuning the fit. Finally, you test the flush. This is like checking if the puzzle is complete. If everything works, you’ve successfully installed the new lever!
| Step | Description | Tools Needed |
|---|---|---|
| 1 | Insert the lever into the tank hole. | None |
| 2 | Attach and tighten the nut inside the tank. | Adjustable wrench |
| 3 | Connect the chain to the lever arm. | Pliers (optional) |
| 4 | Adjust chain length for proper flush. | None |
| 5 | Test the flush and make adjustments. | None |
Fun Fact or Stat: The average person flushes the toilet about 2,500 times a year!
Attaching the Chain Correctly
How do you attach the chain correctly? The chain connects the lever to the flapper. It needs to be the right length. Too long, and the flapper won’t lift enough. Too short, and the flapper won’t seal. Attach the chain to the lever arm. Use the hole closest to the end of the arm. This gives you the most leverage. Leave about a half-inch of slack in the chain. This allows the flapper to close properly. Test the flush several times. Adjust the chain until it works smoothly. A properly attached chain ensures a good flush every time. It also prevents water waste. Taking the time to adjust the chain is important.
Tightening the Nut Properly
How do you tighten the nut properly? The nut holds the lever in place. Tighten it with an adjustable wrench. Don’t overtighten it. This can crack the plastic. Tighten it until the lever is snug. It shouldn’t wobble. But it should still move freely. Hold the lever in place while tightening the nut. This prevents it from spinning. If the nut is plastic, be extra careful. Plastic can break easily. Check the tightness regularly. A loose nut can cause the lever to wobble. A properly tightened nut keeps the lever secure. It ensures a smooth flush every time. Check the nut after a few flushes.
Testing the Flush
How do you test the flush? After installing the new lever, test the flush. Flush the toilet several times. Watch the flapper. It should lift completely and then seal properly. Listen for any leaks. The tank should fill up quietly. If the water runs constantly, adjust the chain. Make sure it’s not too tight. If the toilet doesn’t flush completely, shorten the chain. Test the flush until it works perfectly. A good flush is important. It keeps your toilet working well. Testing the flush ensures you’ve done the job right. It gives you peace of mind.
Fun Fact or Stat: Some toilets use as little as 1.28 gallons per flush!
Adjusting the Chain Length for Optimal Flush
Adjusting the chain length is key for a good flush. The chain connects the flush lever to the flapper. If the chain is too long, the flapper won’t lift high enough. The toilet won’t flush completely. If the chain is too short, the flapper won’t seal properly. Water will run constantly. To adjust the chain, unhook it from the lever. Move the hook to a different link. Test the flush after each adjustment. Keep adjusting until the flush is perfect. The chain should have a little slack. This allows the flapper to close completely. A properly adjusted chain ensures a strong, efficient flush.
- Unhook the chain from the lever.
- Move the hook to a different link.
- Test the flush after each adjustment.
- Ensure a small amount of slack in the chain.
- Observe the flapper’s movement during the flush.
Imagine you’re flying a kite. The string needs to be just the right length. Too much string, and the kite won’t fly high. Too little string, and the kite will crash. Adjusting the chain length is similar. The chain is like the kite string. The flapper is like the kite. You need to find the perfect balance. Adjust the chain until the flapper lifts properly. The toilet should flush completely. The water should stop running. It might take a few tries to get it right. But once you do, your toilet will work like new. Adjusting the chain is a small step. But it makes a big difference.
Fun Fact or Stat: Toilets are designed to remove waste quickly and efficiently!
Why is Chain Length Important?
Why is chain length so important? The chain length affects the flapper’s movement. The flapper seals the tank. It prevents water from leaking into the bowl. If the chain is too long, the flapper won’t lift fully. This reduces the flushing power. If the chain is too short, the flapper won’t seal properly. Water will leak continuously. This wastes water. The right chain length ensures the flapper lifts completely. It also seals tightly. This results in a strong, efficient flush. It also saves water. The chain length is a small detail. But it plays a big role in toilet performance.
How Much Slack Should the Chain Have?
How much slack should the chain have? The chain should have a little slack. About a half-inch is usually enough. This allows the flapper to close completely. If the chain is too tight, the flapper won’t seal. Water will run constantly. If the chain is too loose, the flapper won’t lift fully. The toilet won’t flush properly. Test the flush with different amounts of slack. Find the sweet spot. The chain should allow the flapper to move freely. It should also allow it to seal tightly. The right amount of slack ensures a good flush. It also prevents water waste.
Troubleshooting Chain Length Issues
What if you’re having trouble with the chain length? If the toilet doesn’t flush completely, shorten the chain. Move the hook to a closer link. If the water runs constantly, lengthen the chain. Move the hook to a farther link. Check the flapper. Make sure it’s not damaged. A damaged flapper won’t seal properly. Replace the flapper if needed. Make sure the chain is not tangled. A tangled chain can prevent the flapper from moving. Adjust the chain until the toilet flushes perfectly. Troubleshooting chain length issues can take time. But it’s worth it. A properly adjusted chain ensures a good flush.
Fun Fact or Stat: Some toilets have pressure-assisted flushing systems!
Common Mistakes to Avoid When Replacing a Lever
Replacing a flush lever seems easy. But there are common mistakes to avoid. Not turning off the water is a big one. This can lead to a messy flood. Overtightening the nut can crack the plastic. Use just enough force to secure it. Forgetting to connect the chain is another mistake. The toilet won’t flush without it. Not adjusting the chain length can cause problems. The flapper won’t seal or lift properly. Buying the wrong lever is also common. Make sure it fits your toilet model. Avoiding these mistakes makes the job go smoothly. It ensures a successful replacement. Take your time. Follow the steps carefully. This prevents problems.
- Not turning off the water supply.
- Overtightening the nut.
- Forgetting to connect the chain.
- Not adjusting the chain length.
- Buying the wrong replacement lever.
Imagine you’re building a tower of blocks. You need to be careful not to make mistakes. Not turning off the water is like forgetting to put a base on the tower. The whole thing could collapse. Overtightening the nut is like pushing too hard on a block. It could break. Forgetting to connect the chain is like leaving out a key block. The tower won’t be complete. Not adjusting the chain length is like having blocks that are too big or too small. The tower won’t be stable. Buying the wrong lever is like using blocks that don’t fit together. The tower won’t stand up. Avoiding these mistakes ensures a strong, stable tower. It also ensures a successful flush lever replacement.
Fun Fact or Stat: Gravity is essential for a toilet to flush!
Forgetting to Turn Off the Water
Why is turning off the water so important? Forgetting to turn off the water can cause a flood. When you remove the old lever, water will rush out of the tank. This can make a big mess. It can also damage your bathroom. Turning off the water is a simple step. It prevents a lot of problems. Locate the water supply valve behind the toilet. Turn it clockwise to shut off the water. Flush the toilet to empty the tank. This makes the job much easier. Always remember to turn off the water first. It’s the most important step.
Overtightening the Nut
Why is overtightening the nut a problem? Overtightening the nut can crack the plastic. The nut holds the lever in place. It needs to be snug, but not too tight. Plastic is fragile. Too much pressure can break it. Use an adjustable wrench to tighten the nut. But be gentle. Tighten it until the lever is secure. It shouldn’t wobble. But it should still move freely. If you overtighten it, you might have to buy a new lever. So, be careful. Tighten the nut just enough to hold the lever in place.
Using the Wrong Tools
Why is it important to use the right tools? Using the wrong tools can damage the toilet. It can also make the job harder. An adjustable wrench is needed to loosen and tighten the nut. Pliers are useful for gripping small parts. A screwdriver might be needed for some levers. Don’t use a hammer or other tools that can cause damage. Using the right tools makes the job easier. It also prevents damage. Make sure you have the right tools before you start. This ensures a smooth and successful replacement.
Fun Fact or Stat: Some toilets have a “tornado flush” for extra cleaning power!
Summary
Replacing a toilet flush lever is a simple DIY project. It saves money and prevents water waste. First, gather the right tools. You’ll need a new lever, wrench, and pliers. Turn off the water supply to the toilet. Flush the toilet to empty the tank. Disconnect the chain from the old lever. Loosen the nut holding the lever in place. Remove the old lever carefully. Insert the new lever. Attach the nut inside the tank. Tighten the nut with a wrench. Connect the chain to the lever. Adjust the chain length. Test the flush to make sure everything works. Knowing how to replace a toilet flush lever is a valuable skill.
Conclusion
Fixing a wobbly toilet handle is easier than you think. You can learn how to replace a toilet flush lever with some simple steps. Gather your tools, turn off the water, and follow the instructions. You’ll save money. You will also gain confidence in your DIY skills. A working toilet is important. You can fix it yourself. So, don’t be afraid to try. You can easily learn how to replace a toilet flush lever.
Frequently Asked Questions
Question No 1: How do I know if my toilet flush lever needs replacing?
Answer: You’ll know your toilet flush lever needs replacing if the handle is loose, wobbly, or broken. If you have to jiggle the handle to get the toilet to flush, that’s another sign. Also, if the toilet doesn’t flush completely or if water runs constantly, the lever might be the problem. Check the lever for any visible damage. Sometimes the plastic breaks or the chain detaches. These are all signs that it’s time to replace the lever. Knowing these signs helps you catch problems early. This prevents bigger issues. Learning how to replace a toilet flush lever is a great skill.
Question No 2: What tools do I need to replace a toilet flush lever?
Answer: To replace a toilet flush lever, you’ll need a few basic tools. An adjustable wrench is essential for loosening and tightening nuts. Pliers are helpful for gripping small parts and disconnecting the chain. A small bucket can catch any water drips. A sponge is useful for cleaning up spills. A new flush lever is, of course, necessary. Make sure it fits your toilet model. Gloves can keep your hands clean. A screwdriver might be needed for some levers. Having these tools ready makes the job easier and faster. Gathering the right tools is the first step to a successful replacement. Make sure you have everything before you start to replace a toilet flush lever.
Question No 3: How do I turn off the water supply to the toilet?
Answer: Turning off the water supply to the toilet is a crucial first step. Look for a valve behind the toilet, usually near the floor. This is the water supply valve. Turn the valve clockwise to shut off the water. If the valve is stiff, don’t force it. You might need to use pliers for a better grip. Once the water is off, flush the toilet to drain the tank. This prevents spills and makes the job easier. Always make sure the water is completely off before you start working on the toilet. This prevents a messy situation and ensures a safe repair process. Knowing how to replace a toilet flush lever starts with safety.
Question No 4: How do I adjust the chain length on the new flush lever?
Answer: Adjusting the chain length is important for a proper flush. The chain connects the flush lever to the flapper. If the chain is too long, the flapper won’t lift high enough. The toilet won’t flush completely. If the chain is too short, the flapper won’t seal. Water will run constantly. To adjust the chain, unhook it from the lever. Move the hook to a different link on the chain. Test the flush after each adjustment. Keep adjusting until the toilet flushes completely and the water stops running. The chain should have a little slack. This allows the flapper to close properly. Adjusting the chain is a key part of learning how to replace a toilet flush lever.
Question No 5: What if the nut holding the flush lever is stuck?
Answer: Sometimes the nut holding the flush lever is hard to remove. It might be stuck due to rust or mineral buildup. Try spraying WD-40 on the nut. Let it sit for a few minutes. This helps loosen the parts. Gently wiggle the lever back and forth. This can help break the seal. If it’s still stuck, use pliers to grip the nut. Turn it gently. Be careful not to break the lever or the tank. If all else fails, call a plumber. They have special tools to remove stuck parts. Don’t force it too much. This can cause damage. Patience is key to removing a stuck nut. Knowing how to replace a toilet flush lever includes dealing with stuck parts.
Question No 6: Can I use any type of flush lever for my toilet?
Answer: No, you can’t use just any type of flush lever. You need to choose a lever that fits your toilet model. Some levers are universal. They fit many toilets. Others are specific to certain brands. Check your toilet’s model number. This helps you find a lever that fits. Take the old lever with you to the store. Compare it to the new ones. Make sure the size and shape match. Read the packaging carefully. It tells you which toilets the lever fits. Ask a store employee for help. They can guide you to the right one. Getting the right lever ensures a proper fit and smooth flushing. So be sure to get the correct flush lever when you want to replace a toilet flush lever.