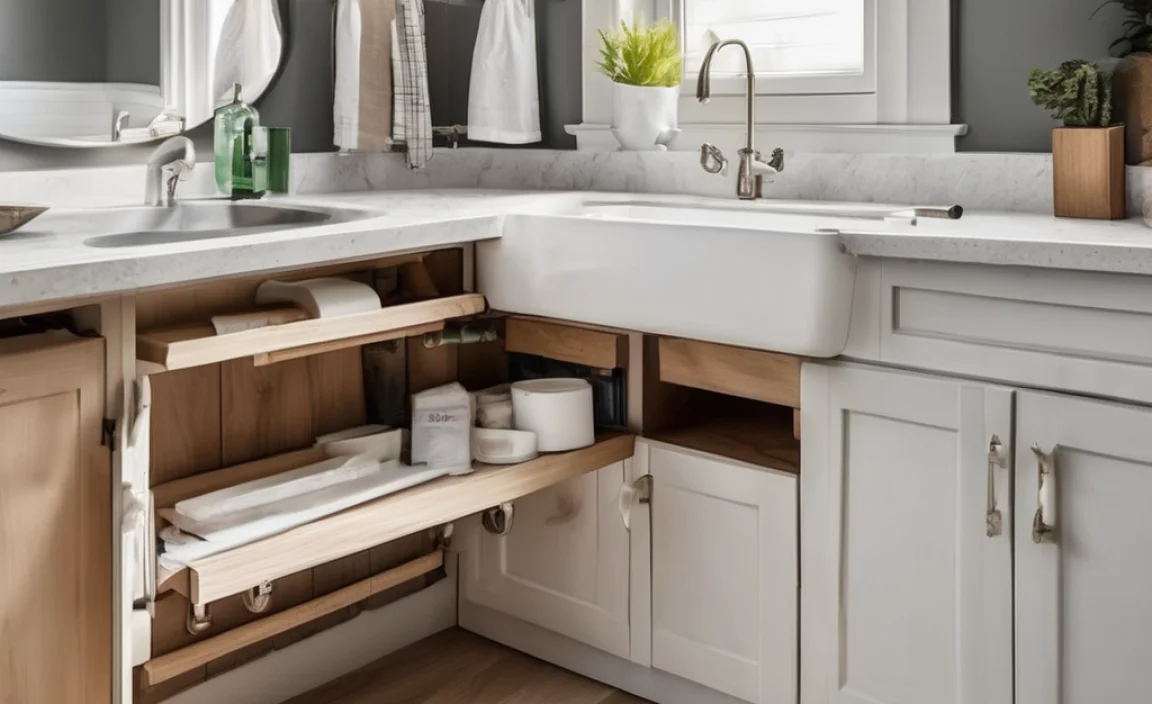
Replacing a cabinet floor under the sink is totally doable! First, clear out the cabinet and assess the damage. Shut off the water and disconnect the plumbing. Cut out the old, damaged floor and measure the space. Cut a new piece of plywood to fit, apply sealant, and secure the new floor. Reconnect the plumbing, and you’re done! This guide will walk you through it step-by-step.
Is your under-sink cabinet floor looking worse for wear? Water damage can turn it into a soggy, unsightly mess. Don’t worry; you don’t need to be a pro to fix it. Replacing that damaged cabinet floor is a straightforward DIY project. With a few tools and some easy steps, you can restore your cabinet and prevent further damage. Ready to get started? We’ll show you how to do it!
Tools and Materials You’ll Need

Before you start, gather these tools and materials. Having everything ready will make the job smoother and faster.
- Plywood (exterior-grade, measured to fit)
- Measuring tape
- Pencil
- Circular saw or hand saw
- Safety glasses
- Gloves
- Utility knife
- Scraper
- Caulk gun
- Silicone caulk or sealant
- Construction adhesive
- Screws or nails
- Drill or hammer
- Pry bar or chisel
- Shop vacuum or broom
- Old towels or sponges
Step-by-Step Guide to Replacing Your Cabinet Floor

Follow these steps to replace your cabinet floor like a pro. Take your time, and don’t rush. Safety first!
Step 1: Clear Out the Cabinet
Remove everything from under the sink. This includes cleaning supplies, trash cans, and anything else stored there. Place items aside to give you a clear workspace.
Step 2: Assess the Damage
Take a good look at the cabinet floor. Identify the extent of the damage. Is it just a small area, or does the entire floor need replacing? Check the surrounding cabinet walls for any signs of water damage or mold.
Step 3: Shut Off the Water Supply
Before you start disconnecting any plumbing, turn off the water supply to the sink. You’ll usually find shut-off valves under the sink. Turn both the hot and cold water valves clockwise until they are completely closed. If you don’t have shut-off valves, you may need to turn off the main water supply to your house. Check with your local water authority if you’re unsure.
Step 4: Disconnect the Plumbing
Carefully disconnect the water supply lines from the faucet. Place a bucket underneath to catch any remaining water. Use a wrench to loosen the connections. Next, disconnect the drainpipe. This might involve loosening slip nuts or removing a P-trap. Again, have a bucket ready to catch any water.
Step 5: Remove the Old Cabinet Floor
Now it’s time to remove the damaged section of the cabinet floor.
- Use a utility knife to score around the edges of the damaged area.
- Use a pry bar or chisel to gently lift the old floor. Work slowly to avoid damaging the surrounding cabinet structure.
- If the floor is glued down, use a scraper to remove any remaining adhesive.
- For stubborn sections, use a circular saw or hand saw to cut the floor into smaller, more manageable pieces. Be careful not to cut into the cabinet walls.
Step 6: Clean the Area
Once the old floor is removed, clean the area thoroughly. Use a shop vacuum or broom to remove any debris, dirt, or loose particles. Wipe down the inside of the cabinet with a damp cloth and a mild cleaner. This will help ensure good adhesion for the new floor.
Step 7: Measure and Cut the New Floor
Carefully measure the area where the old floor was removed. Transfer these measurements to your new piece of plywood. Use a circular saw or hand saw to cut the plywood to the correct size and shape. Double-check the fit before proceeding.
Step 8: Apply Sealant
To prevent future water damage, apply a bead of silicone caulk or sealant around the edges of the cabinet where the new floor will sit. This will create a waterproof barrier. Also, consider coating the underside of the new plywood with a waterproof sealant for added protection.
Step 9: Install the New Floor
Place the new plywood floor into the cabinet. Press it firmly into place, ensuring it sits flush with the surrounding surfaces. If necessary, use construction adhesive to secure the floor. Apply the adhesive to the underside of the plywood before placing it in the cabinet. For extra security, you can also use screws or nails to attach the new floor to the cabinet frame. Make sure the screws or nails are the appropriate length to avoid puncturing the cabinet walls.
Step 10: Reconnect the Plumbing
Carefully reconnect the water supply lines and drainpipe. Tighten all connections with a wrench, but don’t overtighten, as this could damage the pipes or fittings. Turn the water supply back on slowly and check for leaks. If you find any leaks, tighten the connections further or replace any damaged parts.
Step 11: Final Touches
Once the plumbing is reconnected and there are no leaks, give the new floor a final inspection. Make sure it is securely in place and that all edges are sealed. Replace any items you removed from the cabinet. Consider lining the bottom of the cabinet with a waterproof mat or liner for added protection.
Choosing the Right Materials

Selecting the right materials is crucial for a long-lasting repair. Here’s what to consider:
Plywood
Use exterior-grade plywood, which is designed to withstand moisture. Look for plywood that is at least ½ inch thick for good support. Avoid using particleboard, as it will quickly disintegrate if it gets wet.
Sealant
Choose a high-quality silicone caulk or sealant that is specifically designed for kitchen and bathroom use. These sealants are waterproof and mold-resistant. Apply the sealant generously to all edges and seams to create a tight seal.
Adhesive
Use a construction adhesive that is suitable for bonding wood to wood. Look for an adhesive that is waterproof and provides a strong, long-lasting bond.
Safety Tips
Safety should always be your top priority. Keep these tips in mind:
- Wear safety glasses to protect your eyes from dust and debris.
- Wear gloves to protect your hands from chemicals and sharp objects.
- Use caution when working with power tools. Follow the manufacturer’s instructions and wear appropriate safety gear.
- Work in a well-ventilated area when using adhesives or sealants.
- Turn off the water supply before disconnecting any plumbing.
- If you’re not comfortable working with plumbing or electrical systems, consult a professional.
Troubleshooting Common Issues
Even with careful planning, you might run into some snags. Here’s how to handle common problems:
Leaks After Reconnecting Plumbing
If you notice leaks after reconnecting the plumbing, first try tightening the connections. If the leaks persist, you may need to replace the fittings or apply Teflon tape to the threads. In some cases, the pipes themselves may be damaged and need replacing.
Floor Not Sitting Flush
If the new floor doesn’t sit flush with the surrounding surfaces, check for any obstructions or unevenness in the cabinet. You may need to sand down high spots or add shims to low spots. Make sure the plywood is cut to the correct size and shape.
Adhesive Not Bonding
If the adhesive doesn’t seem to be bonding properly, make sure the surfaces are clean and dry. Apply the adhesive according to the manufacturer’s instructions. Use clamps or weights to hold the floor in place while the adhesive dries.
Cost Considerations
Replacing a cabinet floor under the sink is generally an affordable DIY project. Here’s a breakdown of potential costs:
| Item | Estimated Cost |
|---|---|
| Plywood | $20 – $50 |
| Sealant | $5 – $10 |
| Adhesive | $5 – $15 |
| Screws/Nails | $5 – $10 |
| Tools (if needed) | Varies |
The total cost will depend on the size of the floor, the type of materials you choose, and whether you already have the necessary tools. If you hire a professional, labor costs can add $100-$300 or more to the total.
Maintenance Tips to Prevent Future Damage
Once you’ve replaced the cabinet floor, take steps to prevent future water damage:
- Regularly check for leaks under the sink.
- Wipe up spills immediately.
- Consider installing a leak detector.
- Use a waterproof mat or liner in the cabinet.
- Ensure proper ventilation in the cabinet.
When to Call a Professional
While replacing a cabinet floor is a manageable DIY project, there are times when it’s best to call a professional:
- Extensive water damage that affects the surrounding structure.
- Mold growth that you can’t safely remove.
- Complicated plumbing issues.
- You’re not comfortable doing the work yourself.
DIY vs. Hiring a Pro
Deciding whether to DIY or hire a professional can be tricky. Here’s a comparison to help you decide:
| Factor | DIY | Hiring a Pro |
|---|---|---|
| Cost | Lower | Higher |
| Time | Longer | Shorter |
| Skill Level | Requires some DIY skills | Requires professional expertise |
| Convenience | Inconvenient | Convenient |
| Quality | Depends on your skill | Generally higher quality |
FAQ: Replacing Cabinet Floor Under Sink
What kind of wood should I use for the cabinet floor?
Use exterior-grade plywood. It’s designed to handle moisture, unlike cheaper options like particleboard, which will quickly fall apart if it gets wet.
How do I prevent future water damage under my sink?
Regularly check for leaks, wipe up spills quickly, and consider using a waterproof mat or liner in the cabinet. Good ventilation also helps.
Is it necessary to turn off the water before disconnecting the pipes?
Yes! Always turn off the water supply to avoid flooding. Locate the shut-off valves under the sink or, if necessary, turn off the main water supply to your house.
What if I find mold when I remove the old floor?
If you find mold, wear a mask and gloves. Clean the area with a mold-killing solution. For extensive mold, it’s best to consult a professional.
Can I replace just a section of the cabinet floor?
Yes, if the damage is limited to a small area. Cut out the damaged section and replace it with a new piece of plywood, ensuring it’s properly sealed.
What tools are essential for this project?
You’ll need a measuring tape, pencil, saw, utility knife, scraper, caulk gun, and safety glasses. A drill and pry bar can also be helpful.
How long does it take to replace a cabinet floor?
Most DIYers can complete the job in 2-4 hours, depending on their skill level and the complexity of the project.
Conclusion
Replacing a cabinet floor under the sink is a manageable DIY project that can save you money and prevent further damage. By following these step-by-step instructions, you can restore your cabinet and protect your home from water damage. Take your time, be careful, and don’t hesitate to consult a professional if you encounter any challenges. With a little effort, you can achieve professional-looking results and enjoy a clean, dry, and functional under-sink cabinet. Happy DIY-ing!


