Quick Summary: How to Sheetrock Around a Bathtub
Sheetrocking around a bathtub can seem tricky, but it’s totally doable! First, measure your space and cut the drywall to fit. Apply joint compound to the seams, tape them, and let it dry. Sand smooth, add another coat or two, and you’re ready to paint. Just take it one step at a time, and your bathroom will look great!
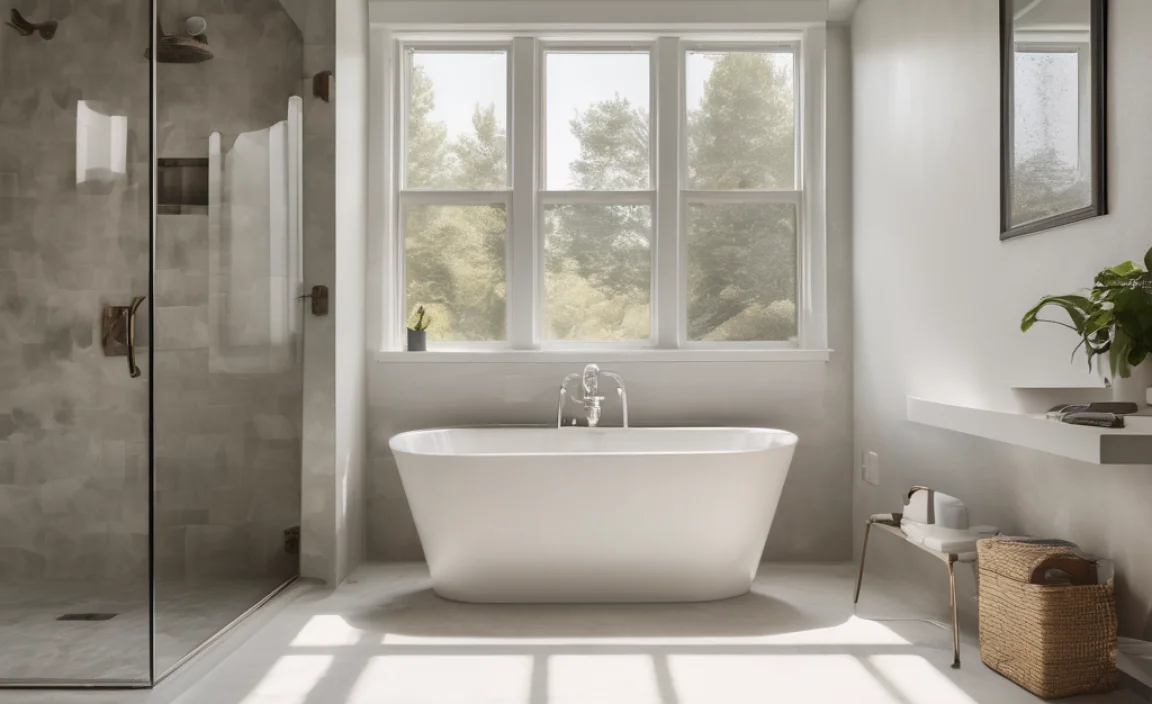
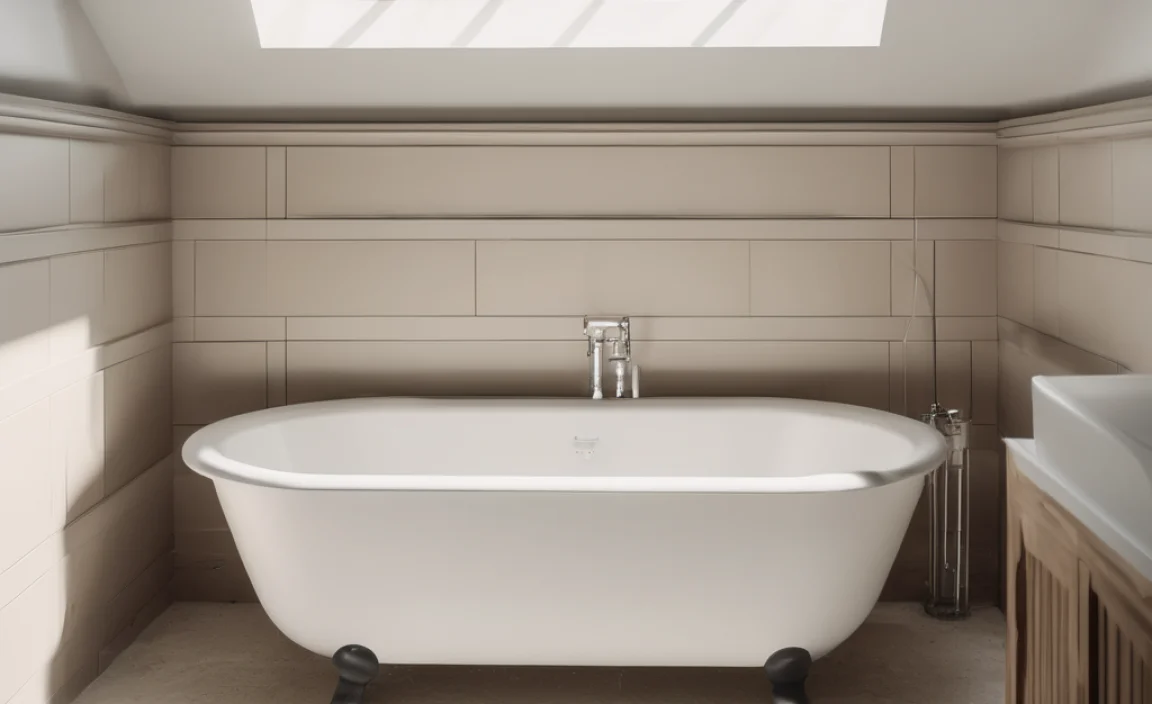
Is your bathtub looking a little sad with old, damaged walls around it? Don’t worry! Replacing the sheetrock (also called drywall) isn’t as hard as you might think. Many homeowners feel overwhelmed by this project, but with a little patience and the right steps, you can get a smooth, professional-looking finish.
This guide will walk you through each step. We’ll cover measuring, cutting, attaching, mudding, sanding, and everything else you need to know. Let’s get started and make your bathroom shine!
Tools and Materials You’ll Need
Before you start, gather these supplies. Having everything ready will make the job go much smoother.
- Drywall Sheets: Measure your area to determine the size and number of sheets needed.
- Utility Knife: For scoring and cutting the drywall.
- Drywall Saw: For cutting around pipes and fixtures.
- Measuring Tape: Essential for accurate measurements.
- Pencil: For marking cut lines.
- Drywall Screws: Use screws designed for drywall.
- Drywall Screw Gun or Drill: To drive screws into the studs.
- Joint Compound (Mud): For filling seams and screw holes.
- Drywall Tape: To reinforce seams.
- Taping Knives: 6-inch and 12-inch knives for applying joint compound.
- Sanding Sponge or Sandpaper: For smoothing the dried compound.
- Dust Mask: To protect yourself from dust.
- Safety Glasses: To protect your eyes.
- Stud Finder: To locate wall studs.
- Level: To ensure the drywall is straight.
- Corner Bead (Optional): For finishing outside corners.
Step-by-Step Guide: Sheetrocking Around a Bathtub
Follow these steps to get a professional-looking finish around your bathtub. Take your time and focus on accuracy at each stage.
Step 1: Preparation
Before you even think about drywall, you need to prep the area. This means removing anything that will get in your way and ensuring you have a clean, solid surface to work with.
- Remove Old Drywall: Carefully remove any existing drywall. Use a utility knife to score along the edges, then pry it off with a pry bar.
- Inspect the Studs: Check the studs for any damage or rot. Replace any damaged studs before proceeding.
- Clean the Area: Remove any nails, screws, or debris from the studs. A clean surface is essential for proper adhesion.
Step 2: Measuring and Cutting the Drywall
Accurate measurements are crucial for a good fit. Measure twice, cut once! This will save you time and materials.
- Measure the Area: Measure the height and width of the area you need to cover. Account for any pipes, fixtures, or corners.
- Transfer Measurements: Transfer your measurements to the drywall sheet using a measuring tape and pencil.
- Cut the Drywall:
- Score: Use a utility knife and a straight edge to score along the marked line. Apply firm, even pressure.
- Snap: Place the drywall on a flat surface with the scored side up. Snap the drywall along the scored line.
- Cut the Backing: Fold the drywall and use the utility knife to cut through the paper backing.
- Cut Out Openings: Use a drywall saw to cut out any openings for pipes or fixtures. Measure carefully to ensure a snug fit.
Step 3: Installing the Drywall
Now it’s time to attach the drywall to the studs. Proper installation is key to a smooth, even surface.
- Position the Drywall: Carefully lift the drywall sheet into place. Align it with the studs and the edges of the surrounding walls.
- Secure with Screws: Use a drywall screw gun or drill to drive drywall screws into the studs. Space the screws about 12 inches apart. Make sure the screws are driven deep enough to dimple the surface of the drywall, but not so deep that they tear the paper.
- Check for Level: Use a level to ensure the drywall is straight. Adjust as needed before driving in all the screws.
Step 4: Taping the Seams
Taping the seams is essential for creating a smooth, seamless surface. This is where the “mudding” process begins.
- Apply Joint Compound: Use a 6-inch taping knife to apply a thin layer of joint compound over the seams.
- Embed the Tape: Press drywall tape into the wet compound. Use the taping knife to smooth out the tape and remove any air bubbles.
- Let it Dry: Allow the joint compound to dry completely, usually overnight.
Step 5: Applying Additional Coats of Joint Compound
Multiple coats of joint compound are needed to create a smooth, seamless finish. Each coat fills in imperfections and blends the seams.
- Second Coat: Apply a second coat of joint compound over the taped seams. Use a 12-inch taping knife to feather out the edges.
- Third Coat (If Needed): If necessary, apply a third coat of joint compound to fill in any remaining imperfections.
- Let it Dry: Allow each coat of joint compound to dry completely before sanding.
Step 6: Sanding the Drywall
Sanding smooths out the joint compound and prepares the surface for painting. Be careful not to over-sand, which can damage the paper layer of the drywall.
- Use a Sanding Sponge: Use a sanding sponge or fine-grit sandpaper to lightly sand the dried joint compound.
- Sand Evenly: Sand evenly to blend the joint compound with the surrounding drywall.
- Remove Dust: Use a damp cloth to remove any dust from the surface.
Step 7: Finishing Touches
Now that the drywall is installed, taped, and sanded, it’s time to add the finishing touches. These details will make your bathroom look polished and professional.
- Prime the Drywall: Apply a coat of drywall primer to seal the surface and prepare it for paint.
- Caulk the Seams: Caulk any seams between the drywall and the bathtub or surrounding walls. This will prevent water from seeping behind the drywall.
- Paint the Walls: Apply two coats of bathroom-specific paint to protect the drywall from moisture.
Tips for Success
Here are a few extra tips to help you achieve the best results:
- Work in a Well-Ventilated Area: Drywall dust can be irritating, so make sure to work in a well-ventilated area.
- Use a Dust Mask and Safety Glasses: Protect yourself from dust and debris by wearing a dust mask and safety glasses.
- Don’t Rush the Process: Allow the joint compound to dry completely between coats. Rushing the process can lead to cracks and imperfections.
- Watch Videos: There are many helpful videos online that demonstrate the techniques described in this guide.
Dealing with Common Problems
Even with careful planning, you might encounter a few problems along the way. Here’s how to handle some common issues:
| Problem | Solution |
|---|---|
| Cracks in the Joint Compound | Apply another coat of joint compound and allow it to dry completely before sanding. |
| Air Bubbles in the Tape | Use a taping knife to smooth out the tape and remove any air bubbles before the joint compound dries. |
| Uneven Surface | Apply additional coats of joint compound and sand carefully to create a smooth, even surface. |
| Screws Not Set Properly | Adjust the depth setting on your screw gun or drill. Drive the screws until they are slightly below the surface of the drywall, but not so deep that they tear the paper. |
Cost Considerations
The cost of sheetrocking around a bathtub can vary depending on the size of the area, the type of materials you use, and whether you hire a professional. Here’s a general breakdown of the costs:
| Item | Estimated Cost |
|---|---|
| Drywall Sheets | $10 – $20 per sheet |
| Joint Compound | $15 – $30 per bucket |
| Drywall Tape | $5 – $10 per roll |
| Drywall Screws | $5 – $15 per box |
| Primer | $20 – $40 per gallon |
| Paint | $25 – $50 per gallon |
Note: These are estimated costs and may vary depending on your location and the specific products you choose.
Safety Precautions
Safety should always be your top priority when tackling any home improvement project. Here are a few safety precautions to keep in mind when sheetrocking around a bathtub:
- Wear Safety Glasses: Protect your eyes from dust and debris.
- Use a Dust Mask: Avoid inhaling drywall dust, which can irritate your lungs.
- Wear Gloves: Protect your hands from the joint compound.
- Work in a Well-Ventilated Area: Ensure adequate ventilation to reduce exposure to dust and fumes.
- Be Careful with Sharp Tools: Use caution when handling utility knives and drywall saws.
- Turn Off the Power: If you’re working near electrical outlets, turn off the power to the circuit breaker.
FAQ: Sheetrocking Around a Bathtub
Q1: Can I use regular drywall in a bathroom?
No, you should use moisture-resistant drywall (often called “green board”) in bathrooms. It’s designed to withstand humidity and prevent mold growth.
Q2: How do I find the studs behind the old drywall?
Use a stud finder to locate the studs. They’re usually spaced 16 or 24 inches apart. Mark their locations with a pencil.
Q3: What if my walls aren’t perfectly square?
Measure carefully and make precise cuts. You might need to scribe the drywall to fit irregular shapes. Small gaps can be filled with caulk.
Q4: How many coats of joint compound do I need?
Typically, two to three coats are sufficient. The goal is to create a smooth, seamless surface. Sand lightly between coats.
Q5: Can I paint directly over the joint compound?
No, you should always prime the drywall first. Primer seals the surface and provides a better base for the paint to adhere to.
Q6: What type of paint should I use in a bathroom?
Use a bathroom-specific paint that is mildew-resistant. Semi-gloss or gloss finishes are easier to clean and more resistant to moisture.
Q7: How do I prevent mold growth behind the drywall?
Use moisture-resistant drywall, caulk all seams, and ensure proper ventilation in the bathroom. Regularly clean and inspect the area.
Conclusion
Sheetrocking around a bathtub might seem like a big project, but it’s totally achievable with the right tools, materials, and a step-by-step approach. By following this guide, you can transform your bathroom and give it a fresh, updated look. Remember to take your time, focus on accuracy, and prioritize safety. Soon, you’ll have a beautiful, professionally finished bathroom that you can be proud of. So, grab your tools, and let’s get started!