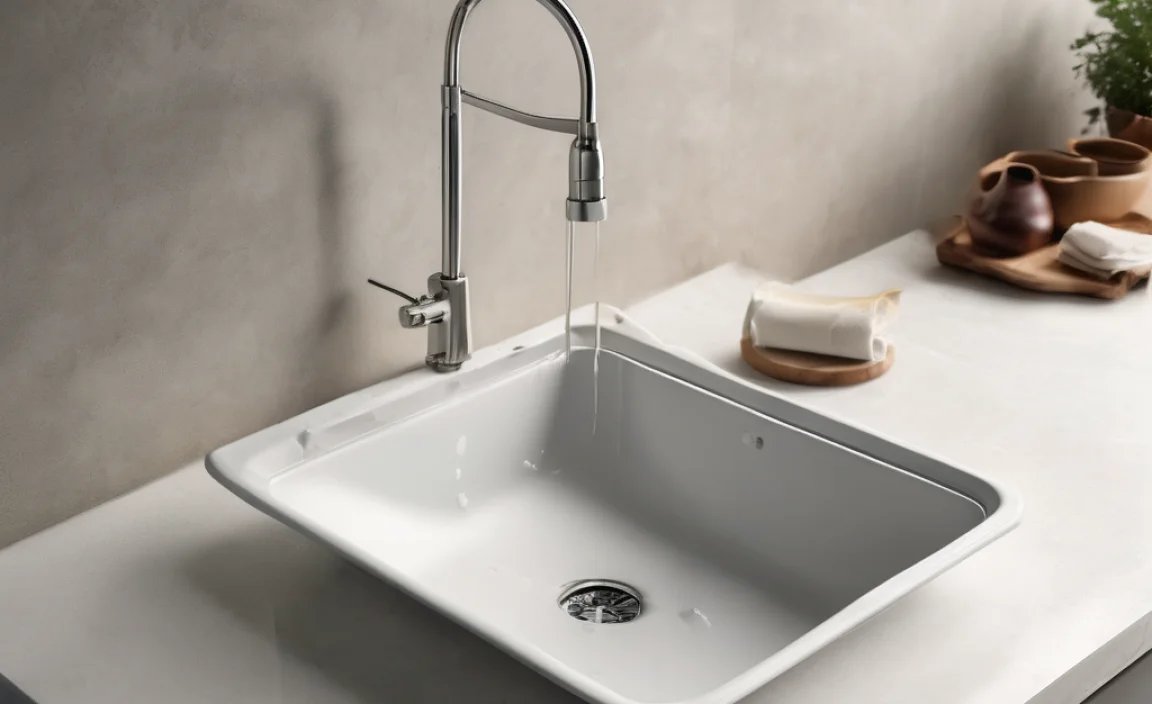
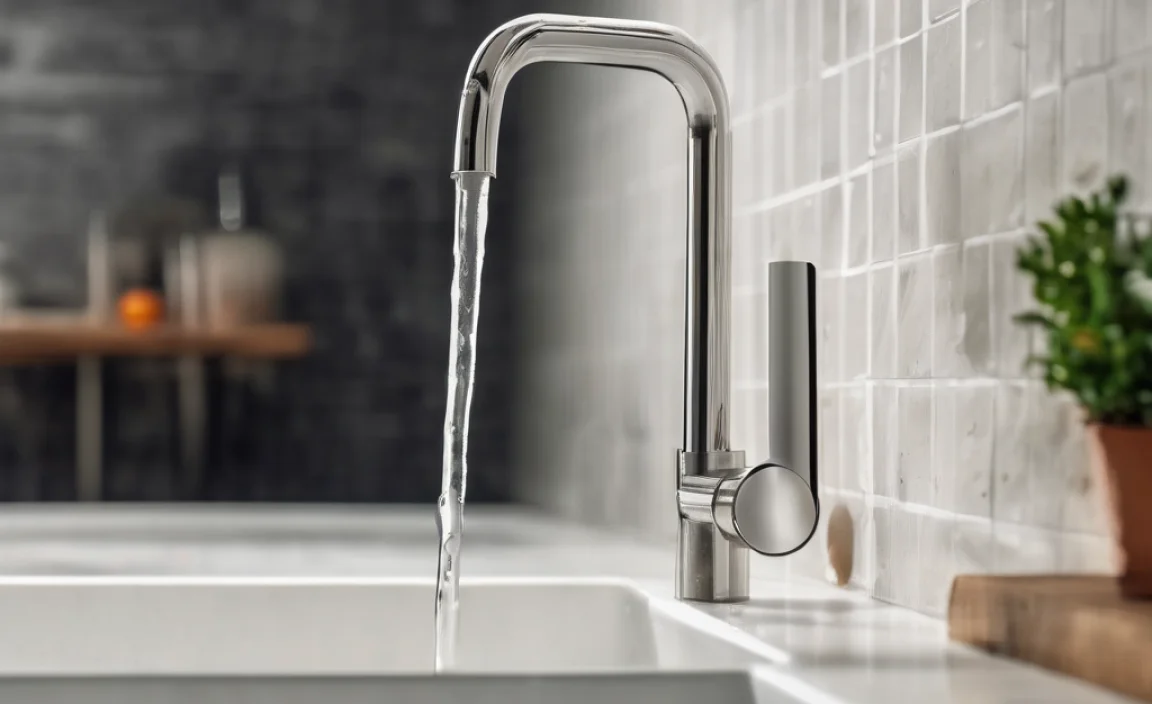
Have you ever heard that annoying sound of a dripping sink? It can be so frustrating! You might wonder how to stop a sink from dripping without calling for help. Many people face this problem, and it often seems tricky. But guess what? You can fix it on your own!
Imagine this: you’re trying to enjoy a quiet evening at home, and suddenly, drip, drip, drip! The noise cuts through the silence like a knife. Wouldn’t it be nice to stop that sound with just a few simple steps? Learning how to stop a sink from dripping can save you time and cash.
Here’s a fun fact. A single dripping faucet can waste over 3,000 gallons of water each year! That’s enough water to fill a swimming pool. Why waste it when you can learn to fix it easily?
In this article, you will discover easy ways to stop a sink from dripping. So, let’s dive in and turn that annoying drip into a thing of the past!
How To Stop A Sink From Dripping: Effective Solutions
How to Stop a Sink from Dripping
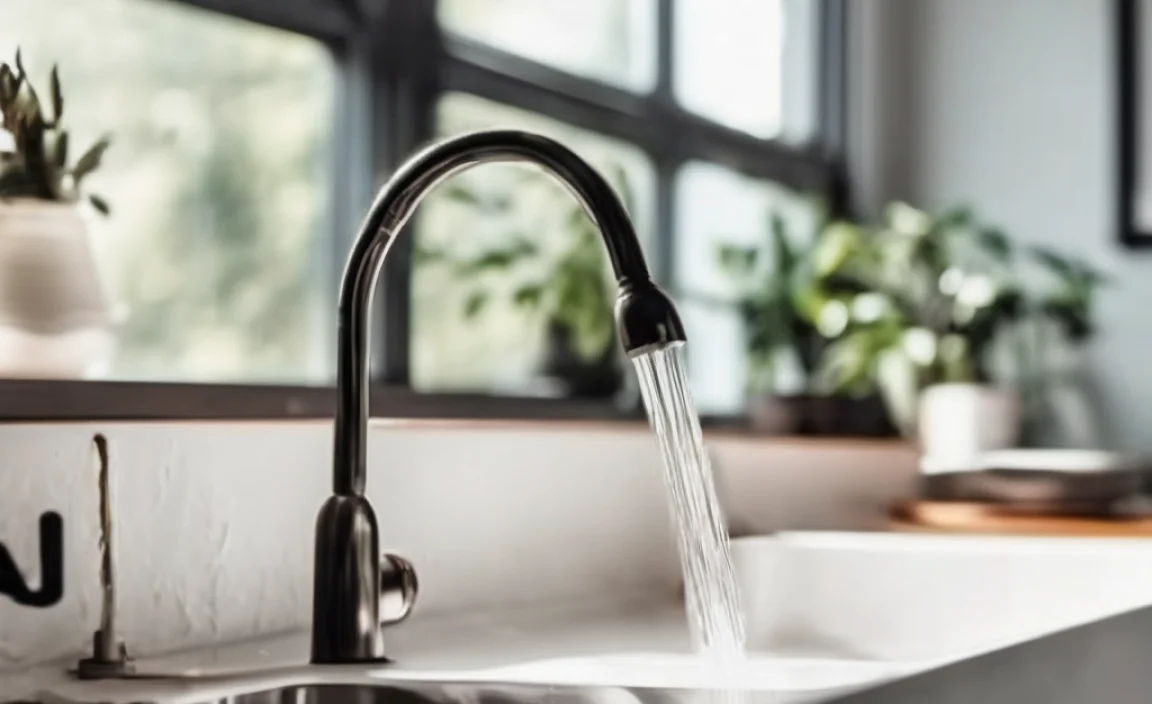
A dripping sink can drive anyone crazy. Did you know that a small drip can waste gallons of water each day? To fix it, start by checking the faucet handle and the washers inside. Sometimes, a simple tightening is all you need. If that doesn’t work, replace worn-out parts. Using plumber’s tape on threads can also help create a better seal. Fixing that drip not only saves water but also saves money on your water bill!
Understanding the Causes of a Dripping Sink
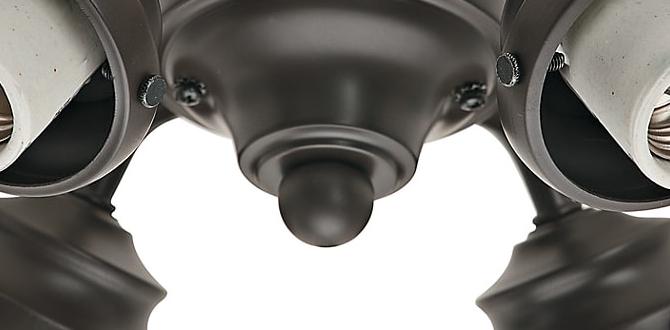
Common reasons for sink leaks. Identifying the type of faucet.
A dripping sink can be annoying and waste water. Common reasons include worn-out washers, loose parts, or damaged seals. Not all faucets are the same. It’s important to identify what type you have. This helps find the right fix. Here are some faucet types:
- Compression faucets
- Cartridge faucets
- Ball faucets
- Disc faucets
Knowing the type can make repairs easier. Understanding these basics is the first step to fixing that drip!
What causes a sink to leak?
Leaks often happen because of worn seals or corroded parts. Regular maintenance can help catch these issues early.
Gathering the Necessary Tools and Materials
Essential tools for DIY repairs. Recommended replacement parts.
When fixing a dripping sink, having the right tools is important. Grab these tools before starting:
- Wrench
- Screwdriver
- Pliers
- Towel
- Bucket
You’ll also need replacement parts like:
- Washers
- O-rings
- Seals
These supplies make your job easier and faster. Ready to get started?
What tools do I need to stop a sink from dripping?
To stop a drip, you need basic tools. You will use a wrench, pliers, and a screwdriver to fix the faucet. Make sure you have a bucket to catch any water!
Step-by-Step Instructions for Fixing a Dripping Faucet
How to turn off the water supply. Disassembling the faucet.
First, find the water shut-off valve. This is usually under the sink. Turn it to the right to stop the water. Next, grab a wrench and carefully take off the faucet handle. You might need to remove a small screw first. Make sure to keep all the small parts in a safe place. After that, check the washer inside the faucet. Replace it if it looks worn. Follow these steps, and you’ll fix that dripping faucet!
How do I stop the dripping after I turn off the water?
Once the water is off, check the faucet parts. Make sure to look at the washer and O-rings. If they are damaged, replace them. This should stop the drip.
Quick Guide:
- Find the shut-off valve.
- Turn it to the right.
- Disassemble the faucet handle.
- Check and replace worn parts.
Addressing Specific Types of Faucets
Dealing with compression faucets. Fixing cartridge faucets.
Got a compression faucet that’s leaking? First, turn off the water! Remove the handle and find the packing nut. Tighten it to see if that stops the drip. If that doesn’t work, you might need a new washer. They’re usually cheap, and your sink will thank you by staying dry!
Cartridge faucets can also be pesky drippers! To fix one, shut off the water and take out the cartridge. Check for any cracks or damage. Replace it if needed, or just pull out the rubber O-rings. Swapping these tiny heroes often does the trick!
| Type of Faucet | Common Fix |
|---|---|
| Compression Faucet | Replace washer or tighten the packing nut |
| Cartridge Faucet | Replace cartridge or O-ring |
Testing for Leaks After Repair
Ensuring a proper seal. Running a water test.
After fixing your sink, it’s important to check for leaks. First, make sure you have a good seal. This means all parts fit tightly together. Next, run a water test. Turn the water on and watch closely. Look for any spots that drip or leak. Pay attention to these signs:
- Water pooling around the sink.
- Drips coming from joints or pipes.
- Wet spots on the floor or cabinet.
Fixing leaks early can save you big trouble later. Regular checks help keep your sink in top shape!
How do I test for leaks after a repair?
To test for leaks, turn on the water and observe carefully for any dripping or wet spots.
Maintenance Tips to Prevent Future Drips
Regular inspections. Proper installation techniques.
Keeping your sink drip-free is easier with a few simple steps. Regular checks can help spot small issues before they become big problems. Look at the sink and pipes often. Make sure everything is tight and isn’t leaking. Proper installation is also key. If something is not put in right, it could lead to drips later. Follow these tips for best results:
- Check for loose fittings.
- Inspect hoses and seals regularly.
- Use correct tools during installation.
Taking care of your sink helps you avoid future trouble.
How can I prevent my sink from dripping?
Regularly inspect your sink and pipes. Always use correct installation techniques. Tighten any loose pieces to keep leaks away.
When to Call a Professional Plumber
Signs you need expert help. Cost considerations for professional repairs.
Some signs mean it’s time to call in the pros. If your sink is dripping like it’s auditioning for a splash zone, you might need help. Water damage can be sneaky and expensive. If your DIY fixes aren’t working or the leak gets worse, it’s better to be safe than sorry. Don’t be surprised if your repair costs grow faster than your plant collection; sometimes, expert help is just $100 away!
| Signs You Need a Plumber | Possible Costs |
|---|---|
| Continuous dripping | $100 – $300 |
| Water stains | $200 – $500 |
| Strange noises | $150 – $400 |
Conclusion
In conclusion, stopping a sink from dripping is often simple. First, identify the cause, like a worn washer or loose faucet. Then, replace parts or tighten fittings. You can do this with basic tools. Remember to turn off the water first! For more tips, check online guides or ask a parent. Let’s keep our sinks drip-free together!
FAQs
What Are The Common Causes Of A Dripping Sink Faucet?
A dripping sink faucet can happen for a few reasons. First, it might be because of a worn-out washer. This is a small piece that helps seal the faucet. Second, dirt or debris can get stuck and cause leaks. Lastly, a loose or broken handle can let water drip out too.
How Can I Identify Which Part Of The Faucet Is Causing The Leak?
To find the leak in your faucet, first, dry off the area around it. Then, turn the faucet on and watch closely for water. Check the handles, the spout, and any seals. If you see water dripping or pooling, that part is likely the problem. You can then think about fixing it!
What Tools And Materials Do I Need To Fix A Dripping Sink?
To fix a dripping sink, you will need a few tools. Get a wrench to loosen and tighten the pipes. You also need a screwdriver to take off the faucet parts. A cloth is helpful to catch any water spills. Lastly, pick up some washers or O-rings to replace the old ones.
Are There Any Quick Fixes For A Dripping Faucet That Don’T Require A Full Repair?
Yes, there are a few quick fixes for a dripping faucet. First, try tightening the faucet handle. You can also check for loose parts and tighten them. Sometimes, adding a rubber washer can help. If these don’t work, you may need to call a plumber for a bigger fix.
When Should I Consider Calling A Professional Plumber To Address A Dripping Sink?
You should call a professional plumber if your sink keeps dripping after you try to fix it. If water is leaking all over, it can cause more damage. Also, if you’re not sure how to fix it safely, it’s better to get help. Plumbers have the right tools and skills to help solve the problem quickly. Remember, it’s okay to ask for help!