Quick Summary: Got a wobbly bathtub faucet? You can tighten it easily! First, turn off the water supply. Then, find the set screws or retaining nuts holding the faucet in place. Use a wrench or screwdriver to tighten them. If the faucet is still loose, you might need to replace worn-out parts like O-rings or mounting brackets. This simple fix can save water and prevent damage!
Is your bathtub faucet loose and wobbly? It’s a common problem! A loose faucet can waste water, cause annoying drips, and even damage your plumbing over time. But don’t worry, you can usually fix it yourself with a few simple tools and steps.
This guide will walk you through tightening your bathtub faucet like a pro. We’ll cover everything from identifying the type of faucet you have to tightening those tricky screws and nuts. Let’s get started and stop that wobble!
Understanding Your Bathtub Faucet
Before you grab your tools, it’s important to understand the different types of bathtub faucets. Knowing which type you have will help you find the right screws and nuts to tighten.
Types of Bathtub Faucets
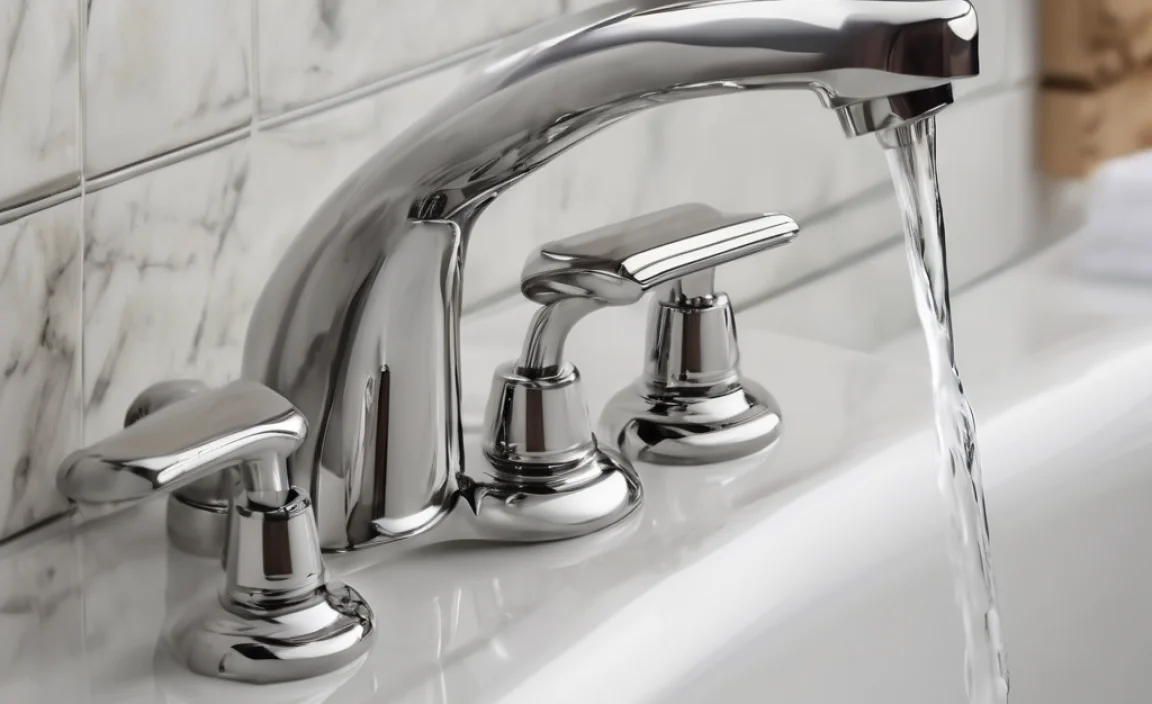
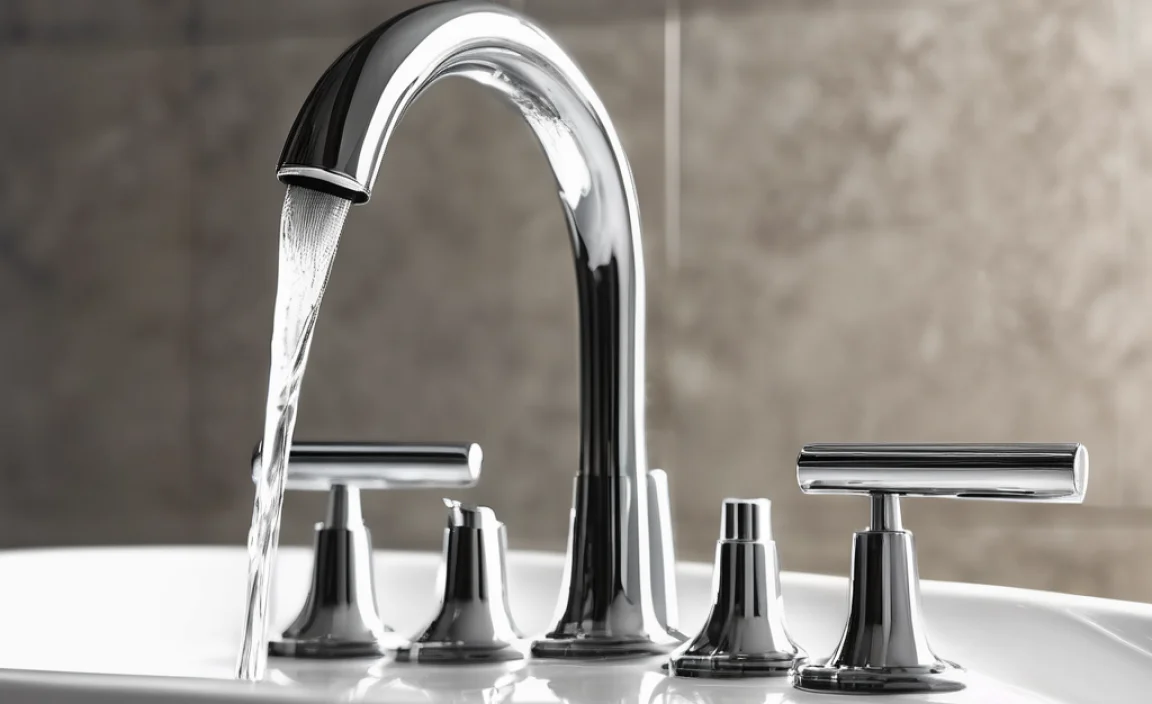
- Two-Handle Faucets: These have separate handles for hot and cold water. They are a very common type.
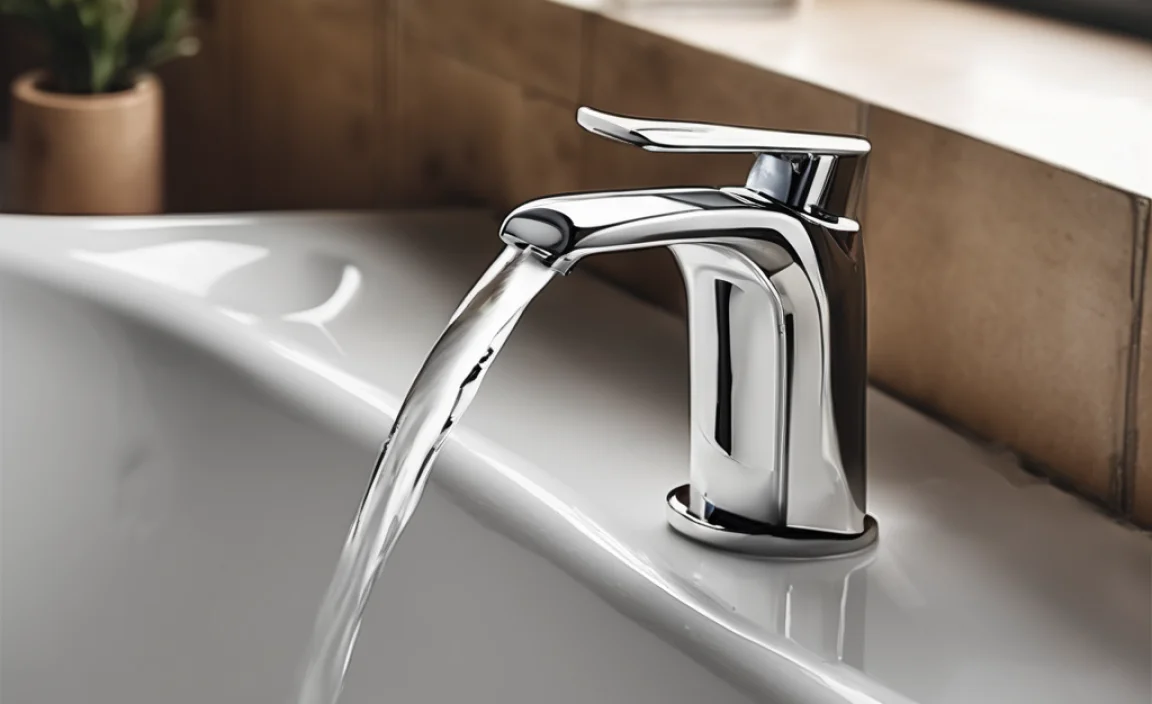
- Single-Handle Faucets: These have one handle that controls both the temperature and flow of water.
- Wall-Mounted Faucets: These faucets are installed directly into the wall above the bathtub.
- Deck-Mounted Faucets: These faucets are mounted on the surface of the bathtub or a nearby platform.
Identifying the Problem
Take a close look at your faucet. Is it loose at the base where it meets the tub or wall? Does the entire faucet wobble when you touch it? Identifying exactly where the looseness is coming from will help you target the right areas for tightening.
Tools You’ll Need
Gathering your tools before you start will make the process much smoother. Here’s a basic list of what you’ll likely need:
- Screwdrivers: Both Phillips head and flathead screwdrivers.
- Wrenches: An adjustable wrench and possibly a set of open-end wrenches.
- Allen Wrench Set: For faucets with set screws.
- Plumber’s Tape: Also known as Teflon tape, for sealing threaded connections.
- Penetrating Oil: To loosen stubborn nuts and screws.
- Flashlight: To see clearly in tight spaces.
- Clean Cloths or Rags: For wiping up water and cleaning parts.
Step-by-Step Guide to Tightening Your Bathtub Faucet
Here’s a detailed guide on how to tighten your bathtub faucet. Follow these steps carefully, and you’ll have that faucet wobble-free in no time.
Step 1: Turn Off the Water Supply
This is the most important step! Before you do anything else, turn off the water supply to your bathtub. You don’t want to end up with a flood. The shut-off valves are usually located under the bathtub or in an access panel behind the wall. If you can’t find them, you may need to turn off the main water supply to your house. Here’s how:
- Locate the Shut-Off Valves: Look for small, oval-shaped handles on the pipes leading to the faucet.
- Turn Clockwise: Turn the handles clockwise until they are completely closed.
- Test the Faucet: Turn on the faucet to make sure the water is completely off. If water still comes out, double-check that you’ve turned off the correct valves.
Step 2: Remove the Faucet Handle(s)
Next, you’ll need to remove the faucet handle(s) to access the screws or nuts underneath. Here’s how to do it for different types of handles:
For Two-Handle Faucets:
- Locate the Set Screw: Look for a small set screw on the side or front of the handle. It may be hidden under a decorative cap.
- Remove the Set Screw: Use an Allen wrench or a small screwdriver to loosen and remove the set screw.
- Pull Off the Handle: Once the set screw is removed, you should be able to pull the handle straight off.
For Single-Handle Faucets:
- Locate the Cap: Look for a decorative cap on the handle.
- Pry Off the Cap: Use a small flathead screwdriver to gently pry off the cap.
- Remove the Screw: Underneath the cap, you’ll find a screw. Use a Phillips head screwdriver to remove it.
- Pull Off the Handle: Once the screw is removed, you can pull the handle off.
Step 3: Identify the Fastening Mechanism
With the handles removed, you can now see how the faucet is attached to the tub or wall. There are usually two common mechanisms:
- Retaining Nuts: These are large nuts that screw onto the faucet body and hold it in place.
- Mounting Brackets: These are metal brackets that attach to the faucet and are screwed into the wall or tub.
Step 4: Tighten the Retaining Nuts or Mounting Brackets
Now comes the main part: tightening everything up.
Tightening Retaining Nuts:
- Position the Wrench: Place an adjustable wrench around the retaining nut.
- Tighten the Nut: Turn the wrench clockwise to tighten the nut. Be careful not to overtighten, as this could damage the faucet or the nut.
- Test for Looseness: After tightening, check if the faucet is still loose. If so, tighten the nut a little more.
Tightening Mounting Brackets:
- Locate the Screws: Find the screws that hold the mounting brackets to the wall or tub.
- Tighten the Screws: Use a screwdriver to tighten the screws. Again, be careful not to overtighten.
- Check for Stability: Make sure the faucet is now stable and doesn’t wobble.
Step 5: Check for Worn-Out Parts
Sometimes, tightening the nuts and screws isn’t enough. If your faucet is still loose, it might be because of worn-out parts. Here are some common parts that can cause looseness:
- O-Rings: These rubber rings seal the connections between the faucet and the water supply pipes. Over time, they can dry out and crack, causing leaks and looseness.
- Washers: These flat rings provide a cushion between the faucet and the mounting surface. They can wear down over time, leading to looseness.
- Mounting Brackets: If the mounting brackets are bent or damaged, they won’t hold the faucet securely.
If you suspect that any of these parts are worn out, you’ll need to replace them. You can usually find replacement parts at your local hardware store. Take the old parts with you to make sure you get the right size and type.
Step 6: Reassemble the Faucet
Once you’ve tightened the nuts and screws (and replaced any worn-out parts), it’s time to reassemble the faucet.
- Replace the Handles: Slide the handles back onto the faucet stems.
- Secure the Handles: Tighten the set screws or replace the screws that hold the handles in place.
- Replace the Caps: Snap the decorative caps back onto the handles.
Step 7: Test the Faucet
Now for the moment of truth! Turn the water supply back on and test the faucet.
- Turn on the Water: Slowly turn the shut-off valves counterclockwise to turn the water back on.
- Check for Leaks: Look for any leaks around the base of the faucet or the handles.
- Test the Water Flow: Turn on the faucet and make sure the water flows smoothly and at the correct temperature.
If you see any leaks, turn off the water supply again and double-check all the connections. You may need to tighten the nuts and screws a little more or replace any damaged parts.
Advanced Troubleshooting
Sometimes, a simple tightening isn’t enough. Here are some more advanced issues you might encounter and how to deal with them.
Stripped Screws
If the screws that hold the mounting brackets are stripped, they won’t tighten properly. Here are a few ways to deal with stripped screws:
- Use a Longer Screw: Try using a slightly longer screw that can reach deeper into the wall or tub.
- Use a Screw Anchor: Install a screw anchor in the wall or tub to provide a more secure grip for the screw.
- Replace the Mounting Bracket: If the screw holes in the mounting bracket are stripped, you may need to replace the entire bracket.
Corroded Nuts and Bolts
Over time, the nuts and bolts that hold the faucet in place can become corroded, making them difficult to tighten or loosen. Here’s how to deal with corroded parts:
- Apply Penetrating Oil: Spray penetrating oil onto the corroded parts and let it sit for a few minutes. This will help loosen the corrosion and make it easier to turn the nuts and bolts.
- Use a Wire Brush: Use a wire brush to scrub away any loose corrosion.
- Replace the Parts: If the corrosion is too severe, you may need to replace the nuts and bolts.
Mineral Buildup
Mineral buildup can accumulate around the faucet and make it difficult to tighten or remove. Here’s how to remove mineral buildup:
- Apply Vinegar: Soak a cloth in white vinegar and wrap it around the faucet. Let it sit for a few hours or overnight. The vinegar will help dissolve the mineral buildup.
- Scrub with a Brush: Use a stiff brush to scrub away the loosened mineral buildup.
- Use a Mineral Dissolver: You can also use a commercial mineral dissolver, following the manufacturer’s instructions.
Cost Considerations
Tightening a bathtub faucet yourself is usually a very cost-effective solution. Here’s a breakdown of potential costs:
| Item | Estimated Cost |
|---|---|
| Replacement O-rings or Washers | $5 – $10 |
| New Mounting Brackets | $10 – $20 |
| Adjustable Wrench (if you don’t have one) | $15 – $30 |
| Penetrating Oil | $5 – $10 |
| Total DIY Cost | $25 – $70 |
| Professional Plumber | $100 – $300+ |
As you can see, doing it yourself can save you a significant amount of money compared to hiring a professional plumber. The cost of hiring a plumber can vary widely depending on your location and the complexity of the job.
Safety Tips
While tightening a bathtub faucet is a relatively simple DIY project, it’s important to take some safety precautions:
- Turn Off the Water: Always turn off the water supply before working on any plumbing.
- Wear Safety Glasses: Protect your eyes from debris and splashes.
- Use the Right Tools: Using the wrong tools can damage the faucet or cause injury.
- Don’t Overtighten: Overtightening nuts and screws can damage the faucet or strip the threads.
- Call a Professional: If you’re not comfortable doing the job yourself, or if you encounter any problems, call a professional plumber.
Preventative Maintenance
To keep your bathtub faucet in good condition and prevent it from becoming loose again, here are some preventative maintenance tips:
- Regularly Check for Leaks: Inspect your faucet for leaks on a regular basis. Even small leaks can cause damage over time.
- Tighten Loose Parts: If you notice any loose parts, tighten them as soon as possible.
- Clean the Faucet: Clean the faucet regularly to remove mineral buildup and prevent corrosion.
- Lubricate Moving Parts: Lubricate the moving parts of the faucet with plumber’s grease to keep them working smoothly.
When to Call a Professional
While many faucet issues can be resolved with DIY methods, there are times when it’s best to call a professional plumber. Here are some situations where you should seek professional help:
- You Can’t Find the Shut-Off Valves: If you can’t locate the shut-off valves for your bathtub, don’t try to work on the faucet. Call a plumber to help you turn off the water supply.
- You Encounter Major Corrosion: If the faucet is heavily corroded, it may be difficult to remove without damaging the surrounding plumbing. A plumber has the tools and expertise to deal with corrosion safely.
- You Damage the Plumbing: If you accidentally damage the plumbing while working on the faucet, call a plumber immediately.
- You’re Not Comfortable Doing the Job Yourself: If you’re not comfortable working on plumbing, don’t hesitate to call a professional. It’s better to be safe than sorry.
FAQ: Tightening Bathtub Faucets
Here are some frequently asked questions about tightening bathtub faucets:
Why is my bathtub faucet loose?
A bathtub faucet can become loose due to vibrations from water flow, wear and tear on mounting hardware, or corrosion of screws and nuts over time. Regular use can gradually loosen the connections.
Can I tighten any type of bathtub faucet myself?
Yes, most standard bathtub faucets can be tightened by homeowners. The process usually involves turning off the water supply, removing the handle, and tightening retaining nuts or mounting screws. Some faucets may require specific tools.
What tools do I need to tighten a bathtub faucet?
You’ll typically need screwdrivers (Phillips and flathead), an adjustable wrench, an Allen wrench set, plumber’s tape, penetrating oil, a flashlight, and clean cloths. These tools help in accessing and tightening the faucet components.
What if tightening the nuts and screws doesn’t fix the problem?
If tightening doesn’t work, worn-out parts like O-rings, washers, or mounting brackets may need replacement. Inspect these components for damage and replace them to ensure a secure fit.
How do I prevent my bathtub faucet from becoming loose again?
Regularly check for leaks and loose parts, clean the faucet to prevent mineral buildup, and lubricate moving parts. Tighten any loose connections as soon as you notice them to prevent further issues.
Is it safe to use threadlocker on bathtub faucet connections?
While threadlocker can secure connections, it’s not typically recommended for bathtub faucets due to potential difficulty in future disassembly. Plumber’s tape is a safer alternative for sealing threaded connections.
When should I call a plumber instead of trying to fix it myself?
Call a plumber if you can’t locate shut-off valves, encounter major corrosion, damage the plumbing, or if you’re uncomfortable doing the job yourself. Professional assistance ensures safe and correct repairs.
Conclusion
Tightening a loose bathtub faucet is a simple DIY project that can save you water, prevent damage, and avoid costly plumbing bills. By following the step-by-step guide in this article, you can confidently tackle this task and enjoy a stable, leak-free faucet. Remember to take your time, use the right tools, and prioritize safety. With a little effort, you can keep your bathroom in top shape and enjoy a relaxing bath without the annoyance of a wobbly faucet. Happy fixing!