Quick Summary: Tightening a loose toilet seat when you can’t reach the underside can be simple! First, try tightening the visible bolts near the hinges. If those spin freely, use a thin, flexible tool like a putty knife or flathead screwdriver to gently hold the nut underneath while you tighten from above. With patience, you can secure that wobbly seat in no time!
Is your toilet seat wobbling all over the place? It’s annoying, right? Plus, it can make you feel like you’re about to slide right off. The usual fix is to tighten the bolts under the toilet, but what if you can’t even reach them? Don’t worry, you’re not stuck with a shaky throne forever.
In this guide, I’ll show you a few simple tricks to tighten your toilet seat even when you can’t get to the underside. We’ll cover everything from identifying the problem to using everyday tools to get the job done. Let’s get started and make your bathroom a little more comfortable!
Why is My Toilet Seat Loose?
Before we jump into fixing things, let’s quickly look at why your toilet seat might be loose in the first place. Knowing the cause can help you prevent it from happening again.
- Loose Bolts: This is the most common culprit. The bolts holding the seat to the toilet can loosen over time due to regular use.
- Worn Washers: Washers provide friction and grip. If they wear down, the bolts won’t stay tight.
- Cheap Hardware: Some toilet seats come with low-quality hardware that doesn’t hold up well.
- Over-Tightening: Believe it or not, over-tightening can also cause problems. It can strip the threads on the bolts or crack the plastic, leading to looseness.
- Frequent Use: In busy households, toilet seats get a lot of use, which can accelerate the loosening process.
Tools You’ll Need
You won’t need a whole toolbox for this project. Here are a few basic tools that will likely do the trick:
- Screwdriver: Both Phillips head and flathead screwdrivers might be needed, depending on your toilet seat bolts.
- Putty Knife or Thin Flathead Screwdriver: This will help you hold the nut underneath if it spins freely. A flexible one works best.
- Wrench or Pliers: Sometimes you need a little extra grip.
- Gloves (Optional): If you’re not a fan of touching bathroom fixtures, gloves are a good idea.
- Cleaning Supplies: While you’re at it, give the area around the toilet seat a quick wipe down.
Step-by-Step: Tightening a Toilet Seat with Limited Access

Okay, let’s get down to business. Here’s how to tighten that wobbly toilet seat, even when you can’t easily reach the underside.
Step 1: Assess the Situation
First, take a good look at the toilet seat and how it’s attached. Identify the type of bolts and how much access you have to the underside. This will help you choose the right approach.
- Check the Bolts: See if you can easily access the bolts on top of the toilet. Are they Phillips head or flathead?
- Look Underneath: Even if you can’t reach, try to peek under the toilet bowl to see the nuts. Are they spinning freely when you try to tighten the bolts from above?
- Identify Obstructions: Are there any pipes or other fixtures blocking your access?
Step 2: Try Tightening from Above
Sometimes, the simplest solution works. Try tightening the bolts from above first.
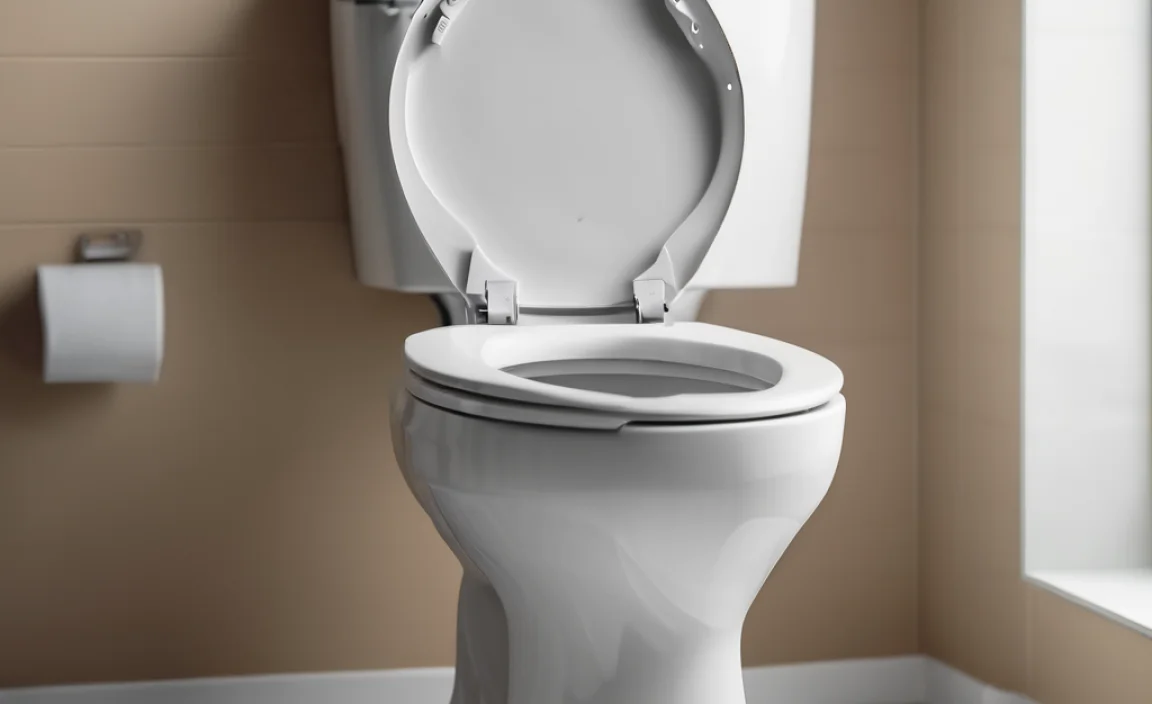
- Locate the Bolts: These are usually covered by plastic caps near the hinges of the toilet seat. Flip open the caps to reveal the bolt heads.
- Use a Screwdriver: Insert the appropriate screwdriver (Phillips head or flathead) into the bolt head.
- Tighten Carefully: Turn the screwdriver clockwise to tighten the bolt. Don’t over-tighten, as this can crack the plastic or strip the threads. Just snug it up until the seat feels secure.
- Test the Seat: Give the toilet seat a wiggle to see if it’s still loose. If it is, move on to the next step.
Step 3: The Putty Knife Trick
If the bolts are spinning freely, you’ll need to hold the nut underneath while you tighten from above. This is where the putty knife or thin screwdriver comes in handy.
- Position the Putty Knife: Carefully slide the putty knife or thin screwdriver between the toilet bowl and the nut on the underside of the bolt. The goal is to create enough friction to stop the nut from spinning.
- Apply Gentle Pressure: Gently press the putty knife against the nut to hold it in place.
- Tighten from Above: While holding the nut with the putty knife, use the screwdriver to tighten the bolt from above.
- Check for Tightness: Once the bolt is snug, remove the putty knife and test the toilet seat. It should be much more stable.
- Repeat: Repeat this process for the other bolt.
Step 4: Using a Wrench or Pliers (If Necessary)
If the putty knife trick isn’t working, you might need a little more leverage. This is where a wrench or pliers comes in.
- Position the Wrench or Pliers: If you can get a wrench or pliers onto the nut underneath the toilet, do so.
- Hold the Nut Securely: Grip the nut firmly with the wrench or pliers.
- Tighten from Above: Use the screwdriver to tighten the bolt from above while holding the nut with the wrench or pliers.
- Check for Tightness: Test the toilet seat to make sure it’s secure.
- Repeat: Repeat for the other bolt.
Step 5: Consider Expanding Anchor Bolts
If you’re still struggling, or if the bolt holes in the toilet are damaged, you might want to consider using expanding anchor bolts. These are designed to grip the inside of the hole and provide a more secure hold.
- Remove the Old Bolts: Take out the existing bolts and hardware.
- Insert Expanding Anchors: Insert the expanding anchors into the bolt holes.
- Tighten the Bolts: As you tighten the bolts, the anchors will expand and grip the inside of the hole.
- Test the Seat: Check the toilet seat for stability.
Step 6: Replacing the Toilet Seat (If All Else Fails)
Sometimes, the hardware is just too worn or damaged to be salvaged. If you’ve tried everything else and the toilet seat is still loose, it might be time to replace it. Luckily, replacing a toilet seat is a pretty simple and inexpensive DIY project.
- Remove the Old Seat: Remove the old bolts and detach the old toilet seat.
- Clean the Area: Give the area around the bolt holes a good cleaning.
- Install the New Seat: Follow the instructions that come with the new toilet seat to install it. Most new seats come with new hardware.
- Tighten Securely: Make sure to tighten the bolts securely, but don’t over-tighten.
- Test: Test the new seat to ensure it’s stable.
Tips and Tricks for a Secure Toilet Seat
Here are a few extra tips to help you keep your toilet seat secure and prevent future loosening:
- Use Washers: Make sure you’re using washers under the nuts. Washers provide extra grip and prevent the nuts from loosening.
- Nylon Washers: Consider using nylon washers. They provide even better grip than standard metal washers.
- Check Regularly: Periodically check the tightness of the toilet seat bolts and tighten them as needed.
- Don’t Over-Tighten: Over-tightening can damage the hardware and cause it to fail. Just tighten until the seat feels secure.
- Lubricate the Bolts: A little bit of lubricant on the bolt threads can help them turn more smoothly and prevent them from seizing.
Dealing with Special Toilet Seat Types
Some toilet seats have unique designs that might require slightly different approaches. Here’s how to handle a few common types:
Concealed Fixings
These toilet seats have hidden fixings, making it difficult to access the bolts. Usually, you’ll need to remove a cover or panel to reveal the bolts. Refer to the manufacturer’s instructions for specific guidance.
Soft-Close Seats
Soft-close seats have a special mechanism that allows them to close gently. Be extra careful when tightening the bolts on these seats, as you don’t want to damage the mechanism.
Top-Fix Seats
Top-fix seats are designed to be installed entirely from the top, which is great when you have limited access to the underside. These seats usually have a special type of expanding bolt that you tighten from above.
Table: Troubleshooting Common Toilet Seat Problems
Here’s a quick guide to help you troubleshoot some common toilet seat issues:
| Problem | Possible Cause | Solution |
|---|---|---|
| Toilet seat is loose | Loose bolts, worn washers | Tighten bolts, replace washers |
| Bolts spin freely | Nuts not gripping, damaged threads | Use putty knife to hold nut, replace bolts and nuts |
| Toilet seat slides sideways | Misalignment, loose bolts | Realign seat, tighten bolts |
| Cracked or broken seat | Wear and tear, impact | Replace toilet seat |
| Rusting bolts | Moisture, age | Replace bolts with stainless steel |
The Importance of Good Toilet Hygiene
While you’re fixing your toilet seat, it’s a good time to think about toilet hygiene. A clean toilet is essential for a healthy home.
- Regular Cleaning: Clean your toilet regularly with a good toilet bowl cleaner.
- Disinfecting: Disinfect the toilet seat and surrounding areas to kill germs.
- Hand Washing: Always wash your hands thoroughly after using the toilet. This is the easiest way to prevent the spread of germs. The CDC provides detailed guidelines on handwashing.
- Ventilation: Make sure your bathroom is well-ventilated to prevent the build-up of moisture and mold.
Cost Considerations
Fixing a loose toilet seat is usually a very affordable DIY project. Here’s a breakdown of potential costs:
- Tools: You probably already have most of the tools you need. If not, a putty knife, screwdriver, and wrench will cost less than $20.
- Hardware: Replacement bolts and washers are very inexpensive, usually costing just a few dollars.
- Toilet Seat: A new toilet seat can range from $20 to $100 or more, depending on the style and features.
As you can see, even if you need to replace the entire toilet seat, it’s still a relatively budget-friendly repair.
FAQ: Tightening Toilet Seats
Q1: Why does my toilet seat keep coming loose?
A: Toilet seats often loosen due to regular use, which causes the bolts to gradually vibrate and loosen over time. Cheap hardware or worn-out washers can also contribute to the problem.
Q2: Can I tighten a toilet seat without tools?
A: While it’s difficult, you might be able to hand-tighten the bolts if they’re only slightly loose. However, for a more secure fix, using a screwdriver or wrench is highly recommended.
Q3: What if the bolts are rusted and won’t turn?
A: Try applying a penetrating oil like WD-40 to the rusted bolts and let it sit for a few minutes. This can help loosen the rust and make it easier to turn the bolts. If they’re still stuck, you may need to carefully cut them off with a hacksaw or bolt cutter.
Q4: How do I prevent over-tightening the bolts?
A: Tighten the bolts gradually until the toilet seat feels secure and doesn’t wobble. Avoid applying excessive force, as this can crack the plastic or strip the threads. It’s better to check and re-tighten periodically than to over-tighten them in the first place.
Q5: Are all toilet seats the same size?
A: No, toilet seats come in two main sizes: round and elongated. Make sure to measure your toilet bowl before buying a replacement seat to ensure a proper fit. Most toilet seat packaging will indicate which type of bowl it fits.
Q6: What are those plastic caps on top of the toilet seat bolts for?
A: Those plastic caps are there to conceal the bolts and give the toilet seat a cleaner, more finished look. They also help protect the bolts from corrosion and make them easier to clean.
Q7: Is it worth upgrading to a soft-close toilet seat?
A: Many people find soft-close toilet seats to be a worthwhile upgrade. They prevent the seat from slamming shut, which can be noisy and potentially damaging. They’re also a nice feature if you have children or roommates who tend to be a bit heavy-handed.
Conclusion
So, there you have it! Tightening a toilet seat with limited access to the underside might seem tricky at first, but with a few simple tools and these step-by-step instructions, you can get the job done. Remember to take your time, be patient, and don’t be afraid to try different approaches. And if all else fails, replacing the toilet seat is always an option.
A wobbly toilet seat is more than just an annoyance. It can be a safety hazard and a source of frustration. By following these tips, you can keep your toilet seat secure and enjoy a more comfortable and stable bathroom experience. Now go grab those tools and get to work – your throne awaits!