Quick Summary: Winterizing your outdoor faucets prevents them from freezing and bursting during cold weather. If you don’t have a shut-off valve, don’t worry! Simply disconnect your hose, install an insulated faucet cover, and use a faucet insulator to protect against freezing temperatures. This simple process can save you from costly plumbing repairs.
Outdoor faucets are super handy in the summer. But when winter comes, they can cause big headaches if they freeze and burst. Many homes have shut-off valves inside to stop water flow to outside faucets, making winterizing easy. But what if you don’t have one? It might seem tricky, but don’t worry! You can still protect your pipes. This guide will show you simple steps to winterize your outdoor faucet even without a shut-off valve. Let’s get started!
Why Winterizing Your Outdoor Faucets is Important
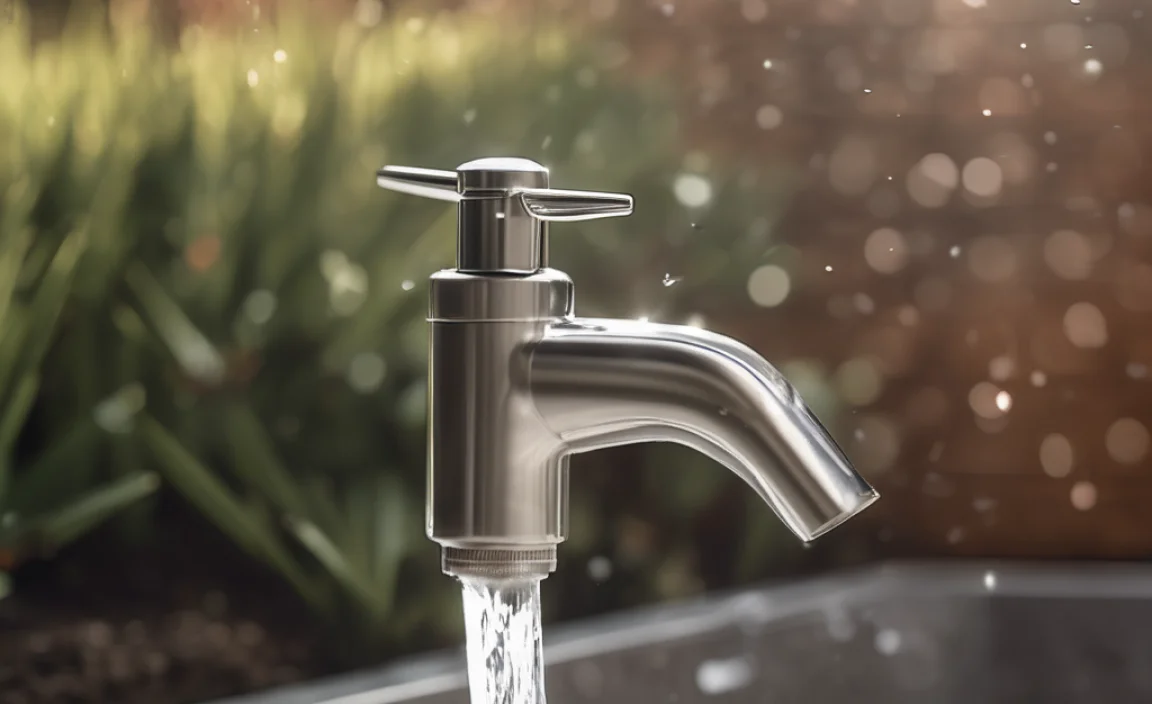
Freezing temperatures can cause water inside your outdoor faucets and pipes to expand. This expansion can lead to cracks and bursts, resulting in costly repairs. Winterizing your outdoor faucets prevents this damage by insulating them from the cold. This simple task can save you a lot of money and hassle in the long run.
The Cost of Ignoring Winterization
Ignoring winterization can lead to:
- Burst pipes: Freezing water expands, causing pipes to crack.
- Water damage: Leaking pipes can damage your home’s structure.
- Costly repairs: Plumbing repairs can be expensive, especially in winter.
Understanding the Problem: No Shut-Off Valve
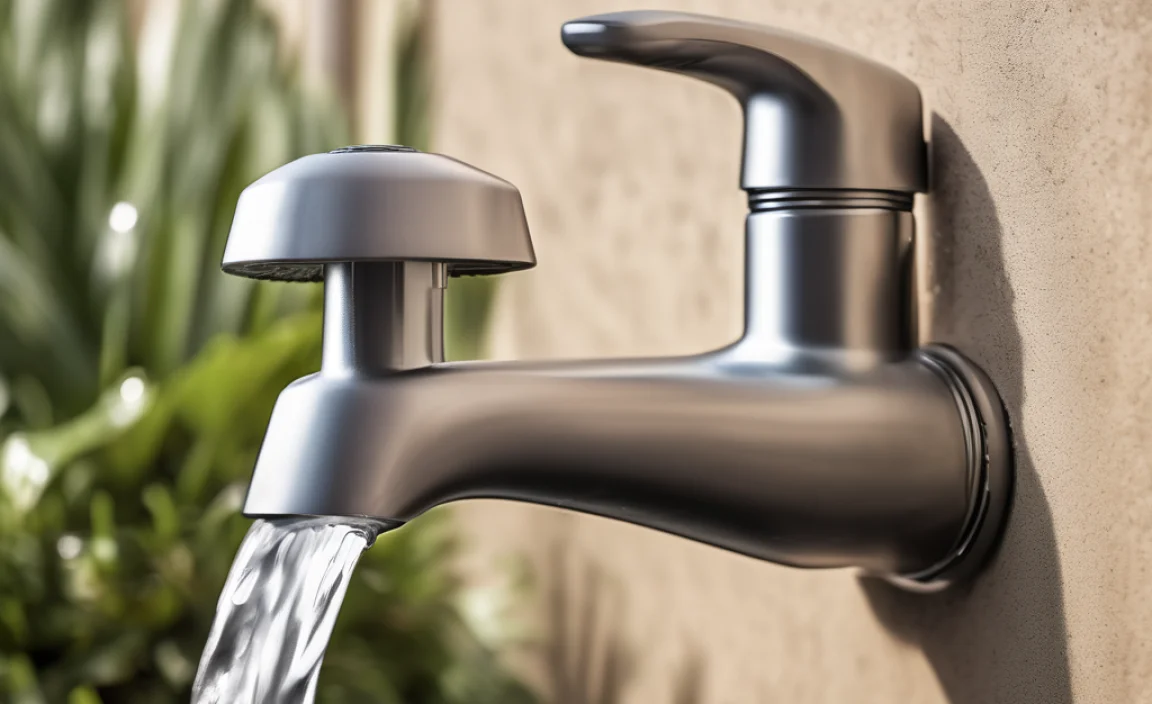
A shut-off valve allows you to stop the water supply to your outdoor faucet from inside your home. This makes it easy to drain the faucet and prevent freezing. Without a shut-off valve, you need to take extra steps to insulate the faucet and protect it from the cold.
Common Reasons for Missing Shut-Off Valves
Older homes often lack shut-off valves for outdoor faucets. Sometimes, shut-off valves are located in hard-to-reach places, making them difficult to use. Whatever the reason, you can still winterize your faucets effectively.
Step-by-Step Guide: Winterizing Your Outdoor Faucet Without a Shut-Off Valve
Follow these steps to protect your outdoor faucet from freezing temperatures. It’s easier than you think!
Step 1: Disconnect and Drain the Hose
The first step is to disconnect any hoses attached to the faucet. Leaving a hose connected can trap water, which can freeze and back up into the faucet and pipes.
- Remove the hose: Twist the hose counterclockwise to detach it from the faucet.
- Drain the hose: Hold the hose up to let any remaining water drain out.
- Store the hose: Store the hose in a garage or shed to protect it from the elements.
Step 2: Inspect the Faucet
Check the faucet for any signs of damage, such as cracks or leaks. Addressing these issues before winter can prevent further problems.
- Look for cracks: Check the faucet body and handle for any cracks.
- Check for leaks: Turn the faucet on briefly to check for leaks around the handle and spout.
- Repair if needed: If you find any damage, consider repairing or replacing the faucet before winter.
Step 3: Install a Faucet Cover
A faucet cover provides insulation, protecting the faucet from freezing temperatures. These covers are inexpensive and easy to install.
- Choose a faucet cover: Select an insulated faucet cover made of foam, rubber, or another insulating material.
- Install the cover: Place the cover over the faucet, ensuring it fits snugly.
- Secure the cover: Use the cover’s straps or elastic to secure it in place.
Types of Faucet Covers
| Type of Cover | Material | Pros | Cons |
|---|---|---|---|
| Foam Cover | Foam | Inexpensive, easy to install | Less durable, may not provide as much insulation |
| Rubber Cover | Rubber | Durable, good insulation | More expensive than foam covers |
| Insulated Pouch | Insulated fabric | Provides excellent insulation, reusable | Can be more expensive, may require more effort to install |
Step 4: Use a Faucet Insulator
For extra protection, use a faucet insulator in addition to the faucet cover. These insulators provide an extra layer of insulation against freezing temperatures.
- Choose an insulator: Select a faucet insulator made of insulating material like fiberglass or foam.
- Wrap the faucet: Wrap the insulator around the faucet, covering as much of the faucet body as possible.
- Secure the insulator: Use tape or straps to secure the insulator in place.
Step 5: Apply Heat Tape (Optional)
If you live in an area with extremely cold temperatures, consider using heat tape. Heat tape is an electrical tape that provides gentle heat to prevent freezing.
- Choose heat tape: Select heat tape specifically designed for outdoor faucets.
- Wrap the faucet: Wrap the heat tape around the faucet, following the manufacturer’s instructions.
- Plug in the tape: Plug the heat tape into an outdoor-rated electrical outlet.
Safety Note: Always follow the manufacturer’s instructions when using heat tape. Use an outdoor-rated electrical outlet and avoid using damaged or frayed heat tape.
Step 6: Consider a Temporary Shut-Off Valve
If you frequently need to shut off water to your outdoor faucet, consider installing a temporary shut-off valve. These valves attach to the faucet and allow you to stop the water flow without needing an indoor shut-off valve.
- Purchase a valve: Buy a temporary shut-off valve from your local hardware store.
- Attach the valve: Attach the valve to the faucet, following the manufacturer’s instructions.
- Use the valve: When needed, use the valve to shut off the water supply to the faucet.
Additional Tips for Winterizing Outdoor Faucets

Here are some extra tips to help protect your outdoor faucets during the winter:
- Check for drafts: Seal any drafts around pipes leading to the faucet.
- Drip the faucet: On extremely cold nights, let the faucet drip slightly to keep water moving and prevent freezing.
- Monitor the weather: Pay attention to weather forecasts and take extra precautions when temperatures are expected to drop below freezing.
Dealing with Frozen Faucets
If your faucet does freeze, here’s how to handle it:
- Don’t force it: Avoid trying to force the faucet open, as this can damage it.
- Apply heat: Use a hairdryer or warm water to gently thaw the faucet.
- Check for leaks: Once thawed, check for leaks and repair any damage.
Choosing the Right Materials

Selecting the right materials is crucial for effective winterization. Here’s a breakdown of what to look for:
Faucet Cover Materials
| Material | Insulation Value | Durability | Cost |
|---|---|---|---|
| Foam | Low | Low | Low |
| Rubber | Medium | Medium | Medium |
| Insulated Fabric | High | High | High |
Insulation Materials
Effective insulation materials include:
- Fiberglass: Provides good insulation and is relatively inexpensive.
- Foam: Lightweight and easy to install.
- Heat tape: Provides gentle heat to prevent freezing.
Long-Term Solutions: Installing a Frost-Free Faucet
For a more permanent solution, consider installing a frost-free faucet. These faucets are designed to prevent freezing by extending the valve inside your home, where it’s warmer.
Benefits of Frost-Free Faucets
- Prevents freezing: Keeps the valve inside your home, away from freezing temperatures.
- Reduces maintenance: Eliminates the need for annual winterization.
- Saves time and effort: Simplifies your winter preparations.
Installation Considerations
Installing a frost-free faucet may require some plumbing knowledge. If you’re not comfortable with plumbing work, consider hiring a professional.
Cost-Effective Winterization Strategies
Winterizing your outdoor faucets doesn’t have to break the bank. Here are some cost-effective strategies:
- DIY solutions: Use materials you already have, such as old blankets or towels, to insulate the faucet.
- Bulk purchases: Buy faucet covers and insulation in bulk to save money.
- Energy-efficient options: Choose energy-efficient heat tape to minimize electricity costs.
Troubleshooting Common Issues
Here are some common issues you might encounter and how to address them:
Faucet Cover Doesn’t Fit
If your faucet cover doesn’t fit, try using a larger size or adjusting the cover to fit snugly around the faucet.
Insulation Keeps Falling Off
If your insulation keeps falling off, use tape or straps to secure it in place. Make sure the insulation is wrapped tightly around the faucet.
Faucet Still Freezes
If your faucet still freezes, consider adding more insulation or using heat tape for extra protection. Also, check for drafts around the pipes leading to the faucet.
FAQ: Winterizing Outdoor Faucets
Here are some frequently asked questions about winterizing outdoor faucets:
- Do I really need to winterize my outdoor faucets?
- Yes! Winterizing prevents freezing and bursting, saving you from costly repairs.
- What if I forget to winterize my faucets?
- If you forget, do it as soon as possible. Even a late winterization is better than none.
- Can I use a regular towel instead of a faucet cover?
- A towel is better than nothing, but a proper faucet cover provides better insulation.
- How often should I replace my faucet covers?
- Replace them every year or two, or when you see signs of wear and tear.
- Is heat tape safe to use?
- Yes, if used correctly. Follow the manufacturer’s instructions and use an outdoor-rated outlet.
- What do I do if my pipes burst?
- Turn off the water supply immediately and call a plumber.
- How much does it cost to winterize a faucet?
- It can cost as little as $5-$20 for a faucet cover, making it a very affordable preventative measure.
Conclusion
Winterizing your outdoor faucets without a shut-off valve might seem challenging, but it’s totally doable with these simple steps. By disconnecting your hose, using faucet covers and insulators, and considering heat tape, you can protect your pipes from freezing and bursting. These simple actions can save you a lot of money and hassle in the long run. So, get out there and give your faucets the winter protection they need!

