Tired of food scraps piling up in your kitchen bin? Wish you could compost at home, but think it’s too big, smelly, or complicated? You’re not alone! Many of us want to be more eco-friendly, but the idea of a traditional compost pile feels overwhelming, especially if you live in an apartment or a home without a big yard. But guess what? There are some super clever ways to compost indoors that are surprisingly easy and effective. We’re going to explore some fantastic indoor composting alternatives that will turn your kitchen waste into gardening gold, without the fuss. Get ready to discover your new favorite eco-solution!
Ditch the Bin, Embrace the Worms (or Microbes!): Your Indoor Composting Alternative Guide
Hey there, fellow home improvers and eco-warriors! Troy D Harn here, your go-to guy for making all things home and garden simple and achievable. We all know food waste is a big deal for our planet. Tossing those veggie peels and coffee grounds into the landfill might seem like the easiest thing to do, but it contributes to greenhouse gases. The dream is to compost, right? To turn that waste into rich, nutrient-packed goodness for your plants. But the reality for many of us – especially apartment dwellers or those with limited outdoor space – is that a big, outdoor compost bin isn’t an option. It can feel like a roadblock to going green.
But what if I told you there are some fantastic, easy-to-use, and honestly, pretty genius indoor composting alternatives? You don’t need a sprawling backyard or a degree in soil science. These methods are designed for everyday folks like you and me, making it totally doable to reduce waste and boost your gardening game, all from your kitchen or balcony. We’re talking about simple systems that are clean, efficient, and surprisingly odor-free when done right. Ready to turn that kitchen counter or corner of your home into a mini eco-powerhouse?
Let’s dive into some of the most popular and effective indoor composting alternatives that are perfect for beginners. We’ll break down exactly what they are, how they work, what you need, and why they might just be the perfect eco-solution for your home.
Why Go Beyond a Traditional Compost Pile?
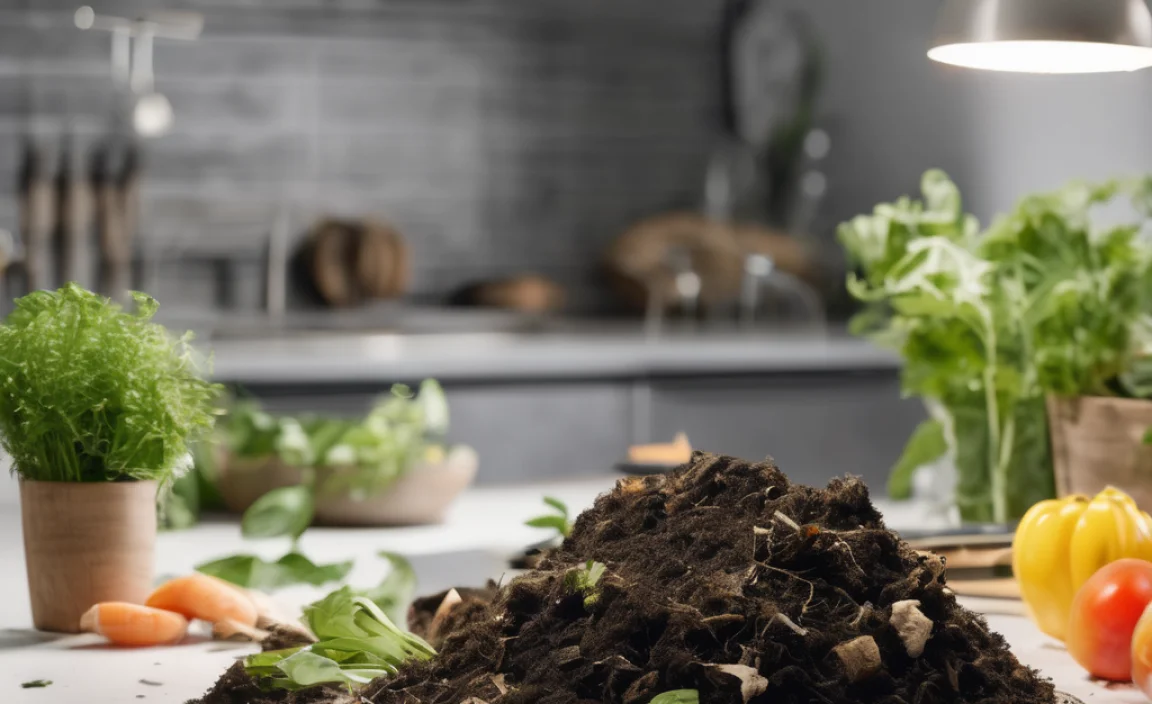
Before we jump into the “how-to,” let’s chat for a second about why you might choose an indoor composting alternative over a traditional pile. It often boils down to practicality and space. Traditional composting is fantastic, but it typically requires a decent amount of outdoor space, specific weather conditions, and a bit more active management (like turning the pile). For those living in apartments, condos, or houses with small yards, this simply isn’t feasible.
- Space Constraints: The most obvious reason! Small living spaces often don’t have room for a large compost bin.
- Odor Concerns: While well-managed traditional compost shouldn’t smell bad, the thought of a compost pile near the house can be off-putting for some. Indoor systems, when managed correctly, are often remarkably odor-free.
- Pest Issues: Outdoor compost piles can sometimes attract unwanted visitors like rodents or flies. Indoor systems are generally sealed and designed to prevent this.
- Year-Round Composting: Weather can halt outdoor composting. Indoor methods allow you to compost 365 days a year, regardless of rain, snow, or heatwaves.
- Convenience: Having your composting system right in your kitchen or on your patio can make it easier to add scraps regularly.
These alternatives offer a way to participate in a circular economy, where your food waste becomes a resource, even if you don’t have the traditional setup. Pretty neat, right?
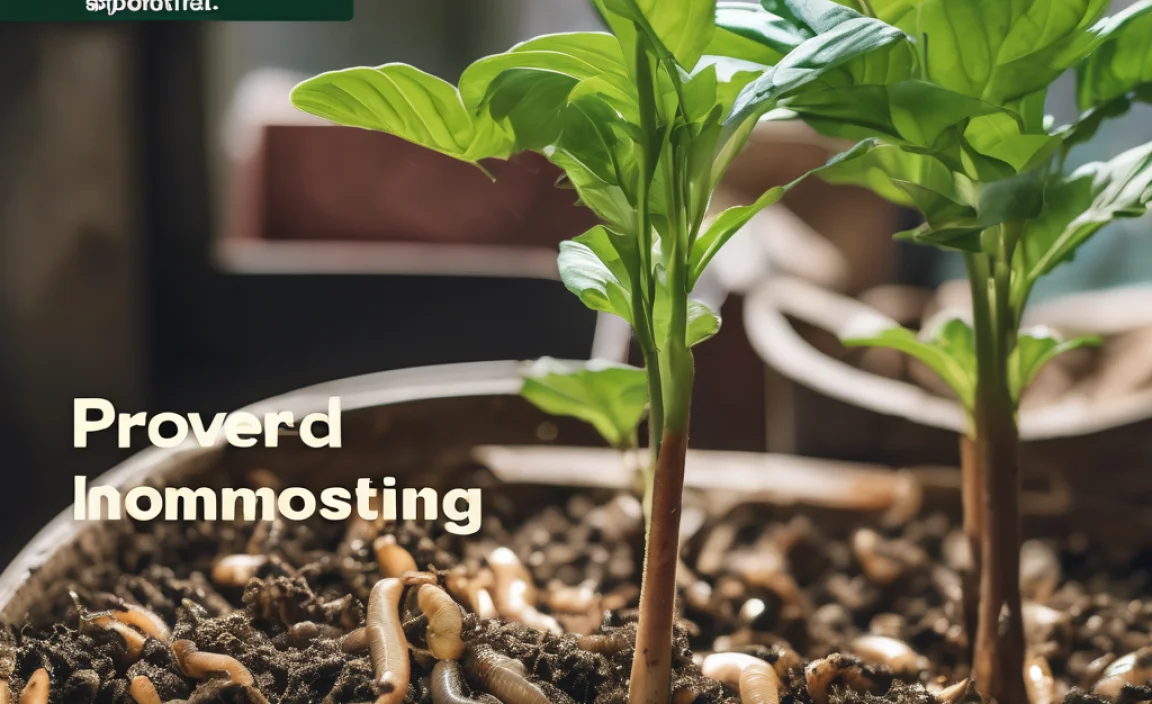
Genius Alternative #1: The Mighty Worm Bin (Vermicomposting)
This is probably the most well-known indoor composting alternative, and for good reason! Worm composting, or vermicomposting, uses special types of worms (red wigglers, NOT earthworms from your garden) to break down your food scraps. It’s a low-tech, highly effective method that can be done in a small space.
How it Works
Red wiggler worms are voracious eaters. You give them a habitat – typically a shallow bin filled with bedding material like shredded newspaper, coconut coir, or sawdust – and then you feed them your kitchen scraps. The worms munch their way through the organic material, and what they leave behind is a nutrient-rich material called worm castings, or vermicast. This stuff is pure black gold for your plants – it’s packed with nutrients and beneficial microbes.
What You’ll Need
Getting started with vermicomposting is pretty straightforward. You don’t need fancy equipment.
- A Worm Bin: You can buy specialized worm composting bins, which are usually multi-layered and designed for good airflow and drainage. Alternatively, you can DIY one using opaque plastic storage totes. The key is to have a bin that’s not clear (worms prefer the dark) with drainage holes and a lid.
- Bedding Material: This is what the worms live in and eat initially. Good options include:
- Shredded newspaper (black and white print only, avoid glossy paper)
- Shredded corrugated cardboard
- Coconut coir (often sold as ‘brick’ that you rehydrate)
- A mix of these is great!
- Red Wiggler Worms: You can’t just grab any old earthworm. You need composting worms like Eisenia fetida (red wigglers). You can usually order these online from reputable worm farms or sometimes find them at local gardening supply stores. Start with about ½ to 1 pound of worms for a typical beginner bin.
- Food Scraps: Your kitchen waste! We’ll cover what’s best later.
- A Spray Bottle: To keep the bedding moist.
- A Small Scoop or Trowel: For harvesting the castings.
Getting Started: Step-by-Step
Here’s how to set up your worm bin:
- Prepare the Bin: If you’re DIYing your bin, drill several small drainage holes in the bottom and a few ventilation holes around the top sides. If you bought a commercial bin, follow its setup instructions.
- Moisten the Bedding: Take your chosen bedding materials (shredded paper, etc.) and moisten them thoroughly with water. You want it to be as damp as a wrung-out sponge – not dripping wet.
- Fluff and Fill: Fluff up the moistened bedding and fill your bin about halfway or two-thirds full.
- Introduce the Worms: Gently place your red wiggler worms on top of the bedding. Leave the lid off for about 30 minutes to an hour to let them settle in. They’ll burrow down away from the light.
- Feed Them! (Gently at first): After a day or two, you can start feeding them. Dig a small hole in one corner of the bin, bury a small amount of food scraps, and replace the bedding over it. This prevents odors and fruit flies.
- Maintain Moisture: Check the moisture level regularly. If it looks dry, lightly spray with water. Too much moisture can lead to odors and drown the worms.
- Maintain Temperature: Worm bins do best in moderate temperatures, typically between 55-80°F (13-27°C). Avoid placing them in direct sunlight or freezing areas.
What to Feed Your Worms (and What to Avoid)
Worms are picky eaters! Feeding them the right things will lead to healthy worms and great castings.
Worm-Approved “Greens” (What to Feed Them):
- Fruit scraps (peels, cores, small pieces of melon, berries)
- Vegetable scraps (leafy greens, carrot peels, broccoli stems)
- Coffee grounds and paper filters
- Tea bags (remove staples and synthetic bags)
- Cooked pasta and rice (in small amounts, unseasoned)
- Crushed eggshells (helps with grit and balances pH)
Worm “No-Nos” (What to Avoid):
- Meat, fish, and dairy products: These can attract pests and create foul odors.
- Oily foods: Even small amounts can be harmful.
- Citrus peels and onions/garlic: In large quantities, these can be too acidic and harm the worms. Small amounts are usually okay if finely chopped.
- Spicy foods.
- Diseased plants.
- Pet waste.
- Glossy paper or colored inks.
Pro Tip: Chop up larger food scraps into smaller pieces. The smaller the pieces, the faster the worms can process them.
Harvesting and Using Worm Castings
After a few months, you’ll start seeing a dark, crumbly material – your worm castings! You’ll also notice less bedding. When roughly half the bin is castings, it’s time to harvest.
There are a few ways to do this, but a common method involves “migration”:
- Stop feeding in one half of the bin for a week or two.
- Then, start feeding only in the other half.
- The worms will migrate to the fresh food, leaving the empty side with castings behind.
- Once most worms have moved, you can scoop out the castings from the empty side.
You can use your worm castings directly in your potted plants, mix them into potting soil, or use them as a top dressing for your garden. They are gentle enough not to burn plants and provide a slow-release of nutrients.
Pros and Cons of Vermicomposting
Let’s look at the good and bad:
| Pros | Cons |
|---|---|
| Produces highly nutrient-rich compost (castings). | Requires purchasing specific composting worms. |
| Relatively fast composting process. | Can be sensitive to temperature fluctuations. |
| Minimal odor if managed correctly. | Some people have an aversion to worms. |
| Great for small spaces, apartments, and balconies. | Can’t handle large amounts of yard waste like grass clippings. |
| Quiet and discreet. | Requires careful feeding and avoidance of certain food types. |
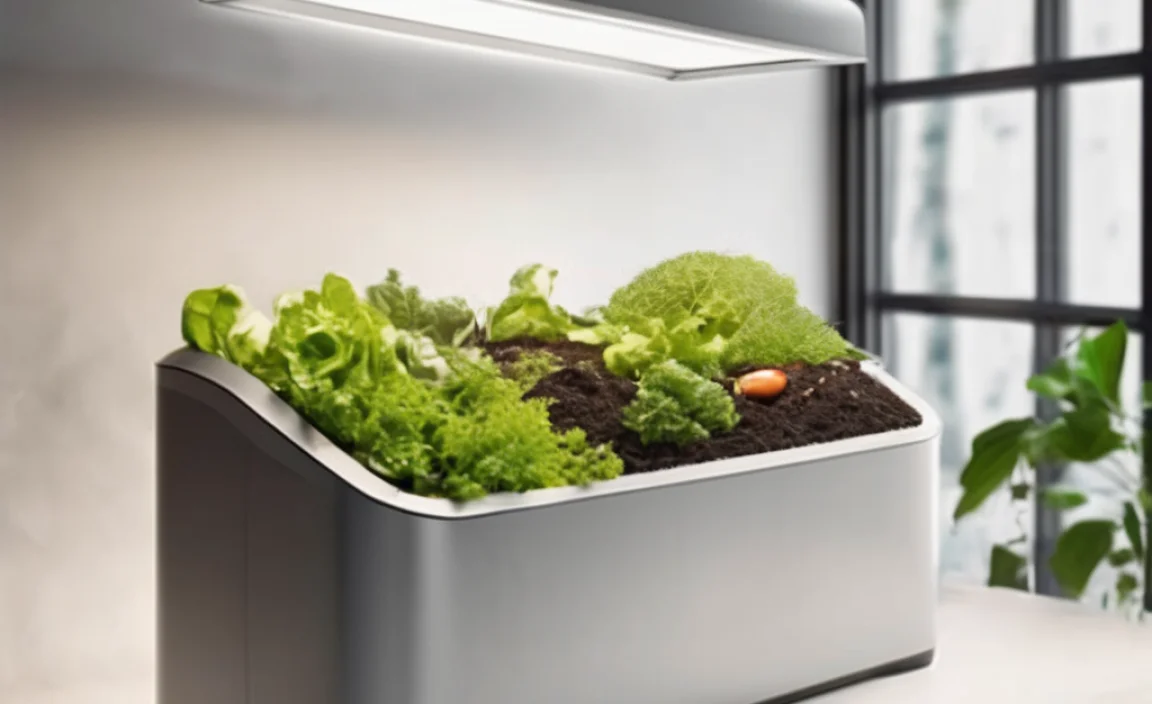
Genius Alternative #2: The Electric Composter (Food Cycler)
If the thought of worms makes you squeamish, or you want an even faster, more automated solution, an electric composter might be for you. These countertop appliances use heat, aeration, and grinding to rapidly break down food scraps into a dry, nutrient-dense soil amendment.
How it Works
You toss your food scraps into the appliance. It then heats, dries, and grinds the waste over a cycle, which typically takes a few hours. What you’re left with is a dry, fluffy material that’s about 90% smaller in volume than the original scraps. This material is ready to be mixed into your garden soil or added to a traditional compost pile to speed up its decomposition. It’s less “compost” in the traditional sense and more of a dehydrated, pulverized food additive for your soil.
What You’ll Need
This is a single-appliance solution, making it super simple.
- An Electric Composter Unit: Brands like FoodCycler, Lomi, and Vitamix Food Machine are popular options. These range in price but are an investment.
- Your Food Scraps: These machines are designed to handle a wide variety.
- An Outlet: It needs electricity to run.
Getting Started: Step-by-Step
This is about as easy as it gets!
- Plug it in: Place the unit on your countertop and plug it into a standard electrical outlet.
- Add Food Scraps: Open the lid and place your food waste directly into the bucket. Many models can handle meat, dairy, and other items that are off-limits for worm bins.
- Close the Lid and Start: Close the lid securely and press the start button.
- Wait for the Cycle: The unit will run through its drying and grinding cycle, typically taking 4-8 hours depending on the model and how full it is. Some models have different cycle options.
- Remove the Output: Once the cycle is complete, open the lid and remove the dried, dehydrated material from the bucket.
What Can You Put In?
This is where electric composters really shine for beginners. They can often handle:
- Fruit and vegetable scraps
- Meat, fish, and bones
- Dairy products
- Coffee grounds and tea bags
- Eggshells
- Even some biodegradable paper products (check your model’s manual!)
There are usually very few things you can’t put in, like large bones, excessive amounts of liquid, or packaging. Always check your specific appliance’s guidelines.
Using the Output
The dried, pulverized material from an electric composter is a fantastic soil amendment. It’s already broken down significantly and is full of nutrients. You can:
- Mix it directly into the soil of your potted plants or garden beds before planting.
- Add it to your outdoor compost pile to give it a nutrient boost and speed up decomposition.
- Use it as a top dressing for existing plants.
Pros and Cons of Electric Composters
Here’s a look at the benefits and drawbacks:
| Pros | Cons |
|---|---|
| Extremely fast (hours vs. months). | Higher upfront cost compared to other methods. |
| Handles a very wide range of food scraps, including meat and dairy. | Requires electricity, so there’s an ongoing energy cost. |
| Significantly reduces food waste volume. | The output is dehydrated material, not fully biologically active compost like worm castings or traditional compost. |
| Minimal odor during operation (usually filtered). | Takes up counter space. |
| Very easy to use; press a button and go. | Can be noisy during the grinding phase. |
| Good for those who dislike worms or traditional compost smells. | Some argue it uses more energy than ideal for the environment, though it still diverts waste from landfills. |
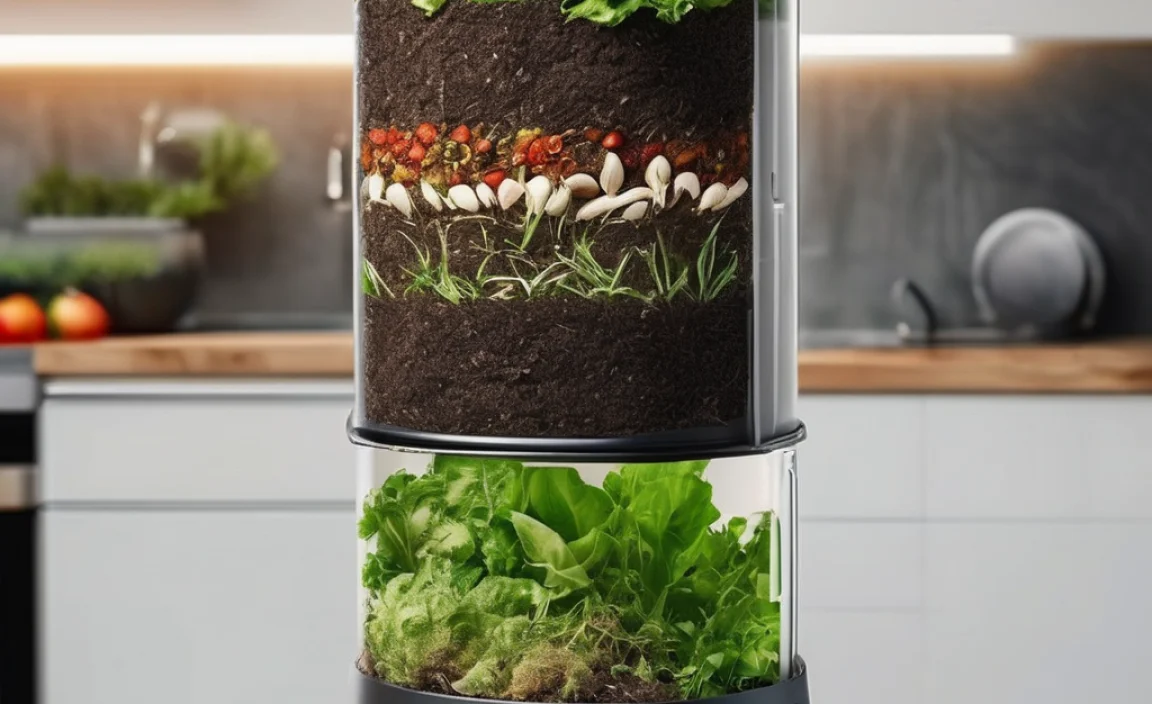
Genius Alternative #3: The Bokashi Bin
Bokashi is a Japanese fermentation process. It’s not technically composting because it doesn’t involve decomposition by microbes like worms or bacteria in the traditional sense. Instead, it uses a special anaerobic (oxygen-free) fermentation process with an inoculated bran (filled with beneficial microbes called Effective Microorganisms or EM) to pickle your food scraps.
How it Works
You add food scraps to an airtight Bokashi bin and sprinkle it with Bokashi bran after each layer. The EM in the bran create an acidic environment that pickles the waste, preventing rot and odor. This process takes about two weeks until the bin is full. Once filled, you let it ferment for another two weeks. The end result is a pickled material that, while not fully decomposed compost, is ready to be buried in soil or added to a compost pile, where it will then break down quickly.
What You’ll Need
Bokashi systems are designed for simplicity.
- Bokashi Bin: These are typically airtight buckets with a spigot at the bottom. You can buy them pre-made or DIY them. The airtight nature is crucial.
- Bokashi Bran: This is a special mixture of grain (like wheat or rice bran) inoculated with Effective Microorganisms (EM). You’ll need to purchase this.
- Food Scraps: Bokashi can handle almost all food scraps.
- A Container to Collect “Bokashi Tea”: The spigot on the bin releases a liquid byproduct, known as Bokashi tea. This is a potent fertilizer when diluted!
Getting Started: Step-by-Step
Setting up a Bokashi system is straightforward:
- Add Food Scraps: Place your food scraps into the Bokashi bin. Chop larger items to help with fermentation.
- Sprinkle with Bran: Sprinkle a tablespoon or two of Bokashi bran evenly over the scraps.
- Press Down: Press down the scraps to remove as much air as possible. This is important for anaerobic fermentation.
- Repeat


I am passionate about home engineering. I specialize in designing, installing, and maintaining heating, ventilation, and air conditioning systems. My goal is to help people stay comfortable in their homes all year long.