Ever thought about turning your kitchen scraps into garden gold but felt overwhelmed by the idea? Maybe you’ve heard about composting and pictured big, smelly piles in the backyard. What if I told you there’s a super simple, clean, and even fascinating way to compost right inside your home? Yep, indoor composting pets are a thing, and they’re genius! Stick around, and I’ll show you exactly how to get started. You can totally do this!
Indoor Composting Critters: Your Tiny Recycling Heroes
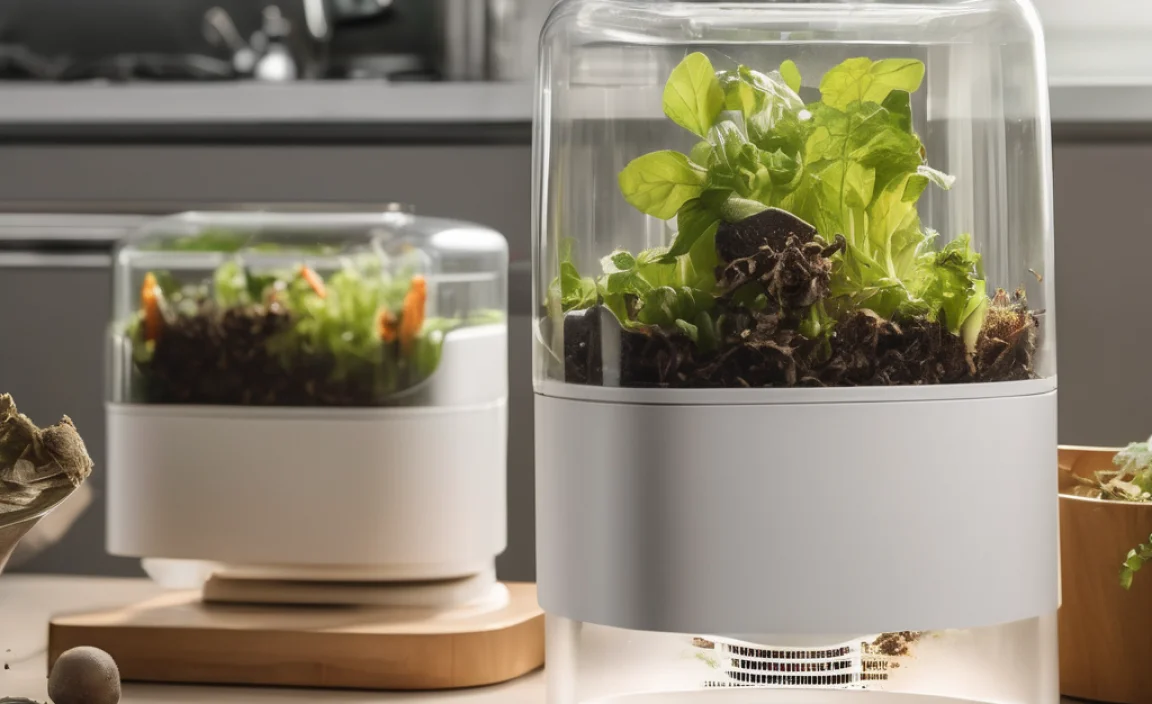
Let’s talk about “indoor composting pets.” No, we’re not bringing farm animals into your living room! We’re talking about tiny, hardworking critters that gobble up your food waste and turn it into nutrient-rich compost. The most popular critters for this job are red wiggler worms. They’re fantastic composters, and having a worm bin, often called a vermicomposter, is surprisingly easy and odor-free when done right. It’s a fantastic way to reduce waste and create amazing fertilizer for your plants.
Why Indoor Composting Pets? The Big Benefits
Why go through the trouble of setting up an indoor worm bin? Well, the benefits pile up faster than you might think! It’s a win-win for your wallet and the planet.
- Reduces Landfill Waste: A huge portion of household trash is food scraps and paper products. Composting these means less going to the landfill, which helps the environment.
- Creates Super Fertilizer: Worm castings (that’s worm poop!) are incredibly rich in nutrients. It’s like a superfood for your plants, making them healthier and more vibrant.
- Odor-Free (Really!): When managed correctly, a worm bin doesn’t smell bad. The worms and the materials they’re breaking down create an earthy scent, like a forest floor, not a garbage can.
- Educational and Engaging: It’s a fascinating process to watch! It’s also a great way to teach kids (or yourself!) about decomposition and the natural cycle of things.
- Year-Round Composting: Unlike outdoor piles that can freeze in winter, an indoor bin works all year long, giving you a constant supply of compost.
- Saves Money: You’ll buy less fertilizer for your houseplants and garden, and you’ll reduce your trash output.
Meet the Stars of the Show: Red Wigglers
When people talk about “indoor composting pets,” they are almost always talking about composting worms, specifically the red wiggler (Eisenia fetida). These aren’t the earthworms you find in your garden. Red wigglers are surface dwellers and voracious eaters, making them perfectly suited for breaking down organic matter in a compost bin. They reproduce quickly and are quite hardy, which is great for beginners. You can usually buy them online from reputable worm farms or sometimes from local garden supply stores.
Getting Started: Setting Up Your Worm Bin
Setting up a worm bin is simpler than you might think. You don’t need fancy equipment. Here’s what you’ll need:
What You’ll Need: The Essential Gear
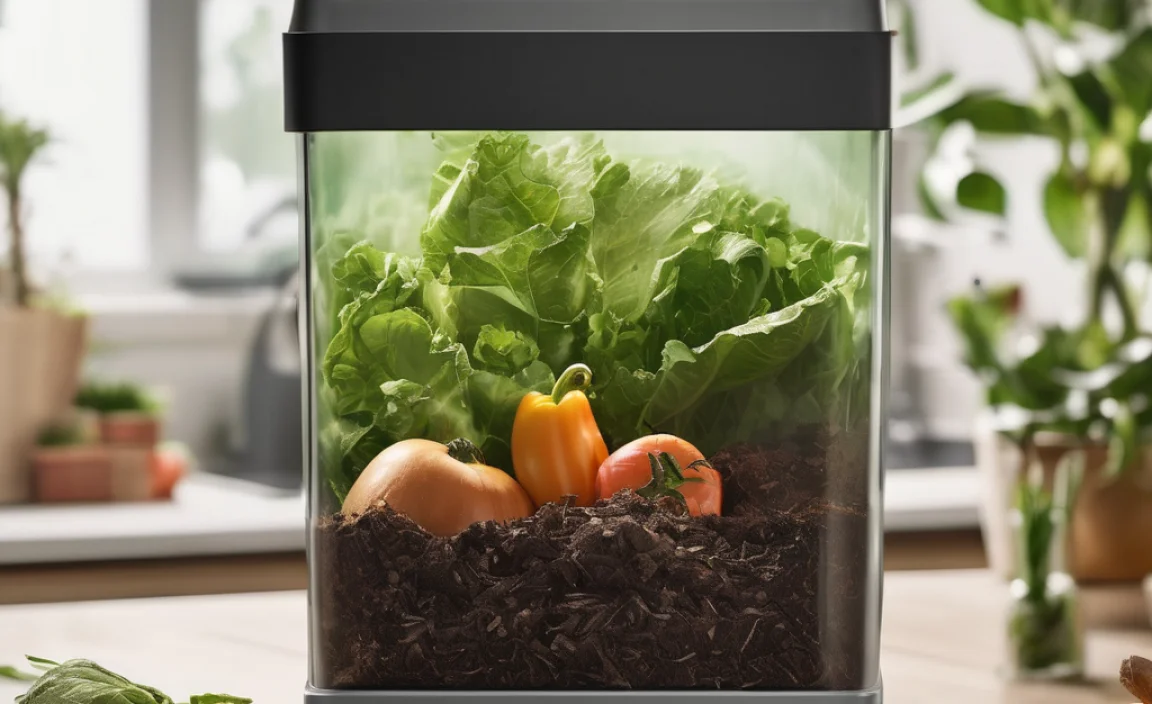
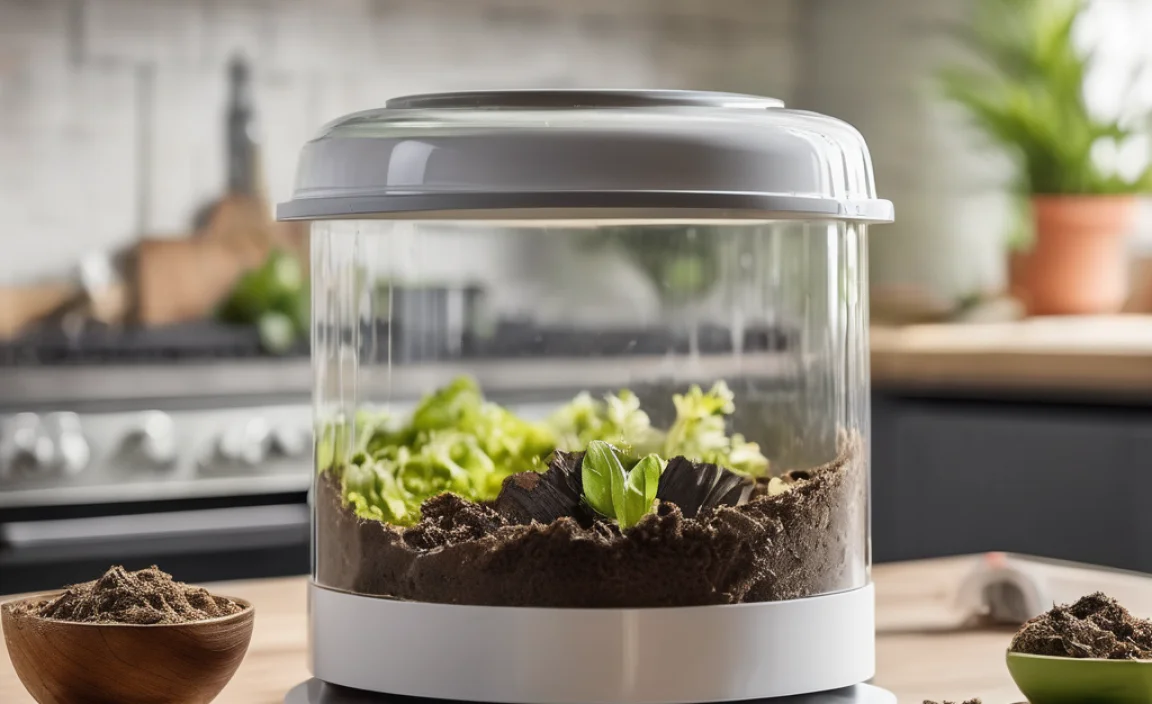
- A Worm Bin: This is the container where your worms will live. It needs to be opaque (dark is best), and it needs ventilation. You can buy a ready-made bin, or you can easily make one yourself from a plastic storage tote.
- Bedding: This is what the worms live in and what they eat besides food scraps. Good bedding is airy and moist. Shredded newspaper (black ink only, avoid glossy paper), shredded cardboard, coconut coir, or peat moss are all excellent choices.
- Red Wiggler Worms: The stars of the show! You’ll typically start with about half a pound to a pound of worms.
- Food Scraps: Your kitchen waste! More on what they love (and what to avoid) below.
- A Spray Bottle: To keep the bedding moist.
- A Small Hand Trowel or Scoop: For harvesting your compost.
DIY Worm Bin: A Clever and Cheap Option
Making your own worm bin is super easy and budget-friendly. Grab a opaque plastic storage tote (around 10-18 gallons is a good size) with a lid. Here’s how:
- Drill Ventilation Holes: Drill small holes (about 1/8 inch to 1/4 inch) around the top sides of the tote, near the lid. Drill a few holes in the lid too for air circulation. You don’t want it airtight!
- Drill Drainage Holes: Drill a few slightly larger holes (about 1/4 inch) in the bottom of the tote. This is crucial for drainage. If your tote doesn’t have a lid that fits snugly all around, you might want to put a second solid tote underneath to catch any excess liquid (worm tea).
- Prepare the Bedding: Take your shredded newspaper, cardboard, or coconut coir and soak it in water. Then, wring it out really well. You want it damp, like a wrung-out sponge – not dripping wet. Fluff it up and fill about 2/3 of your bin with this bedding.
- Add Your Worms: Place your red wigglers on top of the bedding. They’ll burrow down on their own.
- Feed Them: Bury a small handful of food scraps under the bedding. Don’t overfeed at first!
- Put the Lid On: Place the lid on your tote.
Your DIY worm bin is ready! Keep it in a cool, dark place, ideally between 55-75°F (13-24°C). A closet, under the sink, or in a basement works well. Avoid direct sunlight.
If you prefer to buy a bin, there are many great options available. Check out popular brands like Worm Factory or Urbalive. These are designed for ease of use and often have built-in features for separating compost and leachate (worm tea).
Feeding Your Worms: What They Love (and What to Avoid)
Think of your worms like tiny, picky eaters. They have preferences, and feeding them correctly is key to a happy, healthy worm bin and no unpleasant smells. They primarily eat organic matter, breaking it down into castings.
Good Foods for Your Worms:
- Fruit and vegetable scraps (apple cores, banana peels, coffee grounds, tea bags, carrot tops, lettuce leaves)
- Crushed eggshells (well-rinsed and dried – provides grit and balances pH)
- Plain cooked pasta and rice (in moderation and cooled down)
- Bread and grains (in moderation)
- Old, unseasoned foods
Foods to Avoid (or Use Sparingly):
- Meat, fish, and dairy products: These can attract pests and create foul odors.
- Oily foods: Fats and oils are hard to break down and can disrupt the bin’s ecosystem.
- Spicy foods: Peppers, hot sauces, and similar items can be toxic or irritating to worms.
- Citrus in large quantities: While small amounts are okay, too much citrus can lower the pH of the bin, making it too acidic for the worms.
- Onions and garlic: Worms don’t particularly like these.
- Diseased plants: Avoid adding material from plants that were sick.
- Pet waste: Cat and dog feces can contain pathogens harmful to humans.
- Glossy paper and colored inks: These can contain toxins.
Tip: Chop up larger food scraps into smaller pieces. This gives the worms more surface area to work on, speeding up decomposition.
How Much to Feed: A good rule of thumb is to feed your worms about half their weight in food scraps per day. However, it’s better to underfeed than overfeed when you’re starting out. Observe your bin. If food is piling up and not being eaten, you’re feeding too much. If the food disappears quickly, you can increase the amount.
Maintaining Your Worm Bin: Keeping Your Pets Happy
Once your bin is set up and your worms are happily munching, maintenance is pretty straightforward. It’s more about observation than hard work.
Moisture Levels: Keep it Damp, Not Soaked
Your bedding should feel like a wrung-out sponge. If it’s too dry, mist it with water from your spray bottle. If it’s too wet, add more dry bedding to absorb the excess moisture. You can also lift the lid for a bit to let some moisture evaporate. Too much moisture can lead to anaerobic conditions and odors.
Temperature: A Cozy Environment
Red wigglers thrive in temperatures between 55-75°F (13-24°C). If your bin gets too hot, the worms can die or try to escape. If it gets too cold, they slow down their activity. You might need to move the bin or insulate it depending on your home’s conditions.
Aeration: Let Them Breathe
The holes in your bin usually provide enough air. You can gently fluff the top layer of bedding with a trowel every so often, but be careful not to disturb the worms too much. Avoid compacting the bedding.
What to Do About “Worm Tea” (Leachate)
This is the liquid that drains from the bottom of your bin. It’s rich in nutrients! Collect it in a separate container or a second tote. It needs to be diluted before you use it as fertilizer. A common dilution is 1 part worm tea to 10 parts water. Make sure your bin has drainage, and the leachate doesn’t sit in standing water, which can create odor issues.
Harvesting Your Worm Castings: Black Gold!
This is the exciting part – collecting your finished compost! Worm castings are dark, crumbly, and smell like fresh earth. They are super beneficial for plants.
How Often to Harvest
This varies depending on bin size, worm population, and how much you feed them. You might harvest every 3-6 months. You’ll know it’s time when the bin is mostly filled with castings and there’s less original bedding material visible.
Harvesting Methods
There are several ways to harvest, and you can experiment to see what works best for you. Here are a couple of common methods:
- The “Migration” Method: This is a popular, gentle way. About a week before you want to harvest, stop adding new food scraps to one side of the bin. Start adding new food scraps only to the other side. The worms will migrate towards the fresh food, leaving the castings behind. After a couple of weeks, you can scoop out the castings from the side that’s now mostly empty of worms.
- The “Light” Method: Dump the contents of your bin onto a tarp or large plastic sheet under a bright light (like the sun, but not direct scorching sun). The worms don’t like light, so they will burrow down. Scrape away the top layer of castings, and the worms will burrow deeper. Keep scraping until you’ve removed most of the castings and are left with a clump of worms at the bottom. You can then put these worms back into your freshly prepared bin.
- Sifting: You can also use a sieve or screen to separate the finer castings from any larger, undigested material or stray worms.
Once you have your castings, you can mix them into potting soil, sprinkle them on top of houseplants, or add them to your garden beds. It’s pure, natural goodness!
Are There Other “Indoor Composting Pets”?
While red wigglers are the champions of indoor composting, other options exist, though they are less common for beginner home use:
Black Soldier Fly Larvae (BSFL)
These are incredibly efficient composters, eating even faster and more diverse waste than red wigglers, including some things worms can’t handle like meat scraps (in controlled environments). However, BSFL systems tend to be a bit more complex, often designed for larger volumes of waste, and can be a bit more “industrial” in appearance. They are excellent for large amounts of food waste, but for typical home use and beginner-friendly “pets,” red wigglers are usually much simpler.
Superworms (Mealworms)
While often raised for pet food, superworms can also break down organic matter. However, they are not as efficient at turning waste into compost as red wigglers or BSFL. They also have different environmental needs and might be less ideal for a simple home composting system.
For ease of use, reliable results, and the “pet-like” fascination, red wigglers remain the go-to choice for most indoor composting enthusiasts.
Troubleshooting Common Worm Bin Issues
Even with the best intentions, you might run into a few snags. Don’t worry; most worm bin problems are easily fixed!
Problem: My Worm Bin Smells Bad
Cause: Usually, this means the bin is too wet, you’re overfeeding, or you’ve added prohibited foods (like meat or dairy). Anaerobic conditions (lack of air) can also cause odors.
Solution:
- Stop feeding for a week or two.
- Add more dry bedding (shredded cardboard or newspaper) to absorb moisture.
- Ensure good air circulation.
- Check the temperature; if it’s too hot, it can contribute to odor.
- Remove any prohibited food items.
Problem: Worms Are Trying to Escape
Cause: This is a sign that something in the bin is severely out of balance. It could be too wet, too dry, too acidic, too hot, too cold, or the bin is overcrowded and needs harvesting. They are literally trying to get away from bad conditions.
Solution:
- Check and adjust moisture levels.
- Check and adjust temperature.
- Ensure you haven’t overfed, especially with acidic foods like citrus.
- If the bin is very full, it might be time to harvest or expand into a second bin.
Problem: There Are Fruit Flies or Other Pests
Cause: Fruit flies are attracted to exposed food scraps.
Solution:
- Always bury food scraps completely under the bedding.
- Don’t overfeed.
- A worm bin lid with a good seal helps.
- You can add a few small pieces of masking tape sticky-side-down near where you see flies; they’ll get stuck.
Problem: My Worms Aren’t Eating Much
Cause: This is often related to temperature (too hot or too cold), moisture (too wet or too dry), or the pH level of the bin (too acidic). They might also be new and still adjusting.
Solution:
- Check and adjust temperature and moisture as described above.
- Avoid adding too many acidic foods at once. A sprinkle of crushed, dry eggshell can help buffer acidity.
- Give them time to settle in if they are new.
The Incredible Value of Worm Castings
The end product of your indoor composting pet system is worm castings, often called “black gold.” These are not just regular compost; they are superior in many ways:
- Nutrient-Rich: Castings contain a readily available supply of essential plant nutrients like nitrogen, phosphorus, and potassium, plus micronutrients.
- Beneficial Microbes: They are teeming with beneficial bacteria, fungi, and other microorganisms that improve soil health and plant resilience.
- Improved Soil Structure: Adding castings to your soil helps improve its aeration, drainage, and water retention.
- Gentle and Safe: Worm castings are remarkably stable and won’t “burn” plant roots like some synthetic fertilizers can, even if applied liberally.
- Natural Pest and Disease Resistance: The beneficial microbes in castings can help plants ward off pests and diseases.
You can use worm castings in so many ways. Mix them into your potting soil for houseplants at a ratio of about 10-25% castings. Sprinkle a tablespoon or two around the base of established plants. Use them in your vegetable garden beds before planting, or as a top dressing during the growing season. You can even make a “worm tea” compost extract by steeping castings in aerated water for 12-24 hours, creating a potent liquid fertilizer.
Quick Summary Comparison: Worms vs. Traditional Composting
For those comparing indoor worm composting to traditional backyard composting, here’s a quick look:
| Feature | Indoor Worm Composting (Vermicomposting) | Traditional Backyard Composting |
|---|---|---|
| Space Required | Small bin, can fit indoors/on balcony | Larger area needed, typically outdoors |

I am passionate about home engineering. I specialize in designing, installing, and maintaining heating, ventilation, and air conditioning systems. My goal is to help people stay comfortable in their homes all year long.