Ever feel like your kitchen scraps are just…waste? You toss them in the bin, and poof! Off to the landfill. It’s a bummer, right? But what if you could turn that food “waste” into garden gold? Indoor composting might sound complicated, but it’s totally doable. I’m here to show you how to make it super simple, even if you’ve never composted before. Let’s dig in!
Indoor Composting Time: Effortless Success
Hey there, DIY friends and garden lovers! Troy D Harn here from TopChooser. I know that sometimes the idea of composting can seem a bit, well, messy or even intimidating. You might be picturing big outdoor piles and a lot of work. But what if I told you that you can compost right inside your home, with minimal effort and maximum results? That’s right, we’re talking about indoor composting! It’s a fantastic way to reduce your trash, create nutrient-rich soil for your plants, and feel good about doing your bit for the planet. And the best part? It doesn’t take a ton of “time” in the sense of constant attention. With the right setup and a little know-how, indoor composting can become a quiet, efficient part of your household routine. Let’s break down how to achieve effortless success with indoor composting.
What is Indoor Composting, Anyway?
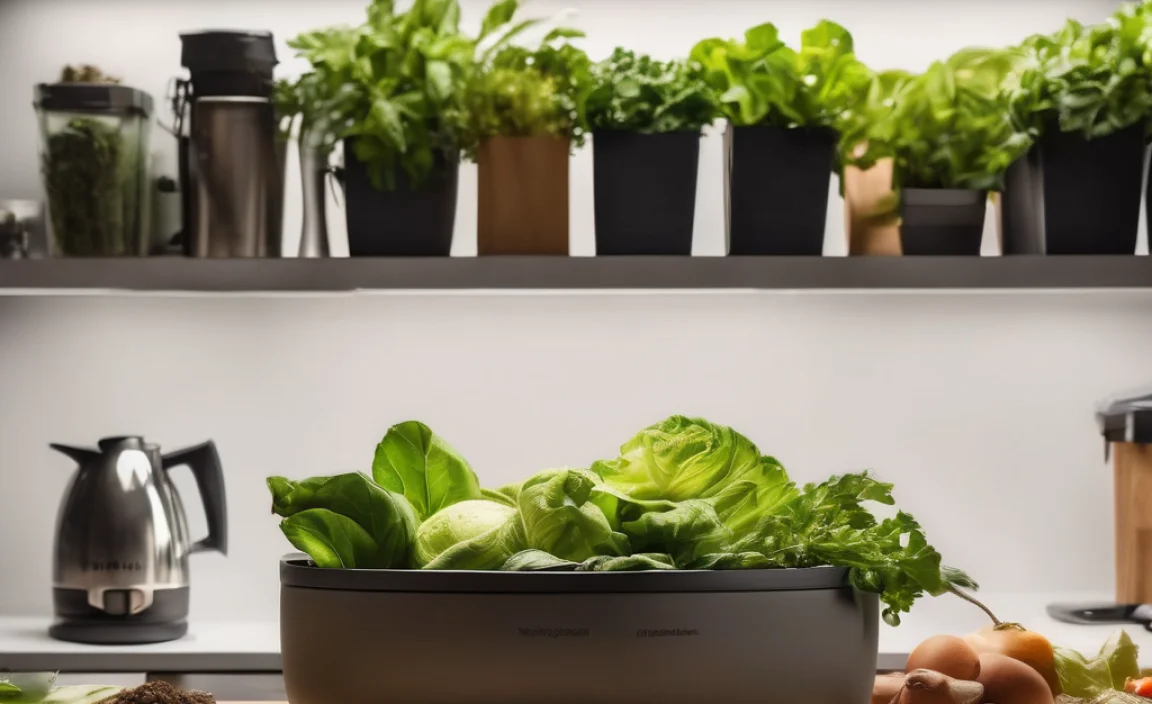
Simply put, indoor composting is the process of breaking down organic materials indoors, usually in a contained system, to create valuable compost. Unlike traditional outdoor composting that often relies on air, sun, and a larger space, indoor methods are designed to be neat, odor-free, and efficient within your living space. Think of it as a mini-ecosystem working diligently in a bin, transforming your kitchen scraps into super-nutritious food for your plants.
Why Choose Indoor Composting?
There are tons of great reasons to bring composting inside your home. Here are a few biggies:
- Waste Reduction: It’s an incredibly effective way to cut down the amount of trash you send to the landfill. A significant portion of household waste is actually compostable material!
- Nutrient-Rich Soil: The compost you create is pure gold for your houseplants, balcony gardens, or even a small backyard plot. It’s packed with essential nutrients that promote healthy growth.
- Convenience: No need to trek outside in bad weather. You can add your scraps anytime, right from your kitchen counter.
- Odor Control: When done correctly, indoor composting systems are designed to be virtually smell-free. Say goodbye to stinky trash bins!
- Year-Round Composting: Cold weather? No problem! You can compost indoors no matter the season.
- Educational Opportunity: It’s a fantastic way to teach kids (and remind ourselves!) about nature’s cycles and sustainability.
Types of Indoor Composting Systems
When it comes to indoor composting, you’ve got a few main players. Each has its own way of working and its own set of benefits. Let’s take a quick look:
1. Worm Composting (Vermicomposting)
This is probably the most popular indoor method for a reason. It uses special types of worms, like red wigglers, to eat your food scraps and create nutrient-rich “worm castings” (their poop, which is amazing compost!).
- How it Works: Worms eat organic matter in a bin, breaking it down.
- What You Need: A multi-tiered worm bin, red wiggler worms, bedding material (like shredded newspaper or coco coir), and your kitchen scraps.
- Pros: Highly efficient, produces high-quality compost (worm castings), relatively fast process, minimal odor if managed well.
- Cons: Requires specific types of worms, can be sensitive to temperature extremes and overfeeding, needs a bit of initial setup.
2. Bokashi Composting
Bokashi is a bit different. It’s more of a fermentation or pickling process than traditional decomposition. You use a special Bokashi bran inoculated with beneficial microbes to ferment your food scraps in an airtight bucket. The fermented material then needs to be buried (in a large pot, garden bed, or even added to an outdoor compost pile) to finish breaking down.
- How it Works: Anaerobic (without oxygen) fermentation using microbes.
- What You Need: An airtight Bokashi bin, Bokashi bran (with microbes), and your food scraps.
- Pros: Can handle meat and dairy (which are often avoided in other methods), very fast pre-composting stage, produces a nutrient-rich liquid “tea” as a byproduct, minimal odor during fermentation.
- Cons: Requires purchasing Bokashi bran, the fermented material isn’t finished compost and needs further decomposition elsewhere, can have a slightly vinegary smell.
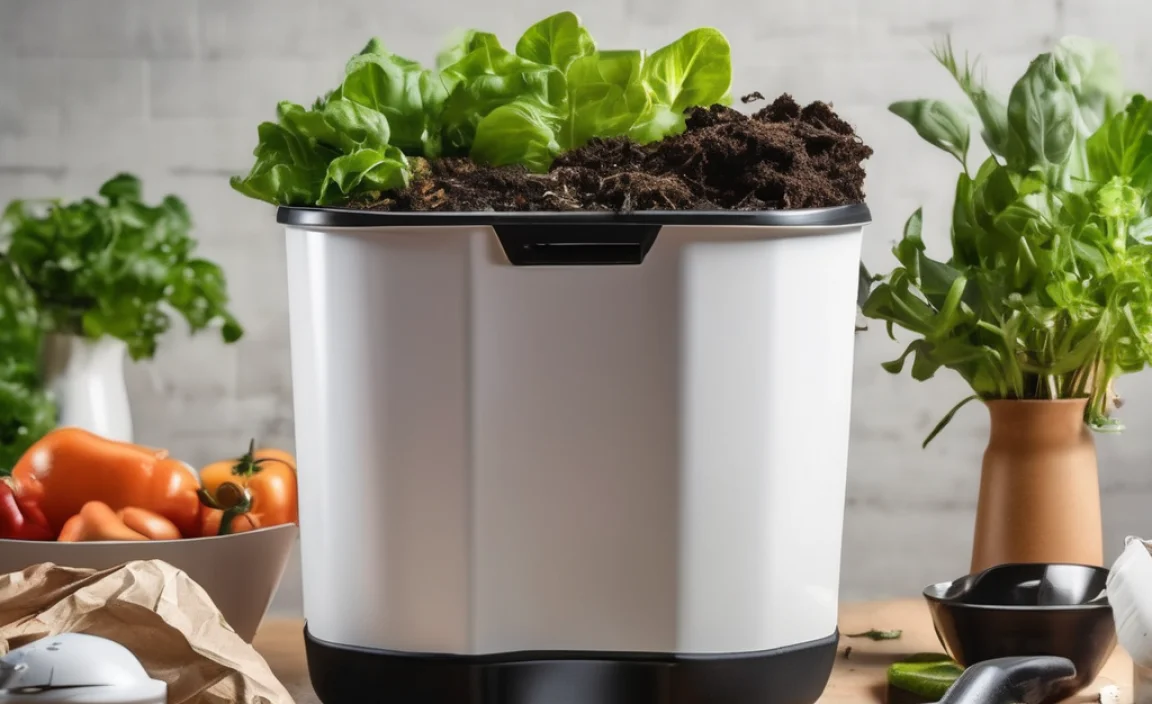
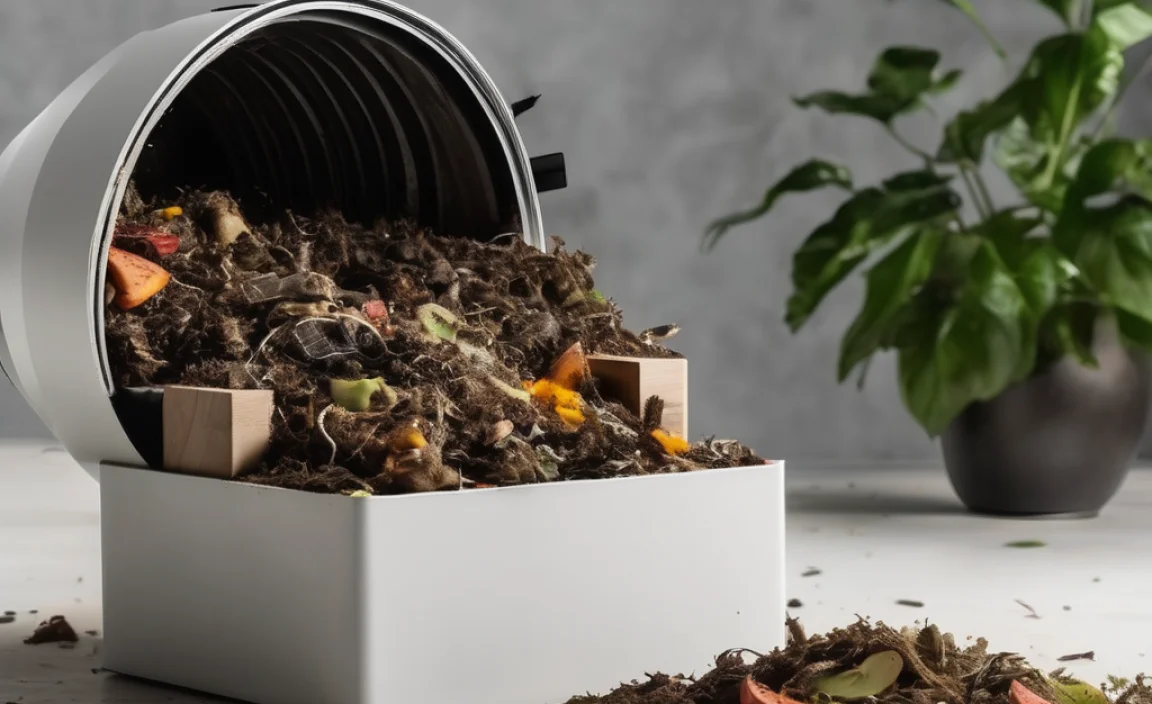
3. Electric Composter (Food Cycler)
These countertop appliances use heat and aeration to quickly break down food scraps into a dry, soil-like material. They are fast and convenient, but they aren’t true decomposition in the traditional sense and can be an investment.
- How it Works: Dehydrates and grinds food scraps using heat and air.
- What You Need: The electric composter appliance and your food scraps.
- Pros: Extremely fast (hours, not weeks or months), very convenient, handles most food scraps, minimal odor.
- Cons: High upfront cost, uses electricity, the end product isn’t biologically active compost but a dehydrated food material that can enrich soil.
Getting Started: Choosing Your Indoor Composting System
For beginners, I usually recommend starting with either worm composting or Bokashi. They are the most accessible and provide truly composted material for your plants. Electric composters are great for speed and convenience if your budget allows, but they operate on a different principle.
Consider these questions when choosing:
- What’s your budget? Worm bins and Bokashi systems have a lower upfront cost than electric composters.
- How much space do you have? Most worm bins and Bokashi bins are quite compact.
- How much food waste do you generate? Worms are great for moderate amounts. Bokashi can handle more.
- Are you okay with a slight learning curve? Worm bins require a bit of understanding of worm needs, while Bokashi requires managing the fermentation stages.
Indoor Composting Time: The Process Unpacked (Focusing on Worm Composting)
Let’s dive deeper into worm composting, as it’s a fantastic starting point for many. The “time” involved isn’t about constant work; it’s about the lifecycle of the compost. Once set up, it becomes a relatively hands-off process.
Step 1: Gather Your Supplies
You won’t need much to get started:
- A Worm Bin: You can buy a ready-made one (often multi-tiered for easy harvesting) or make your own from plastic storage bins. Ensure it has ventilation holes.
- Bedding: This is what the worms live in. Shredded newspaper, cardboard, coir (coconut fiber), or a mix works great. It needs to be moist, like a wrung-out sponge.
- Red Wiggler Worms: These are NOT the earthworms from your garden. You can order them online from reputable worm farms. Start with about 1 pound of worms.
- Food Scraps: Your kitchen waste! We’ll cover what they love and what to avoid shortly.
- A Small Kitchen Caddy: To collect scraps before adding them to the bin.
Step 2: Prepare the Bin and Bedding
If you have a new bin, make sure it has ventilation holes. Drill a few holes in the lid and around the sides for air circulation. For the bedding, take your shredded paper or coir and soak it in water. Squeeze out the excess water until it’s just damp. Fluff it up and fill your bin about halfway to two-thirds full with the moist bedding.
Worm Bin Bedding Options:
| Material | Pros | Cons |
|---|---|---|
| Shredded Newspaper/Cardboard | Readily available, good texture | Can become dense if too wet, ink might be a concern for some (use soy-based ink paper for extra caution) |
| Coconut Coir (Coco Coir) | Good moisture retention, pH neutral, readily available | Can be slightly dusty, more expensive than paper |
| Aged Leaves | Natural, good aeration | Must be dry and pesticide-free, can sometimes harbor pests if not managed |
Step 3: Introduce the Worms
Gently place your red wiggler worms on top of the bedding. Leave the lid off for about 30 minutes. The worms will naturally burrow down into the dark bedding to escape the light. This tells you they’re settling in!
Step 4: Start Feeding Your Worms
This is where the magic happens! Begin by burying small amounts of food scraps under the bedding in one corner of the bin. Don’t overfeed them. A general rule is that worms can eat about half their weight in food per day, but it’s always better to start slow. As they munch, they’ll leave behind nutrient-rich castings.
What Worms Love (Go Ahead and Feed ‘Em!):
- Fruit and vegetable scraps (cores, peels, rinds)
- Coffee grounds and tea bags (remove staples/plastic)
- Crushed eggshells (a great source of calcium)
- Bread and plain pasta (in moderation)
- Cooked oatmeal (plain)
What to Avoid (or Feed Sparingly):
- Meat, dairy, and oily foods: These can attract pests and create odors.
- Citrus peels (in large quantities): Too acidic for worms.
- Spicy foods: Worms don’t like them.
- Onion and garlic: Some worms are sensitive to them.
- Diseased plants: Don’t add them to the bin.
- Pet waste: Can contain pathogens.
After a week or two, you can start burying scraps in different locations within the bin, allowing the worms to migrate to new food sources. This makes harvesting easier later.
Step 5: Maintain Moisture and Aeration
The “time” in your indoor composting success comes from maintaining equilibrium. The bedding should always feel like a damp, wrung-out sponge. If it’s too dry, mist it with water. If it’s too wet, add more dry bedding material. Gently aerate the bin occasionally by fluffing the top layer with a small garden fork or your hands.
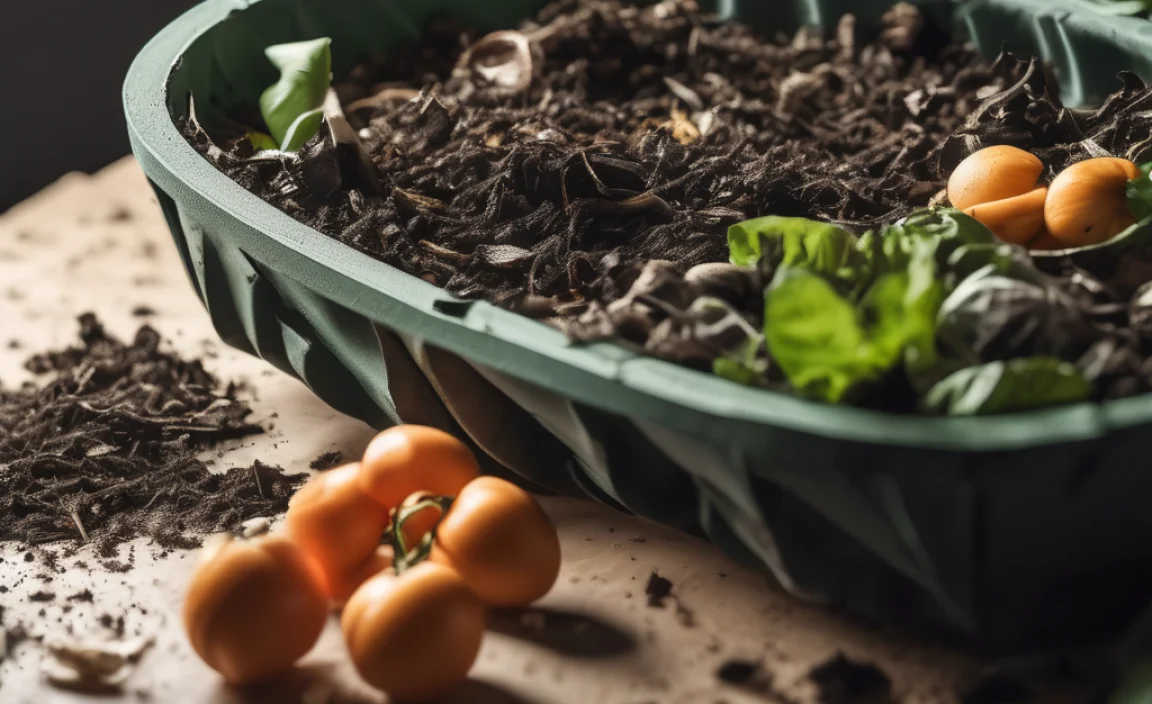
Step 6: Harvesting Your Compost
This is the reward! After a few months, you’ll see that the original bedding has mostly turned into dark, crumbly compost. The “time” for harvesting depends on how much you feed, how warm your bin is, and how active your worms are. You’ll know it’s ready when the original bedding is mostly gone, and you have a rich, earthy-smelling material.
There are a few ways to harvest:
- The Migration Method: Stop adding fresh food to one side of the bin for a few weeks. The worms will migrate to the side with food, leaving that side’s compost clear of worms. You can then scoop out the worm-free compost.
- The Dump and Sort Method: Dump the bin’s contents onto a tarp. Create several small piles. Worms will burrow away from light, allowing you to scoop compost from the top. Repeat until you have worm-free compost. The remaining worms and bedding go back into the bin.
- Flushing Method (for multi-tier bins): Harvests often happen automatically in multi-tier systems as worms migrate down to fresh food higher up.
The harvested worm castings are potent! You can mix them directly into potting soil for your plants, use them as a top dressing, or steep them in water to make a nutrient-rich liquid fertilizer.
Bokashi Composting: The Fermentation Alternative
If worm composting doesn’t quite fit your style, Bokashi offers a different approach. It’s faster in its initial stage and can handle things worms can’t.
The Bokashi Process:
- Collect Scraps: Place your food scraps (including meat, dairy, and oils) into the airtight Bokashi bin.
Bokashi USA: What Can You Put In A Bokashi Bin
- Add Bran: Sprinkle a layer of Bokashi bran over the scraps. This bran contains beneficial microbes (like Effective Microorganisms or EM) that kickstart fermentation.
- Compact and Seal: Press down the scraps to remove air, then add another layer of bran. Ensure the lid is sealed tightly. You want to prevent air from getting in.
- Drain the “Tea”: Over time, a liquid will collect at the bottom. This is Bokashi “tea,” a nutrient-rich liquid that can be diluted and used as fertilizer or poured down drains to help clean them. Drain this regularly.
- Ferment: Let the bin sit for about 2 weeks. You’ll notice it starts to smell tangy or pickled, not rotten.
- Bury or Add to Compost: The fermented material isn’t finished compost. It needs to break down further. You can bury it in your garden, a large planter, or add it to an outdoor compost pile. It will decompose rapidly once exposed to air and soil microbes.
The beauty of Bokashi is its speed in the initial stage and its inclusivity of more food types. The “time” investment is mainly in the two-week fermentation and then the subsequent decomposition phase.
Patience is Key: Understanding Composting Time
The “time” element in composting isn’t about how much active work you do, but rather the natural decomposition process itself. This is where many beginners get confused.
- Worm Composting Time: A well-managed worm bin can produce harvestable compost every 3-6 months. However, your bin is continually producing compost as long as you feed it. You are harvesting ready material in stages, not waiting for the entire bin to be done at once.
- Bokashi Composting Time: The fermentation stage is typically 2 weeks. The subsequent decomposition stage can take another 4-8 weeks, depending on where and how you bury it and the environmental conditions.
- Electric Composter Time: These machines work in cycles, usually taking 4-8 hours per load. The “time” saved is significant if you’re looking for immediate material.
The key is to understand that composting is a biological process. Think of it as nurturing a living system. The more balanced your inputs (food scraps) and environment (moisture, aeration), the more efficiently your system will work.
Troubleshooting Common Indoor Composting Issues
Even with the best intentions, you might run into a snag now and then. Don’t get discouraged! Most problems have simple solutions.
Issue: Bad Odors
- Worm Bin: Usually means too much food, anaerobic conditions (lack of air), or adding inappropriate items (meat/dairy). Solution: Stop feeding, add more dry bedding, and gently aerate. Ensure ventilation holes are clear.
- Bokashi: A strong foul smell might indicate the bin isn’t airtight, or the microbes aren’t working effectively. Solution: Ensure the lid is sealed. If the pickled smell is overwhelming, check the Brix levels (often done with a simple pH meter if concerned about acidity). Ensure you are draining the liquid.
Issue: Pests (Fruit Flies, etc.)
- Worm Bin: Often attracted by exposed food. Solution: Always bury food scraps completely under the bedding. Keep the lid on tightly. A layer of dry leaves or paper on top of the bedding can also help.
- Bokashi: Unlikely to attract pests while in the airtight bin. If you see them, it might be around the drainage tap. Keep it clean.
Issue: Worms Trying to Escape
- Worm Bin: Usually a sign of distress. The bin might be too wet, too dry, too acidic (too much citrus), or there’s too much food that’s rotting before they can eat it. Solution: Check moisture levels. Add more bedding. Reduce feeding. Ensure the bin isn’t in direct sunlight or extreme temperatures.
.lwrp.link-whisper-related-posts{
margin-top: 40px;
margin-bottom: 30px;
}
.lwrp .lwrp-title{
}.lwrp .lwrp-description{
}
.lwrp .lwrp-list-container{
}
.lwrp .lwrp-list-multi-container{
display: flex;
}
.lwrp .lwrp-list-double{
width: 48%;
}
.lwrp .lwrp-list-triple{
width: 32%;
}
.lwrp .lwrp-list-row-container{
display: flex;
justify-content: space-between;
}
.lwrp .lwrp-list-row-container .lwrp-list-item{
width: calc(25% – 20px);
}
.lwrp .lwrp-list-item:not(.lwrp-no-posts-message-item){
max-width: 150px;
}
.lwrp .lwrp-list-item img{
max-width: 100%;
height: auto;
object-fit: cover;
aspect-ratio: 1 / 1;
}
.lwrp .lwrp-list-item.lwrp-empty-list-item{
background: initial !important;
}
.lwrp .lwrp-list-item .lwrp-list-link .lwrp-list-link-title-text,
.lwrp .lwrp-list-item .lwrp-list-no-posts-message{
}@media screen and (max-width: 480px) {
.lwrp.link-whisper-related-posts{
}
.lwrp .lwrp-title{
}.lwrp .lwrp-description{
}
.lwrp .lwrp-list-multi-container{
flex-direction: column;
}
.lwrp .lwrp-list-multi-container ul.lwrp-list{
margin-top: 0px;
margin-bottom: 0px;
padding-top: 0px;
padding-bottom: 0px;
}
.lwrp .lwrp-list-double,
.lwrp .lwrp-list-triple{
width: 100%;
}
.lwrp .lwrp-list-row-container{
justify-content: initial;
flex-direction: column;
}
.lwrp .lwrp-list-row-container .lwrp-list-item{
width: 100%;
}
.lwrp .lwrp-list-item:not(.lwrp-no-posts-message-item){
max-width: initial;
}
.lwrp .lwrp-list-item .lwrp-list-link .lwrp-list-link-title-text,
.lwrp .lwrp-list-item .lwrp-list-no-posts-message{
};
}

I am passionate about home engineering. I specialize in designing, installing, and maintaining heating, ventilation, and air conditioning systems. My goal is to help people stay comfortable in their homes all year long.