Ever felt a little guilty tossing those apple cores and coffee grounds into the trash? You’re not alone! So much of what we throw away from the kitchen can actually be transformed into garden gold. It sounds a bit magical, but kitchen composting is totally doable, even if you’re new to this. We’ll break it down step-by-step, making it super simple. Ready to turn your kitchen scraps into something amazing for your plants?
Kitchen Compost How To: Your Genius Effortless Guide
Hey there! Troy D Harn here from TopChooser. If you’re looking to do a little good for the planet and give your garden a boost, you’ve landed in the right spot. Composting kitchen scraps might sound like a big, messy job, but honestly, it’s one of the easiest and most rewarding things you can do for your home. We’re going to walk through exactly how to get started, making sure it’s not complicated and that you feel totally confident doing it.
Think of it this way: instead of sending food waste to a landfill where it causes problems, we’re going to give it a new life. This ‘black gold’, as composters call it, is packed with nutrients that your plants will absolutely love. It improves soil, helps retain moisture, and is a fantastic way to reduce waste. Let’s dive in and make this happen the easy way!
Why Bother With Kitchen Compost?
So, why should you bother with kitchen composting? It’s a question many beginners ask. The benefits are pretty awesome and surprisingly simple to achieve:
- Reduces Landfill Waste: A huge chunk of what we throw away is organic material. Composting diverts this from landfills, where it can produce harmful methane gas.
- Creates Nutrient-Rich Soil: Compost is like a superfood for your garden. It feeds your plants, improves soil structure, and helps retain water, meaning less watering for you!
- Saves Money: You can stop buying expensive fertilizers and soil amendments. Your kitchen scraps become free, high-quality garden food.
- Helps the Environment: By composting, you’re contributing to a healthier planet, reducing greenhouse gas emissions, and promoting sustainable practices.
- It’s Easier Than You Think: Seriously, modern composting methods are designed for real life, not just for expert gardeners.
Getting Started: What You’ll Need
The beauty of kitchen composting is that you don’t need fancy equipment. We’ll cover a few options for containing your scraps, but the basics are simple.
Option 1: The Countertop Compost Bin
This is your best friend for collecting scraps right in your kitchen. These bins are designed to be attractive and, importantly, odor-free.
- What to Look For:
- A lid with a charcoal filter: This is key to trapping odors and keeping your kitchen smelling fresh.
- A comfortable size: Something that holds a few days’ worth of scraps without taking up too much counter space.
- Easy to clean: Look for materials like stainless steel or durable plastic that can be wiped down.
Brands like OXO Good Grips and Backyard Pro offer great options. You can usually find them at your local home goods store or online retailers. They’re perfect for busy folks who want to collect scraps easily.
Option 2: A Simple Bucket or Container
If you want to go super budget-friendly, a lidded bucket or an old ice cream tub can work too. Just make sure it has a tight-fitting lid. You might want to poke a few small holes in the lid for a bit of air circulation, but keep them small enough to prevent fruit flies from getting in.
What About a Larger Outdoor Compost Bin?
While this guide focuses on collecting kitchen scraps, it’s important to know where they go next. You’ll need a place to compost them. This could be:
- A Tumbler: These are enclosed bins that you can spin to mix the compost. They’re neat, efficient, and great for keeping pests out.
- A Stationary Bin: This could be a store-bought plastic bin or even a DIY wooden bin. It’s a more traditional method.
- A Compost Pile: For those with more space, a simple pile in a corner of your yard works too.
For beginners, a tumbler or a good quality stationary bin is often the easiest way to go. Check out resources from your local cooperative extension or university agricultural programs for recommendations on specific bin types suited for your climate. For example, the Environmental Protection Agency (EPA) offers great general guidance on composting at home.
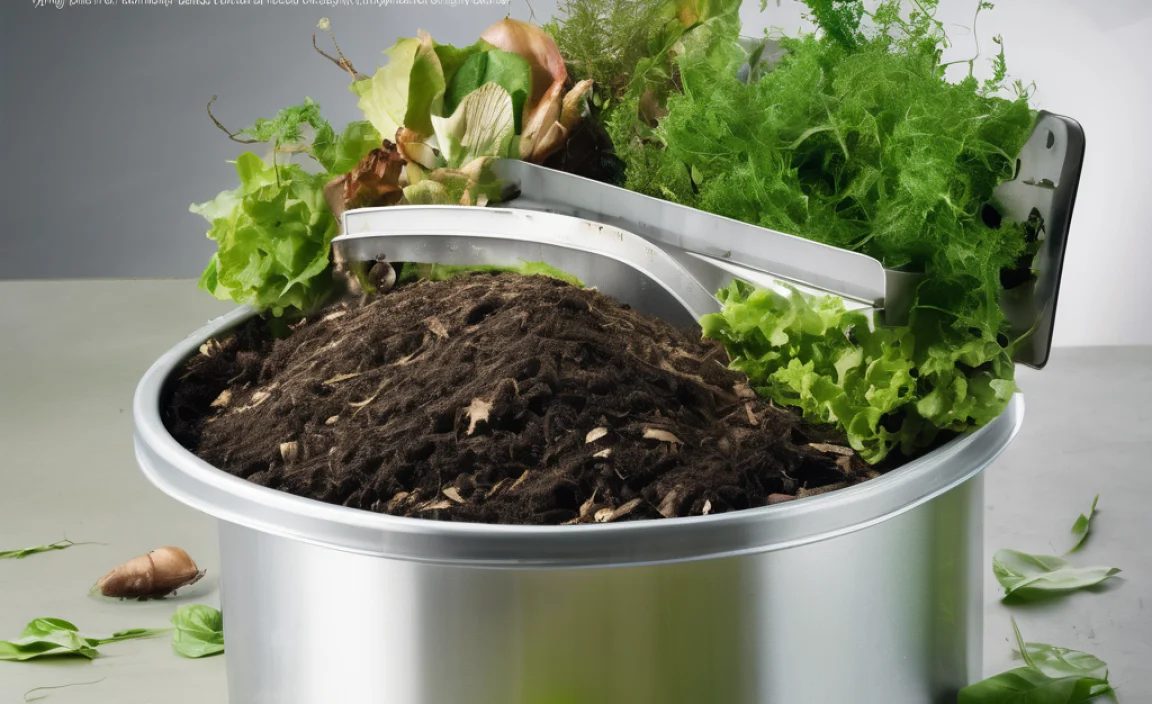
What Can You Compost from the Kitchen? The Good Stuff!
This is where the fun really begins! Almost all your food scraps are welcome guests in a compost bin. Here’s a breakdown:
YES! These are Compostable:
Think of these as the main ingredients for your compost:
- Fruit and Vegetable Scraps: Peels, cores, rinds, wilted lettuce, leftover bits.
- Coffee Grounds and Filters: Yes, you can compost those daily brews!
- Tea Bags: Remove any staple or plastic tag.
- Eggshells: Rinse and crush them to help them break down faster.
- Bread, Grains, and Pasta: In moderation, they work well.
- Rice and Cereal: Cooked or uncooked.
- Nut Shells: Except for walnuts, which can sometimes inhibit plant growth.
NO! Avoid These in Your Kitchen Compost Bin:
These items can cause problems, attract pests, or simply won’t break down well:
- Meat, Fish, and Bones: These attract rodents and can create foul odors.
- Dairy Products: Similar to meat, they can cause smells and attract pests.
- Oily or Greasy Foods: These can slow down the composting process and make the bin smell bad.
- Diseased Plants: You don’t want to spread plant diseases in your garden.
- Pet Waste (Dog/Cat): This can contain harmful pathogens.
- Chemically Treated Wood or Yard Waste: Avoid anything that might have pesticides or chemicals.
It’s helpful to have a quick reference handy. Here’s a handy table to keep nearby:
| Compostable Kitchen Scraps (Greens) | Non-Compostable Kitchen Items |
|---|---|
| Fruit & Vegetable Scraps | Meat, Fish, Bones |
| Coffee Grounds & Filters | Dairy Products (Cheese, Yogurt, Milk) |
| Tea Bags (no staples/plastic) | Oily or Greasy Foods |
| Eggshells (crushed) | Diseased Plants |
| Bread, Grains, Pasta (in moderation) | Pet Waste (Dog/Cat) |
| Rice & Cereal | Glossy/Coated Paper & Cardboard |
| Nut Shells (most) | Synthetic Materials |
The “Greens” and “Browns” Balance: It’s Key!
Composting works best when you have a good mix of what we call “greens” and “browns.” Don’t let the names fool you; it’s not just about color! It’s about nitrogen (greens) and carbon (browns).
- Greens (Nitrogen-Rich): These are typically moist materials that break down quickly. Your kitchen scraps (fruit/veg peels, coffee grounds, tea bags) are mostly greens.
- Browns (Carbon-Rich): These are drier, woodier materials that provide carbon and help with airflow. Think of things like:
- Dry leaves
- Shredded newspaper or cardboard (uncoated)
- Straw
- Twigs
- Paper towel rolls
Why Balance Matters: Too many greens can make your compost pile slimy and smelly. Too many browns can make it dry and slow its decomposition. A good rule of thumb for your main compost bin (not necessarily your kitchen bin, but the bigger outdoor one) is roughly 2 parts browns to 1 part greens by volume. For your countertop bin, just focus on collecting the greens. When you empty it into your main compost system, you’ll add browns then.
Step-by-Step: Setting Up Your Kitchen Compost System
Let’s get this done! We’ll walk through the simplest way to get those kitchen scraps into your composting system.
Step 1: Choose Your Kitchen Collection Method
Decide if you’re using a countertop bin with a charcoal filter or a simple lidded bucket. Place it on your counter – most people find it easiest near the sink or where you do most of your food prep. Make sure it’s easily accessible so you’ll actually use it!
Step 2: Start Collecting Your Scraps
From now on, scrape any approved kitchen scraps directly into your bin. Don’t overthink it! If it’s on the “YES” list, toss it in.
Pro Tip: Keep a small bag of shredded newspaper or a small container of torn-up cardboard near your compost bin. When you add a lot of wet kitchen scraps, you can toss a little bit of this “brown” material into your kitchen bin to absorb excess moisture and prevent immediate odors.
Step 3: Empty Your Kitchen Bin Regularly
This is crucial for keeping things fresh and preventing smells or fruit flies. Depending on how much cooking you do and the size of your bin, you’ll likely want to empty it every 2-4 days. Your bin should be full enough to warrant a trip, but not so full that it’s overflowing.
Step 4: Transfer Scraps to Your Main Compost System
This is where your outside compost bin, tumbler, or pile comes in. When you empty your kitchen bin:
- If you have a Tumbler or Stationary Bin: Add your kitchen scraps. Then, add a layer of “brown” materials on top. This could be dried leaves, shredded paper, or sawdust. The goal is to cover the fresh scraps. This helps with aeration and odor control. Aim for that 2:1 browns to greens ratio for the overall system.
- If you have a Compost Pile: Bury your kitchen scraps in the center of the pile. Cover them with existing compost material or add a layer of browns. This helps prevent pests and smells.
Important Note for Beginners: Many beginners get hung up on the exact ratio. Don’t stress too much at first! Just aim to cover your fresh kitchen scraps with a decent amount of dry, brown material each time you add them to your main system. You’ll learn by doing.
Step 5: Maintain Your Main Compost System
This part is mostly about the larger compost bin, not your kitchen one. You’ll want to:
- Aeration: Turn your compost pile or tumbler regularly (once a week is great, but even every two weeks is good). This adds oxygen, which helps the decomposition process and reduces smells. If you have a simple pile, use a pitchfork. For tumblers, just give it a good spin.
- Moisture: Your compost pile should be moist like a wrung-out sponge. If it’s too dry, add some water. If it’s too wet, add more browns.
For a more in-depth look at managing your outdoor compost bin, resources from university agricultural extensions, like those from Gardening Know How or your local USDA, can offer fantastic advice tailored to different composting setups.
Troubleshooting Common Kitchen Compost Issues
Even with the best intentions, sometimes you might run into a little hiccup. Here’s how to fix them:
Issue 1: Bad Odor
Smells like rotten eggs or ammonia?
- Cause: Too much “green” material (high nitrogen), too wet, or not enough air.
- Solution: Dig into the pile and add a generous amount of “brown” materials (leaves, shredded paper, sawdust). Make sure your kitchen bin lid is sealing properly and empty it promptly. If using an outdoor bin, turn it thoroughly to introduce air.
Issue 2: Fruit Flies or Gnats
Tiny flying insects buzzing around?
- Cause: Exposed food scraps, especially fruit.
- Solution: Always cover fresh kitchen scraps with a layer of brown material in your main compost bin. Ensure your kitchen bin lid is fitting tightly. In a pinch, you can temporarily cover the top of your outdoor bin with a thicker layer of leaves or straw.
Issue 3: It’s Not Breaking Down
Your scraps are just sitting there?
- Cause: Pile is too dry, not enough greens, or not enough air/turning.
- Solution: Check moisture levels and add water if needed. Add more “green” materials if you suspect it’s too heavy on browns. Turn the pile more frequently to get oxygen in.
Issue 4: Slimy and Soggy Pile
Everything looks mushy and damp?
- Cause: Too much moisture, not enough aeration, or too many wet greens without enough browns.
- Solution: Add a lot of dry “brown” materials like shredded cardboard, dry leaves, or straw. Turn the pile thoroughly. If it’s in a bin with drainage, ensure it’s not blocked.
When is Compost Ready?
Finished compost, often called “black gold,” looks and smells like rich, dark soil. It’s crumbly, and you won’t be able to identify the original food scraps. This can take anywhere from a few months to a year, depending on your composting method, how often you turn it, and your climate.
Once it’s ready, you can use it in your garden beds, mix it into potting soil, or top-dress your lawn. It’s a fantastic soil amendment that improves structure and fertility.
A Quick Summary for Busy Bees!
Want the cliff notes? Here’s the lightning-fast version of kitchen composting:
- Get a kitchen bin: Countertop style with a filter is best for odor control.
- Collect scraps: Only compost fruits, veggies, coffee grounds, tea bags, and eggshells.
- Empty often: Every 2-4 days into your main compost system.
- Balance: Every time you add kitchen scraps (greens) to your outdoor bin, cover them with dry material (browns).
- Turn & moisture: Keep your main compost bin moist and aerated.
- Enjoy the gold: Use your finished compost to nourish your plants!
Frequently Asked Questions (FAQ)
1. Will my kitchen compost bin smell bad?
Not if you use a bin with a charcoal filter and empty it regularly. The charcoal traps odors. Also, avoid adding meat, dairy, or oily foods, which are the biggest culprits for bad smells.
2. Do I need a special outdoor bin to start?
While a kitchen bin is for collecting, you need a place to actually compost the scraps. You can start simply by burying scraps in a pile in your yard. However, a dedicated compost bin or tumbler makes managing the process easier and tidier, especially for beginners.
3. What if I live in an apartment and don’t have a yard?
Great question! You can still compost! Worm composting (vermicomposting) is perfect for small spaces. You can also often find local community gardens or municipal programs that accept food scraps. Alternatively, your kitchen scraps can be collected and then added to a friend or family member’s compost bin.
4. Can I compost cooked food scraps?
Yes, most cooked fruits and vegetables are fine to compost. However, avoid adding cooked foods that are high in fats, oils, or dairy, as these can attract pests and create odors in your main compost system.

I am passionate about home engineering. I specialize in designing, installing, and maintaining heating, ventilation, and air conditioning systems. My goal is to help people stay comfortable in their homes all year long.