Ever felt guilty tossing those banana peels and coffee grounds into the trash? If you live in an apartment, you might think composting is out of reach. But guess what? It’s totally doable and a brilliant way to help the planet right from your kitchen! We’ll break down how to start your own kitchen compost system, making it super easy, even in a small space.
Kitchen Compost Apartment: Genius Eco Solution
Hey there, fellow apartment dwellers! Troy D Harn here from TopChooser, your go-to for making home projects, gardening, and eco-friendly living simple and stress-free. If you’ve ever looked at your kitchen scraps – the apple cores, vegetable trimmings, eggshells – and wondered, “Does this have to go to a landfill?” then you’re in the right place. Many of us think composting means a big backyard and a smelly pile, but I’m here to show you that with a little know-how, you can absolutely compost effectively in your apartment. It’s a fantastic way to reduce waste and create nutrient-rich soil for plants, even if your “garden” is just a few pots on your balcony or windowsill. We’ll walk through the easiest methods, what you need, and how to keep it clean and odor-free. Let’s dive in and turn those scraps into something amazing!
What is Kitchen Composting?
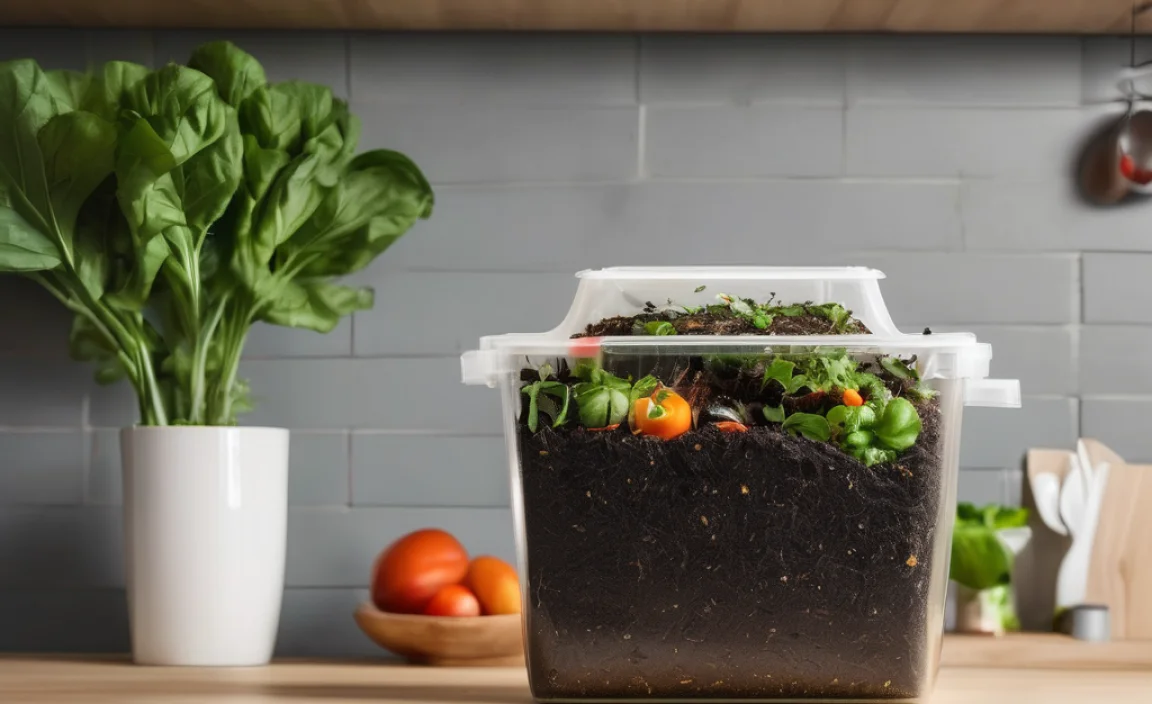
Kitchen composting, also known as vermicomposting or bokashi composting, is simply the process of breaking down organic waste from your kitchen into a nutrient-rich material called compost. Instead of sending food scraps to a landfill where they produce harmful methane gas, you’re diverting them to create a valuable resource. For apartment dwellers, this means finding compact, clean, and efficient ways to manage this process indoors or on a balcony. It’s about repurposing what you might consider waste into something beneficial.
Why Compost in an Apartment?
You might be asking, “Why bother composting in my small apartment?” The reasons are pretty compelling, even without a sprawling garden!
- Environmental Impact: Food waste is a significant contributor to landfill volume. When organic matter decomposes in landfills without oxygen, it releases methane, a potent greenhouse gas that contributes to climate change. Composting diverts this waste, significantly reducing your carbon footprint. Plus, those food scraps can be transformed into valuable soil amendments.
- Reduces Trash Volume: Composting can dramatically decrease the amount of trash you produce. This means fewer garbage days, less odor in your bins, and often, a cleaner living space.
- Creates Healthy Soil: The finished compost is like black gold for plants! It’s packed with nutrients that improve soil structure, drainage, and water retention. If you have any houseplants, a balcony garden, or even just a few herbs on your windowsill, your compost will be a game-changer for their growth.
- Saves Money: High-quality potting soil and fertilizers can be expensive. By making your own compost, you cut down on these costs significantly.
- Educational and Rewarding: Understanding the life cycle of organic matter and actively participating in a sustainable practice is incredibly rewarding. It’s a great way to connect with nature, even in an urban setting.
Choosing Your Apartment Composting Method
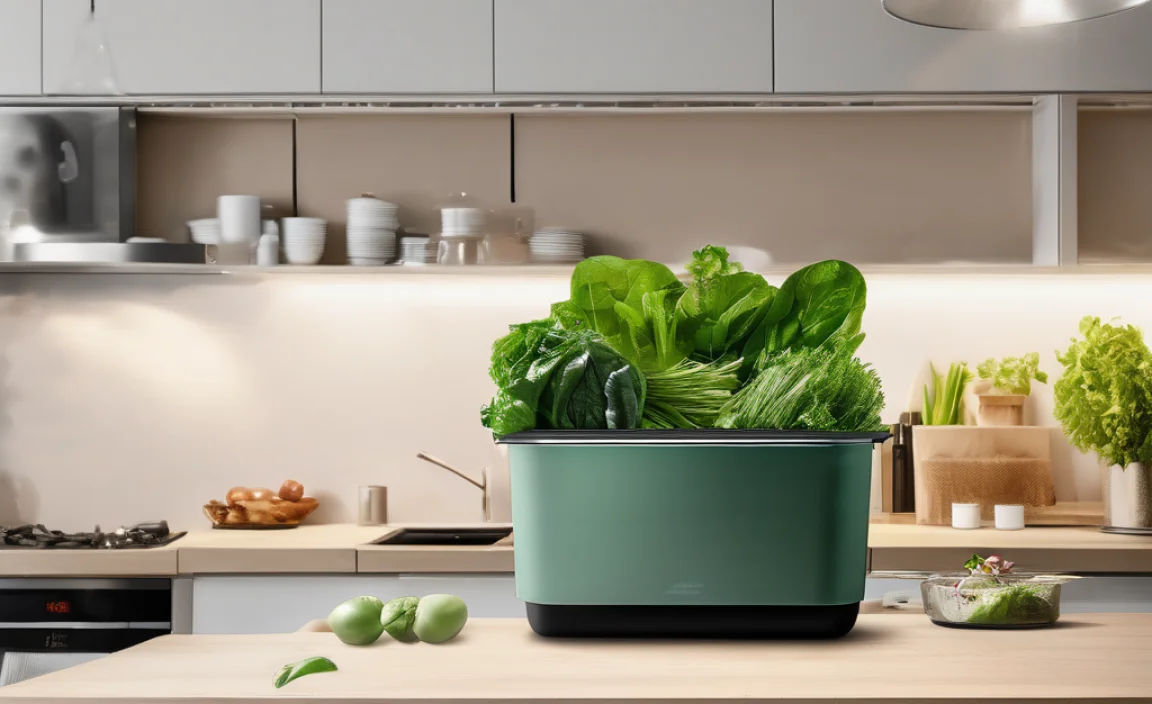
When you’re composting in an apartment, space, smell, and ease of use are key. Luckily, there are a few fantastic methods that are perfect for smaller living spaces. The two most popular and beginner-friendly for apartment living are:
1. Vermicomposting (Worm Bins)
This is arguably the most popular and effective method for apartment dwellers. It involves using specific types of composting worms (red wigglers are common) to eat your kitchen scraps and produce nutrient-rich worm castings (worm poop!).
- How it works: You create or purchase a special bin with bedding material (like shredded newspaper or coco coir). You then add your worms and their food (kitchen scraps). The worms munch away, and what’s left is compost and a nutrient-rich liquid called “worm tea,” which can be diluted and used as fertilizer.
- Pros: Very efficient, produces high-quality compost and liquid fertilizer, relatively odor-free when managed correctly, can be kept indoors or on a balcony.
- Cons: Requires purchasing worms, needs careful monitoring of moisture and temperature, some people have a slight phobia of worms (though these are specialized composting worms, not garden earthworms, and are quite docile).
2. Bokashi Composting
Bokashi is an anaerobic (without oxygen) fermentation process. It uses a special bran inoculated with “Effective Microorganisms” (EM) to ferment your food waste.
- How it works: You place kitchen scraps into an airtight Bokashi bin. You sprinkle Bokashi bran (which contains the beneficial microbes) over the food scraps. The microbes ferment the waste, pickling it rather than rotting it. This process can handle a wider variety of food scraps than worm composting, including meat, dairy, and oils. Once the bin is full, you let it sit for a couple of weeks. The fermented material then needs to be buried or added to a traditional compost pile to finish decomposing, or sometimes a specific Bokashi composting system allows for in-ground composting.
- Pros: Can break down almost all food scraps (including meat, dairy, oils), very fast initial fermentation process, produces a liquid “Bokashi tea” that can be used as fertilizer (after dilution), minimal odor during fermentation, can be done indoors.
- Cons: The fermented product still needs to undergo a secondary decomposition step, requires purchasing Bokashi bran and specialized airtight bins, the fermented material has a pickled smell (not unpleasant but distinct), doesn’t produce finished compost directly.
For most beginners looking for a direct composting solution that yields finished compost, vermicomposting is often the preferred choice. However, if you produce a lot of meat and dairy scraps or want the fastest initial processing, Bokashi is a fantastic option.
Getting Started with Vermicomposting (Worm Bin)
Let’s focus on vermicomposting, as it’s a fantastic direct composting method for apartments. Here’s what you’ll need and how to set it up.
What You’ll Need for a Worm Bin:
You don’t need fancy equipment. You can even DIY most of it!
- The Bin:
- Commercially Available Bins: These are often tiered systems made of plastic. They are designed for good airflow, drainage, and ease of use. Brands like Worm Factory or Uncle Jim’s Worm Farm offer popular options. Look for one that fits your space; many are stackable or compact.
- DIY Bin: A simple plastic storage tote (around 10-15 gallons) works great. You’ll need to drill holes for aeration and drainage. Add a few smaller holes on the sides near the top for air and a few larger ones in the bottom for drainage. You can then place a second, solid tote underneath to catch any liquid.
- Bedding Material: This is what the worms live in and eat. Good options include:
- Shredded newspaper (avoid glossy paper)
- Shredded cardboard
- Coconut coir (often sold as brick, expand with water)
- Peat moss (use sparingly if concerned about sustainability)
- A mix of the above is ideal.
You’ll need enough to fill about half to two-thirds of your bin.
- Composting Worms: These are NOT your average garden worms. You need specific composting worms like Red Wigglers (Eisenia fetida) or European Nightcrawlers (Eisenia hortensis). You can buy them online from reputable worm farms or sometimes from local garden centers. A common starting amount is 1-2 pounds of worms.
- Food Scraps: This is the food for your worms! Stick to fruits, vegetables, coffee grounds, tea bags, and crushed eggshells. (More on what to feed them below).
- A Small Kitchen Pail or Container: This is where you’ll collect your scraps between feeding your worms. A lidded container with a handle makes it easy to carry to your bin.
- Optional: Worm Scraper or Trowel: For gently mixing food into the bedding.
- Optional: Spray Bottle: To maintain moisture levels.
Setting Up Your Worm Bin: Step-by-Step
Here’s how to get your worm hotel ready for its new residents:
- Prepare the Bin: If using a DIY tote, ensure you have drilled the necessary air and drainage holes. If using a premade bin, assemble it according to the instructions. Place the drainage bin underneath if using a single-bin setup with drainage holes.
- Add Bedding: Moisten your chosen bedding material. It should be about as damp as a wrung-out sponge – not dripping wet, but noticeably moist. Add this to the bin, filling it about halfway to two-thirds full. Gently fluff it up.
- Introduce the Worms: Gently place your worms on top of the bedding. They will usually burrow down into the bedding fairly quickly, seeking darkness. Don’t worry if they try to escape initially; this is normal as they adjust to their new home.
- Let Them Settle: Leave the worms for a day or two without feeding to allow them to acclimate to their new environment.
- Feed Them: Dig a small hole or trench in one corner of the bedding and add your first batch of food scraps. Bury the scraps completely under the bedding. This helps prevent odors and fruit flies. Start with a small amount of food, about a handful or two.
- Close the Lid: Place the lid on your bin, ensuring it’s secure but allows for airflow.
What to Feed Your Worms (and What to Avoid)
Worms are pretty good eaters, but they have preferences and things that can harm them. Remember, the goal is to feed the microbes in the bin that the worms then eat, so it’s a whole ecosystem!
Good Foods (The “Greens” and “Browns”):
- Fruit and vegetable scraps (peels, cores, ends, wilted produce)
- Coffee grounds and paper coffee filters
- Tea bags (remove any plastic staples and tags)
- Crushed eggshells (rinsed, provides grit and calcium)
- Bread and pasta (in moderation, can become gooey if too much)
- Cooked vegetables (plain, no butter or oil)
- Paper towels and plain cardboard (shredded, more “browns”)
Foods to Avoid (What NOT to Feed Your Worms):
- Meat, Fish, and Bones: These attract pests and can become very smelly, plus they can harbor harmful bacteria.
- Dairy Products: Cheese, milk, yogurt – these can also attract pests and create odors.
- Oils and Greasy Foods: These can make the bin too wet and prevent proper aeration.
- Citrus Peels (in large quantities): While small amounts are okay, too much acidic citrus can upset the pH balance of the bin.
- Spicy Foods: Peppers and their seeds can be irritating to worms.
- Onions and Garlic (in large quantities): Worms don’t like the strong compounds in these.
- Diseased Plants: You don’t want to perpetuate plant diseases.
- Pet Waste: Dog or cat feces can contain pathogens.
- Glossy or Colored Paper/Cardboard: Inks and coatings can contain toxins.
Maintaining Your Worm Bin
Once set up, worm bins are relatively low maintenance, but a little attention goes a long way. This is key to a successful, odor-free kitchen compost apartment setup.
- Feeding: Start by feeding your worms once a week. Bury the scraps. As the worm population grows, you can increase the amount of food and potentially feed more often. A good rule of thumb is that worms can eat about half their weight in food per day. So, 1 pound of worms can eat about half a pound of food per day.
- Moisture: The bedding should remain consistently moist, like a wrung-out sponge. If it seems too dry, lightly mist with water using a spray bottle. If it’s too wet, add more dry bedding material (like shredded cardboard) to absorb excess moisture.
- Aeration: Worms breathe air! Gently fluff the top layer of bedding with a trowel every week or two – or whenever you feed them. This prevents compaction and ensures good airflow.
- Temperature: Red wigglers prefer temperatures between 55-75°F (13-24°C). If your apartment gets very hot or cold, you may need to adjust the bin’s location. A cool, dark spot is ideal. Indoors is usually fine, but avoid placing the bin directly next to a heat source or in direct sunlight.
- Harvesting: After about 2-3 months, you should start seeing dark, crumbly compost forming at the bottom, and the bedding will be significantly reduced. You’ll need to “harvest” the good stuff.
Harvesting Your Compost
Harvesting your fully composted material is exciting! It means your hard work (and your worms’ hard work) has paid off.
There are a few ways to harvest:
- The “Migration” Method: Stop feeding your worms on one side of the bin for a week or two. Then, start feeding only on the other side. The worms will migrate to the fresh food, leaving the finished compost in the first section relatively worm-free. You can then scoop out the finished compost from the section where you stopped feeding. Repeat this by moving your feeding spot.
- The “Light” Method: Dump the contents of your bin onto a tarp or plastic sheet under a bright light (sunlight works too). Worms hate light, so they will burrow down to the bottom. You can then scrape off the top layer of compost, and the worms will move further down. Keep scraping until you have mostly worms collected at the bottom, then return them to the bin with fresh bedding.
- Manual Separation: Using a sieve or screen can help separate the compost from larger chunks and remaining worms, but this is often more labor-intensive.
The harvested compost can be used for your houseplants, balcony plants, or given away to friends with gardens. The liquid that drains out (worm tea) can also be collected. Dilute it significantly with water (about 1 part tea to 10 parts water) and use it as a potent liquid fertilizer.
Bokashi Composting in an Apartment
If vermicomposting isn’t your cup of tea, or if you’re dealing with a lot of meat and dairy scraps, Bokashi is a fantastic alternative for your “kitchen compost apartment” setup.
What You’ll Need for Bokashi:
- Bokashi Bin(s): These are typically airtight containers with a spigot or drainage spout at the bottom. Many are designed to be stacked. They prevent oxygen from entering, which is crucial for the fermentation process.
- Bokashi Bran: This is the special ingredient! It’s a carrier (like wheat bran or rice bran) inoculated with specific beneficial microbes (Effective Microorganisms or EM). You can buy this online.
- Kitchen Scraps: Bokashi can handle almost all food scraps, including meat, dairy, bones, and oily foods, which are generally avoided in worm bins.
- A Kitchen Pail or Container: To collect scraps before adding them to the bin.
How Bokashi Works: Step-by-Step
- Add Food Scraps: Start by adding your food scraps to the airtight Bokashi bin. Chop larger items into smaller pieces to speed up fermentation.
- Add Bokashi Bran: Sprinkle a tablespoon or two (follow product instructions) of Bokashi bran over the food scraps. You want to ensure good contact between the bran and the scraps.
- Close Tightly: Seal the lid of the Bokashi bin very tightly. The goal is to keep oxygen out.
- Repeat: Continue adding food scraps and bran daily, pressing down

I am passionate about home engineering. I specialize in designing, installing, and maintaining heating, ventilation, and air conditioning systems. My goal is to help people stay comfortable in their homes all year long.