Living in the city doesn’t mean you can’t be a composting pro! Many folks think composting is only for big backyards, but what if you’ve only got a balcony? It’s a common frustration for apartment dwellers wanting to go green but feeling limited by space. Don’t worry, I’m Troy D Harn from TopChooser, and I’m here to show you it’s totally doable. We’ll walk through everything, step-by-step, making balcony composting simple and satisfying. Get ready to turn your food scraps into garden gold without leaving your cozy urban perch!
Why Compost on Your Balcony?
Composting is like a magic trick for your kitchen waste. Instead of tossing those apple cores and coffee grounds into the trash, you can transform them into nutrient-rich food for plants. This not only cuts down on landfill waste but also gives your balcony garden a super-powered boost. Think healthier, happier plants and a more sustainable lifestyle, right from your own small space. It’s a win-win for you and the planet!
The Benefits You’ll Love
- Reduces Waste: You’ll be amazed at how much less trash you produce.
- Enriches Soil: Compost is a fantastic natural fertilizer for your potted plants, herbs, and flowers.
- Saves Money: Less need to buy expensive fertilizers and soil amendments.
- Connects You to Nature: Even a small composting effort fosters a deeper appreciation for natural cycles.
- Eco-Friendly: Contributes to a healthier environment by diverting organic waste from landfills.
Choosing the Right Balcony Composter: Your Options
When you’re composting on a balcony, size and type matter. You don’t need a massive bin; compact and efficient is the name of the game. There are a few popular choices perfect for smaller spaces, each with its own pros and cons. Let’s break them down so you can pick the one that fits your lifestyle and your balcony best.
1. The Tumbler Composter
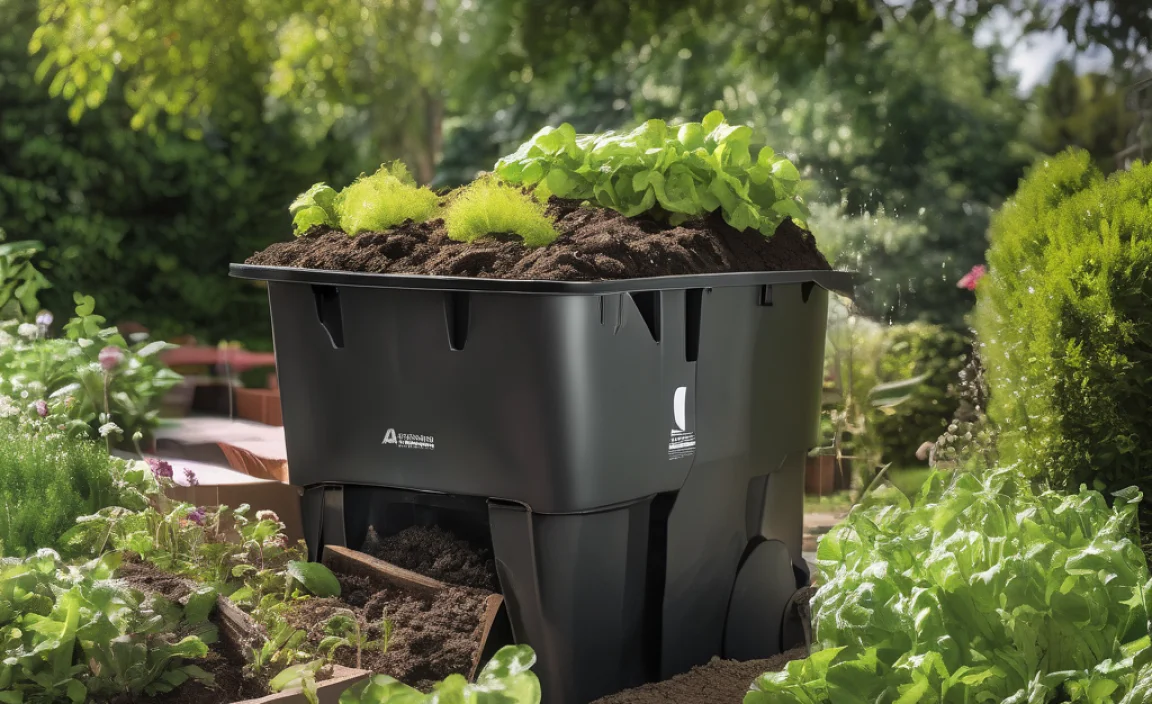
Tumbler composters are fantastic for balconies because they are enclosed, minimize odors, and are designed for regular turning. Turning the compost helps it decompose faster and more evenly. These are typically sealed units with a crank or a way to rotate them, making the process quicker and tidier. They are a bit of an investment upfront but can be very efficient.
- Pros: Faster composting, good for odor control, easy to turn, keeps pests out.
- Cons: Can be pricier, might require a bit more effort to monitor moisture, can be heavy when full.
2. The Stationary Bin (Compact Models)
These are like mini versions of traditional compost bins. They are usually a single, enclosed unit. While you can’t “tumble” them, you can still manually mix the contents with a compost aerator tool. Look for models designed for smaller spaces, often made of plastic, which are lightweight and easier to manage.
- Pros: Generally more affordable than tumblers, simple to use, good for beginners.
- Cons: Slower decomposition than tumblers, requires manual turning which can be harder to do thoroughly, odor can be a concern if not managed well.
3. Worm Composting (Vermicomposting)
This is a super popular and effective method for apartment dwellers! Worm composting uses special types of worms (like red wigglers) to munch through your food scraps. The result is a nutrient-dense material called worm castings, which is pure gold for your plants. Worm bins are usually stacked trays or compact plastic bins, perfect for a shady corner of your balcony.
- Pros: Excellent compost (worm castings), very efficient in small spaces, minimal odor when managed correctly, educational and interesting.
- Cons: Requires buying specific composting worms, needs careful temperature and moisture control, not all food scraps are ideal for worms.
4. Bokashi Composting
Bokashi is a bit different; it’s technically a fermentation process, not traditional composting. You use a special container and an all-purpose bran inoculated with beneficial microbes. It ferments your food scraps, including meat and dairy (which you can’t put in most compost bins). The fermented material then needs to be buried in soil or added to a traditional compost pile to fully break down. It drastically reduces waste volume.
- Pros: Can compost meat and dairy, reduces waste volume significantly, produces a nutrient-rich liquid “tea,” works indoors or on a balcony.
- Cons: Requires purchasing the Bokashi bran, the fermented output needs further decomposition, can have a pickled smell.
What Can You Compost on Your Balcony?
Knowing what to put in your composter is key to success and avoiding smells or pests. Think of it as feeding your compost system the right “greens” and “browns.”
“Greens” (Nitrogen-Rich Materials)
These provide moisture and nitrogen, essential for the decomposition process.
- Fruit and vegetable scraps (peels, cores, rinds)
- Coffee grounds and filters
- Tea bags (remove the staple if there is one)
- Grass clippings (in moderation and if you have a lawn nearby or a friend with one)
- Plant trimmings (non-diseased)
“Browns” (Carbon-Rich Materials)
These add bulk, absorb moisture, and provide carbon. They are crucial for balancing the “greens” and preventing a soggy, smelly mess.
- Shredded newspaper (avoid glossy or colored ink)
- Cardboard (torn into small pieces)
- Dry leaves
- Sawdust (from untreated wood)
- Paper towels and napkins (unsoiled by grease or chemicals)
- Eggshells (crushed)
What to AVOID in Your Balcony Composter
Some things can cause problems, attract pests, or slow down decomposition. It’s best to keep these out:
- Meat, fish, and bones (unless using Bokashi)
- Dairy products (unless using Bokashi)
- Oily or greasy foods
- Diseased plants
- Weeds that have gone to seed
- Pet waste (dog or cat feces)
- Chemically treated wood or paper
- Inorganic materials (plastics, metals, glass)
Essential Tools for Balcony Composting
You don’t need a lot of fancy equipment to get started. A few simple tools will make the process much easier and more efficient.
- Kitchen Countertop Caddy: A small, lidded bin to collect scraps in your kitchen before taking them to the main composter.
- Compost Aerator Tool: A long, pointed tool with holes or spikes to help mix and aerate the compost in stationary bins.
- Gloves: For keeping your hands clean when handling compost.
- Watering Can or Hose: To maintain the right moisture level.
- Shovel or Trowel: For harvesting finished compost or turning larger bins.
- Small Scale or Scale: For weighing your collected scraps if you’re tracking your waste reduction efforts.
Setting Up Your Balcony Composter: Step-by-Step
Let’s get your composting system up and running. It’s easier than you think!
Step 1: Choose Your Location
Find a spot on your balcony that gets some sun but isn’t in direct, harsh sunlight all day, as extreme heat can harm the composting process (especially for worms). A spot that’s somewhat sheltered from strong winds is also ideal. Ensure it’s easily accessible for adding scraps and for turning/maintenance.
Step 2: Prepare Your Bin
If you have a new tumbler or bin, follow the manufacturer’s instructions for assembly. For a worm bin, you’ll need to set up the bedding.
Worm Bin Bedding Preparation:
Shredded newspaper, coconut coir, or peat moss are good choices. Moisten the bedding until it’s like a wrung-out sponge. Fluff it up and place it in the worm bin. This is where your worms will live.
Step 3: Add Your First Layers
Start with a layer of “browns” at the bottom of your composter. This helps with drainage and airflow. If using a tumblers or stationary bin, add a few inches of shredded cardboard or dry leaves. If starting a worm bin, the moistened bedding is your base.
Step 4: Start Adding Food Scraps
Begin adding your kitchen scraps (your “greens”) into the composter. When using a tumbler or stationary bin, try to add them in layers, alternating greens with browns. This balance is crucial for preventing odors and ensuring good decomposition. For worm bins, you can bury food scraps under the bedding to deter fruit flies. Add a small amount to start, especially for worms.
Step 5: Introduce Your Worms (If Vermicomposting)
Once your worm bin bedding is ready and slightly moist, gently place your composting worms on top. They will naturally burrow down into the bedding. You can buy composting worms online from reputable suppliers. For example, Uncle Jim’s Worm Farm is a popular source for red wigglers. They usually ship them directly to you.
Tip: Let the worms settle in for a few days before adding a lot of food scraps.
Step 6: Maintain Moisture and Aeration
Your compost needs to be about as damp as a wrung-out sponge. If it’s too dry, decomposition slows down. If it’s too wet, it can become anaerobic and smelly. Add water if it’s dry, or more browns if it’s too wet. Tumblers make turning easy—give them a few spins every few days. For stationary bins, use your compost aerator tool to mix the contents weekly. Worm bins need less frequent turning, but ensure the bedding stays moist.
Step 7: Monitor and Troubleshoot
Keep an eye on your compost. Smells are usually a sign of imbalance. A strong ammonia smell means too many greens; add more browns and turn. A rotten egg smell means it’s too wet and not getting enough air; add browns and mix thoroughly. Fruit flies can be a nuisance; burying food scraps and maintaining the right moisture levels usually solves this.
What to Expect: The Composting Process
Composting isn’t instantaneous. It takes time for the microorganisms and, if you’re using them, worms, to break down the organic matter. The timeline can vary greatly depending on your method, the materials you add, and the conditions.
Composting Times at a Glance
Here’s a general idea of how long things take. Remember, these are estimates!
| Composting Method | Estimated Time to Finished Compost | Key Factors Affecting Time |
|---|---|---|
| Tumbler Composter | 4 weeks to 3 months | Frequency of turning, moisture levels, carbon-to-nitrogen ratio |
| Stationary Bin (with regular turning) | 2 months to 6 months | Frequency of turning, moisture, aeration, material size |
| Worm Composting (Vermicomposting) | 2 months to 6 months (for castings) | Worm population, food availability, temperature, bin size |
| Bokashi (Fermentation only) | 2-4 weeks (for fermentation), then another 4-8 weeks (to bury and decompose) | Temperature, moisture, microbial activity |
The finished compost should look and smell like rich, dark soil. You won’t be able to recognize the original food scraps. For worm compost, it will be light and fluffy worm castings.
Using Your Balcony Compost
Once your compost is ready, it’s time for the best part: using it! Your plants will thank you for this nutrient-rich treat.
- For Potted Plants: Mix compost into your potting soil. A common ratio is about 1 part compost to 3 or 4 parts soil. This improves drainage, aeration, and provides slow-release nutrients.
- Top Dressing: Spread a thin layer of compost on top of the soil in your pots. As you water, the nutrients will slowly seep down to the roots.
- Compost Tea: For an extra nutrient boost, you can steep compost in water for a few days to create “compost tea,” an excellent liquid fertilizer. For worm composting, the liquid collected in the bottom tray (worm leachate) is also a potent fertilizer, but it should be diluted (1:10 with water) before use.
For more detailed information on soil health and compost amendments, resources like the U.S. Environmental Protection Agency (EPA) offer excellent, research-backed guidance.
Tips for Success on a Small Balcony
Balcony composting presents unique challenges, but smart strategies can make it a breeze.
- Manage Odors: The key is balance between “greens” and “browns” and good aeration. Always bury fresh food scraps under existing compost or browns (leaves, shredded paper). If odors persist, add more browns and turn.
- Control Moisture: Balconies can be exposed to sun and wind, drying compost out quickly, or rain, making it too wet. Check moisture regularly (squeeze a handful – it should feel like a damp sponge, not drip). Add water if dry, or shredded cardboard/dry leaves if too wet.
- Pest Prevention: A well-managed compost bin with the right balance and covered food scraps is the best defense. Ensure your bin is sealed properly if it’s a closed system. For tumblers, make sure the lid is secure.
- Aesthetics: Choose a composter that fits your balcony’s look. Many modern compost bins are quite sleek and unobtrusive. Placing it strategically can also help.
- Size Matters: For a balcony, smaller capacity bins are usually best. Don’t overfill it; start small and add more as you get comfortable.
- Winter Composting: If you live in a colder climate, your composting might slow down significantly or stop in winter. You can either bring your composter indoors (if small enough) or simply pause adding materials until spring. Some hardy worms can survive in insulated bins in milder climates.
Troubleshooting Common Balcony Composting Issues
Even with the best intentions, you might run into a snag or two. Don’t get discouraged; every composter does!
Symptom: My compost smells bad (rotten eggs or ammonia).
Cause & Solution: This usually means the compost is too wet and/or lacks air. It’s gone anaerobic. Add more “browns” (like shredded paper or leaves) to absorb moisture and improve airflow. Turn the compost thoroughly with your aerator tool or by tumbling. You might need to remove some of the overly wet material and replace it with dry browns.
Symptom: I see fruit flies or gnats.
Cause & Solution: These are attracted to exposed food scraps. Bury all fresh kitchen waste deep within the compost pile, under a layer of browns or finished compost. Ensure your bin lid is tightly sealed. Maintaining the right moisture level (not too wet) also helps deter them.
Symptom: My compost isn’t breaking down.
Cause & Solution: Several reasons could be at play:
- Too Dry: Add water and mix well.
- Too Cold: If temperatures are consistently below 50°F (10°C), decomposition slows significantly. Move the bin to a warmer, sunnier spot if possible, or add more “greens” to generate heat.
- Not Enough Nitrogen: You might have too many “browns.” Add more kitchen scraps (greens) or nitrogen-rich materials like coffee grounds.
- Pieces Too Large: Chop or shred larger items into smaller pieces to increase surface area for microbes.
Symptom: My worms are trying to escape.
Cause & Solution: This usually means something is wrong in their environment.
- Too Wet: Add more dry bedding (shredded paper, coco coir).
- Too Dry: Lightly mist with water.
- Too Acidic: Check if you’ve added too many acidic foods (like citrus in large quantities). Add some crushed eggshells to buffer the pH.
- Too Much Food: Don’t overfeed them. Start with small amounts until you gauge their appetite.
- Temperature Extremes: Ensure the bin is within their ideal temperature range (

I am passionate about home engineering. I specialize in designing, installing, and maintaining heating, ventilation, and air conditioning systems. My goal is to help people stay comfortable in their homes all year long.


