Got food scraps piling up? Feeling a bit guilty tossing those veggie peels? Don’t let kitchen compost urban challenges get you down! Many folks think composting in a city is a big hassle, but it’s totally doable. You can turn your kitchen waste into garden gold without a huge backyard. We’ll break it down with easy steps, so you can start composting today. Ready to make a difference, one scrap at a time?
Kitchen Compost Urban: Effortless Solutions for City Dwellers
Hey neighbors! Troy D Harn here from TopChooser, your go-to for making home and garden stuff simple. Today, we’re diving into a topic that might seem tricky for us urbanites: kitchen compost. If you live in an apartment, a small house, or just want to make the most of your limited space, this is for you. We’ll explore how to tackle kitchen compost in an urban setting, making it surprisingly easy and rewarding. Forget the idea that you need a sprawling garden to compost. We’re talking about smart, space-saving solutions that fit right into your city life.
Why bother with kitchen compost anyway? Well, it’s a fantastic way to reduce your trash. Think about all those banana peels, coffee grounds, and vegetable scraps that end up in landfills. Composting them means less waste going to waste! Plus, you get nutrient-rich soil that’s amazing for any plants you might have, whether it’s a few herbs on your windowsill or a small patio garden. And honestly, it feels pretty good knowing you’re doing something positive for the planet, right from your own kitchen.
Understanding the Basics of Kitchen Composting
Before we jump into the “how-to,” let’s quickly chat about what composting actually is. At its heart, composting is nature’s recycling program. It’s the process of breaking down organic materials—like food scraps and yard waste—into a rich, soil-like substance called compost or humus. This magical stuff is packed with nutrients and can dramatically improve your soil’s health.
For urban composting, the main goal is to manage these organic materials efficiently in a smaller space. We’ll focus on methods that minimize smell, pests, and manage moisture effectively. The key players in this process are:
- Greens: These are nitrogen-rich materials. Think fruit and vegetable scraps, coffee grounds, tea bags, and grass clippings (if you have any).
- Browns: These are carbon-rich materials. Examples include shredded newspaper, cardboard, dry leaves, and sawdust.
- Microorganisms: Tiny bacteria, fungi, and other critters that do the heavy lifting of breaking everything down.
- Air: Microbes need oxygen to thrive and work efficiently.
- Moisture: Composting materials should be damp, like a wrung-out sponge, but not soggy.
Choosing Your Urban Composting Method
The best part about kitchen compost urban living is that there are several fantastic methods to choose from. The right one for you will depend on your space, how much waste you generate, and how hands-on you want to be. Let’s look at the most popular and effective options:
1. Worm Composting (Vermicomposting)
This is probably the most popular method for small spaces like apartments. You use special composting worms (red wigglers, not earthworms from your garden!) to break down your food scraps in a contained bin. It’s super efficient and produces a nutrient-dense compost called “worm castings.”
How it works:
- Get a bin: You can buy a specialized worm bin or make one from opaque plastic storage containers. Look for bins that have drainage and ventilation.
- Bedding: Start with a bedding material like shredded newspaper, coconut coir, or shredded cardboard. Moisten it thoroughly.
- Add worms: Gently place your red wigglers onto the bedding. They’ll burrow down.
- Feed them: Start by adding small amounts of food scraps (no meat, dairy, or oily foods). Bury the scraps under the bedding.
- Harvest: After a few months, you’ll have worm castings to collect.
Pros:
- Excellent for small spaces like apartments.
- Produces high-quality compost (worm castings).
- Minimal odor if managed properly.
- Can be done indoors or on a balcony.
Cons:
- Requires specific types of worms.
- Can be sensitive to extreme temperatures.
- Initial setup might feel a bit unusual for some.
2. Bokashi Composting
Bokashi is a bit different. It’s technically a fermentation process rather than traditional composting, but it achieves a similar goal: pre-composting your food waste. It uses an anaerobic (oxygen-free) process with a special inoculated bran to ferment food scraps, including meat and dairy, which are typically off-limits for other methods. The fermented material then needs to be buried in soil or added to a traditional compost pile to finish decomposing.
How it works:
- Use a Bokashi bin: These are airtight bins with a spigot at the bottom to drain the nutrient-rich liquid (“Bokashi tea”).
- Layer scraps: Chop up your food scraps, add them to the bin, and sprinkle Bokashi bran over them.
- Compact and seal: Press down the scraps to remove air, then seal the lid tightly.
- Drain the tea: Regularly drain the liquid from the spigot. This tea can be diluted and used as fertilizer.
- Ferment: Let the contents ferment for about two weeks.
- Bury: The fermented material then needs to be buried in garden soil, added to a traditional compost pile, or put in a large planter.
Pros:
- Can process all food scraps, including meat and dairy.
- Airtight system minimizes odors and pests.
- Produces a useful liquid fertilizer.
- Takes up little space; can be used indoors.
Cons:
- Requires purchasing Bokashi bran.
- The fermented material isn’t finished compost; it needs further decomposition.
- The “Bokashi tea” can have a strong, pickled smell, though usually not unpleasant.
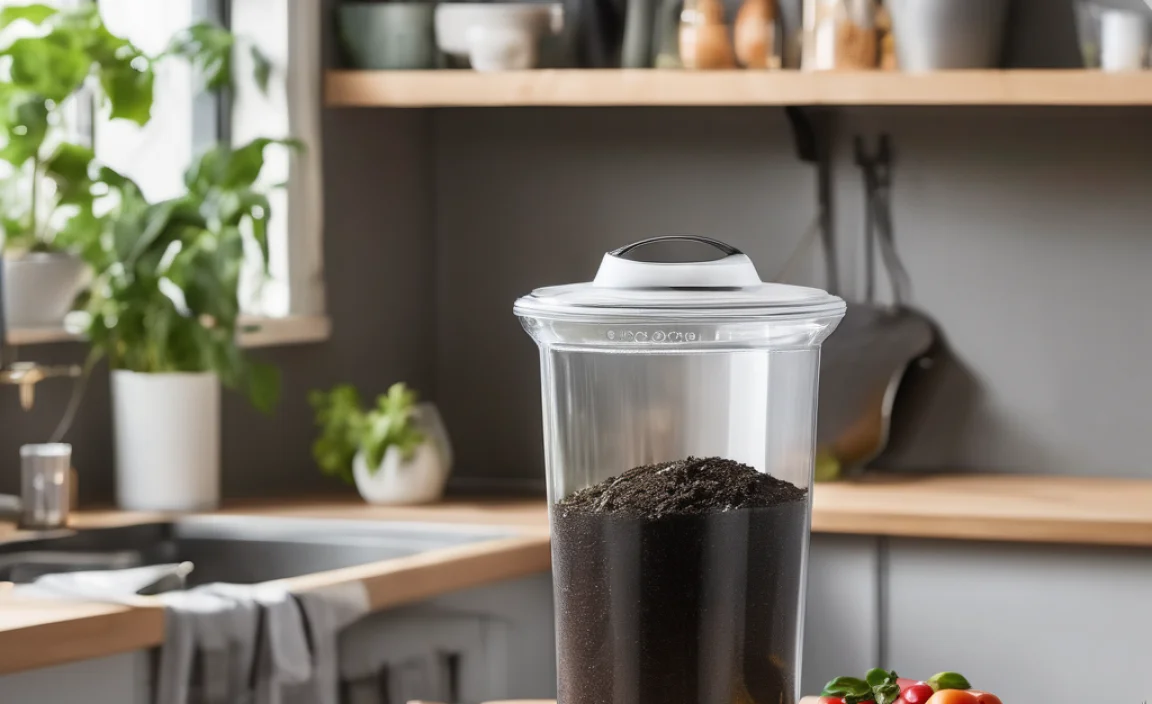
3. Electric Kitchen Composter/Food Cycler
These countertop appliances are the fastest way to process food waste if you’re looking for ultimate convenience and minimal effort. They use heat and aeration to dry and grind food scraps into a nutrient-rich soil amendment in a matter of hours. They don’t technically compost in the traditional sense but transform food waste into a usable product.
How it works:
- Add scraps: Place your food scraps into the appliance.
- Start cycle: Close the lid and start the cycle.
- Collect amendment: After a few hours, the food waste is reduced significantly and ready to be used.
Pros:
- Extremely fast and convenient.
- Handles most food scraps, often including meat and bones.
- Reduces food waste volume significantly.
- No smell during operation.
Cons:
- High upfront cost for the appliance.
- Requires electricity to run.
- The end product isn’t true compost but a dehydrated, ground food material.
- Can be noisy during operation.
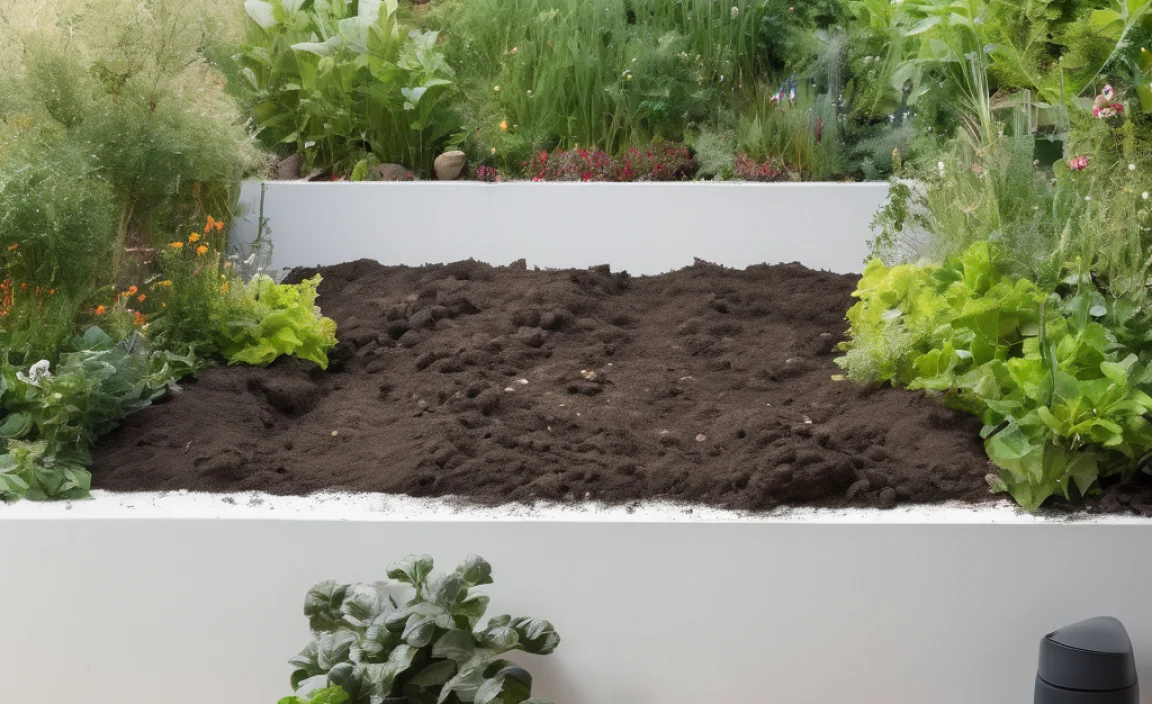
4. Small-Scale Outdoor Composting (for Balconies/Patios)
If you have a balcony or a small patio, you might be able to use a compact compost bin. These are typically smaller versions of traditional compost bins and require a bit more space than worm bins or Bokashi. They still need a balance of “greens” and “browns” and regular turning for aeration.
How it works:
- Choose a bin: Look for compact tumbler bins or small stationary bins designed for patios.
- Layer materials: Add a mix of food scraps (greens) and carbon-rich materials like shredded paper or dry leaves (browns). Aim for roughly a 2:1 ratio of browns to greens by volume.
- Moisturize: Keep the contents damp, like a wrung-out sponge.
- Aerate: Turn the compost regularly (daily or weekly, depending on the system) to introduce air. Tumbler bins make this easy.
- Wait: It takes longer than other methods, often 3-6 months, to get finished compost.
Pros:
- Closer to traditional composting, producing genuine compost.
- Can handle larger volumes than indoor methods if space allows.
- Relatively simple concept.
Cons:
- Requires outdoor space, even if small.
- Can attract pests if not managed well.
- Potential for odors if the green-to-brown ratio is off or it’s too wet.
- Slower processing time.
What You CAN Compost (and What to Avoid)
This is super important for successful and pleasant kitchen composting urban style. Getting the mix right prevents smells and pests. When in doubt, check!
Good to Compost (Greens & Browns):
- Fruit scraps: Peels, cores, rinds (avoid citrus in excess for worm bins, as worms can be sensitive).
- Vegetable scraps: Stems, leaves, peels, ends.
- Coffee grounds and filters.
- Tea bags (staples removed if metal).
- Eggshells (crushed).
- Stale bread, pasta, rice (in moderation for worm bins/outdoor piles; Bokashi handles these easily).
- Shredded newspaper, junk mail (non-glossy).
- Cardboard (torn into small pieces, non-glossy).
- Paper towels and napkins (unsoiled by chemicals).
- Dry leaves, straw.
- Sawdust (from untreated wood).
Avoid Composting:
- Meat, fish, and bones: Attract pests and cause odors (except in Bokashi or electric composters).
- Dairy products: Similar to meat, they attract pests and create smells (except in Bokashi or electric composters).
- Oily or greasy foods: Can slow down decomposition and create odors.
- Diseased plants: Can spread illness to your garden if compost is used.
- Pet waste (dog and cat feces): Can contain pathogens.
- Weeds that have gone to seed: You don’t want to spread them.
- Chemically treated wood or yard waste.
- Glossy paper or colored inks that are toxic.
- Anything plastic, metal, or glass.
For urban composting, especially indoors, it’s best to stick to fruits, vegetables, coffee grounds, tea, and crushed eggshells. If you’re using Bokashi or an electric composter, you have more flexibility. For outdoor bins, you can usually add cooked leftovers in small quantities as long as you balance them with plenty of browns and turn them well.
Tools and Supplies for Your Urban Compost Project
You don’t need a lot of fancy gear to get started with kitchen composting. Here’s a breakdown of what you might need, depending on your chosen method:
Essential Supplies:
- Kitchen Compost Bin/Caddy: A small, lidded container to collect scraps from your kitchen counter before taking them to your main composting system. Look for one with a charcoal filter to reduce odors.
- Composting System: This is your main compost bin – worm bin, Bokashi bin, electric composter, or small outdoor bin.
- Food Scraps: Your daily kitchen waste!
- “Brown” Materials: Shredded newspaper, cardboard, dry leaves (if accessible).
Optional but Helpful Tools:
- Stirring Tool: A small trowel, stick, or compost aerator for turning your compost (for outdoor bins).
- Watering Can: To add moisture to outdoor compost bins.
- Gloves: For handling compost materials.
- Bokashi Bran: If you choose the Bokashi method.
- Composting Worms: If you choose vermicomposting.
- Scale: For electric composters, to measure output.
- Small Shovel/Trowel: For burying Bokashi-fermented food or using finished compost.
Quick Guide: Choosing the Right Urban Composter
To help you decide, here’s a quick comparison of the most common urban composting methods:
| Method | Best For | Space Needed | Effort Level | Cost | Speed | Odor Potential |
|---|---|---|---|---|---|---|
| Worm Composting (Vermicomposting) | Apartments, small spaces; those wanting nutrient-rich castings. | Very Small (can fit under sink or on a balcony) | Medium (requires active feeding and monitoring) | Low to Medium (bin DIY or purchased) | Medium (2-4 months for castings) | Very Low (if managed correctly) |
| Bokashi Composting | All food scraps, including meat/dairy; quick initial processing. | Very Small (fits under sink or on counter) | Low to Medium (layering, draining, then burying) | Medium (bin + ongoing bran cost) | Medium (2 weeks in bin + burial time) | Low (initial fermentation smell is like pickles) |
| Electric Kitchen Composter | Convenience seekers; those who want to process all food types fast. | Small (countertop appliance) | Very Low (add food, press button) | High (appliance cost) | Very Fast (hours) | Very Low |
| Small Outdoor Composter (Tumbler/Bin) | Balconies, patios; those wanting traditional compost. | Small to Medium (requires some outdoor footprint) | Medium (needs turning and moisture management) | Low to Medium (bin cost) | Slow (3-6+ months) | Medium (if not managed well) |
Step-by-Step: Getting Started with Kitchen Compost Urban Success
Let’s imagine you’re going with the popular worm composting method for your apartment. Here’s how Troy D Harn would guide you through it:
Step 1: Gather Your Gear
You’ll need:
- Two opaque plastic storage bins (about 10-14 gallons each), with lids. One will be your worm bin, the other can be its tray/catch basin or spare.
- A drill with bits for making holes.
- Shredded newspaper or cardboard (avoid glossy or colored inks).
- About a pound of red wiggler composting worms. You can often buy these online from reputable suppliers.
- A kitchen compost caddy with a lid and filter.
- Food scraps: Start with veggies and fruit peels.
Step 2: Prepare Your Worm Bin
Take one of your plastic bins. Drill about 10-20 small holes (around 1/4 inch) in the bottom for drainage and ventilation. Drill a few more holes around the top edge for airflow. If you’re using a second bin as a catch basin for liquid, place the first bin inside it. You want the first bin to sit slightly elevated within the second so liquid can drain out.
Step 3: Add Bedding
Tear your shredded newspaper or cardboard into strips. Moisten the bedding material until it’s damp like a wrung-out sponge. You shouldn’t be able to squeeze water out. Fill your worm bin about 1/3 to 1/2 full with this damp bedding.
Step 4: Introduce the Worms
Gently place your red wigglers on top of the bedding. Leave the lid off for about 15-30 minutes. The worms will naturally burrow down into the bedding to escape the light. This is a good sign they’re settling in!
Step 5: Start Feeding Your Worms
.lwrp.link-whisper-related-posts{
margin-top: 40px;
margin-bottom: 30px;
}
.lwrp .lwrp-title{
}.lwrp .lwrp-description{
}
.lwrp .lwrp-list-container{
}
.lwrp .lwrp-list-multi-container{
display: flex;
}
.lwrp .lwrp-list-double{
width: 48%;
}
.lwrp .lwrp-list-triple{
width: 32%;
}
.lwrp .lwrp-list-row-container{
display: flex;
justify-content: space-between;
}
.lwrp .lwrp-list-row-container .lwrp-list-item{
width: calc(25% – 20px);
}
.lwrp .lwrp-list-item:not(.lwrp-no-posts-message-item){
max-width: 150px;
}
.lwrp .lwrp-list-item img{
max-width: 100%;
height: auto;
object-fit: cover;
aspect-ratio: 1 / 1;
}
.lwrp .lwrp-list-item.lwrp-empty-list-item{
background: initial !important;
}
.lwrp .lwrp-list-item .lwrp-list-link .lwrp-list-link-title-text,
.lwrp .lwrp-list-item .lwrp-list-no-posts-message{
}@media screen and (max-width: 480px) {
.lwrp.link-whisper-related-posts{
}
.lwrp .lwrp-title{
}.lwrp .lwrp-description{
}
.lwrp .lwrp-list-multi-container{
flex-direction: column;
}
.lwrp .lwrp-list-multi-container ul.lwrp-list{
margin-top: 0px;
margin-bottom: 0px;
padding-top: 0px;
padding-bottom: 0px;
}
.lwrp .lwrp-list-double,
.lwrp .lwrp-list-triple{
width: 100%;
}
.lwrp .lwrp-list-row-container{
justify-content: initial;
flex-direction: column;
}
.lwrp .lwrp-list-row-container .lwrp-list-item{
width: 100%;
}
.lwrp .lwrp-list-item:not(.lwrp-no-posts-message-item){
max-width: initial;
}
.lwrp .lwrp-list-item .lwrp-list-link .lwrp-list-link-title-text,
.lwrp .lwrp-list-item .lwrp-list-no-posts-message{
};
}
Related Posts


I am passionate about home engineering. I specialize in designing, installing, and maintaining heating, ventilation, and air conditioning systems. My goal is to help people stay comfortable in their homes all year long.