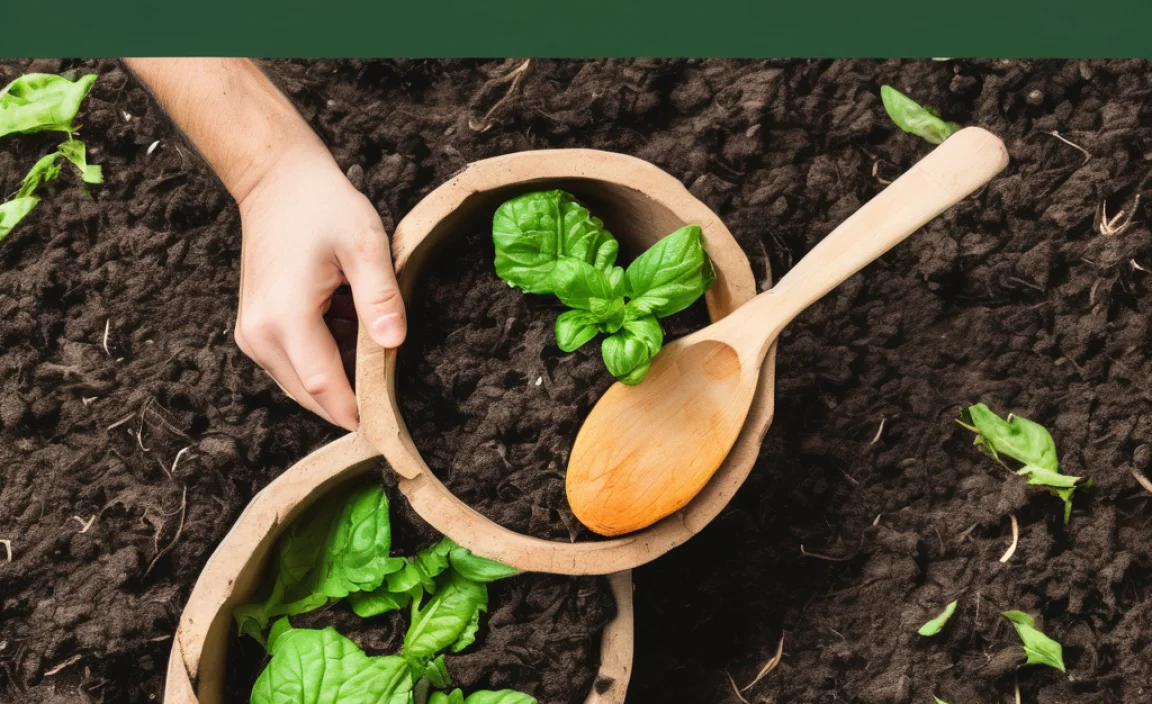
Want to make amazing compost without spending a fortune? Lasagna composting is your answer! It’s like a layered cake for your garden. You can turn kitchen scraps and yard waste into nutrient-rich soil. No fancy equipment needed. We’ll walk you through it, step-by-step.
Lasagna Composting Cheap: Genius & Effortless Results
Hey neighbors! Troy D Harn here, your go-to guy for making home and garden projects simple and affordable. Today, we’re diving into something truly special: lasagna composting. Ever looked at your kitchen scraps or yard trimmings and thought, “What a waste?” Well, you don’t have to think that anymore! Lasagna composting, also known as sheet composting, is a fantastic way to transform that “waste” into black gold for your garden soil. And the best part? You can do it super cheap, with minimal effort, and get surprisingly quick, genius results!
Think of it as building a compost pile layer by layer, like a delicious lasagna. It’s more about balance and patience than hard work. We’ll break down exactly how to get started, what materials you need (most of which you probably already have!), and how to keep it all running smoothly. Get ready to feel like a composting pro in no time!
Why Lasagna Composting is a Budget Gardener’s Best Friend
Traditional composting can sometimes feel like it requires a lot of space, specific bins, or constant turning. Lasagna composting throws a lot of those barriers out the window. It’s designed to be as straightforward and inexpensive as possible. You’re essentially mimicking the natural decomposition process that happens in the forest floor, but on your own timeline and in your own backyard.
This method is particularly brilliant for cost-conscious gardeners because:
- It’s Free (Mostly): The core ingredients are things you’d otherwise throw away or have readily available.
- No Fancy Bins Needed: You can build your lasagna pile directly on the ground.
- Less Labor Intensive: Forget constant turning! The layers do most of the work for you.
- Fast Results: Compared to some other methods, lasagna composting often breaks down quicker.
Let’s get down to the nitty-gritty of how this magic happens.
Understanding the “Lasagna” Layers: Greens and Browns
The secret to any great compost, especially lasagna composting, lies in achieving the right balance of materials. We categorize these into two main groups: “Greens” and “Browns.” This might sound simple, but getting this balance right is key to quick and effective decomposition.
Greens (Nitrogen-Rich Materials): These are your moist, nitrogen-rich materials that provide the “fuel” for the decomposition process. They tend to be fresh and can include things like:
- Fruit and vegetable scraps (peels, cores, rinds – avoid greasy or meat scraps for simple composting)
- Coffee grounds and tea bags
- Grass clippings (in thin layers to avoid matting)
- Fresh plant trimmings
- Manure from herbivores (like rabbits, chickens, cows, horses – well-rotted is best but fresh is okay in an active pile)
Browns (Carbon-Rich Materials): These are your dry, carbon-rich materials. They provide the “bulk” and allow air to circulate, preventing the pile from becoming a smelly, slimy mess. Think:
- Dried leaves (a composting superpower!)
- Straw or hay
- Shredded newspaper or cardboard (avoid glossy paper or colored inks if possible)
- Wood chips or sawdust (in moderation)
- Dryer lint (from natural fibers like cotton)
- Eggshells (crushed up)
The goal is to layer these materials roughly in a 2:1 or 3:1 ratio of Browns to Greens. Don’t get too hung up on exact measurements – it’s more about having a healthy mix. More browns than greens is safe for beginners!
What You’ll Need: Minimalist Composting Essentials
Here’s where “cheap” really comes into play. You don’t need a fancy compost bin or specialized tools to start lasagna composting. The beauty is in its simplicity.
The absolute must-haves:
- A Spot in Your Yard: Choose a level, well-drained area that gets some sun (but doesn’t have to be all day). About 3×3 feet is a good starting size, but you can adjust.
- Your “Green” Materials: Kitchen scraps, grass clippings, etc.
- Your “Brown” Materials: Fallen leaves, shredded paper/cardboard, straw, etc.
- A Pitchfork or Shovel (Optional but helpful): For moving materials.
Nice-to-haves that can speed things up:
- Water Source: A hose or watering can.
- Compost Activator (Optional): This can be a commercial product, or even just a shovel-full of finished compost or garden soil. It introduces beneficial microbes to get things going.
- A Tarp or Burlap Sack: To cover the pile if it gets too wet or dry, or to help retain heat.
That’s it! You’re ready to start building. No need to buy expensive bins or gadgets.
Step-by-Step: Building Your Cheap Lasagna Compost Pile
Let’s get our hands dirty (but not too dirty, thanks to these layers!). Follow these easy steps to build your first lasagna compost pile. This method is often called “sheet composting” because you’re layering sheets of organic material.
Step 1: Prepare Your Foundation (The “Damp Newspaper” Layer)
Start by laying down a base layer of carbon-rich materials. If you have access to them, a few sheets of plain newspaper (avoid glossy ads) or a layer of crumpled cardboard works perfectly. This layer helps prevent weeds from growing up through your pile and also allows air to circulate from the bottom. If you have some aged straw or dried leaves, that works too. This first layer should be about 2-4 inches thick.
Step 2: Add Your First “Green” Layer
Now, add a layer of nitrogen-rich “greens.” This could be kitchen scraps like vegetable peels and coffee grounds, or fresh grass clippings. Aim for a layer about 2-3 inches thick. Try to distribute it evenly. If you’re using a lot of grass clippings, make sure they aren’t packed too tightly, or they can become slimy and anaerobic (smelly!).
Step 3: Add Your First “Brown” Layer
Cover your green layer with a thicker layer of carbon-rich “browns.” This is your main insulation and air provider. Dried leaves are fantastic here. Shredded cardboard or straw are also excellent choices. This brown layer should be about 4-6 inches thick. This is usually the thickest type of layer you’ll add.
Tip: If your brown materials are very dry, give them a light spritz of water. You want them damp, not soggy.
Step 4: Continue Layering (Greens and Browns)
Keep alternating your green and brown layers. A good rhythm is: Greens (2-3 inches), then Browns (4-6 inches). You can also add thin layers of nitrogen-rich manure or a sprinkle of compost activator between layers if you have them. The key is to keep the brown layers a bit thicker than the green ones to maintain that ideal carbon-to-nitrogen ratio and good aeration.
Step 5: The Top Layer – Browns are Best!
For your final top layer, always finish with a good thick layer of browns. This helps to seal in moisture, keep out pests, and prevent odors from escaping. It also looks tidier! Dried leaves or straw are perfect for this.
Step 6: Water and Wait (with Occasional Checks)
Once your pile is built, give it a good watering. You want it to be moist like a wrung-out sponge, but not waterlogged. You can cover it loosely with a tarp or burlap if you have one, especially if you’re in a very dry or very wet climate. Now, the magic begins! The microorganisms will start breaking down the materials. You don’t need to turn it constantly like traditional compost. However, it’s a good idea to check on it every few weeks.
Check-ins:
- Moisture: Stick your hand into the pile. If it feels dry, water it. If it’s soaking wet, add more brown material and consider turning it slightly to help it breathe.
- Temperature: A healthy, active compost pile will generate heat, especially in the center. This is a good sign!
- Smell: If it starts smelling like ammonia, it’s too much green material. Add more browns. If it smells sour or rotten, it’s likely too wet and needs more air and browns.
Understanding the Decomposition Process
The layers will start to break down, and the pile will gradually shrink. This is normal! You’ll see steam rising on cool mornings, and the materials will become less distinct. The heat generated in the center by the microbes is crucial for killing weed seeds and pathogens, making your compost safe and beneficial for your garden. For a more active pile that breaks down faster, you can “turn” it by simply moving the outer materials into the center and the inner materials to the outside every few weeks. But for the “effortless” method, passive decomposition works too, it just takes a bit longer.
Troubleshooting Your Cheap Lasagna Compost
Even with the simplest methods, things can sometimes go a little sideways. Don’t worry, that’s part of the learning process! Here are a few common issues and how to fix them without spending a dime:
Problem: My compost pile smells bad (like ammonia or rotten eggs).
Solution: This usually means too much nitrogen (too many greens) or it’s too wet and not getting enough air.
- Too many greens: Bury your stinky greens with a thick layer of brown materials (leaves, shredded cardboard).
- Too wet/not enough air: Gently turn the pile to introduce air. Add more brown materials to soak up excess moisture. Consider adding larger, “chunkier” browns like twigs or wood chips for better aeration.
Problem: My compost pile isn’t breaking down and is just sitting there.
Solution: It might be too dry, lack nitrogen (too many browns), or lack the necessary microorganisms.
- Too dry: Water the pile thoroughly. Make sure you’re saturating it, like a well-wrung sponge.
- Too many browns/lack of greens: Add a fresh layer of nitrogen-rich materials (kitchen scraps, grass clippings, coffee grounds).
- Lack of microbes: Add a shovel-full of finished compost or garden soil. This introduces beneficial bacteria and fungi to kickstart the process.
- Needs a little help: If you have them, a sprinkle of compost activator or some finished compost can speed things up.
Problem: Pests (rodents, flies) are attracted to my pile.
Solution: This is often caused by exposing food scraps.
- Bury food scraps deep: Always cover your kitchen waste with a layer of browns.
- Avoid meat, dairy, and oily foods: For simple, smell-free composting, stick to plant-based materials.
- Ensure good covering: Make sure your top layer is substantial browns.
- Keep it moist, not wet: The right moisture level is less attractive to some pests.
Problem: The pile is too big/small.
Solution: Lasagna composting is flexible!
- Too big: You can simply stop adding to a section and start a new pile next to it, or reduce the size by turning and breaking down the existing material.
- Too small: It might take longer to heat up and decompose, but it will still work! You can add more materials as you generate them, keeping to the layering principle.
Remember, composting is a natural process. A little patience and observation go a long way. For more information on the science behind composting and its benefits, the U.S. Environmental Protection Agency (EPA) offers excellent resources.
When is My Lasagna Compost Ready?
The most rewarding part is harvesting your compost! The signs that your lasagna compost is ready to use are:
- Appearance: It will look dark, crumbly, and uniform – like rich soil. You shouldn’t be able to distinguish the original materials (leaves, scraps, etc.).
- Smell: It will have a pleasant, earthy aroma, like a forest floor after rain.
- Temperature: The pile will have cooled down to ambient temperature.
Depending on the materials you used, the weather, and how actively you managed the pile, this can take anywhere from a few months to a year. The beauty of the “set it and forget it” approach in lasagna composting is that it eventually gets there without constant intervention.
How to Harvest:
If your pile is built directly on the ground, you can simply dig into the finished compost from the bottom or side. The unfinished materials at the top can be incorporated into your next lasagna layer. If you’ve built a contained pile, you can fork out the finished compost from the bottom.
Storing Finished Compost:
Finished compost can be stored in piles, bins, or bags until you’re ready to use it. It’s best to keep it moist and covered to preserve its beneficial microbes.
Quick Comparison: Lasagna vs. Traditional Bin Composting
To really highlight why this cheap lasagna method shines, let’s do a quick comparison. While traditional compost bins have their place, lasagna composting often wins for budget-conscious beginners.
| Feature | Lasagna Composting (Cheap) | Traditional Bin Composting |
|---|---|---|
| Initial Cost | Very Low (mostly free materials) | Moderate to High (bin purchase or DIY materials) |
| Space Needed | Flexible (ground level) | Requires dedicated bin space |
| Effort/Labor | Low (minimal turning) | Moderate to High (frequent turning required for speed) |
| Speed of Composting | Moderate (passive) to Fast (active turning) | Fast (with proper turning and aeration) |
| Beginner Friendliness | Very High | Moderate |
| Pest Control | Good (if managed correctly by burying scraps) | Can be challenging depending on bin type |
| Material Flexibility | High, but best with balanced greens/browns | High |
As you can see, for the budget-conscious and low-effort gardener, lasagna composting is a clear winner. It leverages what you have and a bit of patience to produce excellent results.
The Genius of Nature: Why Lasagna Composting Works So Well
This method is so effective because it mimics what happens naturally in forests and fields. The soil beneath trees is rich and fertile, constantly replenished by fallen leaves and decomposing organic matter. Lasagna composting simply accelerates and concentrates this natural process.
The layered structure provides:
- Aeration: The gaps between bulky brown materials allow oxygen to reach the microbes that are doing the hard work.
- Moisture Retention: The layers help to hold onto just the right amount of water.
- Nutrient Distribution: Alternating greens and browns ensures that all the necessary elements for decomposition are present in the right balance.
It’s a brilliant, hands-off way to create a thriving ecosystem right there in your backyard. It’s decentralized, it’s natural, and it’s incredibly effective for improving soil structure, drainage, and nutrient content for your plants.
Frequently Asked Questions About Cheap Lasagna Composting
Here are some common questions beginners have about getting started with inexpensive lasagna composting:
What is the absolute best material for the

I am passionate about home engineering. I specialize in designing, installing, and maintaining heating, ventilation, and air conditioning systems. My goal is to help people stay comfortable in their homes all year long.

