Ever feel like your kitchen scraps and yard waste are just… waste? It’s a common feeling, and honestly, it can be a bit frustrating to see all that organic stuff pile up. But what if I told you there’s a simple, effective way to turn that “waste” into garden gold? It’s called lasagna composting, and it’s a fantastic method for anyone looking to be more sustainable. Don’t worry, it’s not as complicated as it sounds, and I’m here to walk you through it, step-by-step. We’ll cover everything you need to know to get yours started and keep it thriving.
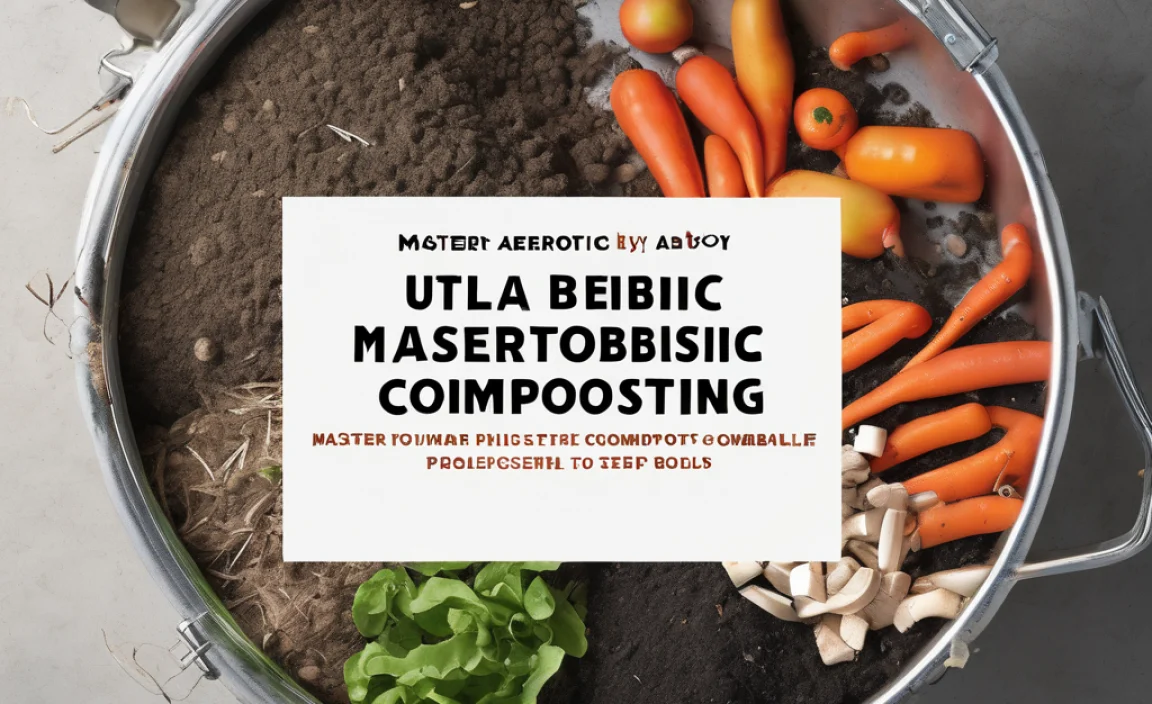
Lasagna Composting Sustainable: Your Essential Beginner’s Guide
Hey there, fellow home improvers and garden enthusiasts! Troy D Harn here from TopChooser, ready to simplify another one of those tasks that sounds a bit daunting but is actually super achievable. Today, we’re diving into the wonderful world of lasagna composting. Forget those intimidating compost bins you might have seen. This method is like building a delicious, nutrient-rich sandwich for your soil, layer by delicious layer. It’s a brilliant way to reduce waste, enrich your garden, and do a good deed for the planet, all without breaking a sweat (or the bank!).
We’ll break down exactly what it is, why it’s so great for sustainability, and how you can build your very own compost lasagna right in your backyard. Ready to turn your kitchen scraps and yard trimmings into black gold? Let’s dig in!
What is Lasagna Composting (and Why It’s So Sustainable)
Think of lasagna composting, also known as sheet composting or placemat composting, as building a layered pile of organic materials. Just like the Italian dish, it’s all about alternating layers of different ingredients. The key difference? Instead of pasta, sauce, and cheese, we’re using “greens” and “browns.”
The “Greens” and “Browns” Breakdown
- Greens (Nitrogen-rich): These are your moist, fresh materials. They provide nitrogen, which helps the microorganisms in your compost pile multiply and do their work. Think of them as the fuel.
- Browns (Carbon-rich): These are your dry, woody materials. They provide carbon, which the microorganisms use for energy. They also help with airflow and prevent your compost from getting too soggy. Think of them as the structure and insulation.
The “why it’s sustainable” part is pretty straightforward and incredibly rewarding:
- Waste Reduction: It diverts a huge amount of food scraps and yard waste from landfills, where they produce harmful methane gas as they decompose anaerobically.
- Soil Improvement: Instead of buying chemical fertilizers, you create your own nutrient-rich compost that improves soil structure, water retention, and overall plant health.
- Resourceful: You’re using materials you already have – from your kitchen and garden – to create something incredibly valuable. It’s the ultimate form of recycling!
- Water Conservation: Compost acts like a sponge in your soil, helping it retain moisture. This means you might need to water your garden less, saving a precious resource.
Getting Started: What You’ll Need
The beauty of lasagna composting is its low barrier to entry. You don’t need fancy equipment, just a bit of space and some willingness to gather materials. However, a few things can make the process smoother.
Essential Tools and Materials
- A Dedicated Space: Choose a corner of your yard that’s out of the way but accessible. It doesn’t need to be huge.
- A Source of Greens:
- Fruit and vegetable scraps (peels, cores, wilted lettuce)
- Coffee grounds and tea bags
- Grass clippings (in moderation)
- Manure from herbivores (cow, horse, rabbit, chicken – if you have access)
- A Source of Browns:
- Dry leaves (a composter’s best friend!)
- Shredded newspaper or plain cardboard (avoid glossy or colored inks)
- Straw or hay
- Wood chips or sawdust (use sparingly and ensure they are untreated)
- Pine needles
- Optional (but helpful):
- Garden fork or shovel: For turning and mixing, if you choose to do so.
- Watering can or hose: To keep the pile moist.
- A pitchfork: Useful for moving larger volumes of material.
- A compost bin or frame: To keep your lasagna neat and contained. This could be made from wood pallets, wire mesh, or just be an open pile.
What NOT to Compost
This is super important for a healthy, pest-free compost pile. A good rule of thumb is to avoid anything that could attract pests, introduce pathogens, or contain harmful chemicals.
- Meat, fish, and bones
- Dairy products (milk, cheese, yogurt)
- Oils, fats, and grease
- Diseased plants
- Weeds that have gone to seed (unless you’re certain your compost gets hot enough to kill them)
- Pet waste (dog or cat feces)
- Chemically treated yard waste or wood
- Coal or charcoal ash
How to Build Your Lasagna Compost Pile: Step-by-Step
Now for the fun part! Building your compost lasagna is like creating a beautiful, layered landscape. The key is to alternate your greens and browns, aiming for a balanced ratio. A good starting point is roughly two to three times more brown material than green material by volume. Don’t stress too much about exact measurements; nature is forgiving!
Step 1: Choose Your Location and Base Layer
Find a level spot in your yard. You can create a pile directly on the ground or use a simple bin. If you’re placing it directly on soil, it allows beneficial organisms from the ground to enter your compost pile from the bottom. For your very first layer, lay down a base of coarse brown material like twigs or straw. This helps with airflow at the bottom.
Step 2: Start Layering – The “Brown” Foundation
Begin with a generous layer of brown materials. This could be a thick layer of dry leaves, shredded cardboard, or straw, about 4-6 inches deep. This provides a great base for your compost sandwich.
Step 3: Add Your First “Green” Layer
Now, add a layer of your green materials – kitchen scraps, coffee grounds, fresh grass clippings. Aim for a layer about 2-4 inches thick. If you have a lot of kitchen scraps sinking to the bottom, it’s a good idea to cover them immediately with a brown layer.
Step 4: Add Another “Brown” Layer
Cover the green layer with another layer of brown material. This is crucial to prevent odors and deter pests. Make this brown layer about twice as thick as the green layer you just added.
Step 5: Continue Layering Greens and Browns
Keep alternating your layers. The general idea is:
- Thicker brown layers
- Thinner green layers
- Always cover greens with browns.
You can get creative here. Some people like to chop up larger brown materials like cardboard to help them break down faster.
Step 6: moisten as You Go
As you build your layers, lightly water each new addition, especially the brown materials. The goal is for the pile to be consistently moist, like a wrung-out sponge, not soggy or bone dry. Heavy rains might mean you need to cover your pile temporarily.
Step 7: The Finishing Layer
End your compost lasagna with a final, thick layer of brown material. This acts as a protective cap, keeping everything moist and tidy on top.
Step 8: Let It Do Its Thing (and Monitor!)
Once built, your lasagna compost will start to break down on its own. You don’t have to turn it, which is one of its many appeals for beginners. These “passive” or “cold” compost systems can still produce great compost, though it may take longer. However, if you want faster compost and a more well-mixed end product, you can periodically turn the pile. Some experts recommend turning it every few weeks or months when you add new layers or when the initial layers start to break down. A good indicator that your compost is working is if it heats up in the center. You can check this by sticking your hand into the pile (carefully!).
You can continue adding layers as you generate more kitchen scraps and yard waste. Just make sure to always bury your fresh greens under a layer of browns.
Table: Common Composting Materials for Your Lasagna
Here’s a quick reference chart to help you identify good “green” and “brown” ingredients for your compost lasagna:
| Browns (Carbon-Rich) | Greens (Nitrogen-Rich) |
|---|---|
| Dry Leaves | Fruit & Vegetable Scraps |
| Shredded Newspaper/Cardboard | Coffee Grounds & Tea Bags |
| Straw or Hay | Grass Clippings (fresh) |
| Wood Chips/Sawdust (untreated) | Plant Trimmings (non-woody) |
| Pine Needles | Eggshells (crushed) |
| Paper Towels (unsoiled by grease or chemicals) | Manure (cow, horse, rabbit, chicken) |
When is My Lasagna Compost Ready?
Patience is a virtue when it comes to composting! A cold, passive lasagna compost pile can take anywhere from 6 months to 2 years to fully break down, depending on the materials used, the season, and how often you turn it (if at all). You’ll know your compost is ready when:
- It resembles dark, crumbly soil.
- It has a pleasant, earthy smell, not like ammonia or rotten eggs.
- You can no longer recognize the original materials (no more distinct leaves, vegetable peels, etc.).
- It’s cool to the touch.
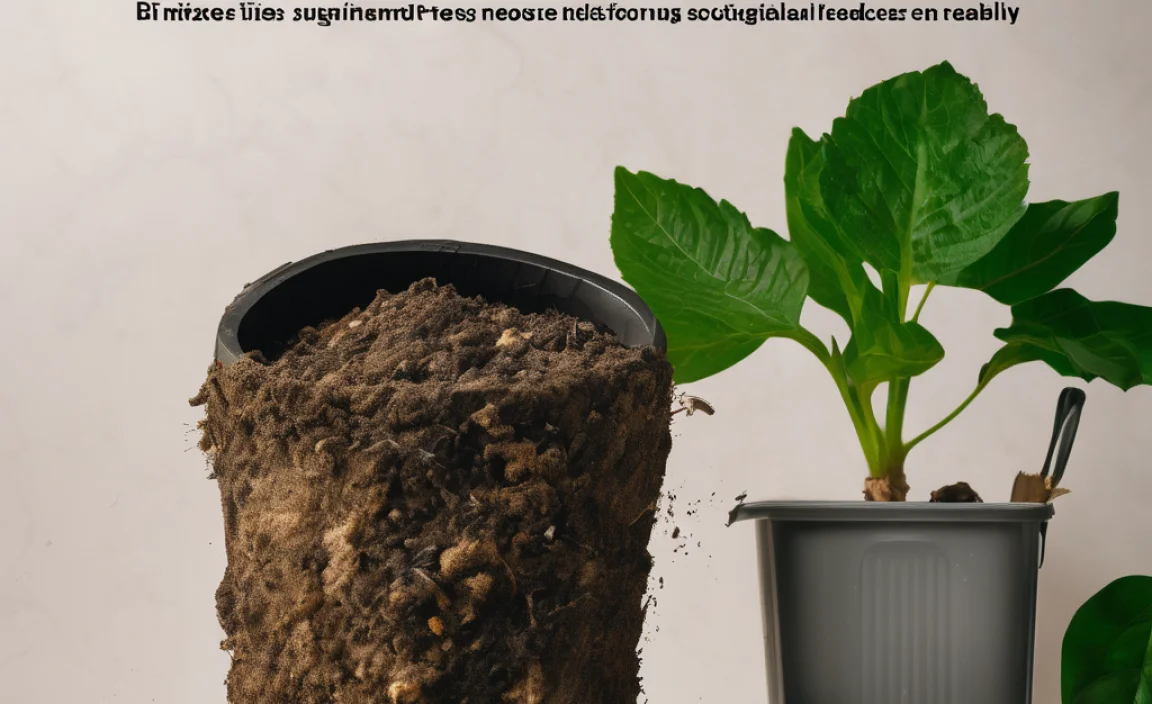
Once ready, you can simply scoop out the finished compost from the bottom of the pile or turn the entire pile to harvest. Use this nutrient-rich material to amend your garden beds, top-dress your plants, or mix into potting soil.
Tips for a Sustainable & Successful Lasagna Compost
Making your compost work for you and the planet is the goal. Here are a few insider tips to ensure your lasagna composting is as sustainable and effective as possible:
- Chop It Up: Smaller pieces break down faster. Chop up tougher brown materials like cardboard or thin branches, and run your kitchen scraps through a blender if you like.
- Balance is Key: Aim for that 2:1 or 3:1 brown-to-green ratio. Too much green can make it slimy and smelly; too much brown will slow down decomposition significantly.
- Keep it Moist: Dry compost is dead compost. Check the moisture regularly. If it’s dry, add water. If it’s too wet (rare in lasagna composting unless you’re getting excessive rain), add more browns and ensure good airflow.
- Aeration Matters: Even without active turning, allowing air to circulate is important. Avoid compacting your layers too much. Adding twigs and coarser materials at the bottom helps. If you’re building a bin, consider one with ventilation holes. The U.S. Environmental Protection Agency (EPA) also highlights the importance of aeration for efficient composting: Learn more about composting basics from the EPA.
- Layer Thoughtfully: Burying your kitchen scraps under brown layers is your best defense against pests and odors.
- Be Patient: Nature works on its own schedule. Don’t get discouraged if it takes time. Every compost pile is a living ecosystem.
- Use What You Have: The most sustainable approach is to use the organic materials that are already available to you. Don’t go out and buy special composting materials if you don’t need to.
- Feed Your Garden: Once your compost is ready, use it! This closes the loop and truly makes your composting efforts sustainable.
Common Issues and How to Fix Them
Even with the best intentions, sometimes things happen. Here are a few common compost quandaries and how to solve them:
- Problem: Smelly Compost (like ammonia or rotten eggs)
- Cause: Too much green material (nitrogen), or not enough airflow.
- Fix: Add a generous layer of brown material (dry leaves, shredded cardboard). Gently aerate the pile by poking holes or turning it if you can. Ensure greens are well-covered by browns.
- Problem: Pile is not breaking down or is too dry
- Cause: Not enough moisture, or too many brown materials.
- Fix: Add water until the pile is damp like a wrung-out sponge. If it’s extremely dry and compacted, you might need to gently turn or fork it over to help moisture penetrate. If it’s just slow, keep adding greens periodically.
- Problem: Attracting Pests (flies, rodents)
- Cause: Exposed food scraps, or inclusion of prohibited items like meat or dairy.
- Fix: Ensure all food scraps are buried under a thick layer of brown material. Double-check that you are not adding any meat, dairy, oily foods, or pet waste. A sturdy bin can also help deter larger pests.
- Problem: Pile is too wet and slimy
- Cause: Excessive moisture, often from too many fresh grass clippings or rain, and not enough bulky browns.
- Fix: Add a good amount of dry, bulky brown material like straw or shredded cardboard. Poke holes or turn the pile to improve aeration and help moisture escape.
Lasagna Composting vs. Other Methods
You might be wondering how lasagna composting stacks up against other popular methods. Here’s a quick look:
Turned (Hot) Composting: This method involves actively managing your pile by turning it frequently (daily to weekly) to aerate it and heat it up rapidly. It breaks down very quickly (often weeks to months) and kills weed seeds and pathogens. Lasagna composting is a form of passive or cold composting, which requires less effort and turning but takes longer, and may not kill all weed seeds or pathogens.
Tumbler Composting: These are enclosed rotating bins. They offer good aeration and can speed up the process compared to static piles, but they have a limited capacity and can be costly.
Worm Composting (Vermicomposting): This method uses specific types of worms (like red wigglers) to break down food scraps. It’s excellent for small spaces and produces high-quality compost (worm castings), but it requires specific conditions and cannot process large volumes of yard waste.
Which is best? It depends on your needs! If you have a lot of space, produce significant yard waste, and prefer a hands-off approach, lasagna composting is fantastic. If you need compost fast or have issues with pests and weeds, active turning might be better. For apartment dwellers, worm composting is often the way to go.
Frequently Asked Questions (FAQ)
Can I compost in winter?
Yes, you can! While decomposition will slow down significantly in freezing temperatures, the process doesn’t entirely stop. You can continue adding materials, especially browns, and your pile will start up again once the weather warms. Some gardeners even dig their lasagna compost into garden beds during winter to let it continue breaking down.
How much space do I need for lasagna composting?
You don’t need a lot of space. A pile that’s at least 3 feet x 3 feet x 3 feet is ideal for generating enough heat to break down materials efficiently, but you can start smaller. Even a pile that’s just a few feet wide is better than nothing, it will just break down slower.
Is it okay to put grass clippings in my lasagna compost?
Yes, but in moderation! Grass clippings are a “green” material rich in nitrogen. If you add too much at once, they can mat together, create anaerobic pockets, and cause your pile to smell. It’s best to add them in thin layers, alternating with plenty of brown material, or let them “wilt” for a day or two before adding.

I am passionate about home engineering. I specialize in designing, installing, and maintaining heating, ventilation, and air conditioning systems. My goal is to help people stay comfortable in their homes all year long.