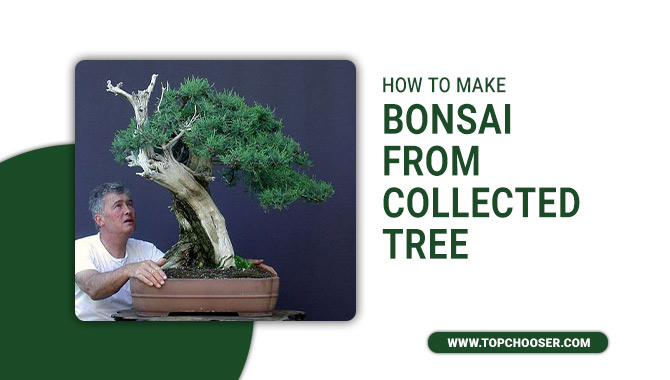
If you’re new to bonsai, collecting trees can seem like a daunting task. But don’t worry – this blog will walk you through the basics of collecting trees, from choosing the right tree to making your bonsai from it.
In the first section, we’ll cover tips for choosing the right collected tree and explaining the benefits of collecting a tree of a certain age and character. Then, in the next section, we’ll go through the steps involved in making bonsai from a collected tree. Finally, in conclusion, we’ll answer some common questions about collecting trees and bonsai. So start on your bonsai journey today!
Tips For Choosing The Right Collected Tree
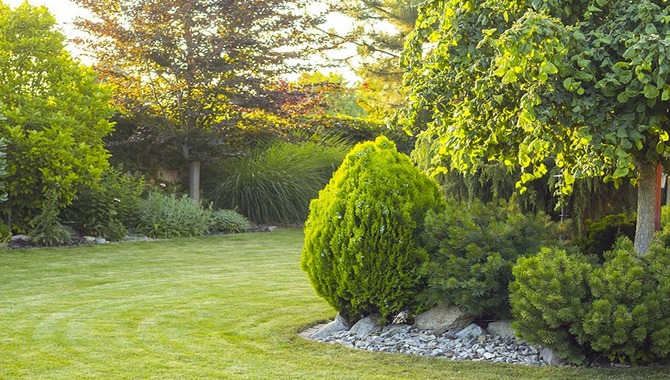
Bonsai is a beautiful art form that can enjoy by everyone. It is the practice of growing miniature trees from collected tree specimens. There are many tips and techniques that you need to know in order to make the process as smooth as possible.
When choosing a collected tree, be sure to select one that is healthy and has good roots. Once you have chosen the tree, begin by cutting off any dead or broken branches and pruning it back as needed. You will then need to prepare the tree for bonsai by removing its leaves and shaping them into an appropriate pot or container.
After planting your collected tree in the prepared area, water it well and give it plenty of sunlight! If you’re new to the art, start with a smaller tree and work your way up. Bonsai is a rewarding hobby that will bring you joy, no matter how long it takes you to perfect it!
Steps In Making Bonsai From A Collected Tree
Bonsai is a beautiful and fascinating art form that can create from collected tree branches. It’s not as difficult as it seems, and the steps in making bonsai from a collected tree are simple. First, clean the collected tree of any dirt or leaves.
Once it’s clean, make a sketch or diagram of the shape you want your bonsai to take. Next, start chopping down the branches. Once the branches are chopped, start shaping and wiring the branches into place using wire cutters and pliers. Finally, apply a coat of sealant or paint to the bonsai to give it an attractive finish.
1. Prepare The Tree For Bonsai
Before you begin the renouncement process on your bonsai tree, it is important to remove any old leaves and dry them off so they will not rot. Next, trim away any deadwood (dead branches and roots) and expose the natural veins in the wood.
Remove all the branches that are weaker than the others or those that are diseased or broken. Finally, cut off any excess wood below the desired level of renouncement (the layer of new wood).
Next, place branches in the desired position and press down firmly with hands or weights until glue bonds the tree together. Apply a thin coat of glue to one side of each branch (apply equally to both sides). Let the adhesive dry for at least two hours before touching anything else!
2. Plant Your Tree In The Soil
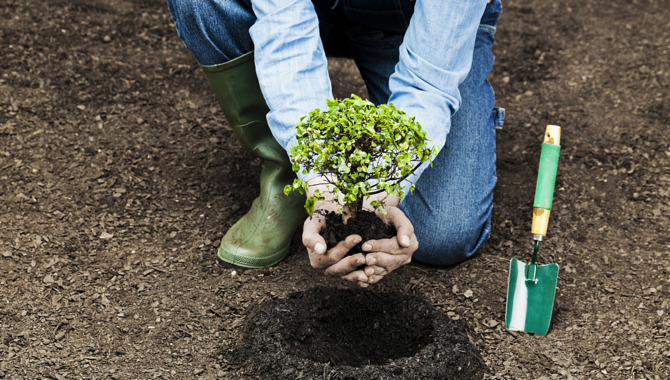
When it comes to bonsai tree care, the most important thing is to make sure you have the right soil and the right tree. Follow these simple steps to start:
- If you are using a living tree, be sure to protect its roots by planting them in soil well before shaping it into a bonsai. This will ensure that your bonsai retains its vitality and grows healthily over time.
- Choose the right species of deciduous tree for your project. This will greatly affect how your bonsai looks and behaves over time (for example, juniper trees tend to be shorter than oak trees). Collecting the live specimen early in the morning or late at night when it’s still fresh and green will help avoid damage during transportation. Note down the size, shape, and location of the live tree before cutting it down. So that you can follow proper transplanting procedures afterward!
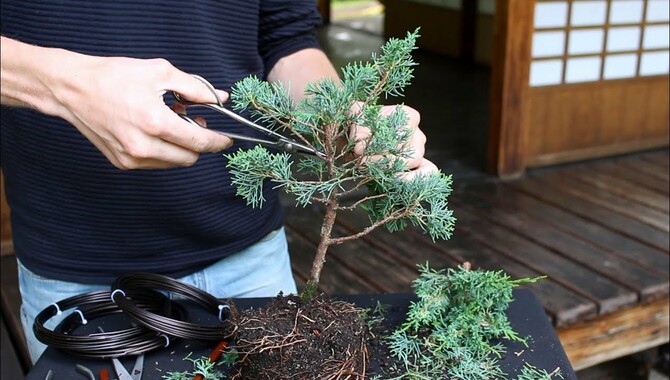
3. Trim And Shape The Branches
One of the most important tasks you need to do as a tree owner is to trim and shape the branches. If left unchecked, the tree’s branches can quickly become jagged, unsightly, and even dangerous. There are several different methods you can use to achieve the desired results:
- Use a saw to cut off any dead or damaged branches.
- Next, use your hands to trim the branch into the desired shape. Take care not to bend it too much
- this might cause it to snap in two later on!
- Once you have trimmed it into its final form. Start shaping it by bending and twisting it into its preferred position.
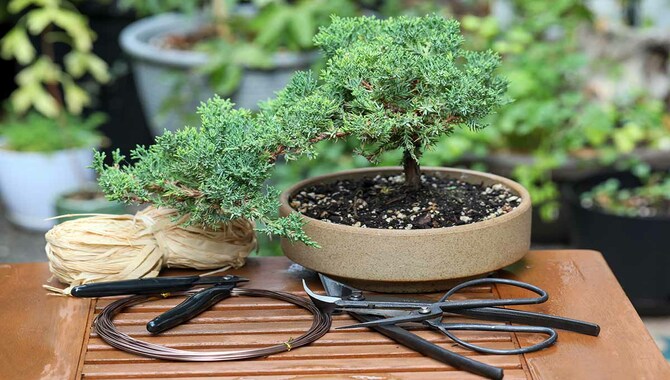
4. Gather The Necessary Supplies

There are a few essential steps that need to follow when creating a lucky bamboo plant. First, the tree needs to be cut down to the desired height and width. Afterward, it needs to trim into the perfect shape with wire; this will help create an elegant look for your new lucky bamboo houseplant.
You’ll also need some supplies before starting – like a pot, wire, saw sedge blades (or chainsaw), cutting board, and screws or nails. Make sure you choose the right tree for your project, as small or large ones can both be used successfully.
Once everything is ready, arrange leaves and twigs in the desired shape before securing them with screws or nails to the outer surface of the pot/board using wire. Finally, divide the trunk into two equal parts and start shaping it using wire!
5. Choose The Right Tree
Before starting the process of bonsai tree making, it is important to take note of a few things. First and foremost, make sure that the tree you have collected is in good condition – free from pests or diseases.
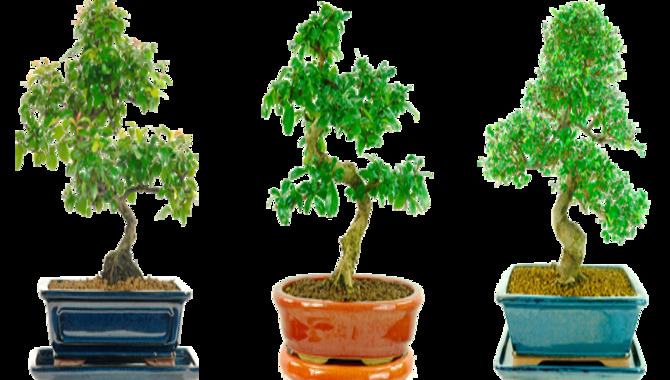
Secondly, determine whether you would like to make a dwarf bonsai or an average-sized bonsai. Finally, before getting started with the actual process of bonsai tree making, remove any extraneous material such as dead branches and roots.
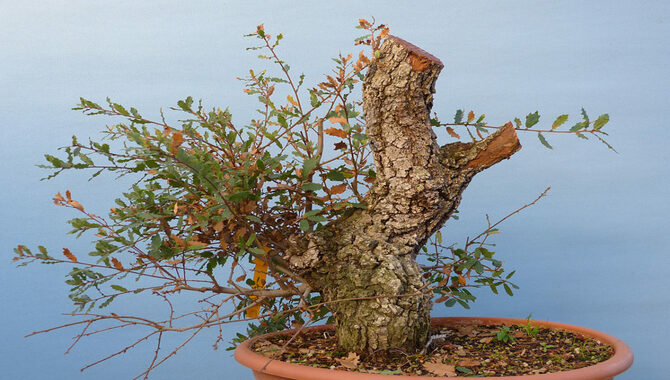
The Benefits Of Collected Tree Trunk

There are many benefits to collecting tree trunks instead of just cutting it down. These include the fact that the trunk is often in better condition than the branches, making it a perfect choice for beginners who want to learn the art of bonsai farming properly.
Additionally, collected tree trunk often contains more nutrients and minerals than cut down trees, making it a valuable resource for bonsai growers. If you’re looking to up your game this year and make some beautiful bonsai trees, start by collecting tree trunks!
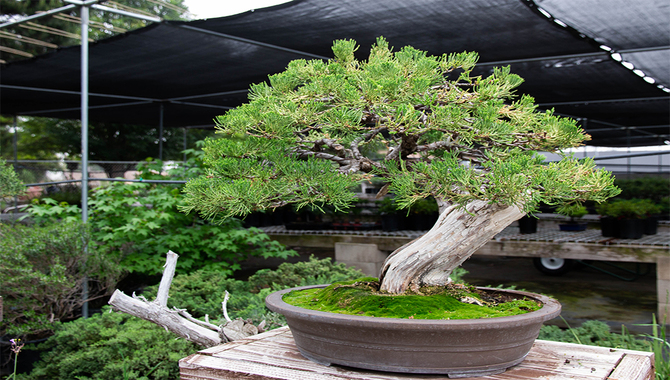
When Is A Tree Ready To Be Made Into Bonsai?
Bonsai is a graceful art form that can be enjoyed by anyone. It’s a tree that has been sculpted into the desired form, usually using wire, tape, and other supplies. The tree should be around a foot tall when it’s ready to start being sculpted, but it can take up to several years to finish the process.
Once finished, water the tree regularly and enjoy your new bonsai masterpiece! Before starting the bonsai journey, make sure the tree is in good condition – meaning it has few or no branches broken off, and the trunk is smooth. Trees collected as bonsai must meet these specific criteria, so it’s important to check the condition of the tree before you start the process.
The Collected Tree Basics
Bonsai is the art of growing miniature trees in miniature pots. It’s a skill that takes time and patience, but with the right tools and the collected tree basics under your belt, it’s definitely achievable. To get started, gather a pot that’s at least 2 feet wide by 2 feet deep by 1 foot high.
Next, prepare the soil mix by adding something light, moist, and free from fertilizer. Make sure the collected tree is healthy and in good condition – if it’s not, you may end up with a tree that’s too small or too tall for the pot you’ve chosen.
Once the tree is in the pot, it’s time to start watering. You can do this by using the hose attachment or a watering can with a spout. Finally, measure the tree’s height and width so you can wire mesh or some other sturdy material for support. All in all, bonsai is a skill that takes time, patience, and a bit of creativity – but.
Conclusion
If you’re interested in making bonsai from a collected tree, follow the steps outlined in this blog post. By taking the time to research the right tree and following the correct steps, you can create a beautiful bonsai that will be a cherished addition to your home. Have any questions or comments? Please feel free to leave them below, and we’ll get back to you as soon as possible! Bonsai?
Frequently Asked Questions
What Is The Best Way To Collect A Tree For Bonsai?
You can collect tree specimens the traditional way by cutting down a tree in the wild, or buying a live tree from a nursery.
How Do I Prepare The Collected Tree For Bonsai?
Collect tree branches in the direction of the tree’s growth. Bend the collected branches so that the tips of the branches are pointing downwards, then spread the collected branches out so their diameter is about the same.
What Type Of Soil Should I Use When Growing A Bonsai Tree?
Loam soil is best for bonsai trees.
How Often Should I Water My Collected Tree And Why?
Green leaves typically indicate that the tree is receiving enough water, while dry leaves may signal a lack of water. A good guideline to follow is to water the tree about once a week during the summer and spring and every other week in the fall and winter. The source of information for this answer is the University of California Cooperative Extension.

I am passionate about home engineering. I specialize in designing, installing, and maintaining heating, ventilation, and air conditioning systems. My goal is to help people stay comfortable in their homes all year long.