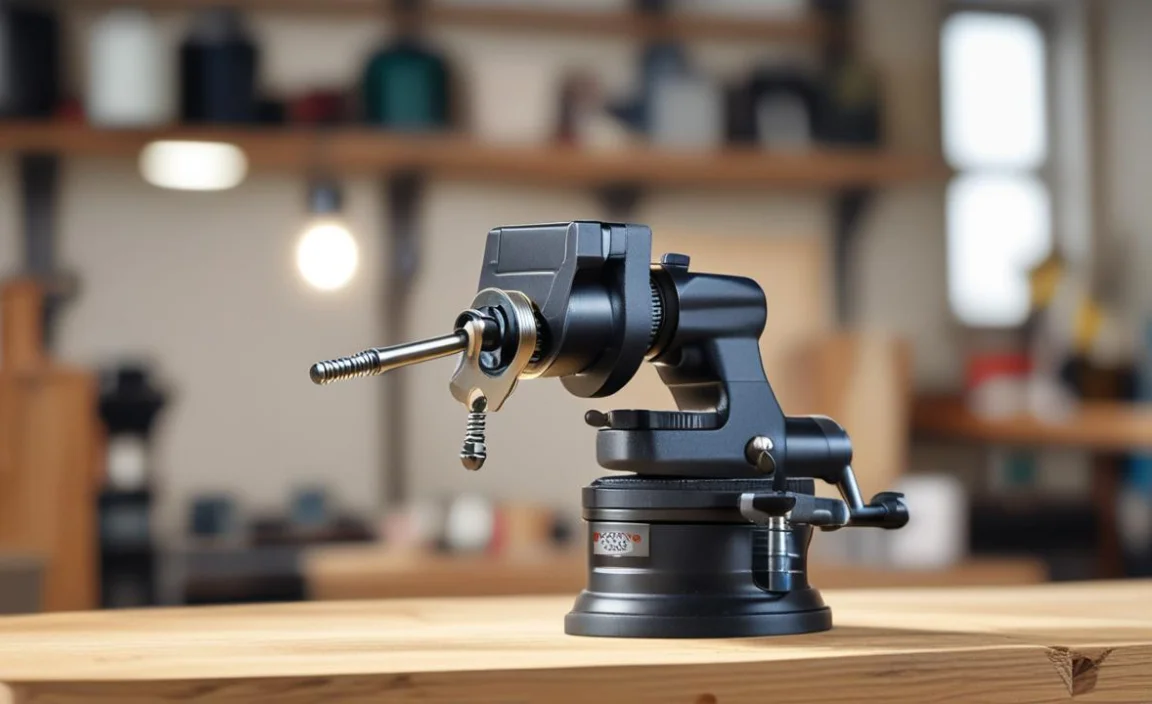
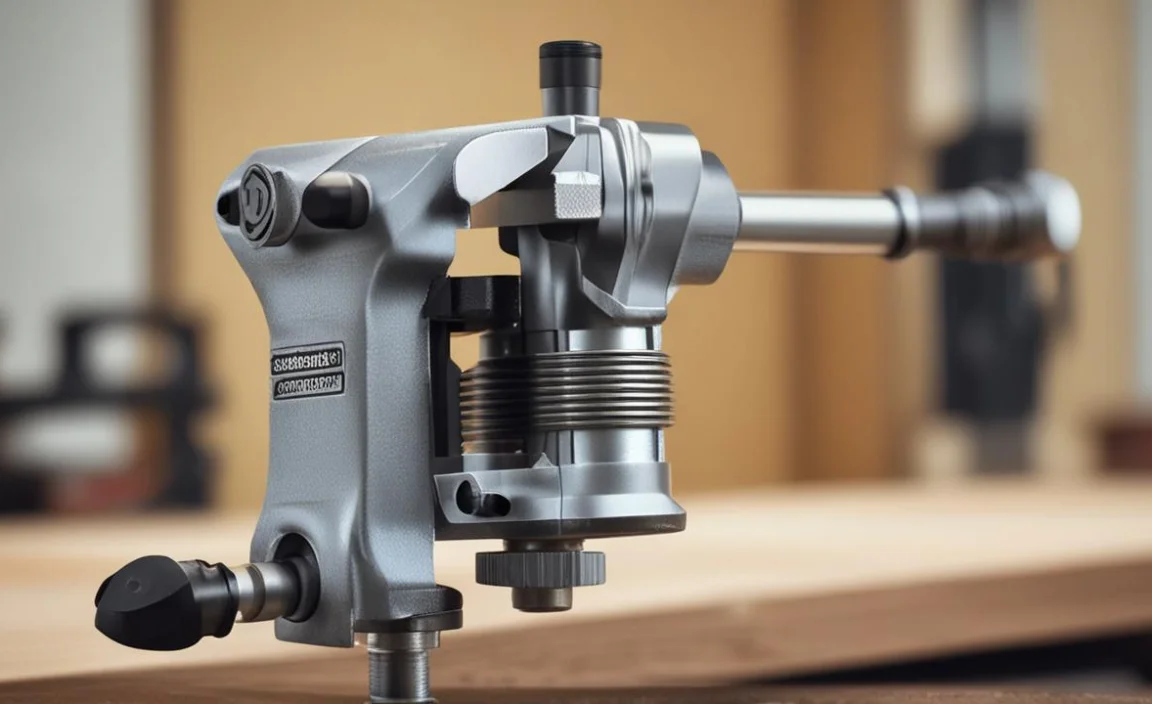
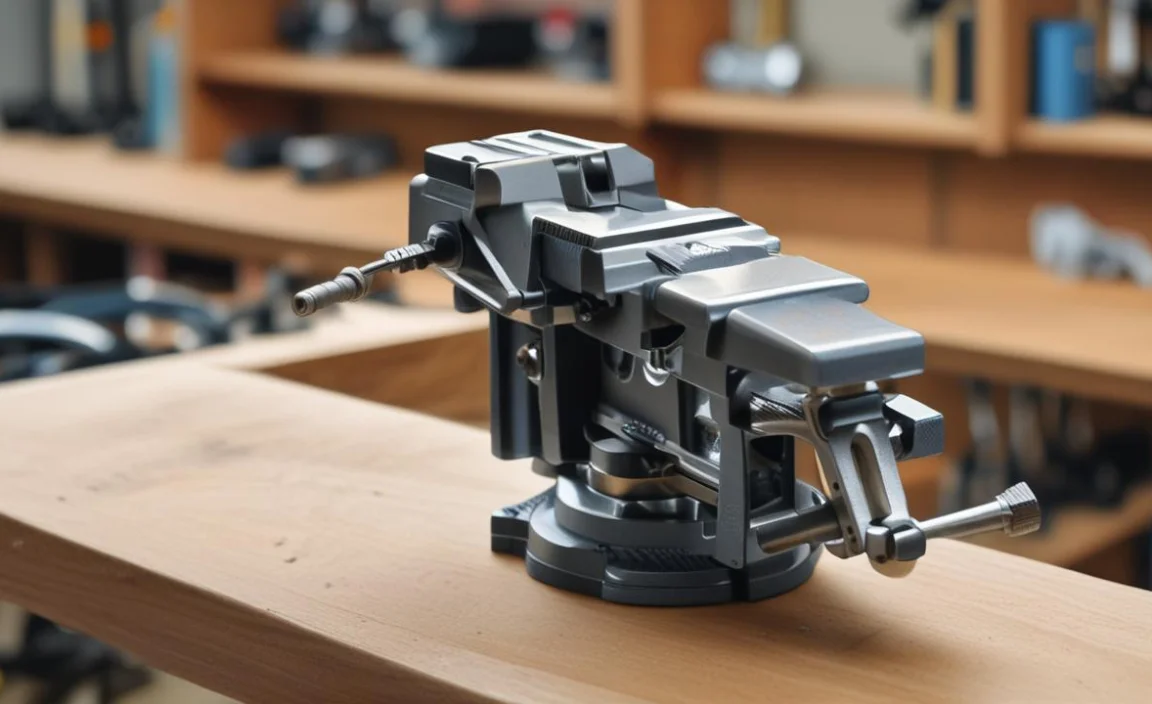
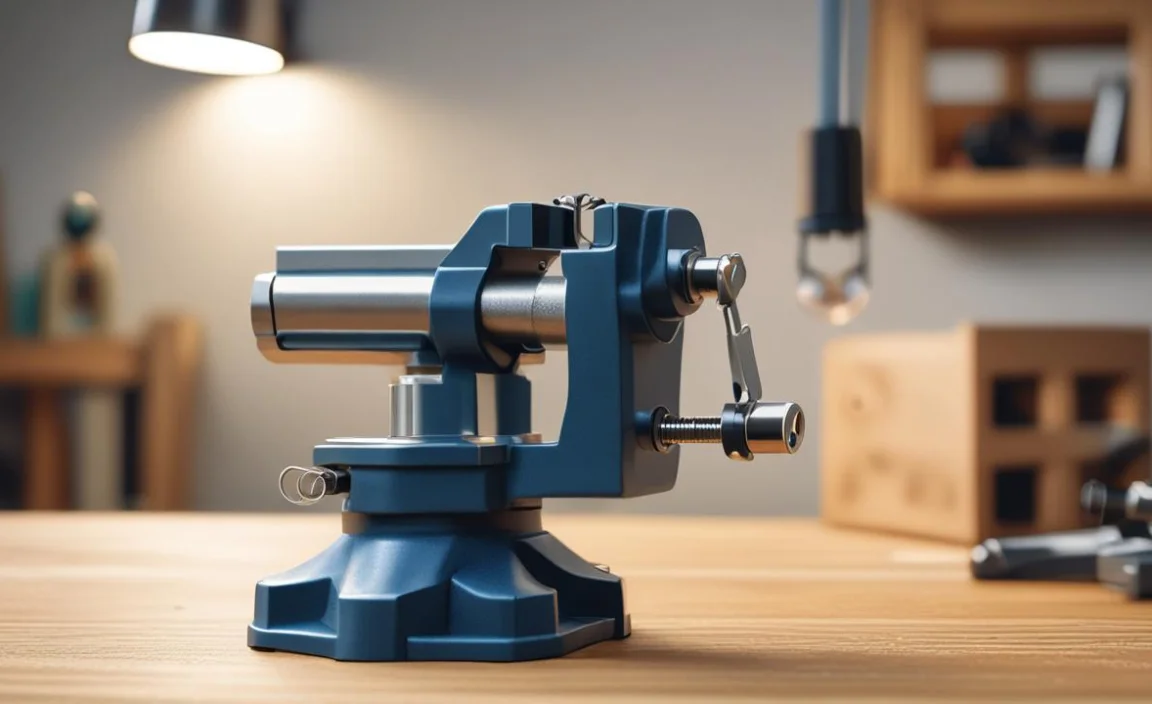
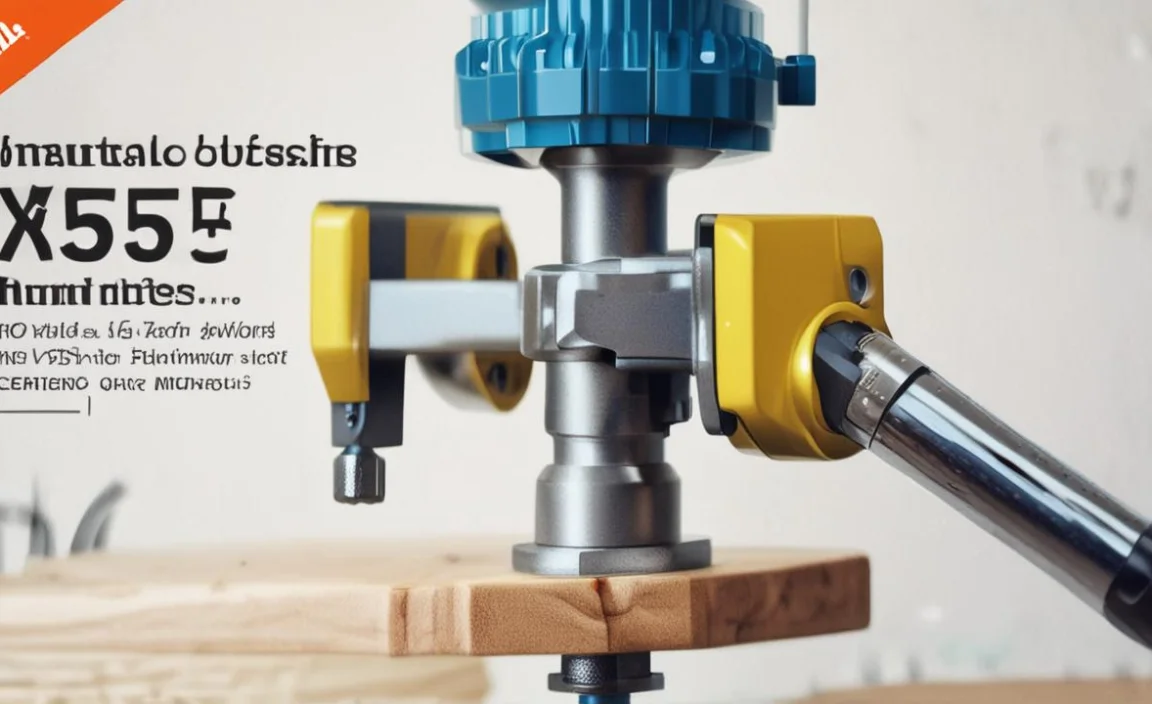
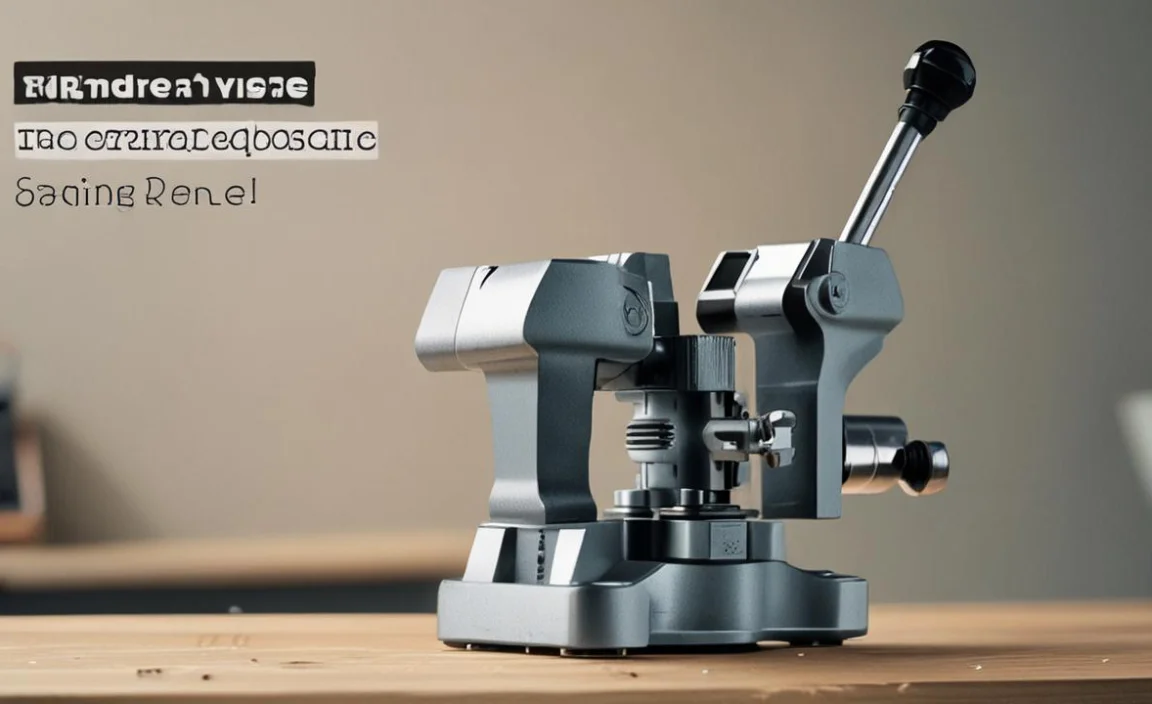
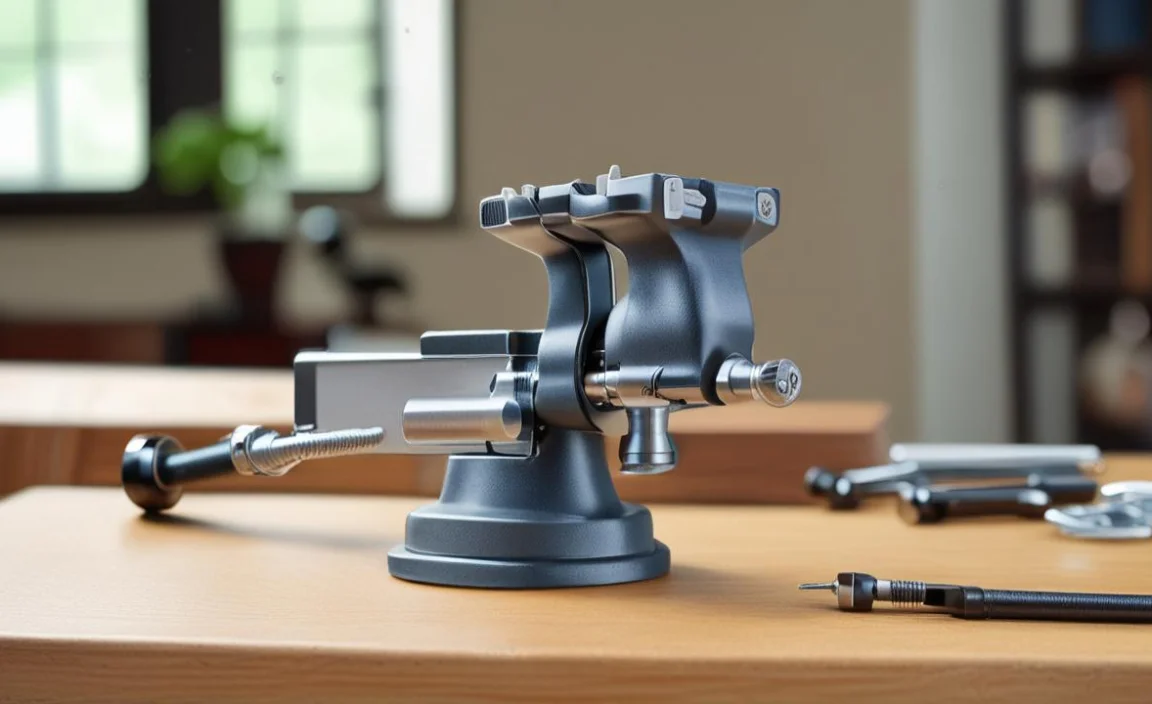
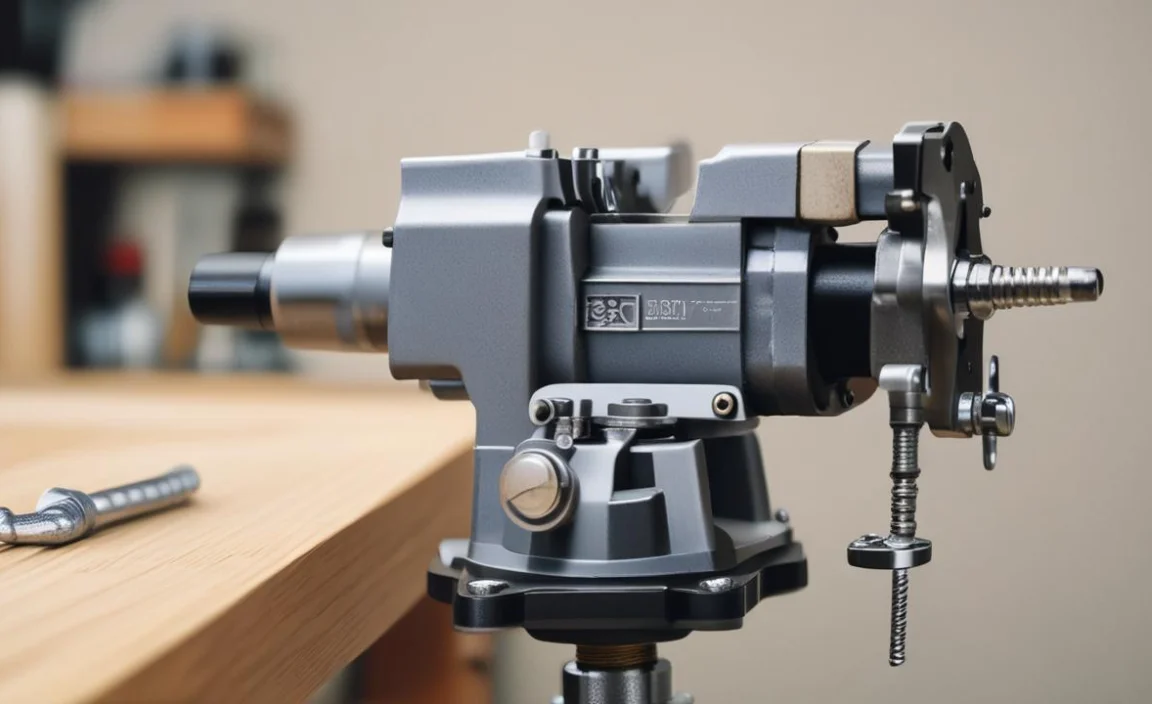
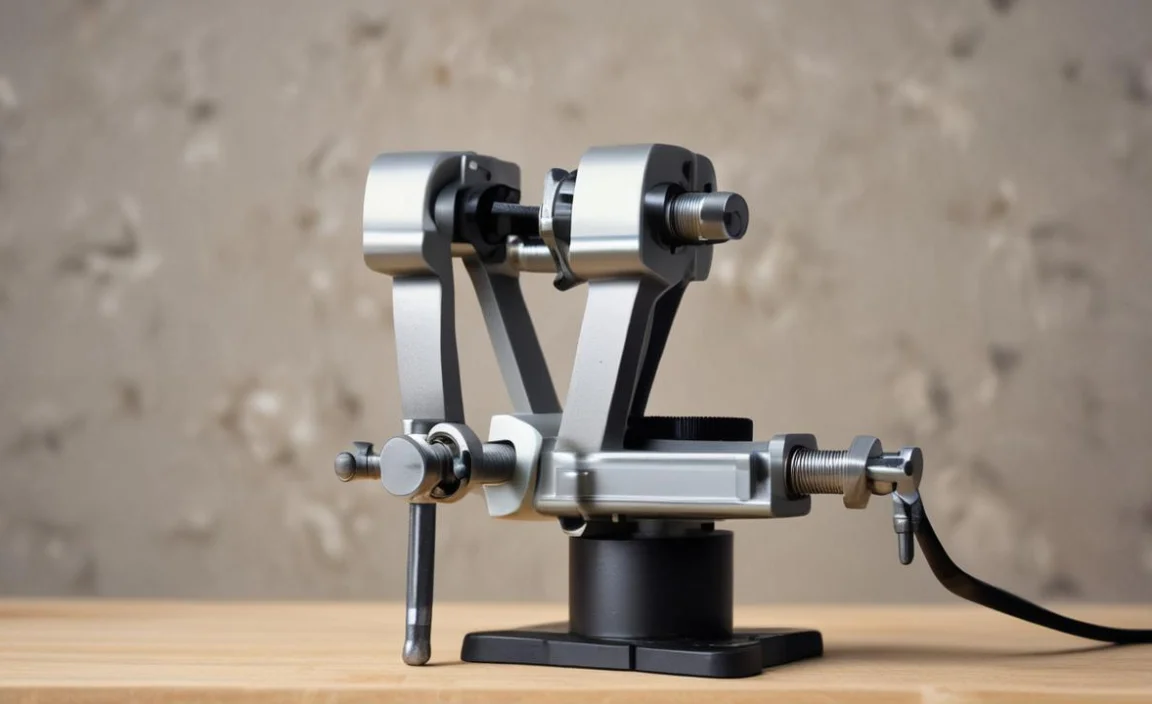
A vise is an essential part of a workbench. Bench vices are an engineer’s vices that hold the object fixedly. The vise is mainly used by carpenters and metalworkers.
They use it to hold the wood in a position, stick glue dry, etc. The vice is also used to cut materials. If you have a vice beside your handy bench will serve a multi-purpose like sawing or drilling.
When you are a passionate woodworker or a metalworker, the vice will help you a lot. The most efficient vice has marked one that remains unchanged for years and is easy to handle. Now the question may arise in your mind how to mount a vise. Here we will get an overview of the simple mounting process of a vice. Let’s dive deeper.
Tools And Materials Needed
When mounting a vice, it is important to have the right tools and materials on hand. Power tools such as a drill and a screwdriver will be necessary for drilling holes and securing the vise to your workbench. Additionally, you will need a vise jaw to keep your materials in place while working.
Lastly, a sturdy wood bench or work surface is essential for providing a stable foundation for the vise. By having these tools and materials ready, you can ensure a successful and secure mounting of your vise, allowing you to complete your projects with ease and efficiency.
Tools
- Pencil
- Cordless drill
- Drill bit
- Socket
- Wrenches
Materials
- Bolts
- Washers (top & underside)
- Lock washers
- Nuts
6 Easy Steps To Mount A Vise
To mount a vise, you must collect some instruments. There are some selective materials and tools to fix the vise on the bench. You must fit the materials with the vise; the tools will help you throughout the operation.
Arrange all the vital instruments and bring the model. If the vise has any instructions or guidelines, you should carefully review them on paper. Some brands don’t follow the traditional procedures of assembling a vise. Rather they provide their procedures.
Choose The Mounting Location
When mounting a vice, choosing the right location is crucial. Look for a sturdy workbench or table that can support the weight and force applied to the vice. Ensure that the area around the chosen location is clear of any obstructions that may interfere with the vise’s operation.
Once you have determined the ideal spot, gather the necessary tools and hardware, such as metal jaws, vise hardware, and a vise plate. If you’re unsure where to find these items, hardware stores like Harbor Freight often carry a variety of vise accessories. Consider opting for a swivel vise if you need additional flexibility in positioning your workpieces.
Trace Out The Mounting Hole
First, you have to find the hole of the vise where you want to mount it. Mark up the point with a pencil. Sometimes a mounting templet is also provided with the vise.
If you find any, follow the instructions in the given template. It will make your mounting easier. Make sure that the description of that temple and your vise match. Usually, most people are right-handed, and they find it helpful if the vise is mounted on the right side of the table. But positioning the vise depends absolutely on the choice of the user.
Drill Out The Hole
The most crucial step of mounting a vise is drilling. Select the right size of the drill bit. Now drill out the Pencil marked area with very mild pressure. While drilling, never put high pressure because it may cause the soft materials to splinter. You also have to be careful to put hard pressure while working on the plywood.
Fitting The Washer
When mounting a vise, ensuring the washer is fitted properly is important. The type of vise you are using will determine the specific steps for fitting the washer, but generally, it involves placing the washer over the vise screw and securing it in place.
The washer helps to distribute the pressure evenly and prevent damage to the outfeed table or table surface. It is crucial to follow the manufacturer’s instructions and use the appropriate size and type of washer for your specific vise to ensure a secure and stable mounting.
Bolt Adjustment
It will help you to smooth the portion of the edge. It’s time to adjust a bolt with the washer before putting it together with the drilled hole of the vise. Try to use the strong bolt of the correct size. During the operation, you must notify that you have used your customized washer to avoid sizing problems.
Setting The Washer

When mounting a vise, it is important to set the washer correctly. You will need a piece of wood thick enough to fit between the washer and the bench edge. Place the washer on the piece of wood and secure it in place with wood screws.
Make sure to use pilot holes to prevent the wood from splitting. Once securely attached to the washer, you can mount the vise onto your workbench. This simple step will help ensure your vise is stable and secure for all your projects.
Tighten The Bolts
In the final step, you must use the socket and standard wrench. You can tighten the bolt in the right place with a socket wrench. And use a standard wrench to fix the nut. It will ensure the stability of the vise. The vise will perform well if you assemble it appropriately. Again, check the bolt and nut further before use.
Estimated Cost
You must spend a lot of money to get a quality product with comfort. A woodworking vise may cost $30 to $400. And a metalworking vise may cost $50 to $700. An effective vice accelerates the quality of your work. And the whole action of mounting a vise may take $100 to $200 if you perfectly mount the vice on your working table.
The Time Needed
Mounting a vice can be a relatively quick and straightforward process. The time needed to mount a vise will depend on factors such as your level of experience and the tools you have available. Generally, it can take around 30 minutes to an hour to mount a vise securely. To do this, you will need lag screws, vice jaws, bolt heads, an assembly table, and a block of wood.
Start by positioning the vice in the desired location on your assembly table. Then, drill pilot holes for the lag screws and secure the vise using the bolt heads. Finally, attach the vice jaws and test the stability of your mounted vice before proceeding with any work.
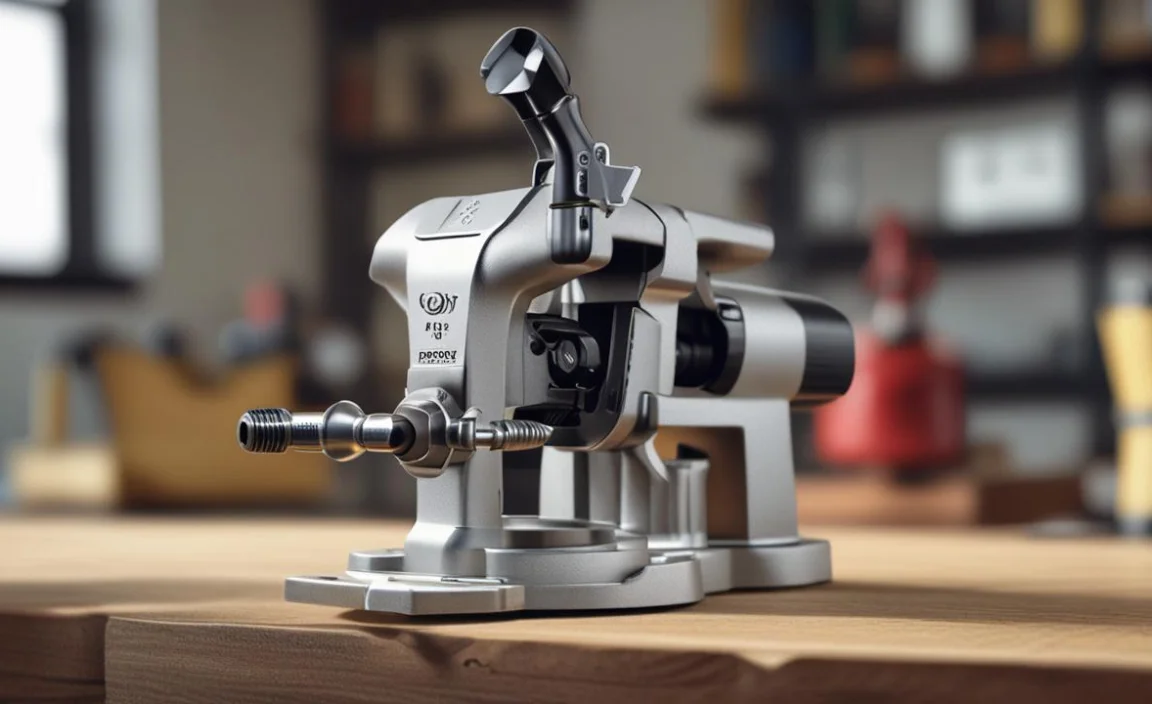
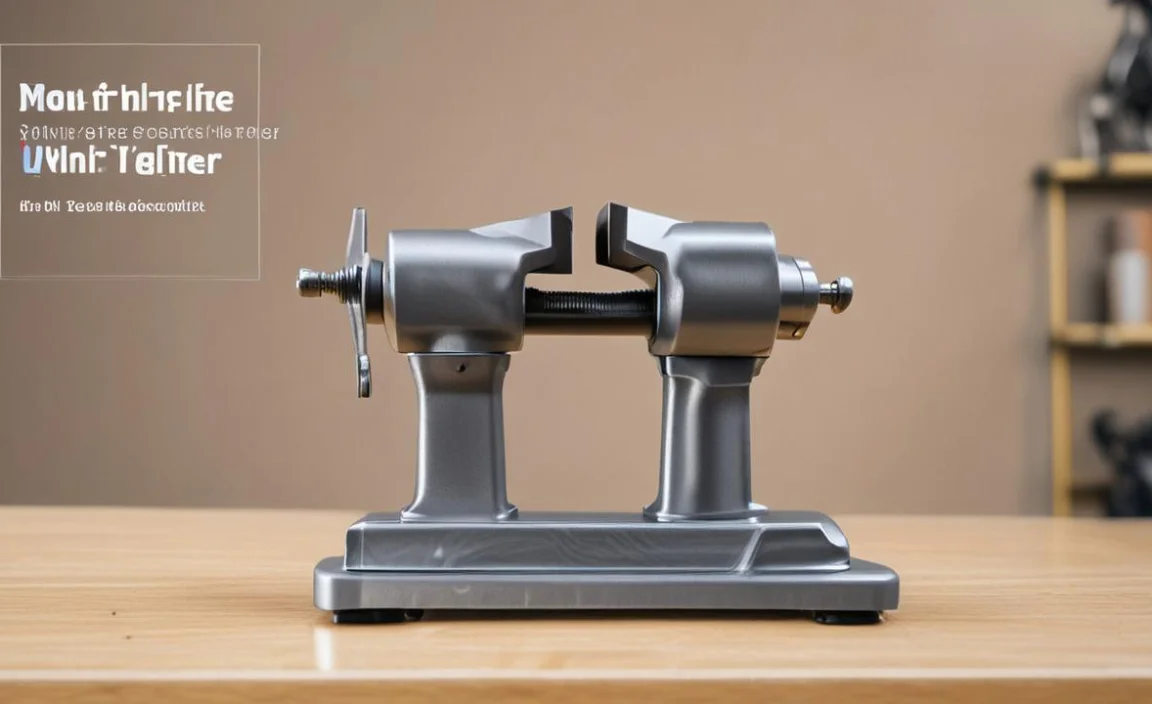
What Is A Bench Vise?
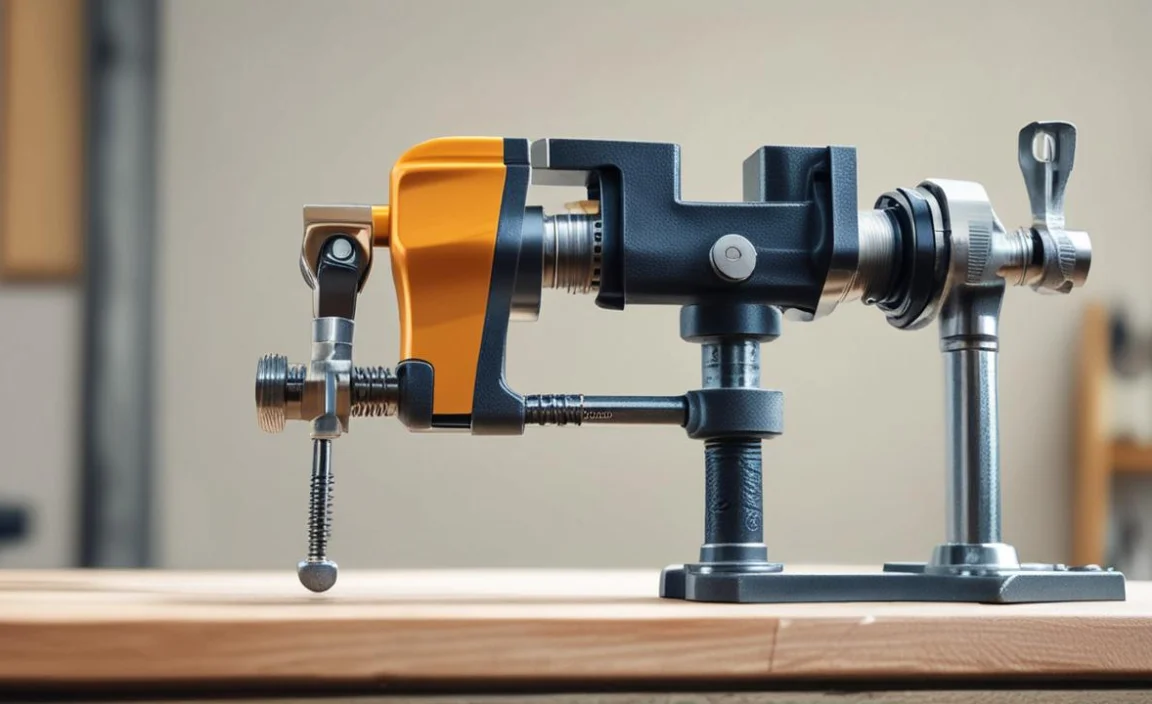
A bench vise is a mechanical tool designed to hold objects in place securely. It typically consists of two jaws, one fixed and one movable, that can be tightened to grip the object being worked on. Bench vises are commonly used in woodworking, metalworking, and other trades requiring a strong and stable grip.
They can be attached to a workbench or other sturdy surface, allowing for hands-free operation and increased precision. Whether you’re sawing, filing, or drilling, a bench vise can provide stability and control; you must do the job accurately and safely.
Final Words
Mounting a vice may seem daunting, but it can be easily accomplished with the right tools and techniques. Follow the steps to Mount A Vise, and remember to take your time and prioritize safety.
Consider factors such as the type of vise you have, where you want to mount it, and the materials needed for installation. With the right approach and attention to detail, you’ll enjoy the benefits of a well-mounted vise in no time. So get your tools ready, and transform your workspace into a more efficient and productive environment.

I don’t think the title of your article matches the content lol. Just kidding, mainly because I had some doubts after reading the article.
Can you be more specific about the content of your article? After reading it, I still have some doubts. Hope you can help me.