Installing new tiles can be an exciting and rewarding home improvement project, but ensuring that the surface you are tiling on is properly prepared is important. One key step in this process is using a mud bed cure before tiling. This method involves creating a leveled and solid base using a mixture of sand, cement, and water, which helps to strengthen the floor and prevents any cracks or unevenness in the final tile installation.
We will provide expert tips on how to use mud bed cure before tiling. From preparing the subfloor to testing the mud bed for strength, we cover all aspects of the process in detail. We also discuss common mistakes to avoid when curing a mud bed and share tips for achieving a successful tile installation on a cured mud bed.
What is a mud bed, and why is it important for tiling?
A mud bed is a mixture of sand mix, cement, and water used as a tiling base. It provides a level and stable surface for the tiles to adhere to, preventing them from cracking or shifting over time. The mud bed also helps to absorb any excess moisture that may be present in the subfloor, ensuring that the tiles remain in place and do not become damaged by moisture. In addition, the mud bed can help to level out any uneven areas in the subfloor, creating a smooth and even surface for the tiles. Overall, using a mud bed before tiling is important in ensuring a successful and long-lasting tile installation.
7 Expert Tips to Use Mud Bed Cure Before Tiling
Using a mud bed cure before tiling is important in ensuring a successful tile installation. Using a mud bed cure before tiling is important in ensuring a successful and long-lasting tile installation. The mud bed, a brick cement mortar bed or screed, provides a smooth and level surface for the tiles to adhere to. Following these expert tips, you can apply your mud bed cure correctly and provide a solid base for your tiles, resulting in a durable and long-lasting tile installation. Here are seven expert tips on how to use mud bed cure before tiling.
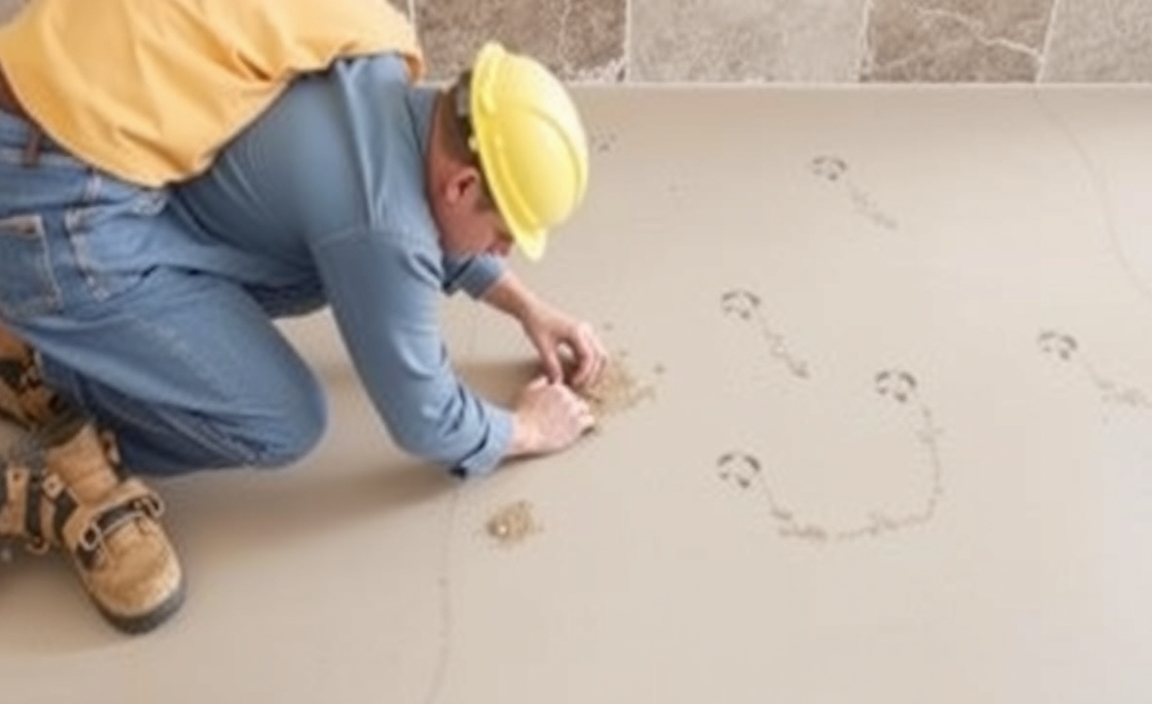
1. Preparing the Subfloor
To ensure a successful tile installation, it is crucial to prepare the subfloor properly. Start by cleaning the subfloor thoroughly, removing any dirt, debris, or adhesive residue that may interfere with the bonding process. Additionally, ensure the subfloor is completely dry and moisture-free before applying the mud bed.
Repair any cracks or uneven areas in the subfloor to create a smooth and level surface. If needed, use a leveling compound to achieve the desired evenness. Lastly, prime the subfloor with a suitable primer to enhance adhesion between the subfloor and the mud bed.
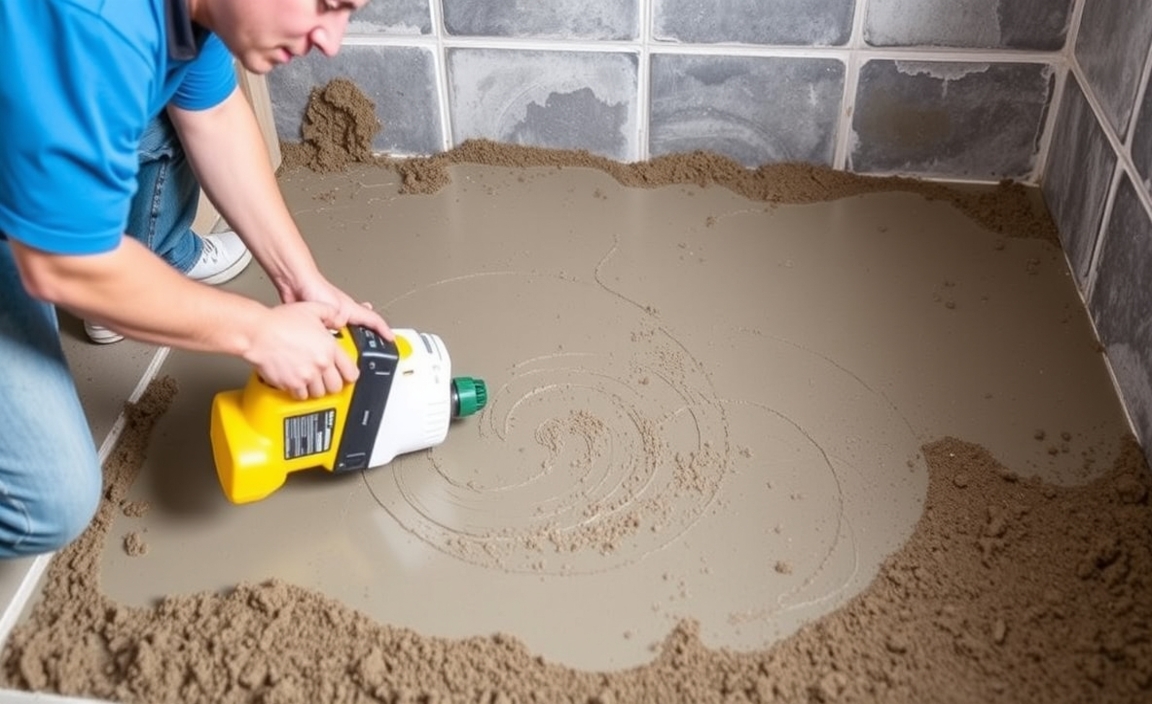
2. Applying the Mud Bed
To start applying the mud bed, mix the mud bed mixture according to the manufacturer’s instructions. Spread the mud bed evenly over the prepared subfloor using a trowel, maintaining the desired thickness throughout the installation process. Use a screed board or straight edge to level the mud bed and create a smooth flat surface as you work. Additionally, feather the edges of the mud bed to ensure a seamless transition to the surrounding floor.
3. Letting the Mud Bed Cure
To ensure a successful tile installation, it is crucial to let the deck mud bed cure for the recommended time specified by the manufacturer. During the curing period, proper ventilation should be maintained to promote drying. It is important to avoid walking or placing heavy objects on the mud bed as this can disrupt the curing process.
Monitoring humidity levels and temperature is also necessary to create optimal curing conditions. Rushing the curing process can lead to future issues with the tile installation, so it is best to allow the mud bed to cure naturally and thoroughly.
4. Enhancing the Curing Process
You can follow several expert tips to enhance the curing process of a mud bed before tiling. First, covering the mud bed with plastic sheeting helps retain moisture and prevent excessive drying. Also, misting the mud bed with water periodically ensures it stays hydrated. Another effective method is using a curing cleavage membrane or compound, which promotes even curing.
Maintaining a consistent temperature in the room is also important to facilitate the curing process. Finally, following any additional water recommendations the mud bed manufacturer provides can further enhance the curing process.
5. Testing the Mud Bed for Strength
Tap the surface with a hammer or mallet to ensure that the mud bed has reached sufficient strength. A solid, non-hollow sound indicates that the mud bed is strong enough. Additionally, inspect the surface for any visible cracks or signs of weakness. It’s also important to perform a load-bearing test in a small area to ensure the stability of the mud bed. If there are any concerns about the strength of the mud bed, it’s best to seek professional assistance. Remember, a well-cured mud bed is crucial for a successful tile installation, whether for shower walls, floor mud, or even shower bases.
6. Ensuring Proper Thickness
To ensure proper thickness during the mud bed installation process, it is important to measure the thickness regularly. By using a notched trowel, you can achieve the desired thickness and ensure proper coverage. Maintaining consistency in thickness across the entire surface of the mud bed is crucial.
Adjustments can be made as needed to meet the specific requirements for tile installation. Consulting industry guidelines or manufacturer recommendations can provide valuable insights into the specific thickness requirements.
7. Sealing the Mud Bed
Sealing the mud bed properly is crucial to ensure a successful tiling project. After allowing the mud bed to be fully cured, choose a sealer compatible with the material used for the mud bed. Follow the manufacturer’s instructions for applying the sealer to achieve optimal results.
Ensuring complete coverage of the mud bed surface with the sealer is essential, protecting the mud bed from moisture and potential damage. Once you apply the sealer, allow it to dry and cure fully before installing the tile. This step ensures the mud bed remains stable and provides a solid foundation for your tiles.
Common mistakes to avoid when curing a mud bed
When curing a mud bed for tiling, several common mistakes should be avoided to ensure a strong and stable foundation. One of the most important things to remember is to avoid rushing the curing process. Taking the time to allow the mud bed to cure properly will help prevent weak or unstable results. It’s also crucial not to exceed the recommended thickness for the mud bed, as this can lead to issues with stability.
Additionally, you should avoid excessive moisture or water exposure during the curing period, as it can negatively impact the integrity of the mud bed. Another mistake to avoid is skipping the step of properly mixing the mortar, resulting in an uneven or weak mixture. Lastly, tiles should not be applied before the mud bed is fully cured and ready, as this can compromise the entire tiling installation. Awareness of these common mistakes can ensure a successful mud bed curing process and achieve excellent tiling results.
Tips for achieving a successful tile installation on a cured mud bed
A successful tile installation on a cured mud bed requires careful planning and attention to detail. By following these tips, you can achieve a successful tile installation on a cured mud bed and enjoy beautiful and durable tiled surfaces in your home or project. Follow the manufacturer’s instructions for curing time. Here are some tips to help you get the best results:
- Clean the mud bed thoroughly before tiling. Remove any loose debris or dust, and ensure the surface is smooth and level. This will provide a solid foundation for the tiles.
- Use an appropriate adhesive for your tiles. Different tiles require different adhesives, so choose one suitable for your tile material and size.
- Apply the adhesive evenly and in small sections at a time. This will prevent it from drying out before you can lay the tiles.
- Press the tiles firmly into place, using a tile spacer if necessary to ensure even spacing between each tile.
- Allow the adhesive to dry completely before grouting. This usually takes about 24 hours, but check the manufacturer’s instructions for specific drying times.
Frequently Asked Questions
How long should mud bed cure before tiling?
A mud bed typically needs to cure for at least 48 to 72 hours before tiling. This allows the bed to properly set and dry before applying the tiles to ensure a strong, stable foundation.
Is curing required for tiles?
Curing is not required for all types of tiles, such as ceramic and porcelain tiles. However, for certain types of tiles like natural stone tiles or cement tiles, curing may be recommended to ensure proper setting and durability.
How long does it take for mortar bed to cure?
It typically takes mortar bed to cure within 24 to 48 hours, depending on factors like temperature, humidity, and the specific type of mortar being used. It is important to follow manufacturer instructions for the specific product being used to ensure proper curing time and strength.
How much water do you put in a mud bed?
The amount of water to add to a mud bed can vary depending on the specific project requirements, but a general guideline is to add enough water to achieve a consistency that is workable and moldable for the intended purpose.
How do you treat concrete before tiling?
Before tiling over concrete, it is essential to ensure the surface is clean, dry, and level. Any cracks should be filled with a suitable concrete patching compound, and the surface should be primed with a bonding agent to promote adhesion.
Conclusion
Using a mud bed cure before tiling is crucial for achieving a successful and durable tile installation. It provides a stable and level surface, prevents cracking or shifting of tiles, and enhances the floor’s or wall’s overall strength. Follow these expert tips to ensure a proper mud bed cure: prepare the subfloor properly, apply the mud bed evenly and smoothly, allow sufficient time for it to cure and dry, enhance the curing process with moisture and temperature control, test the mud bed for strength and readiness before tiling, and seal the mud bed to protect it from moisture. Avoid common mistakes such as rushing the curing process or neglecting proper thickness. By following these tips on how to use mud bed cure before tiling, you can achieve a flawless tile installation on a cured mud bed and enjoy long-lasting results.
Resource:
preparing your subfloor for tile: https://www.thespruce.com/how-to-prepare-subfloor-for-tile-1822816
understanding mortar bed installation: https://www.finehomebuilding.com/project-guides/tile/setting-tile-in-a-mortar-bed
professional surface preparation advice: https://laticrete.com/en/tile-and-stone-installation/surface-preparation
best practices for curing compounds: https://www.custombuildingproducts.com/TDS/TDS-129.pdf

I am passionate about home engineering. I specialize in designing, installing, and maintaining heating, ventilation, and air conditioning systems. My goal is to help people stay comfortable in their homes all year long.