Want a thriving garden without breaking the bank? Compost is your secret weapon! Often seen as a fancy garden ingredient, making your own organic compost is actually super easy and incredibly budget-friendly.
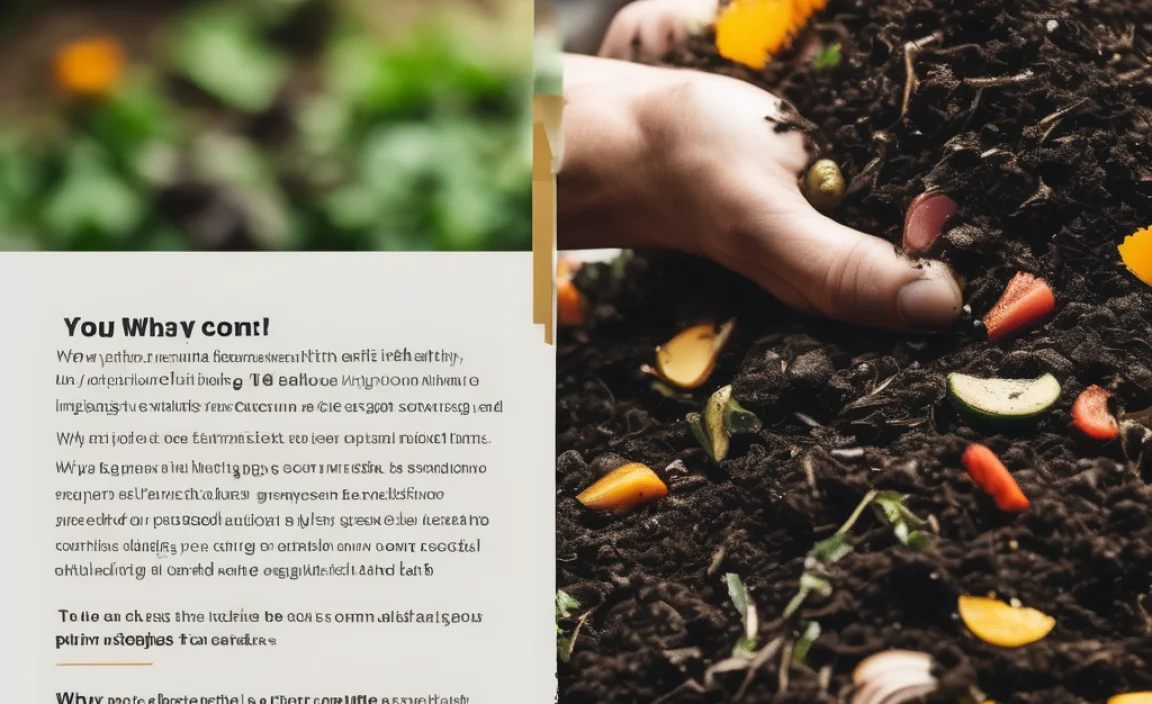
Think of it as nature’s recycling program. You can transform everyday kitchen scraps and yard waste into nutrient-rich “black gold” for your plants. This guide will show you exactly how to do it, step-by-step. Get ready to boost your garden’s health the affordable way!
Why Go Organic Compost Affordable?
Let’s be real: buying bags of compost or fertilizer can add up quickly. Your wallet feels it, and sometimes, those store-bought options aren’t even as good as what you can make yourself. Organic compost is the ultimate win-win for your garden and your budget.
- Boosts Soil Health: Compost improves soil structure, helping it hold moisture and allowing plant roots to breathe better.
- Feeds Your Plants: It’s packed with essential nutrients that plants need to grow strong, healthy, and vibrant.
- Reduces Waste: You’ll be diverting a significant amount of your kitchen scraps and yard trimmings from the landfill.
- Saves Money: Instead of buying, you’re creating this valuable resource for free!
- Environmentally Friendly: It’s a natural way to enrich your soil, avoiding synthetic chemicals.
Making your own organic compost affordable is all about understanding what goes in and how it works. It’s not complicated, and soon you’ll be a composting pro!
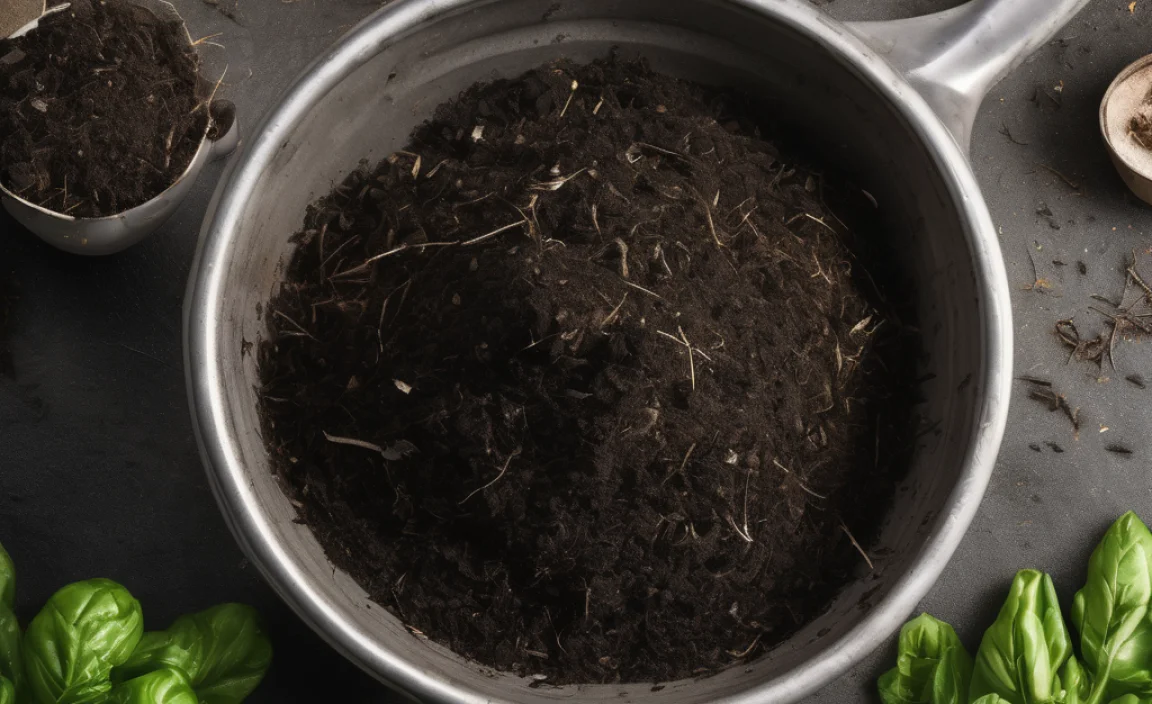
What Goes Into Your Compost Pile? The “Greens” and “Browns”
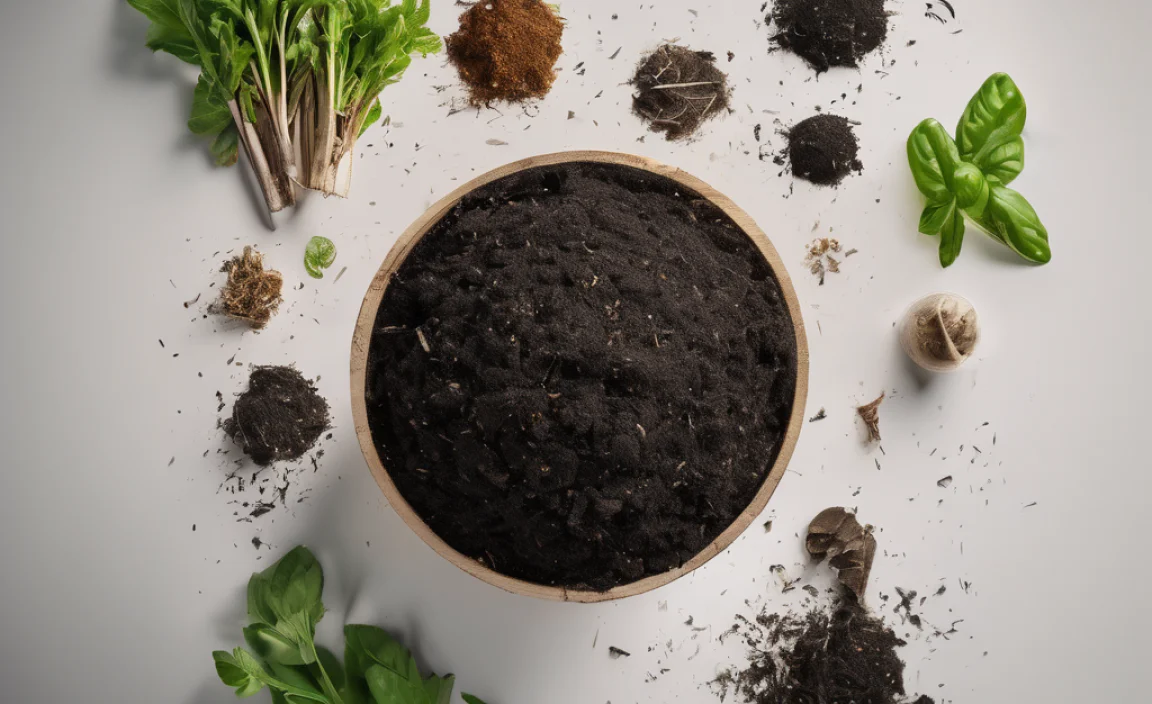
Composting is all about balance. Think of it like baking a cake – you need the right ingredients in the right proportions. For composting, we talk about “greens” and “browns.”
Greens: These are your nitrogen-rich materials. They provide the moisture and the “go” for your compost pile. Think of them as the spark plugs!
- Fruit and vegetable scraps (peels, cores, wilted lettuce)
- Coffee grounds and tea bags
- Grass clippings (in thin layers)
- Plant trimmings
- Eggshells (crushed for faster breakdown)
Browns: These are your carbon-rich materials. They provide the bulk and airiness to your pile, preventing it from getting too slimy and helping it break down without getting stinky.
- Dry leaves
- Shredded newspaper and cardboard (avoid glossy paper or colored inks)
- Straw and hay
- Wood chips and sawdust (from untreated wood)
- Twigs and small branches
What to Avoid: Some things just don’t belong in a compost pile, especially if you want rich, safe compost. These items can attract pests, spread diseases, or contain harmful substances.
- Meat, fish, and dairy products (attract pests, can create odors)
- Oily or fatty foods
- Diseased plants
- Weeds that have gone to seed (they might just sprout in your garden!)
- Pet waste (dog and cat feces can contain pathogens)
- Chemically treated wood or yard waste
The general rule of thumb is to aim for a ratio of about 2 to 3 parts browns to ​1 part greens. This isn’t an exact science, and you can adjust as you go!
Choosing Your Affordable Composting Method
You don’t need a fancy bin to start composting. Several methods work great for beginners and are super easy on your wallet.
1. The Open Pile Method
This is the simplest and cheapest way to start. You just pile your compostable materials in a designated spot in your yard.
- Pros: Absolutely free, no special equipment needed, easy to add materials.
- Cons: Can look a bit messy, might attract pests if not managed well, can take longer to break down than contained methods.
How to do it:
- Choose a spot: Pick a level, well-drained area in your yard, ideally with some sun to help with decomposition. Aim for a spot that’s easy to access.
- Start layering: Begin with a base layer of bulky brown material like twigs to help with airflow. Then, start alternating layers of greens and browns.
- Keep it moist: The pile should be damp, like a wrung-out sponge. Water it during dry spells.
- Turn it occasionally: Stirring the pile with a pitchfork or shovel every few weeks helps speed up decomposition by adding oxygen.
2. DIY Compost Bin from Pallets
Want something a bit more contained but still super affordable? Building a bin from free wooden pallets is a fantastic option.
- Pros: Relatively inexpensive (often free materials), keeps your compost tidy, good airflow.
- Cons: Requires basic DIY skills and tools, takes up a bit more space than an open pile.
What you’ll need:
- 4 wooden pallets (check local businesses, construction sites, or online marketplaces for free ones)
- Wire, zip ties, or screws to connect the pallets
- Optional: Landscape fabric or chicken wire to line the inside if gaps are large
- Tools: Hammer, saw (if needed), drill (if using screws)
How to do it:
- Assemble the walls: Stand three pallets up on their edges to form three sides of a square.
- Connect the sides: Securely attach the pallets together at the corners using wire, heavy-duty zip ties, or screws.
- Add the front (optional): You can attach the fourth pallet like a door (using hinges or simply tying it so it can be opened) or leave it open for easier access and turning. Alternatively, you can create a three-sided bin and leave the front entirely open.
- Line (if needed): If there are large gaps, you might want to line the inside with landscape fabric or chicken wire to prevent materials from falling out, while still allowing air circulation.
3. Simple Wire Mesh Bin
This is another easy and affordable DIY option that offers good airflow.
- Pros: Excellent aeration, very affordable, easy to assemble and move if needed.
- Cons: Can be less visually appealing than a pallet bin, might not contain finer materials as well.
What you’ll need:
- A roll of hardware cloth or chicken wire (at least 3-4 feet high)
- Wire cutters
- Heavy-duty zip ties or wire to secure the ends
How to do it:
- Measure and cut: Unroll the wire mesh and cut a length that will create a cylinder of your desired diameter (around 3-4 feet across is good). Aim for a height of 3-4 feet.
- Form the cylinder: Bring the two cut ends of the mesh together to form a cylinder.
- Secure the ends: Use zip ties or wire to firmly fasten the overlapping ends together. Make sure it’s secure so it doesn’t unfurl.
- Place it: Set your new compost bin in its spot. Start layering your greens and browns inside.
| Composting Method | Approximate Cost | Effort Level | Best For |
|---|---|---|---|
| Open Pile | $0 | Very Easy | Beginners, large yards, those prioritizing zero cost. |
| DIY Pallet Bin | $0 – $20 (depending on pallet cost) | Easy – Moderate | DIYers with access to free pallets, looking for a contained but affordable solution. |
| Wire Mesh Bin | $20 – $50 (depending on wire cost) | Easy | Those wanting excellent aeration and a simple, relatively low-cost contained bin. |
Getting Your Compost Pile Started: Step-by-Step
Ready to mix your first batch of compostable goodness? Here’s how to kick things off, whether you’re using an open pile or a bin.
Step 1: Choose Your Location
Pick a spot for your compost pile or bin. It should be:
- Accessible: You’ll need to add materials and turn it, so make sure you can get to it easily.
- Well-drained: You don’t want your compost sitting in water.
- Partial Shade (Ideal): Too much direct sun can dry out the pile, while full shade might make it too wet. A little sun is good for heat generation.
- Away from sensitive areas: While a well-managed compost pile shouldn’t smell bad, it’s wise to keep it a reasonable distance from your house or your neighbor’s patio.
Step 2: Start with a Base Layer
Begin your pile with a layer of coarse, brown materials, like small twigs or straw. This helps with air circulation from the bottom up, which is crucial for decomposition.
Aim for about 4-6 inches of this material.
Step 3: Alternate Greens and Browns
Now, start adding your kitchen scraps (greens) and yard waste (browns). The key is to layer them, just like making lasagna!
The Ratio: Try to aim for roughly 2 to 3 parts browns to 1 part greens. This is a guideline, not a strict rule. If your pile looks too wet and slimy, add more browns. If it’s dry and not breaking down, add more greens or water.
Layering technique:
- Add a layer of greens.
- Cover them with a thicker layer of browns.
- This brown layer helps to control odors and prevents pests from being attracted to the greens.
Step 4: Keep It Moist
Your compost pile needs moisture to work. It should feel like a damp sponge – moist but not soaking wet. If it’s too dry, the decomposition process will slow down. If it’s too wet, it can become a slimy, stinky mess.
How to check: Grab a clump of compost. When you squeeze it, only a few drops of water should come out.
How to water: Use a hose or watering can to gently moisten the pile, especially during dry weather. Water more thoroughly when you add a large batch of dry brown materials.
Step 5: Aerate Your Pile (Turn It!)
This is one of the most important steps for speedy composting. Turning your pile introduces oxygen, which the microorganisms need to break down the organic matter efficiently. Without oxygen, composting can become anaerobic and develop foul smells.
How often: Aim to turn your pile every 1-4 weeks. The more often you turn it, the faster you’ll get finished compost.
How to turn: Use a pitchfork or compost aerator tool. Try to move the material from the outside to the inside and vice versa. If you have a pallet bin, you can sometimes shovel material from one bin to another if you have a multi-bin system.
For more detailed information on composting basics, the EPA website offers great insights into composting at home.
Step 6: Be Patient!
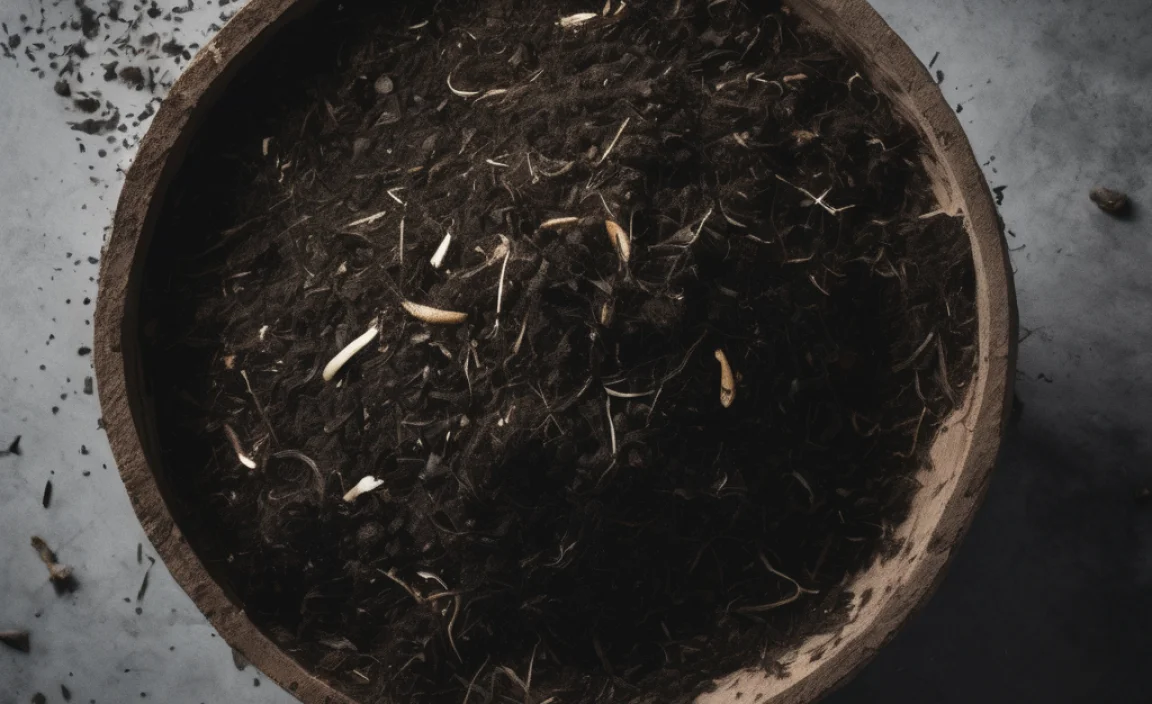
Composting is a natural process, and it takes time. Depending on the materials you use, the size of your pile, how often you turn it, and the weather, it can take anywhere from a few months to a year to get finished compost. You’ll know it’s ready when it’s dark, crumbly, and smells earthy, with no recognizable food scraps or yard waste left.
Troubleshooting Common Composting Problems
Even the best composters run into a few hiccups. Don’t worry – most composting problems are easy to fix!
| Problem | Cause | Solution |
|---|---|---|
| Bad Odor (Rotten Eggs or Ammonia) | Too many “greens” (nitrogen), pile is too wet, lack of air. | Add more brown materials (leaves, shredded paper). Turn the pile to introduce air. If it’s very wet, add dry browns and turn thoroughly. |
| Pile Not Heating Up or Decomposing Slowly | Too many browns, pile is too dry, not enough active material, pile is too small. | Add more green materials (food scraps, grass clippings). Water the pile if dry. Turn the pile to mix ingredients. Ensure your pile is at least 3x3x3 feet for good heat retention. |
| Attracting Pests (Flies, Rodents) | Exposed food scraps, improper materials (meat, dairy). | Bury food scraps deep within the pile and cover them with a layer of browns. Avoid adding meat, dairy, and oily foods. Ensure your bin is well-contained if pests are a major issue. |
| Pile is Too Dry | Lack of moisture, too much sun, too many browns. | Water the pile thoroughly, turning as you go to ensure moisture penetrates. Add more green materials if available. Consider a lid or cover for the pile if it’s in full sun. |
| Pile is Too Wet and Slimy | Too many greens, too much rain, poor drainage. | Add a generous amount of brown materials (heavy on the shredded paper and dry leaves). Turn the pile vigorously to mix and introduce air. If in a bin, ensure drainage holes are clear or consider moving it to a higher spot. |
When is Compost Ready to Use?
This is the exciting part! Your compost is ready when it’s:
- Dark and Crumbly: It should look like rich, dark soil.
- Earthy Smell: It should smell pleasant and earthy, like a forest floor after rain. No more “rotten egg” or “ammonia” smells!
- Uniform Texture: You shouldn’t be able to identify the original materials (no recognizable banana peels or eggshells).
- Cool: A finished compost pile will no longer be actively generating heat.
You can sift your compost through a screen (like chicken wire tacked to a wooden frame) to get a finer texture if desired for seed starting, but it’s not essential for general garden use.
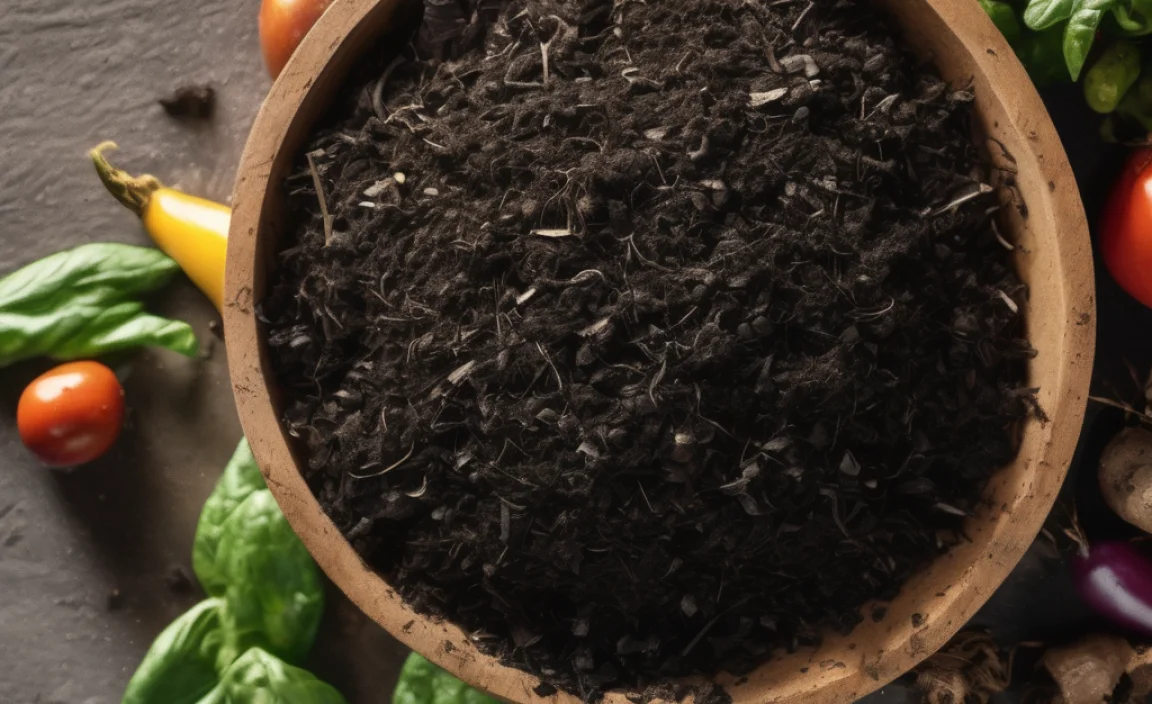
How to Use Your Homemade Organic Compost
Now that you’ve made your “black gold,” it’s time to put it to work in the garden!
- Soil Amendment: Mix compost into your garden beds before planting. Dig it into the top 4-6 inches of soil. This improves drainage in clay soils and helps sandy soils retain moisture.
- Top Dressing: Spread a 1-2 inch layer of compost around existing plants, shrubs, and trees. As it rains or you water, the nutrients will slowly make their way down to the roots.
- Potting Mix: Mix compost with other materials like perlite or vermiculite to create a rich potting mix for containers and indoor plants. A good starting ratio might be 1/3 compost, 1/3 peat moss or coco coir, and 1/3 perlite or sand.
- Lawn Dressing: Spread a thin layer of compost over your lawn in the spring or fall to improve soil health and grass vitality.
Using compost is one of the best natural ways to give your plants a healthy start and keep them thriving throughout the season.
Frequently Asked Questions About Affordable Organic Compost
How much kitchen waste can I compost?
You can compost most fruit and vegetable scraps, coffee grounds, tea bags, and eggshells. Just remember to balance them with brown materials like dry leaves and shredded paper. Avoid meat, dairy, and oily foods.
Is my compost pile supposed to smell bad?
No, a healthy compost pile should smell earthy and pleasant. A rotten egg or ammonia smell usually means the pile is too wet
.lwrp.link-whisper-related-posts{
margin-top: 40px;
margin-bottom: 30px;
}
.lwrp .lwrp-title{
}.lwrp .lwrp-description{
}
.lwrp .lwrp-list-container{
}
.lwrp .lwrp-list-multi-container{
display: flex;
}
.lwrp .lwrp-list-double{
width: 48%;
}
.lwrp .lwrp-list-triple{
width: 32%;
}
.lwrp .lwrp-list-row-container{
display: flex;
justify-content: space-between;
}
.lwrp .lwrp-list-row-container .lwrp-list-item{
width: calc(25% – 20px);
}
.lwrp .lwrp-list-item:not(.lwrp-no-posts-message-item){
max-width: 150px;
}
.lwrp .lwrp-list-item img{
max-width: 100%;
height: auto;
object-fit: cover;
aspect-ratio: 1 / 1;
}
.lwrp .lwrp-list-item.lwrp-empty-list-item{
background: initial !important;
}
.lwrp .lwrp-list-item .lwrp-list-link .lwrp-list-link-title-text,
.lwrp .lwrp-list-item .lwrp-list-no-posts-message{
}@media screen and (max-width: 480px) {
.lwrp.link-whisper-related-posts{
}
.lwrp .lwrp-title{
}.lwrp .lwrp-description{
}
.lwrp .lwrp-list-multi-container{
flex-direction: column;
}
.lwrp .lwrp-list-multi-container ul.lwrp-list{
margin-top: 0px;
margin-bottom: 0px;
padding-top: 0px;
padding-bottom: 0px;
}
.lwrp .lwrp-list-double,
.lwrp .lwrp-list-triple{
width: 100%;
}
.lwrp .lwrp-list-row-container{
justify-content: initial;
flex-direction: column;
}
.lwrp .lwrp-list-row-container .lwrp-list-item{
width: 100%;
}
.lwrp .lwrp-list-item:not(.lwrp-no-posts-message-item){
max-width: initial;
}
.lwrp .lwrp-list-item .lwrp-list-link .lwrp-list-link-title-text,
.lwrp .lwrp-list-item .lwrp-list-no-posts-message{
};
}
Related Posts


I am passionate about home engineering. I specialize in designing, installing, and maintaining heating, ventilation, and air conditioning systems. My goal is to help people stay comfortable in their homes all year long.