Ever looked at your wilting garden and thought, “There’s got to be a better way?” It can be frustrating when your plants aren’t thriving. But what if the secret to a lush, vibrant garden is already in your kitchen scraps and yard trimmings? Making your own organic compost is easier than you think, and it’s fantastic for your plants and the planet. We’ll walk you through it, step by step, so you can start turning waste into garden gold.
Your Aussie Guide to Organic Compost: Turning Scraps into Garden Gold
G’day, gardeners! Troy D Harn here from TopChooser. I know that getting your garden looking its best can sometimes feel like a big puzzle. If you’re aiming for healthier plants, tastier veggies, and fewer trips to the garden centre, I’ve got a fantastic topic for you today: creating your own organic compost right here in Australia. It’s one of the most rewarding things you can do for your garden, and trust me, it’s not as complicated as it sounds. Think of it as nature’s recycling program, and you’re the super-powered manager!
Why bother with compost? Simple: it’s like a superfood for your soil. Packed with nutrients and beneficial microbes, organic compost boosts soil health, improves drainage, and helps retain moisture. This means happier plants that are more resistant to pests and diseases. Plus, you’ll be diverting a heap of waste from landfills, which is a win for everyone.
This guide is designed for you, whether you’re a seasoned green thumb or just starting to get your hands dirty. We’ll cover everything you need to know to get cracking with organic compost in Australia, keeping things straightforward and practical.
What Exactly is Organic Compost and Why is it Awesome?

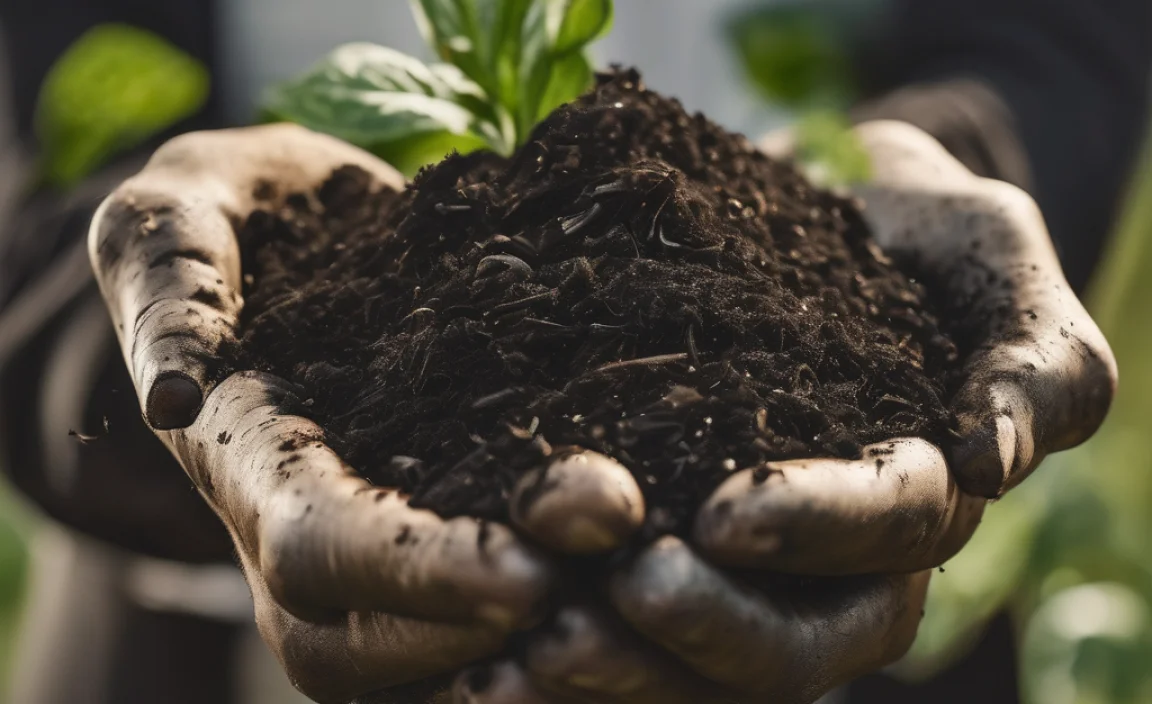
Organic compost is essentially decomposed organic matter. Think kitchen scraps, lawn clippings, leaves, and twigs. When these materials break down through natural processes, they transform into a dark, crumbly, nutrient-rich substance that gardeners lovingly call “black gold.”
Here’s why this “black gold” is so brilliant for your garden:
- Enriches Soil: It adds vital nutrients and minerals that plants need to grow strong and healthy.
- Improves Soil Structure: Whether you have clay that’s too dense or sandy soil that drains too quickly, compost helps balance it out.
- Boosts Water Retention: Compost acts like a sponge, helping your soil hold onto moisture, meaning you’ll water less often.
- Encourages Beneficial Microbes: It’s teeming with life! These tiny organisms help break down nutrients further and make them available to your plants.
- Reduces Waste: It’s a fantastic way to recycle food scraps and garden trimmings, keeping them out of landfill.
- Suppresses Plant Diseases: Healthy soil from good compost can help plants fight off certain diseases.
Getting Started: Your Australian Composting Toolkit
The beauty of composting is that you don’t need a lot of fancy equipment. You can start with very little, but here are some options to consider:
Compost Bins: Types to Consider
Choosing the right bin is the first practical step. Here in Australia, we have a few popular choices:
- Open Piles: The simplest method. Just create a heap in a corner of your yard. It’s free and easy, but can look a bit messy and might attract pests if not managed well.
- Enclosed Bins (Tumblers/Drums): These are great for keeping things tidy and deterring pests. Tumblers spin to mix the compost easily, speeding up the process. Many are made from recycled plastic and are readily available from Aussie garden centres.
- Compost Baskets/Sheds: These are usually made of timber or wire mesh. They offer good aeration and are often larger, suitable for bigger gardens.
For beginners, an enclosed bin is often a good bet. It manages the mess and can be quite efficient.
Essential Tools (If Any!)
You really only need a few things:
- A Pitchfork or Garden Fork: Handy for turning your compost to keep it aerated, which speeds up decomposition.
- Gloves: For hygienic handling.
- A Kitchen Caddy: A small, lidded container for collecting food scraps in your kitchen before taking them out to the main compost bin.
That’s it! Don’t overthink it. You can even start with just a pile and a garden fork.
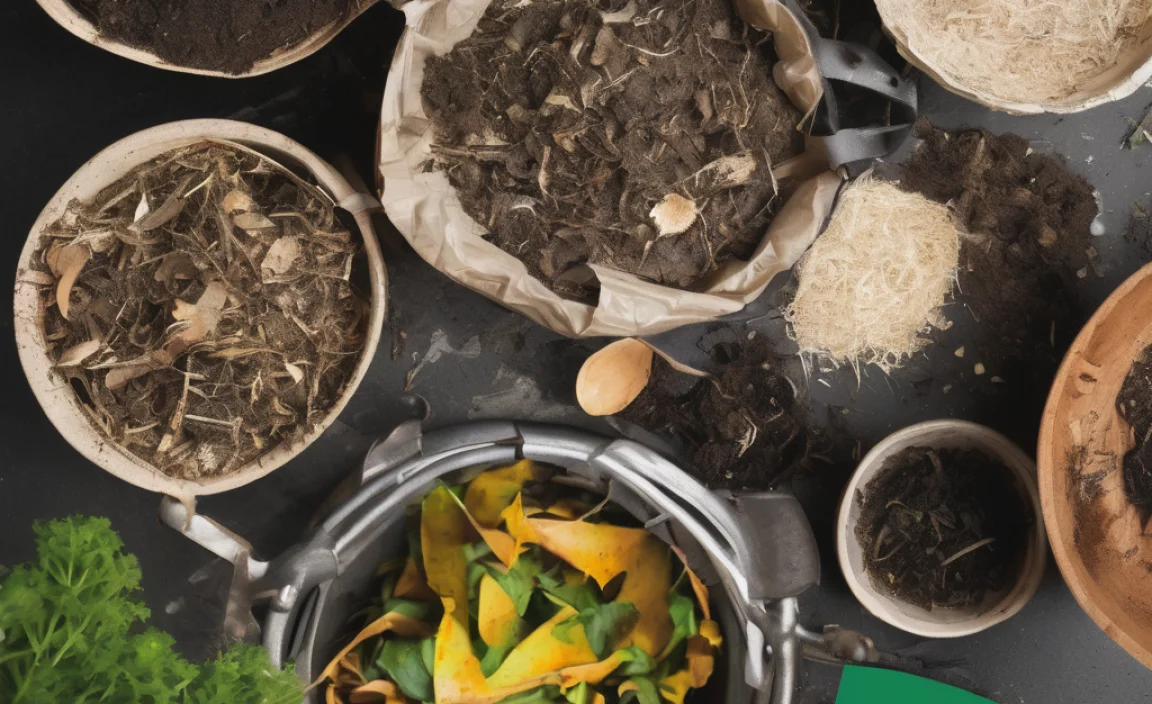
The Magic Mix: What Can You Compost?

Composting is all about balance. You need a good mix of ‘greens’ and ‘browns’. Think of greens as nitrogen-rich materials that provide moisture and protein, and browns as carbon-rich materials that provide energy and structure.
Greens (Nitrogen-Rich)
- Fruit and vegetable scraps
- Coffee grounds and tea bags (remove staples/plastic)
- Grass clippings (in thin layers to avoid matting)
- Plant trimmings (disease-free)
- Manure from herbivores (chickens, rabbits, cows, horses – NOT dogs or cats)
Browns (Carbon-Rich)
- Dry leaves
- Straw or hay
- Cardboard (shredded, non-glossy, no tape)
- Paper (shredded, non-glossy, no coloured ink if possible)
- Wood chips or sawdust (use sparingly)
- Eggshells (crushed)
What NOT to Compost (And Why!)
This is super important to avoid smells, pests, and potential harm to your garden:
- Meat, bones, and dairy products: These attract pests (rodents, flies) and can create foul odours.
- Oily or greasy foods: They slow down decomposition and can make the compost go rancid.
- Diseased plants: You don’t want to spread plant diseases to your healthy garden.
- Weeds that have gone to seed: The seeds might survive the composting process and sprout in your garden beds.
- Pet faeces (from dogs and cats): These can contain harmful pathogens.
- Treated wood or coal ash: These can contain chemicals harmful to plants.
- Glossy paper or magazines: The inks and coatings can be toxic.
When in doubt, leave it out! It’s always better to be safe with your compost.
The Art of the Mix: Balancing Greens and Browns
Getting the right ratio of greens to browns is key to successful composting. A good rule of thumb is to aim for roughly two to three parts browns to one part greens by volume. This carbon-to-nitrogen ratio (C:N) helps the microorganisms work efficiently. Too much green, and it can get slimy and smelly. Too much brown, and it will decompose very slowly.
Here’s a simple way to think about it:
- If your compost pile is starting to smell sour or sludgy, you probably have too many greens. Add more browns.
- If your compost pile isn’t heating up and seems dry and slow, you likely need more greens. Add some moist kitchen scraps or fresh grass clippings.
Don’t stress too much about exact measurements. You’ll get a feel for it as you go. Layering is also a good technique. Start with a layer of browns, then add greens, then more browns. This helps with aeration and prevents greens from clumping together.
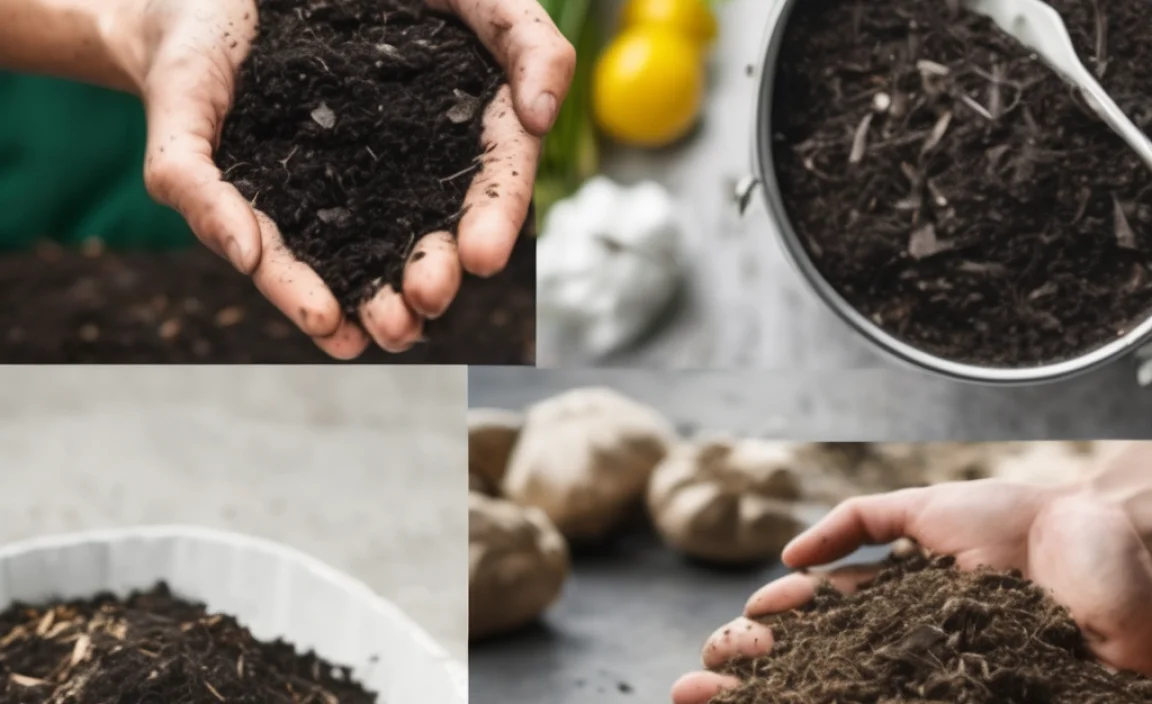
Step-by-Step: Your Composting Journey
Ready to turn your kitchen scraps into garden gold? Let’s break it down:
Step 1: Choose Your Spot & Bin
Find a convenient spot for your compost bin. It should be:
- Accessible: Easy to get to from your kitchen and garden.
- Well-drained: Avoid areas that get waterlogged.
- Partially shaded: Full sun can dry it out too quickly, while deep shade might keep it too wet. A spot that gets some sun and some shade is ideal.
- On bare earth if possible: This allows beneficial worms and microbes from the soil to enter the compost.
Set up your chosen bin according to its instructions.
Step 2: Start Layering
Begin by putting a layer of coarse brown material (like twigs or straw) at the bottom of the bin. This helps with drainage and aeration.
Then, start adding your “greens” and “browns” as you collect them. Aim for those roughly 2-3 parts brown to 1 part green ratio. Mix them up as you add them, or alternate layers.
Pro Tip: Chop up larger items like large vegetable scraps or cardboard. This helps them break down faster.
Step 3: Keep it Moist
Your compost pile needs to be damp, like a wrung-out sponge. If it’s too dry, the decomposition process will slow right down. If it’s too wet, it can become anaerobic (lack of oxygen) and go smelly.
How to check: Grab a handful of compost. If water drips out when you squeeze it, it’s too wet. If it feels dry and crumbly, add some water. If it feels just right, you’re on track.
Rain usually helps, but during dry spells, you might need to give it a good watering. You can use a hose or a watering can.
Step 4: Aerate (Turn Your Compost)
This is where your garden fork comes in handy. Turning your compost pile introduces oxygen, which is crucial for the aerobic bacteria that do the hard work of decomposition. It also helps distribute moisture and heat.
How often? Aim to turn it every 2-4 weeks. Tumbler bins make this super easy – just give them a spin!
Don’t worry if you miss a turning now and then; your compost will still break down, it just might take a bit longer. The goal is to speed up the process and create a well-balanced end product.
Step 5: Be Patient and Wait
Composting isn’t an instant process. Depending on the materials you use, the weather, and how often you turn it, it can take anywhere from a few months to a year.
You’ll know your compost is ready when it’s:
- Dark brown and crumbly
- Smells earthy and pleasant (like a forest floor)
- No longer hot to the touch
- You can no longer recognise the original materials
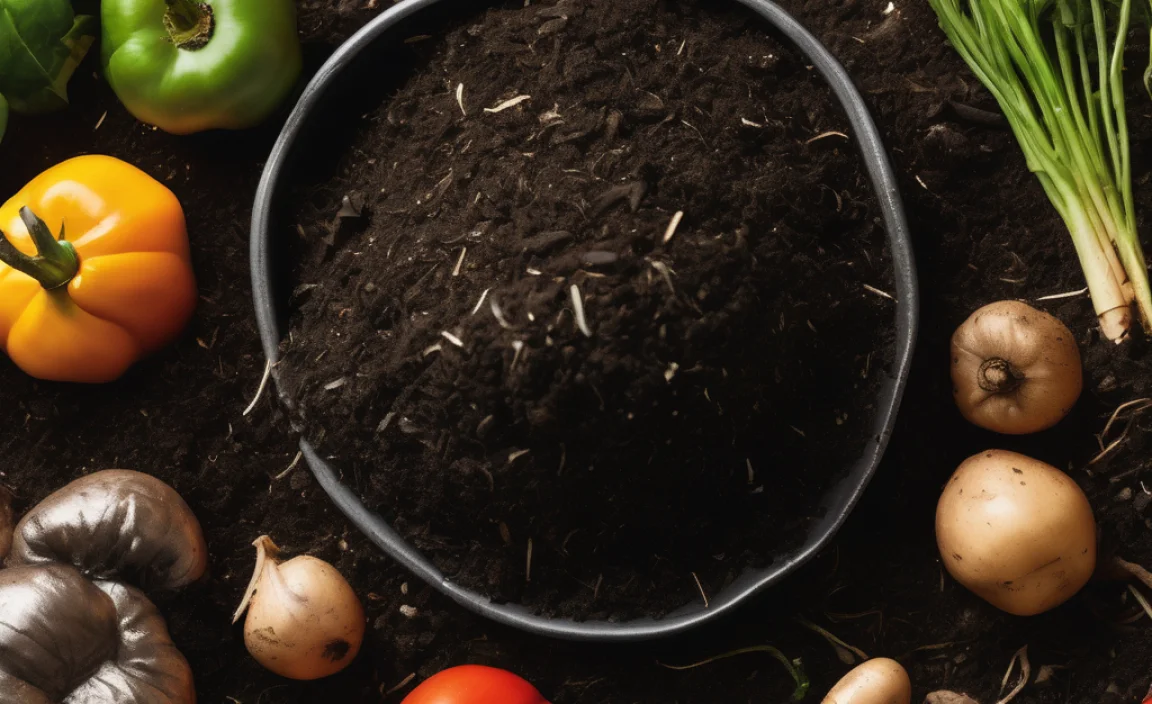
Step 6: Harvest and Use Your Compost
Once it’s ready, you can harvest your compost. You might want to sift it through a sieve or screen to remove any larger, undecomposed bits. These can go back into your active compost bin to continue breaking down.
Use your finished compost by mixing it into garden beds, around trees and shrubs, or as a top dressing. Your plants will thank you!
Troubleshooting Common Composting Problems
Even experienced gardeners run into a hitch now and then. Here are some common issues and how to fix them:
| Problem | Possible Cause | Solution |
|---|---|---|
| Foul Odours (Rotten Egg, Ammonia) | Too many ‘greens’ (nitrogen) or too wet, creating anaerobic conditions. | Turn the pile to add air. Add more ‘browns’ (carbon) like dry leaves, shredded cardboard, or straw. Ensure good drainage. |
| Pile Not Heating Up / Decomposing Slowly | Too dry, not enough ‘greens’ (nitrogen), or needs turning. | Moisten the pile. Add more ‘greens’ like kitchen scraps or grass clippings. Turn the pile to mix ingredients and introduce oxygen. |
| Attracting Pests (Flies, Rodents) | Improper materials (meat, dairy, oils), pile not hot enough, or exposed food scraps. | Remove meat, dairy, and oily foods. Bury food scraps deep within the pile. Ensure good aeration and moisture. Consider an enclosed bin. |
| Pile is Too Dry | Lack of moisture, too much sun, or too many ‘browns’. | Water thoroughly. Cover with a tarp during hot weather if needed. Add more moisture-rich ‘greens’. |
| Too Much Green Slime | Excessive nitrogen from too many ‘greens’ like grass clippings. Can become compacted and anaerobic. | Mix in plenty of dry brown materials (straw, cardboard, leaves). Fork through to break up clumps and aerate. |
Remember, composting is a natural process, and a little bit of troubleshooting is part of the fun! Observing your compost and making small adjustments is how you learn.
Composting in Different Australian Climates
Australia is a big place with diverse climates, and this can affect your composting speed and how you manage your pile:
- Hot & Arid Regions (e.g., Outback WA, NT, QLD):
- Challenge: Dehydration. Compost can dry out very quickly.
- Solution: You’ll need to monitor moisture levels very closely and water more frequently. Using an enclosed bin or tumblers can help retain moisture. Adding more moisture-rich green materials can also help. Composting might happen faster due to heat, but only if moisture and turning are managed.
- Tropical & Humid Regions (e.g., Northern QLD, NT, Northern WA):
- Challenge: Decomposing too fast and going anaerobic/smelly if not aerated. Pests can also be an issue.
- Solution: Ensure excellent aeration by turning regularly. Use a good mix of browns to absorb excess moisture. Enclosed bins are beneficial for pest control. The heat and moisture will speed up decomposition significantly.
- Temperate Regions (e.g., Sydney, Melbourne, Adelaide, Perth):
- Challenge: Compost might slow down in cooler winter months.
- Solution: Decomposition will naturally slow during winter. You can speed it up by adding “hot” materials like fresh manure or by piling materials in a sunny spot. In warmer months, it will likely proceed at a good pace.
- Cooler & Mountainous Regions (e.g., Tasmania, Dandenong Ranges, Blue Mountains):
- Challenge: Very slow decomposition, especially in winter. Frost can also be an issue.
- Solution: Use a well-insulated bin or pile. Collect materials over a longer period. Consider adding activators like finished compost or manure to kickstart decomposition. Patience is key here!
No matter where you are in Australia, the basic principles of composting (greens, browns, moisture, aeration) remain the same. You just need to adapt your management style a little to suit your local conditions.
Beyond the Bin: Healthy Soil Practices
Making compost is a fantastic first step, but healthy soil is a journey. Here are a few other things you can do:
- Mulching: Using organic mulch (like wood chips or straw) around your plants helps retain moisture, suppress weeds, and slowly break down to feed the soil.
- Cover Cropping: Planting specific crops (like legumes or rye) in empty garden beds during off-seasons helps protect the soil, add nutrients, and improve structure. For more on this, the NSW Department of Primary Industries offers some great insights into cover cropping benefits.
- No-Dig Gardening: This method involves adding organic matter (like compost) to the soil surface and avoiding digging or tilling. It preserves soil structure and the life within it.
By incorporating compost and these other practices, you’re building a resilient, living soil ecosystem that will keep your garden thriving year after year.
Frequently Asked Questions About Organic Compost in Australia
What is the best compost bin for beginners in Australia?
For beginners in Australia, an enclosed compost bin, often a tumbler or a tall plastic drum type, is usually a great choice. They are designed to keep pests out, contain smells, and are relatively easy to use and maintain. They also help retain moisture, which is beneficial in many Australian climates.

I am passionate about home engineering. I specialize in designing, installing, and maintaining heating, ventilation, and air conditioning systems. My goal is to help people stay comfortable in their homes all year long.