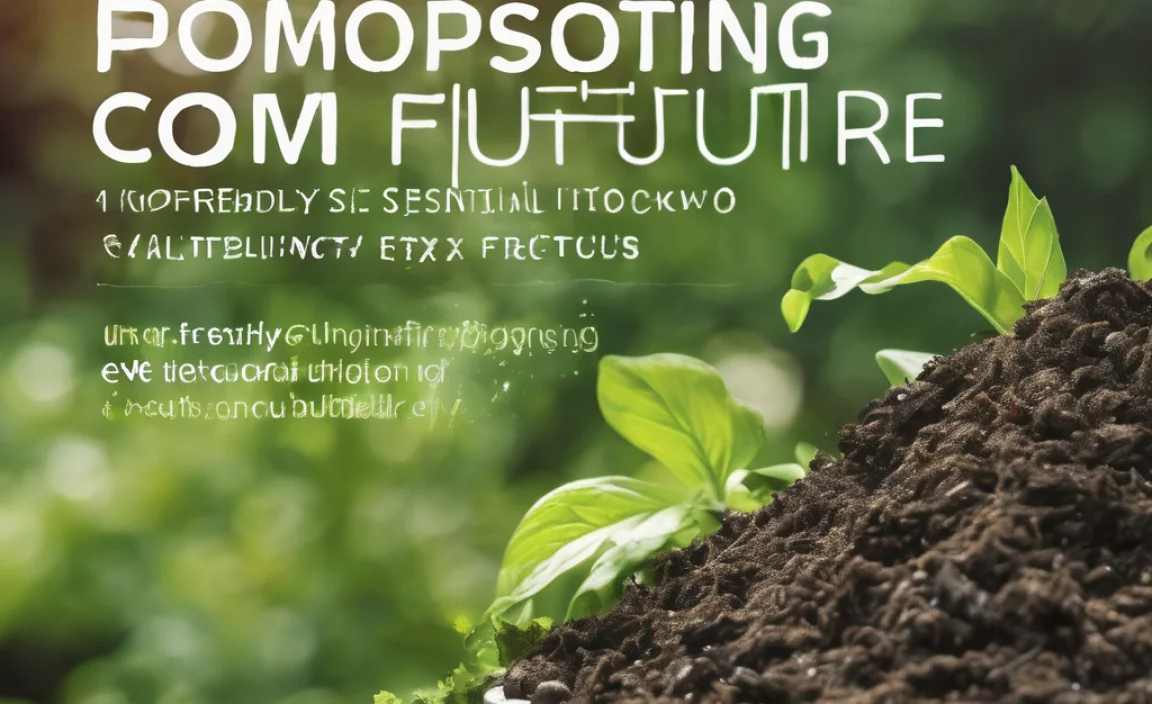
Want a greener garden and less trash? Making your own compost is the answer! It might sound complicated, but I’ll show you how simple it really is. We’ll turn your kitchen scraps and yard waste into super-rich food for your plants. It’s like magic for your garden, and you’ll be surprised how little effort it takes. Let’s get started in making your own organic gold!
What Exactly is Compost and Why Should You Care?
Imagine feeding your plants the best possible meal, made right in your own backyard. That’s essentially what compost is! It’s decomposed organic material that we use as a soil amendment or enriching substance for gardening. Think of it as a super-powered fertilizer that’s completely natural and free to make.
Why bother with it? Well, there are tons of reasons:
- Boosts Plant Health: Compost adds vital nutrients and beneficial microbes to your soil, helping plants grow stronger, healthier, and more resilient to pests and diseases.
- Improves Soil Structure: It helps sandy soil hold more water and nutrients, and loosens up clay soil so water and air can penetrate better.
- Reduces Waste: You’ll be surprised how much kitchen and yard waste can be composted, diverting it from landfills. This is great for the environment!
- Saves Money: Buying bags of soil amendments and fertilizers can add up. Making your own compost is practically free!
- Environmentally Friendly: Reducing landfill waste and avoiding chemical fertilizers is a win for the planet.
The fuss about “organic compost” is really about avoiding synthetic fertilizers and pesticides. By making your own compost from natural materials, you’re guaranteeing that you’re not adding any artificial stuff to your soil or your food. It’s pure goodness!
Gathering Your Composting Tools: It’s Easier Than You Think
You don’t need a fancy setup to start your organic compost DIY journey. Most of what you need, you probably already have. Here’s a quick rundown of essentials:
The What You’ll Need List
- A Pail for Kitchen Scraps: Any sturdy container with a lid will do. This is for collecting your food waste before taking it out to the compost pile. Having a lid helps keep fruit flies away.
- A Pitchfork or Shovel: For turning your compost pile. This helps to aerate it and speed up decomposition. A garden fork is fantastic for this.
- A Hose or Watering Can: Compost needs moisture, like a wrung-out sponge. You’ll need a way to add water if it gets too dry.
- Your Compost Bin or Pile Area: This is where the magic happens! We’ll talk more about options below.
Choosing Your Composting Setup: Simple Options
This is where you can choose what works best for your space and lifestyle. There are a few popular ways to go:
Option 1: The Open Pile
This is the simplest method. Just designate a corner of your yard (away from the house, preferably out of direct sun) and start piling your compostable materials there. It’s low-effort but can be a bit messier and might take slightly longer.
Option 2: The Enclosed Bin (DIY or Purchased)
This is often favored for its neatness and pest deterrence. You can buy pre-made compost bins from garden centers, or you can easily build one yourself! If you’re handy, you can make one from wooden pallets or chicken wire. Many bins have doors at the bottom for easy harvesting of finished compost.
For a simple DIY bin, you can use four wooden fence posts and some chicken wire mesh to create a cylinder, or stack some old wooden planks. The key is to allow for air circulation. For more detailed DIY bin plans, the EPA provides excellent resources on composting methods.
Option 3: Tumbler Composters
These are rotating bins. You add your materials, close the lid, and then give it a spin every few days. Tumblers are great because they mix and aerate the compost for you, speeding up the process significantly. They are typically a purchased item and can be a bit pricier, but they offer ease of use and faster results.
No matter which method you choose, ensure it’s in a spot that’s easy to access year-round and has decent drainage.
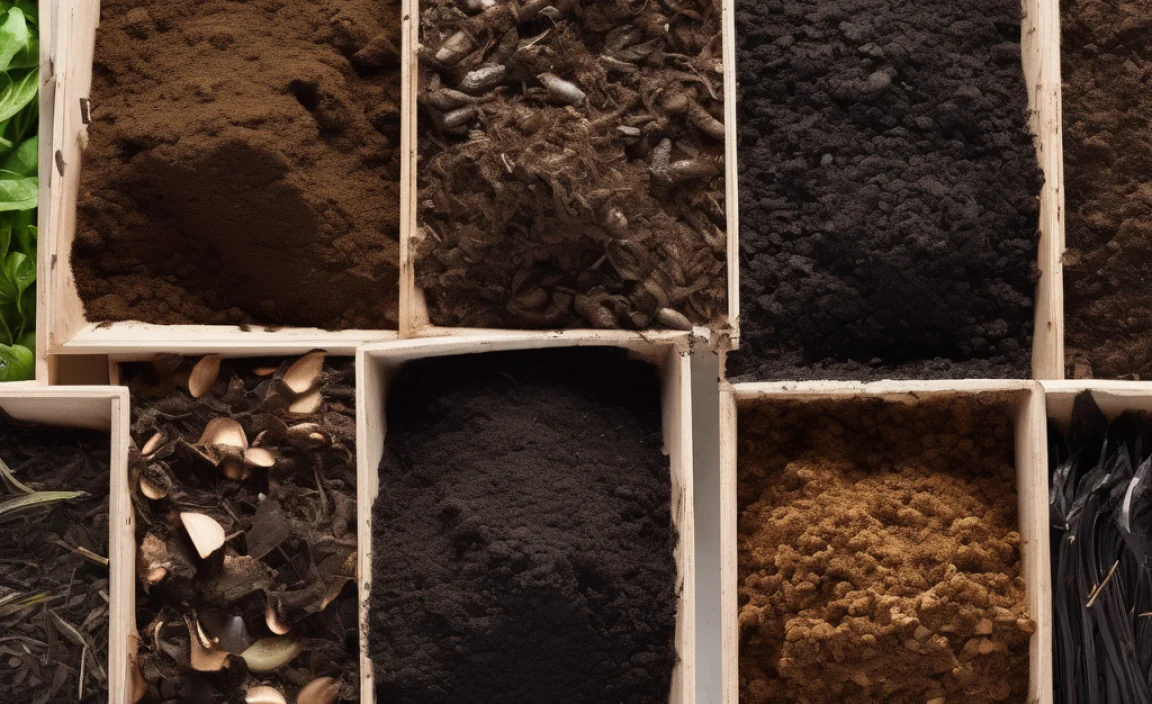
The Magic Recipe: What GOES Into Your Compost (Greens & Browns)
Composting is all about balancing two types of materials: “Greens” and “Browns.” Think of it like a chef balancing ingredients for the perfect flavor. Getting this right is the secret to fast and effective composting.
What are Greens? (Nitrogen-Rich Materials)
Greens are typically moist materials that add nitrogen. They heat up the pile and get the decomposition process going. Think fresh, wet things:
- Fruit and vegetable scraps (peels, cores, ends)
- Coffee grounds and tea bags
- Grass clippings (in thin layers, or they’ll mat down!)
- Plant trimmings from the garden (non-diseased)
- Eggshells (crushed)
What are Browns? (Carbon-Rich Materials)
Browns are dry, carbon-rich materials that provide air and structure. They prevent the pile from becoming a stinky, slimy mess. Think dry, woody things:
- Dry leaves (your best friend in fall!)
- Shredded newspaper or cardboard (non-glossy, no colored ink if you can help it)
- Straw or hay
- Wood chips or sawdust (use sparingly, and avoid treated wood)
- Paper towel and toilet paper rolls (shredded)
- Pine needles (use moderately, as they are acidic)
The ideal ratio is roughly 2-3 parts Browns to 1 part Greens by volume. Don’t stress too much about exact measurements; it’s more of a guideline. If your pile seems too wet and slimy, add more browns. If it’s dry and not breaking down, add more greens (and moisture).
The Composting Process: Step-by-Step to Black Gold
Now for the fun part! Turning your waste into treasure. It’s a simple process, and you’ll get the hang of it quickly.
Step 1: Start Your Pile or Bin
Lay down a base layer of coarse brown material (like small branches or straw) at the bottom of your bin or pile. This helps with drainage and air circulation from the start.
Step 2: Layer Your Materials
Begin adding your greens and browns. A good practice is to alternate layers, like making a lasagna. Start with a layer of browns, then add a layer of greens, then browns again, and so on. Chop or shred larger items to help them break down faster.
- Add a few inches of brown material.
- Add a few inches of green material.
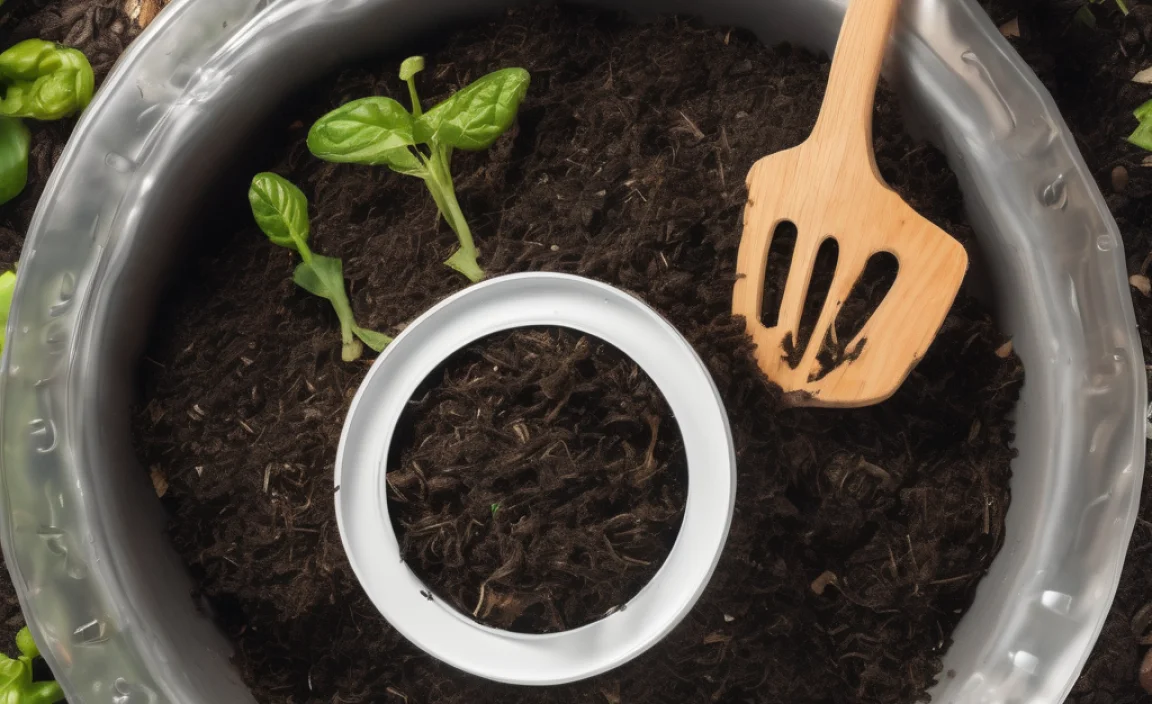
- Sprinkle with a bit of soil or finished compost if you have some. This introduces beneficial microorganisms that kickstart decomposition.
- Moisten the layers as you go. They should be damp, not soaking wet.
Continue building your pile, aiming for that 2-3 parts brown to 1 part green ratio.
Step 3: Maintain Moisture Levels
Your compost pile needs to be as moist as a wrung-out sponge. Too dry, and decomposition slows way down. Too wet, and it can get anaerobic (stinky) and rot instead of compost. Check the moisture regularly, especially during hot, dry weather. If it feels dry, water it. If it has too much water (and is smelling bad), add more brown material and turn it to aerate.
Step 4: Aerate Your Pile (Turning)
This is crucial for speeding up the process and preventing odors. Turning introduces oxygen, which the microorganisms need to break down the organic matter efficiently. Aim to turn your pile every 1-2 weeks.
Use a pitchfork or shovel to mix the outer layers into the center and the center layers to the outside. If you’re using a tumbler, simply give it a spin every few days.
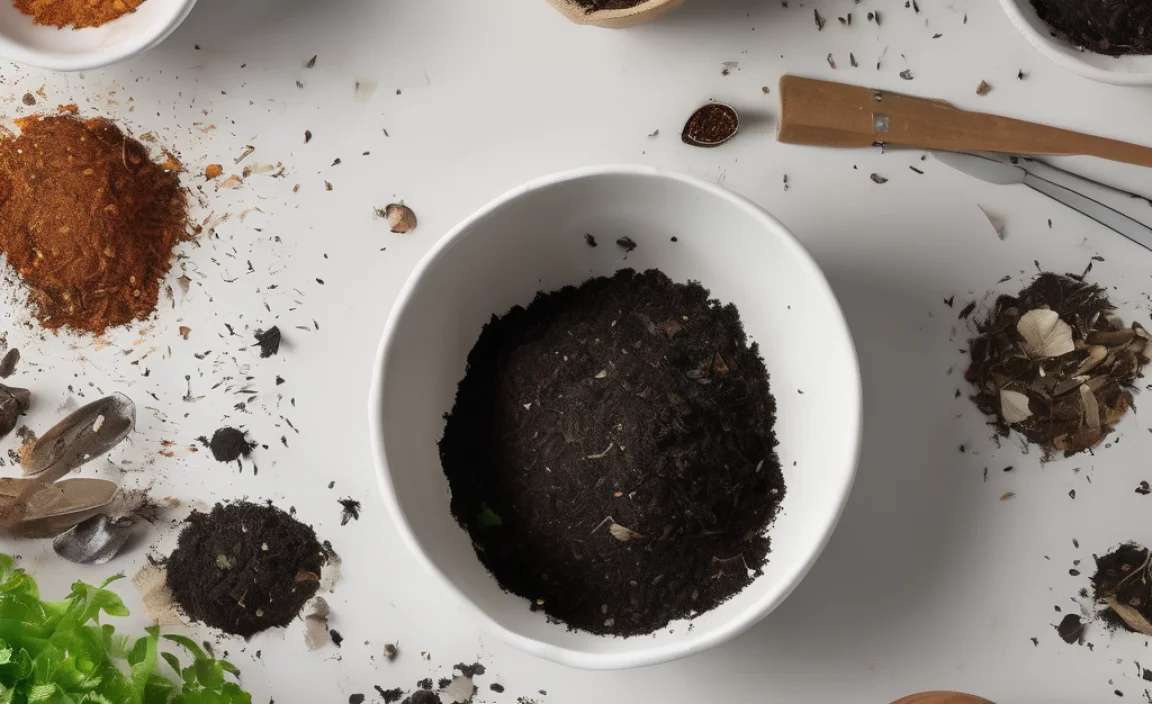
Step 5: Be Patient and Harvest!
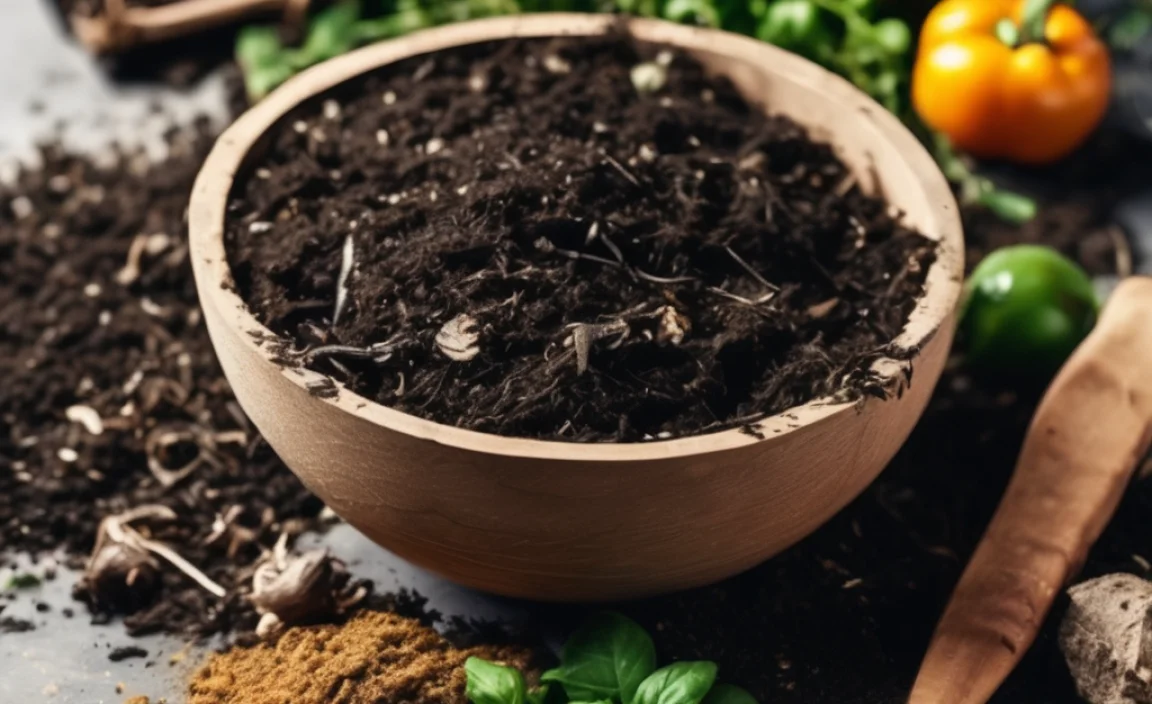
The time it takes to get finished compost varies based on the materials you use, how often you turn it, and the weather. It can take anywhere from 2 months to a year. You’ll know it’s ready when it’s:
- Dark brown or black in color.
- Crumbly in texture.
- Smells earthy and pleasant, like a forest floor.
- You can’t recognize the original materials you put in.
To harvest, you can either dig out the finished compost from the bottom of your bin (if it has a door) or sift through the pile, separating the finished compost from any un-decomposed material. You can put the un-decomposed bits back into your active compost pile to continue breaking down.
What NOT to Compost: Avoiding Pitfalls
Just as important as knowing what to add is knowing what to avoid. Putting the wrong things in your compost can attract pests, spread disease, or prevent decomposition. Here’s a quick list of things to keep out of your organic compost DIY bin:
| What to Avoid | Why Avoid It |
|---|---|
| Meat, fish, dairy products, and oily foods | Can attract pests (rodents, flies, etc.) and create foul odors. |
| Diseased plants or weeds that have gone to seed | Can spread diseases or weeds back into your garden when you use the compost. |
| Pet waste (dog, cat feces) | Can contain harmful pathogens that don’t always get killed in a home compost pile. |
| Chemically treated wood products or yard waste | Chemicals can leach into your compost and harm your plants. |
| Coal or charcoal ash | Can contain harmful substances and alter soil pH undesirably. |
| Glossy or coated paper/cardboard | May contain plastics or inks that don’t break down well. |
When in doubt, it’s often best to leave it out of your home compost. For more in-depth information on composting best practices, the Oregon State University Extension Service offers comprehensive guides.
Troubleshooting Your Compost Pile: Common Issues and Solutions
Even with the best intentions, sometimes your compost pile might act a little stubborn. Don’t get discouraged! Here are common issues and how to fix them:
Issue: My compost pile smells bad (like rotten eggs or ammonia)
Cause: Too much green material, too much moisture, or not enough air.
Solution: Add more brown material (dry leaves, shredded paper) to absorb moisture and balance the greens. Turn the pile thoroughly to introduce air. If it smells strongly of ammonia, it’s too heavy on nitrogen (greens), so add more carbon-rich browns.
Issue: My compost pile is dry and not breaking down
Cause: Not enough moisture or too many brown materials.
Solution: Add water. Moisten the pile thoroughly, turning it as you water to ensure it soaks in evenly. Add more green materials (fruit scraps, grass
.lwrp.link-whisper-related-posts{
margin-top: 40px;
margin-bottom: 30px;
}
.lwrp .lwrp-title{
}.lwrp .lwrp-description{
}
.lwrp .lwrp-list-container{
}
.lwrp .lwrp-list-multi-container{
display: flex;
}
.lwrp .lwrp-list-double{
width: 48%;
}
.lwrp .lwrp-list-triple{
width: 32%;
}
.lwrp .lwrp-list-row-container{
display: flex;
justify-content: space-between;
}
.lwrp .lwrp-list-row-container .lwrp-list-item{
width: calc(25% – 20px);
}
.lwrp .lwrp-list-item:not(.lwrp-no-posts-message-item){
max-width: 150px;
}
.lwrp .lwrp-list-item img{
max-width: 100%;
height: auto;
object-fit: cover;
aspect-ratio: 1 / 1;
}
.lwrp .lwrp-list-item.lwrp-empty-list-item{
background: initial !important;
}
.lwrp .lwrp-list-item .lwrp-list-link .lwrp-list-link-title-text,
.lwrp .lwrp-list-item .lwrp-list-no-posts-message{
}@media screen and (max-width: 480px) {
.lwrp.link-whisper-related-posts{
}
.lwrp .lwrp-title{
}.lwrp .lwrp-description{
}
.lwrp .lwrp-list-multi-container{
flex-direction: column;
}
.lwrp .lwrp-list-multi-container ul.lwrp-list{
margin-top: 0px;
margin-bottom: 0px;
padding-top: 0px;
padding-bottom: 0px;
}
.lwrp .lwrp-list-double,
.lwrp .lwrp-list-triple{
width: 100%;
}
.lwrp .lwrp-list-row-container{
justify-content: initial;
flex-direction: column;
}
.lwrp .lwrp-list-row-container .lwrp-list-item{
width: 100%;
}
.lwrp .lwrp-list-item:not(.lwrp-no-posts-message-item){
max-width: initial;
}
.lwrp .lwrp-list-item .lwrp-list-link .lwrp-list-link-title-text,
.lwrp .lwrp-list-item .lwrp-list-no-posts-message{
};
}
Related Posts

I am passionate about home engineering. I specialize in designing, installing, and maintaining heating, ventilation, and air conditioning systems. My goal is to help people stay comfortable in their homes all year long.