Hey there, neighbor! Ever look at your kitchen scraps and garden waste and think, “There’s got to be a better way than just tossing this out?” You’re not alone! Many of us in India want to be a bit kinder to the earth and give our plants a superfood boost. But getting started with organic compost can seem a little tricky. Don’t worry, I’m here to break it down. We’ll walk through some super simple, proven ways to make your own amazing organic compost right here in India. Get ready to turn trash into garden treasure!
Why Bother With Organic Compost in India?
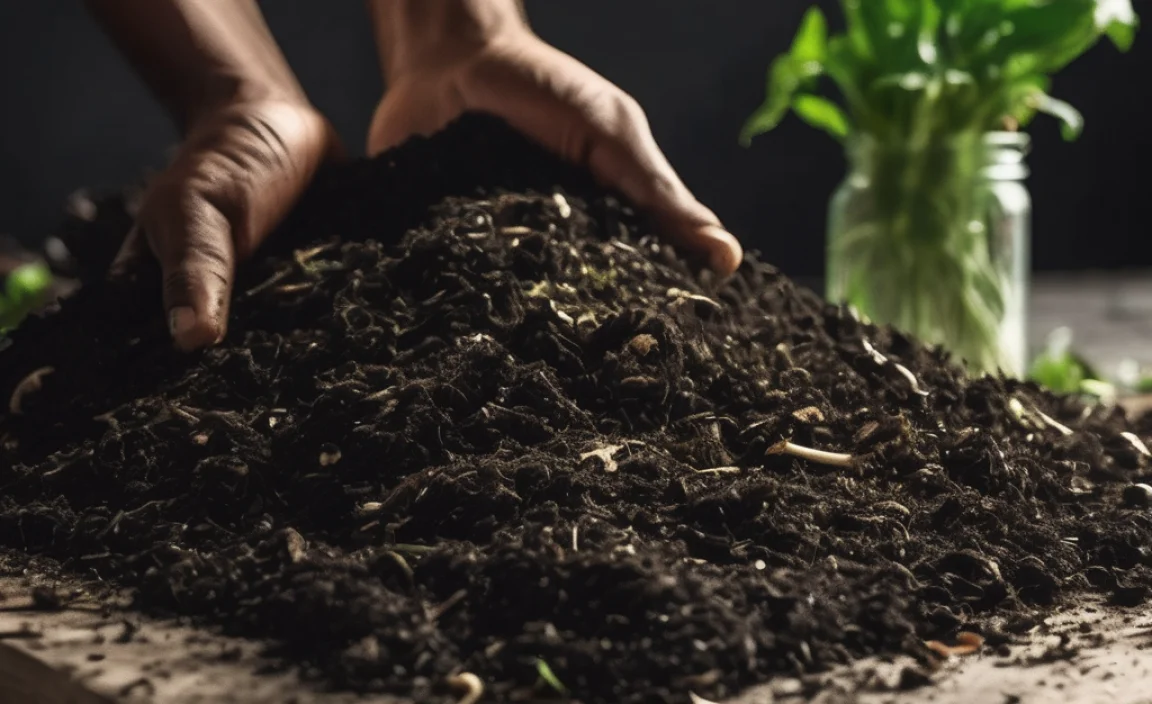
Let’s be real, you’ve probably heard about composting. It’s not just some new trend; it’s a time-tested way to feed your soil naturally. Think of it as a magic potion brewed from everyday stuff you’d otherwise throw away. In India, where the soil is our lifeline for growing food and beautiful gardens, good compost is like gold. It helps our soil hold more water (super important during those dry spells!) and gives our plants all the nutrients they crave to grow strong and healthy, without any harsh chemicals.
Plus, by composting, you’re doing Mother Earth a massive favor. You’re diverting waste from landfills, which reduces methane gas (a big contributor to climate change). It’s a win-win: you get fantastic fertilizer for your plants, and you help the planet. Even if you live in a small space in a city like Delhi or Mumbai, there are ways to compost!
What Exactly Goes Into Your Compost Bin? (And What Stays Out!)
The heart of making good compost is knowing your “greens” and “browns.” This sounds simple, but it’s key to getting that perfect balance. Too much of one, and you might end up with a stinky mess. Just the right mix, and you’ll have rich, crumbly compost!
Your “Greens” – The Nitrogen Boosters:
- Kitchen Scraps: Fruit and vegetable peels, coffee grounds, tea bags (remove any staples or plastic tags), eggshells (crushed up).
- Garden Cuttings: Fresh grass clippings, young weed tops (before they go to seed!), succulent plant trimmings.
Your “Browns” – The Carbon Crucials:
- Yard Waste: Dry leaves, straw, small twigs, sawdust (from untreated wood only!).
- Paper & Cardboard: Shredded newspaper (black and white ink is best), plain paper towels, crumpled unbleached cardboard.
What to AVOID (These can cause problems!):
- Meats, Dairy, and Oily Foods: These attract pests and can create foul odors.
- Diseased Plants: You don’t want to spread plant sickness into your compost.
- Weeds with Seeds: They might survive the composting process and sprout in your garden!
- Pet Waste (Dog/Cat): Can contain harmful pathogens.
- Treated Wood or Ashes: Chemicals can leach into your compost.
- Plastic, Glass, Metal: These will never break down.
Getting this mix right is like balancing ingredients in a recipe. A good rule of thumb is to aim for roughly equal parts greens and browns by volume.
Proven Essential Methods for Organic Compost in India
India’s diverse climate presents unique opportunities and challenges for composting. The key is to adapt these methods to your specific environment and the materials you have available. Here are some top ways to get started:
Method 1: The Simple Pile (The “Heap It Up” Approach)
This is the most basic method and requires minimal equipment. It’s perfect if you have a bit of yard space.
How to Do It:
- Choose a Spot: Find a level, well-drained spot in your garden. Partial shade is ideal to prevent it from drying out too quickly in the sun.
- Start Layering: Begin with a base layer of coarse brown materials like twigs or straw. This helps with air circulation. Then, alternate layers of greens and browns. Imagine building a delicious compost sandwich! Chop or shred larger items to help them break down faster.
- Keep it Moist: Your compost pile should feel like a damp sponge – not soaking wet and not bone dry. Water it well, especially during drier periods.
- Turn It (Occasionally): To speed things up and ensure everything breaks down evenly, turn the pile every few weeks with a pitchfork or shovel. This introduces oxygen, which is vital for the microbes doing the hard work.
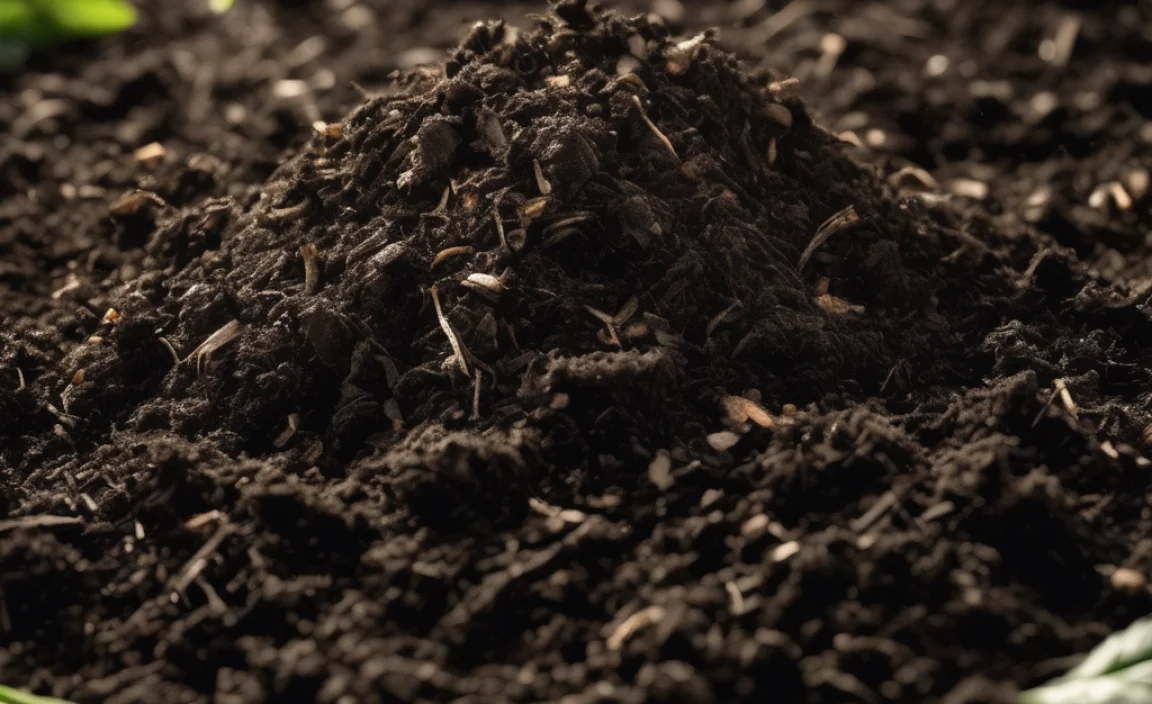
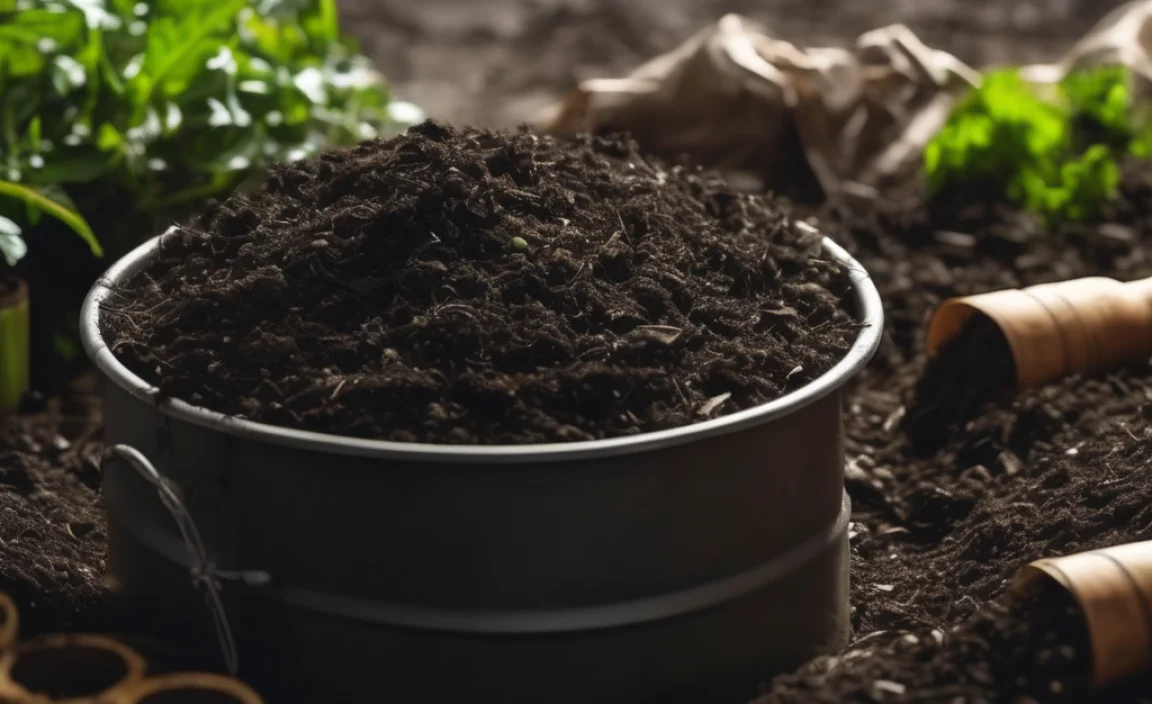
- Wait Patiently: Depending on the materials and how often you turn it, compost can be ready in anywhere from three months to a year. You’ll know it’s ready when it looks dark, crumbly, and smells earthy, like fresh soil.
Best For:
Larger homes with gardens, individuals with access to plenty of yard waste.
Method 2: The Compost Bin (The “Controlled Container” Method)
A compost bin contains the materials, looks neater, and can help retain moisture and heat, speeding up the process. You can buy one or even build your own!
Types of Bins:
- Stationary Bins: These are typically made of wood, wire mesh, or recycled plastic. You add materials from the top and harvest finished compost from a hatch at the bottom.
- Tumbler Bins: These are sealed drums that you can rotate. Tumbling mixes the compost for you, making aeration easy and often producing compost faster.
How to Do It:
- Set Up Your Bin: Place it in a convenient spot, ideally with good drainage and some sun exposure.
- Layer Your Materials: Start with a brown layer, then add greens and browns, just like the pile method. For tumbler bins, you can often just toss materials in.
- Maintain Moisture: Ensure the contents are consistently moist. Tumblers might need water added more often as they can dry out faster.
- Aerate: For stationary bins, use a compost turning tool or aerator regularly. For tumblers, simply give them a few spins every few days.
- Harvest: Once the bottom layers look and smell like rich soil, you can start harvesting.
DIY Bin Tip:
You can create a simple bin by using three-sided wooden pallets wired together. Leave the front open or use a piece of wire mesh for easy access. For more durable options, look up plans for concrete block or repurposed plastic barrel bins.
Best For:
Homeowners who want a tidier composting solution, those in smaller gardens who need to contain materials.
Method 3: Vermicomposting (The “Worm Farm” Wonder)
This method uses special composting worms (like Red Wigglers, Eisenia fetida) to break down organic matter. It’s fantastic for apartment dwellers or those with very limited space and produces incredibly nutrient-rich compost, often called “worm castings.”
What You Need:
- A Worm bin: Can be a store-bought unit or a DIY bin made from plastic storage containers. The key is good aeration and possibly a way to collect “worm tea” (liquid fertilizer).
- Bedding: Shredded newspaper, coconut coir, or peat moss, moistened.
- Composting Worms: Order these online or from a local supplier. Do NOT use earthworms from your garden.
- Food Scraps: Primarily fruit and vegetable scraps, coffee grounds. Avoid citrus, onions, and spicy foods in large quantities.
How to Do It:
- Prepare the Bin: Moisten your bedding material until it’s like a wrung-out sponge. Place it in the bin.
- Introduce the Worms: Gently place the worms on top of the bedding. Leave the lid off for a short while or keep it slightly ajar initially to allow them to acclimate.
- Feed Them: Once the worms have settled (usually after a day or two), start feeding them small amounts of chopped-up food scraps. Bury the scraps under the bedding to prevent odors and pests. Add new food to a different spot each time.
- Maintain Conditions: Worms thrive in cool, dark, moist environments (around 15-25°C or 60-77°F). Avoid overheating or freezing.
- Harvest Castings: After 2-4 months, you’ll have worm castings. You can harvest by migrating the worms to one side or by dumping the bin and separating the material.
Worm Tea:
The liquid that drains from the worm bin is a potent fertilizer. Dilute it with water (about 1 part worm tea to 10 parts water) and use it to water your plants.
External Link:
For more in-depth information on vermicomposting, the U.S. Environmental Protection Agency (EPA) offers excellent, science-backed resources on composting methods, including vermicomposting.
Best For:
Apartment dwellers, people with balconies, those who want a fast and nutrient-dense compost product.
Method 4: Bokashi (The “Fermentation” Technique)
Bokashi is a bit different. It’s an anaerobic (oxygen-free) fermentation process that uses a special Bokashi bran inoculated with effective microorganisms (EM). It can handle food scraps that other methods can’t, like meat and dairy, and is relatively quick.
What You Need:
- Bokashi Bin: An airtight container, usually with a spigot at the bottom to drain liquid.
- Bokashi Bran: Available online or from specialty suppliers.
- Food Scraps: All kitchen scraps, including meat, dairy, and oils.
How to Do It:
- Add Scraps: Place your food scraps into the Bokashi bin, chopping them up if they are large.
- Sprinkle Bran: Sprinkle a generous amount of Bokashi bran over the scraps.
- Compact and Seal: Press down the scraps to remove air, and seal the lid tightly.
- Drain Liquid: Regularly (every 1-2 days), drain the liquid that accumulates at the bottom using the spigot. This “Bokashi tea” is a fantastic liquid fertilizer when diluted (1:100 with water).
- Ferment: Continue adding scraps and bran for about two weeks, or until the bin is full. Then, let it sit, sealed, for another two weeks to ferment fully.
- Bury It: The fermented Bokashi material is not finished compost yet. It needs to break down further. Bury it in your garden soil, a large compost pile, or a mature compost bin. It will decompose rapidly in soil or living compost.
Best For:
Those who want to compost meat and dairy, people in apartments who can then bury the fermented material in planters or communal gardens, or those looking for a quick pre-composting step.
Quick Comparison: Choosing Your Ideal Method
To help you decide, here’s a table summarizing the key aspects of each method:
| Method | Space Needed | Speed | What It Handles | Effort Level | End Product |
|---|---|---|---|---|---|
| Simple Pile | Large Yard | Slow to Moderate (3-12 months) | Greens & Browns | Low to Moderate (occasional turning) | Compost |
| Compost Bin | Small to Large Yard | Moderate (2-6 months) | Greens & Browns | Moderate (regular aeration/turning) | Compost |
| Vermicomposting | Very Small Space (Balcony/Indoors) | Moderate (2-4 months for castings) | Primarily Veg/Fruit Scraps | Moderate (regular feeding, moisture checks) | Worm Castings & Worm Tea |
| Bokashi | Small Space (Indoors) | Fast Pre-compost (4 weeks fermentation) | All Food Scraps | Moderate (daily draining, airtight sealing) | Fermented Material (needs further breakdown) |
No matter which method you choose, consistency is your friend. Small, regular actions will yield the best results.
Tips for Successful Composting in Indian Conditions
India’s climate can be quite varied, from scorching summers to monsoon rains. Here’s how to adapt:
- Beat the Heat: In hot, dry weather, you’ll need to water your compost more often. Using a bin or tumbler that retains moisture better can help. Shading your compost pile also makes a big difference.
- Manage the Monsoons: During heavy rains, especially with open piles or bins, your compost can become waterlogged. Ensure good drainage. You might need to cover your pile temporarily or ensure your bin has a good lid and drainage system. If vermicomposting, protect your worm bin from getting too wet.
- Chop It Up!: Whether it’s kitchen scraps or yard waste, chopping or shredding materials speeds up decomposition significantly, especially important in a warming climate where microbes are very active.
- Air is Key: Oxygen is crucial for the aerobic microbes that break down waste without bad smells. Make sure to turn or aerate your compost regularly, or ensure your bin has good airflow features.
- Start Small, Grow Big: Don’t feel you need to become a master composter overnight. Start with one method and gradually learn what works best for your household and garden.
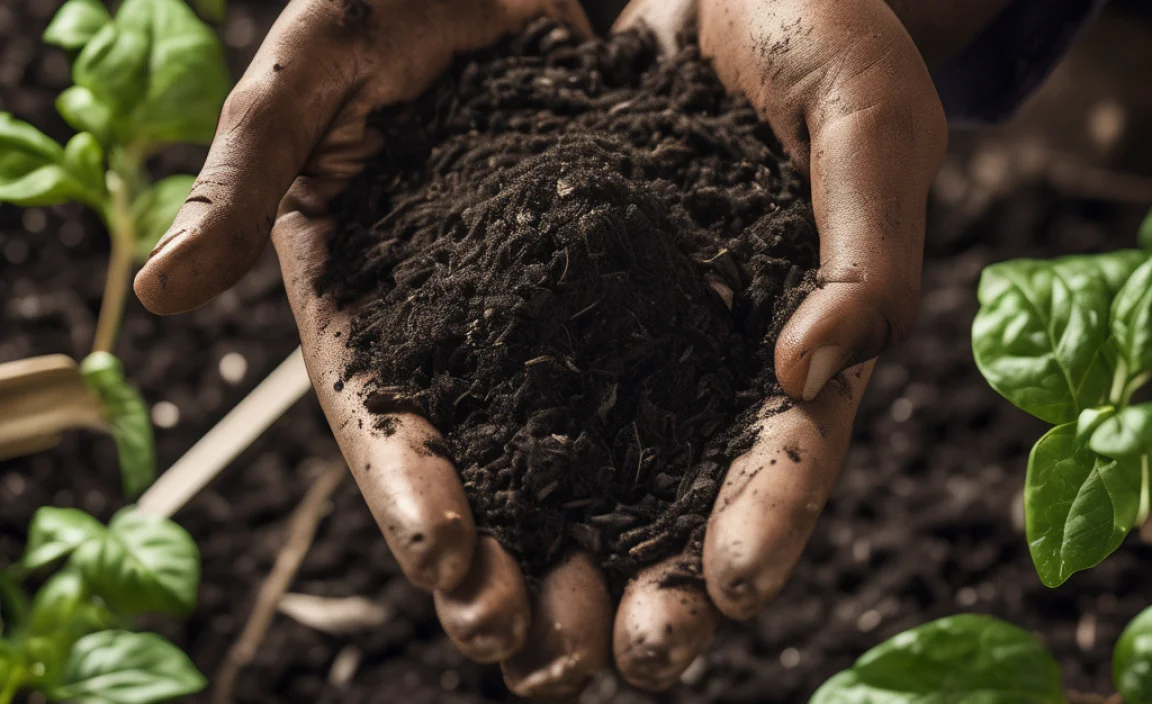
When is Your Compost Ready? The Signs of Greatness!
You’ll know your organic compost is ready when it:
- Looks like Dark Soil: It should be a deep, rich brown color.
- Is Crumbly: It should easily break apart, with no recognizable original materials (like banana peels or eggshells).
- Smells Earthy: It should have a pleasant, fresh, soil-like aroma, not like rotten food or ammonia.
- Temperature is Normal: A finished compost pile will no longer be hot in the center.
If you still see large pieces or if it smells unpleasant, it means it needs more time and likely more turning or balancing of greens and browns.
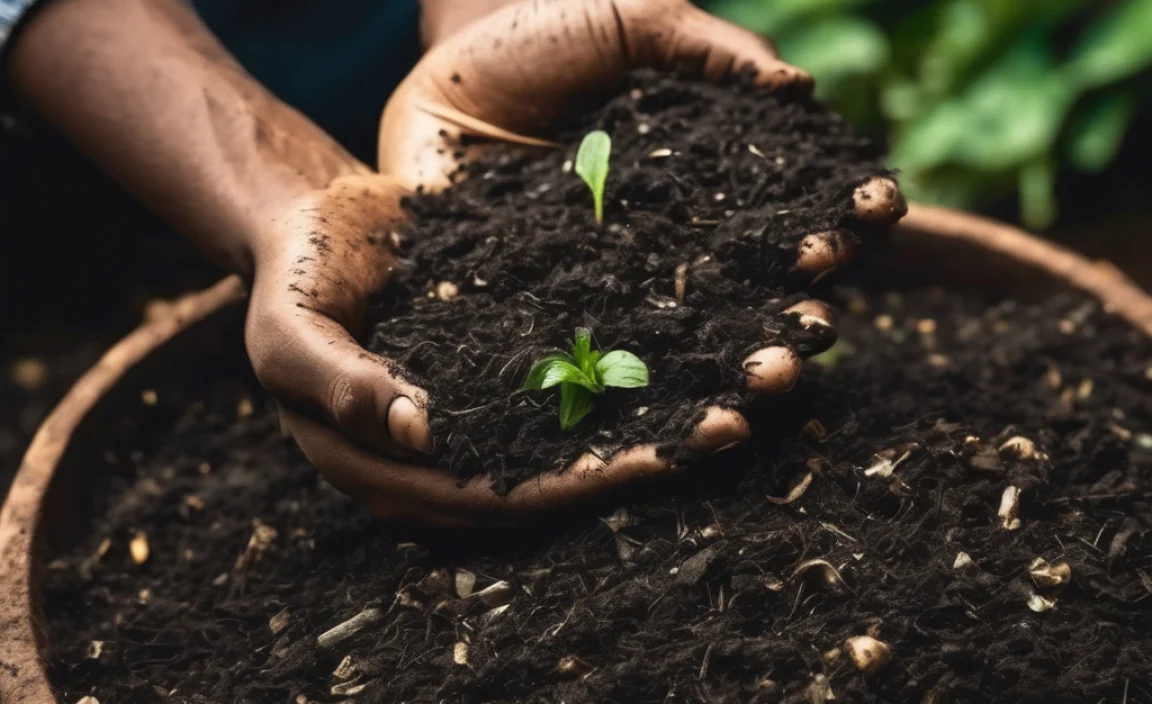
How to Use Your Homemade Organic Compost
Once you have your beautiful, nutrient-rich compost, the fun part begins – using it! It’s incredibly versatile:
- Soil Amendment: Mix compost into your garden beds before planting. About 2-4 inches worked into the top 6-8 inches of soil works wonders.
- Top Dressing: Spread a thin layer (about 1 inch) of compost around existing plants and shrubs. It will gradually feed the soil.
- Potting Mix: Mix compost with soil and other ingredients like coir or perlite to create a fantastic potting mix for containers and balcony gardens. A common mix is 1/3 compost, 1/3 garden soil, and 1/3 coir or sand.
- Lawn Care: Lightly rake compost onto your lawn, especially after aeration, to improve soil health.
- Seed Starting: Sift your compost to remove larger particles for a fine mix perfect for germinating seeds.
Frequently Asked Questions on Organic Compost in India
Q1: How long does it take to make compost?
A: It depends on the method and materials. Piles can take 3-12 months, bins 2-6 months, while vermicomposting yields castings in 2-4 months. Bokashi requires about 4 weeks of fermentation before burying.
Q2: My compost smells bad. What did I do wrong?
A: A bad smell, often like ammonia or rotten eggs, usually means there’s too much “green” material (nitrogen) or not enough air. Try adding more “browns” (carbon-rich materials like dry leaves or shredded paper) and turn the pile to aerate it.
Q3: Can I compost in a small apartment in India?
A: Absolutely! Vermicomposting or Bokashi composting are excellent choices for small spaces like apartments or balconies. They are contained and can be managed indoors or on a balcony.
Q4: What are “greens” and “browns” in composting?
A: “Greens” are nitrogen-rich materials like kitchen scraps and fresh

I am passionate about home engineering. I specialize in designing, installing, and maintaining heating, ventilation, and air conditioning systems. My goal is to help people stay comfortable in their homes all year long.
