Hey there, aspiring gardeners and eco-conscious folks! Ever looked at your kitchen scraps and yard waste and thought, “There’s gotta be a better way than just tossing this stuff?” You’re right! Composting, especially in a rural setting, is a fantastic way to turn that “waste” into garden gold. It can feel a bit daunting to start, but I’m Troy D Harn from TopChooser, and I’m here to show you just how simple and rewarding organic composting can be. We’ll break it down, step-by-step, so you can start nurturing your soil and your plants the natural way.
Organic Compost Rural: Your Essential Guide to Backyard Gold
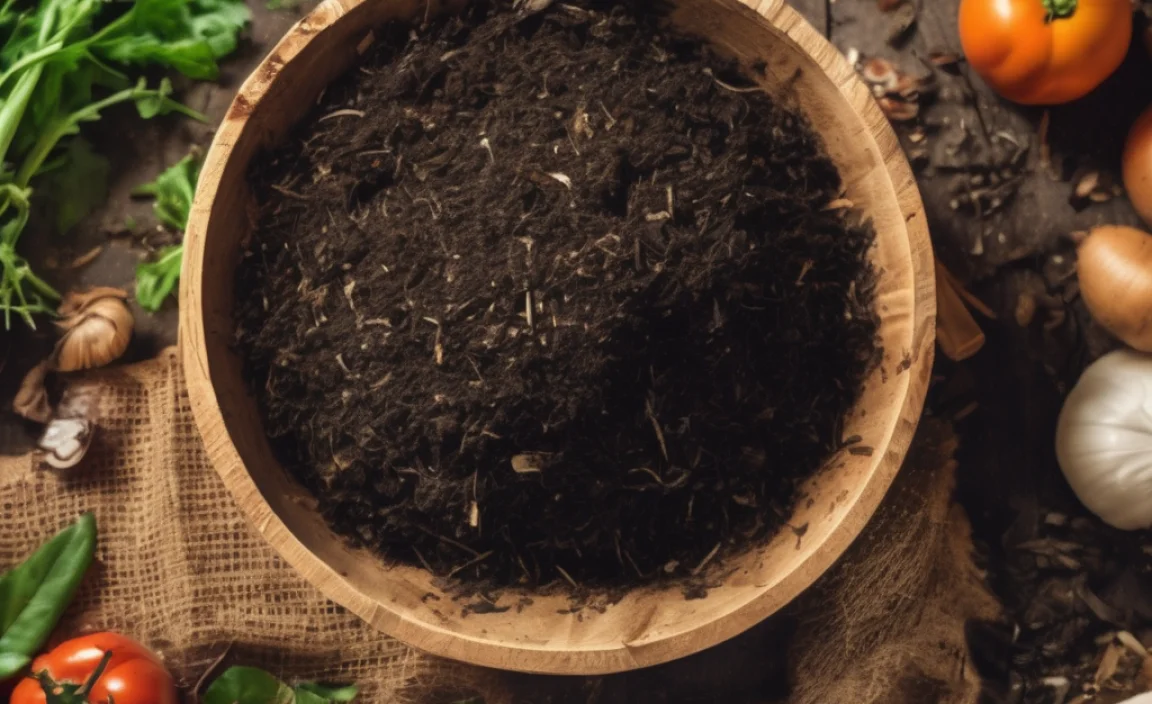
Living in a rural area often means you have a bit more space to work with, making composting an ideal way to manage organic materials and enrich your garden soil. Forget those expensive bagged fertilizers; with a little effort, you can create your own nutrient-rich compost right in your backyard. This guide will walk you through everything you need to know, from choosing a composting method to troubleshooting common issues. Get ready to transform your kitchen scraps and yard trimmings into the best food for your plants!
Why Compost Organically in a Rural Setting?
Composting is all about returning organic matter to the soil. When you compost organically, you’re avoiding synthetic fertilizers and pesticides, which can be harmful to the environment, beneficial insects, and even your health. In a rural setting, you often have access to a wider variety of organic materials, from garden beds and agricultural byproducts to animal manure (properly aged, of course!).
Prime Benefits of Rural Organic Composting:
- Enriches Soil: Compost adds vital nutrients and improves soil structure, making it better at retaining moisture and air.
- Reduces Waste: Diverts a significant amount of household and yard waste from landfills.
- Saves Money: Eliminates the need to purchase commercial fertilizers and soil amendments.
- Environmentally Friendly: Lessens reliance on chemical fertilizers, which can pollute waterways.
- Supports Healthy Plants: Provides a slow release of nutrients, promoting stronger, healthier plant growth.
Getting Started: What You Need for Composting
The beauty of composting is that you don’t need a lot of fancy equipment to start. You can begin with very basic setups and scale up as you get more comfortable. Here’s a look at what you might need:
Composting Methods and Structures
There are several ways to compost, and your choice might depend on your space, how much material you generate, and how quickly you want finished compost. In a rural setting, you often have the luxury of choosing from more robust options.
- Open Pile Composting: The simplest method. You just create a mound of organic materials. It requires more space and can look a bit messy, but it’s incredibly low-cost and easy to start.
- Compost Bin: These can be store-bought or DIY. Bins help to contain the compost, retain heat and moisture, and can make turning easier. They come in various materials like wood, plastic, or wire mesh. For rural spaces, larger bins or multiple bins are common.
- Tumbler Composter: These are enclosed drums that you can easily rotate. Tumblers speed up the composting process and keep pests out, but they can be more expensive and have a smaller capacity than open piles or large bins.
- Worm Composting (Vermicomposting): While often done indoors or on a smaller scale, it can also be managed outdoors in bins. Red wiggler worms do the work, breaking down food scraps quickly.
Essential Tools for Composting Success
While you can start with just your hands and a pitchfork, a few simple tools will make the process much easier and more efficient.
Basic Tools:
- Pitchfork or Shovel: For turning and aerating your compost pile.
- Garden Hose or Watering Can: To keep your compost pile moist.
- Gloves: To keep your hands clean.
Optional (but helpful) Tools:
- Compost Aerator: A tool designed specifically to easily aerate compost piles.
- Bin or Enclosure: To hold your compost (DIY or purchased).
- Moisture Meter: To check the moisture level accurately.
What Can You Compost? The “Greens” and “Browns”
Successful composting relies on balancing two main types of organic materials: “Greens” and “Browns.” This balance is crucial for providing the right mix of nitrogen (from greens) and carbon (from browns) that decomposers (like bacteria and fungi) need to thrive.
“Green” Materials (Nitrogen-Rich):
These are typically moist and break down quickly. They provide the nitrogen that fuels the microorganisms. Think of these as the “fuel” for your compost.
- Fruit and vegetable scraps (peels, cores, rinds)
- Coffee grounds and tea bags
- Grass clippings (in moderation, as they can get matted)
- Plant trimmings from the garden (non-diseased)
- Manure from grass-eating animals (cow, horse, chicken, rabbit – always aged!)
“Brown” Materials (Carbon-Rich):
These are typically dry and bulky, providing carbon and helping to create air pockets. They help prevent the compost from becoming too wet and smelly. Think of these as the “airtime” and “structure” for your compost.
- Dry leaves
- Straw or hay
- Wood chips or sawdust (from untreated wood)
- Shredded newspaper or cardboard (avoid glossy paper)
- Dryer lint (from natural fibers)
- Eggshells (crushed)
What NOT to Compost:
It’s just as important to know what to leave out to avoid attracting pests, creating odors, or spreading diseases.
- Meat, fish, and dairy products (attract pests and create odors)
- Oily or fatty foods
- Diseased plants or weeds with persistent seeds
- Pet waste (from dogs and cats – can contain pathogens)
- Chemically treated wood or yard waste
- Coal or charcoal ash
Building Your Compost Pile: A Step-by-Step Approach
Let’s get down to building that compost pile! In a rural setting, you have the flexibility to create a fairly substantial pile, which tends to compost more efficiently than a small one.
Step 1: Choose Your Location
Select a spot that’s convenient to access but not right next to your house. It should have good drainage and be partially shaded to prevent it from drying out too quickly in the summer sun. A location near a water source is also a plus.
Step 2: Start with a Base Layer of “Browns”
Begin by laying down a 4-6 inch layer of coarse “brown” materials like twigs, straw, or wood chips. This helps with drainage and aeration from the bottom up, allowing air to circulate through the pile.
Step 3: Add Alternating Layers of “Greens” and “Browns”
Now, start layering. Aim for a ratio of roughly 2-3 parts “browns” to 1 part “greens” by volume. Add your kitchen scraps, grass clippings, and other “green” materials. Cover each “green” layer with a “brown” layer. This helps to control odors and deter pests.
Pro Tip: Chop or shred larger materials before adding them. Smaller pieces break down much faster!
Step 4: Moisten the Pile
As you build, lightly water each layer. The goal is for the compost to be as damp as a wrung-out sponge – moist, but not soggy. Overly dry material won’t decompose, and too much water can lead to anaerobic (oxygen-deprived) conditions and foul odors.
Step 5: Aerate (Turn) Your Compost
This is where your pitchfork or shovel comes in. Turning the pile introduces oxygen, which is essential for the aerobic bacteria that break down matter. It also helps mix the materials and distribute moisture and heat. Aim to turn your pile every 1-4 weeks. The more you turn it, the faster it will compost.
If you’re using a bin or a tumbler, turning is often easier. For an open pile, you’ll want to move material from the outside to the inside and vice-versa.
Step 6: Be Patient!
Composting takes time. Depending on the materials, temperature, moisture, and turning frequency, it can take anywhere from a few months to a year or more to get finished compost.
The Science of Decomposition: How it Works
Composting is essentially an accelerated natural process. Microorganisms – bacteria, fungi, actinomycetes – are the workhorses. They consume the organic matter, breaking it down into simpler compounds. Heat is generated as a byproduct of their activity. As the pile heats up, it kills off weed seeds and pathogens. The process moves through different temperature phases:
- Mesophilic Phase: Early on, mesophilic organisms (which like moderate temperatures) begin breaking down the readily available sugars and starches.
- Thermophilic Phase: As decomposition speeds up, the pile heats up considerably, reaching temperatures between 131°F and 160°F (55°C to 70°C). This is where thermophilic organisms thrive, killing pathogens and weed seeds. This phase can last from a few days to several weeks.
- Cooling Phase: As the readily decomposable materials are consumed, the pile begins to cool down. This allows mesophilic organisms to return and finish the process, breaking down tougher materials like lignin and cellulose.
- Curing Phase: The final stage, where the compost matures. The material becomes crumbly, dark, and earthy-smelling. This can take several weeks to months.
For more detailed information on the science and optimal conditions for composting, the U.S. Environmental Protection Agency (EPA) offers extensive resources, including best practices for managing compost piles effectively.
Troubleshooting Common Composting Problems
Even with the best intentions, you might encounter a few hiccups. Don’t get discouraged! Most composting problems are easily fixed.
Problem: Foul Odors (Ammonia or Rotten Egg Smell)
Cause: Too much “green” material, insufficient oxygen, or the pile is too wet.
Solution:
- Add more “brown” materials (leaves, straw, shredded paper) to absorb excess moisture and balance the nitrogen.
- Turn the pile thoroughly to aerate it.
- Ensure good drainage.
Problem: The Pile Isn’t Heating Up
Cause: Pile is too small, not enough “green” material, or it’s too dry.
Solution:
- Add more materials to increase the pile size. Larger piles (at least 3x3x3 feet) insulate better and generate more heat.
- Add more “green” ingredients (like grass clippings or kitchen scraps).
- Check moisture levels and add water if dry.
- Turn the pile to mix ingredients and distribute heat.
Problem: Attracting Pests (Rodents, Flies)
Cause: Exposed food scraps, or the presence of meat, dairy, or oily foods.
Solution:
- Always bury kitchen scraps deep within the pile, under a layer of “browns.”
- Avoid adding meat, dairy, or oily foods.
- Ensure your compost bin has a lid or is enclosed well.
- Tumbler composters are excellent for deterring pests.
Problem: Material Is Too Dry and Not Decomposing
Cause: Not enough moisture, too much sun, or too many “browns.”
Solution:
- Water the pile thoroughly.
- Turn the pile to ensure moisture is distributed evenly.
- Add more “green” materials that are naturally moist.
- Consider covering the pile with a tarp to retain moisture, especially in hot, dry climates.
When is Compost Ready?
Finished compost is a beautiful thing! It’s dark, crumbly, smells earthy (like a forest floor after rain), and the original materials are no longer recognizable. You shouldn’t be able to identify your potato peels or coffee grounds anymore. It’s cool to the touch (not hot or actively decomposing). If you’re unsure, let it cure for a few more weeks.
You can use a sieve or screen to separate any larger, unfinished pieces. These can be thrown back into a new compost pile to continue breaking down.
How to Use Your Finished Compost
Once your compost is ready, you have a treasure trove of soil amendment. Here are a few ways to use it:
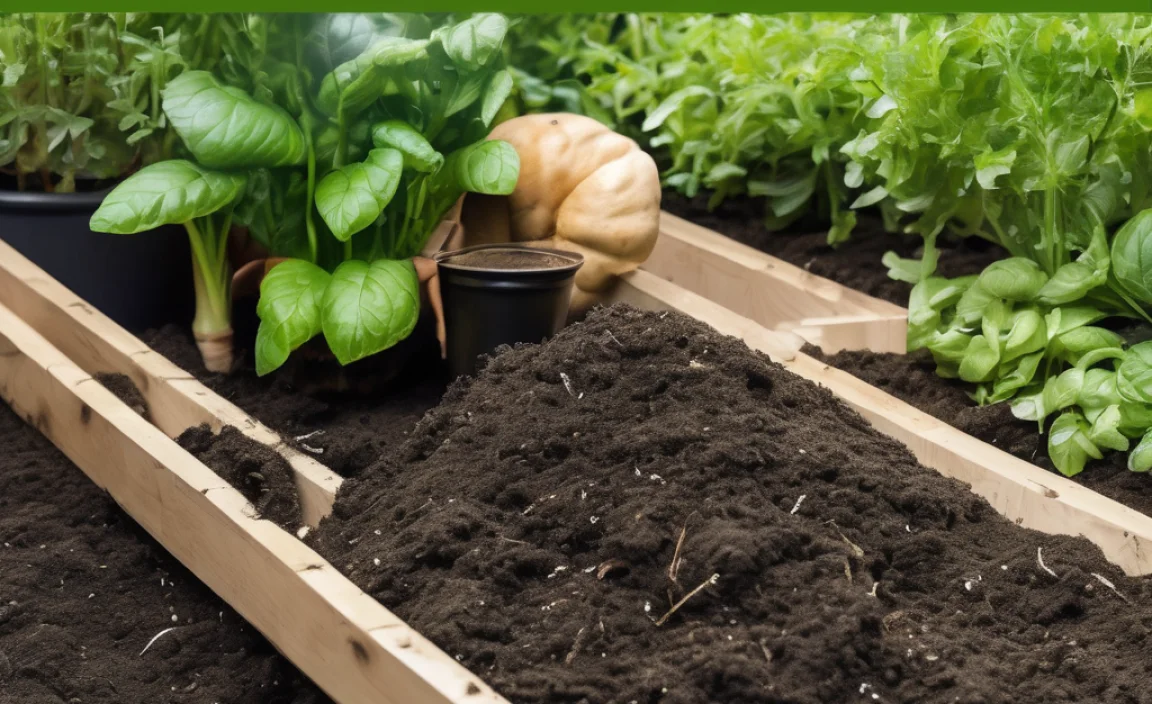
- Soil Amendment: Mix 2-3 inches of compost into garden beds, flower beds, or potting soil before planting. This improves soil structure, fertility, and water retention.
- Top Dressing: Spread a thin layer (about an inch) of compost around the base of established plants, shrubs, and trees. This adds nutrients and helps retain moisture.
- Lawn Care: Lightly rake compost into your lawn, especially after aerating. It provides nutrients and helps thicken turf.
- Seed Starting Mix: Mix compost with other materials like vermiculite and perlite for a nutrient-rich seed starting medium.
- Compost Tea: Steep finished compost in water to create a liquid fertilizer that can be sprayed on plants or used to water them.
For a general overview of soil amendments and their benefits, universities like Penn State Extension provide excellent, in-depth guides.
Taking Your Rural Composting to the Next Level
If you’re really getting into composting on your rural property, consider these advanced ideas:
- Multiple Bins: Set up a three-bin system. One bin for actively decomposing material, one for curing, and one for finished compost. This creates a continuous cycle.
- Compost Windrows: For very large volumes of organic material, composting in long, narrow piles called windrows is efficient. These require specialized equipment for turning but are very effective for large-scale operations.
- Incorporating Agricultural Waste: If you have access to things like hay, straw, or specific types of manure from nearby farms, these can be valuable additions to your compost, provided they are properly managed.
- Sheet Composting: This is a no-turn method where you layer compostable materials directly onto garden beds during the off-season.
Frequently Asked Questions about Rural Organic Composting
Q1: How big should my compost pile be?
A1: For optimal heating, a compost pile should ideally be at least 3 feet wide, 3 feet deep, and 3 feet long (a cubic yard). Smaller piles will still compost, but they may take longer and not reach the high temperatures needed to kill weed seeds and pathogens effectively. In a rural setting, you have the space for a good-sized pile!
Q2: How often should I turn my compost?
A2: The more frequently you turn (e.g., every 1-2 weeks), the faster your compost will be ready. If you’re looking for convenience over speed, turning every 4 weeks or even just a few times a year will still result in compost, albeit at a slower pace. Turning is key for aeration.
Q3: Can I compost grass clippings from my large rural property?
A3: Yes, but in moderation! Large amounts of fresh grass clippings can mat down, become anaerobic, and create foul odors. It’s best to mix them with dry “brown” materials (like leaves or straw) or add them to the pile in thin layers, allowing them to dry out slightly first.
Q4: What’s the best type of compost bin for a rural property?
A4: For rural settings, a sturdy, large-capacity bin or an open pile are often the most practical and cost-effective. If you have concerns about pests or want faster results, a tumbler or a well-built wooden bin can also work well. Consider your space, the volume of waste, and your budget.
Q5: How do I know when my compost is “finished” and safe to use?
A5: Finished compost will be dark, crumbly, and have an earthy smell. You won’t be able to recognize the original materials.
.lwrp.link-whisper-related-posts{
margin-top: 40px;
margin-bottom: 30px;
}
.lwrp .lwrp-title{
}.lwrp .lwrp-description{
}
.lwrp .lwrp-list-container{
}
.lwrp .lwrp-list-multi-container{
display: flex;
}
.lwrp .lwrp-list-double{
width: 48%;
}
.lwrp .lwrp-list-triple{
width: 32%;
}
.lwrp .lwrp-list-row-container{
display: flex;
justify-content: space-between;
}
.lwrp .lwrp-list-row-container .lwrp-list-item{
width: calc(25% – 20px);
}
.lwrp .lwrp-list-item:not(.lwrp-no-posts-message-item){
max-width: 150px;
}
.lwrp .lwrp-list-item img{
max-width: 100%;
height: auto;
object-fit: cover;
aspect-ratio: 1 / 1;
}
.lwrp .lwrp-list-item.lwrp-empty-list-item{
background: initial !important;
}
.lwrp .lwrp-list-item .lwrp-list-link .lwrp-list-link-title-text,
.lwrp .lwrp-list-item .lwrp-list-no-posts-message{
}@media screen and (max-width: 480px) {
.lwrp.link-whisper-related-posts{
}
.lwrp .lwrp-title{
}.lwrp .lwrp-description{
}
.lwrp .lwrp-list-multi-container{
flex-direction: column;
}
.lwrp .lwrp-list-multi-container ul.lwrp-list{
margin-top: 0px;
margin-bottom: 0px;
padding-top: 0px;
padding-bottom: 0px;
}
.lwrp .lwrp-list-double,
.lwrp .lwrp-list-triple{
width: 100%;
}
.lwrp .lwrp-list-row-container{
justify-content: initial;
flex-direction: column;
}
.lwrp .lwrp-list-row-container .lwrp-list-item{
width: 100%;
}
.lwrp .lwrp-list-item:not(.lwrp-no-posts-message-item){
max-width: initial;
}
.lwrp .lwrp-list-item .lwrp-list-link .lwrp-list-link-title-text,
.lwrp .lwrp-list-item .lwrp-list-no-posts-message{
};
}
Related Posts

I am passionate about home engineering. I specialize in designing, installing, and maintaining heating, ventilation, and air conditioning systems. My goal is to help people stay comfortable in their homes all year long.