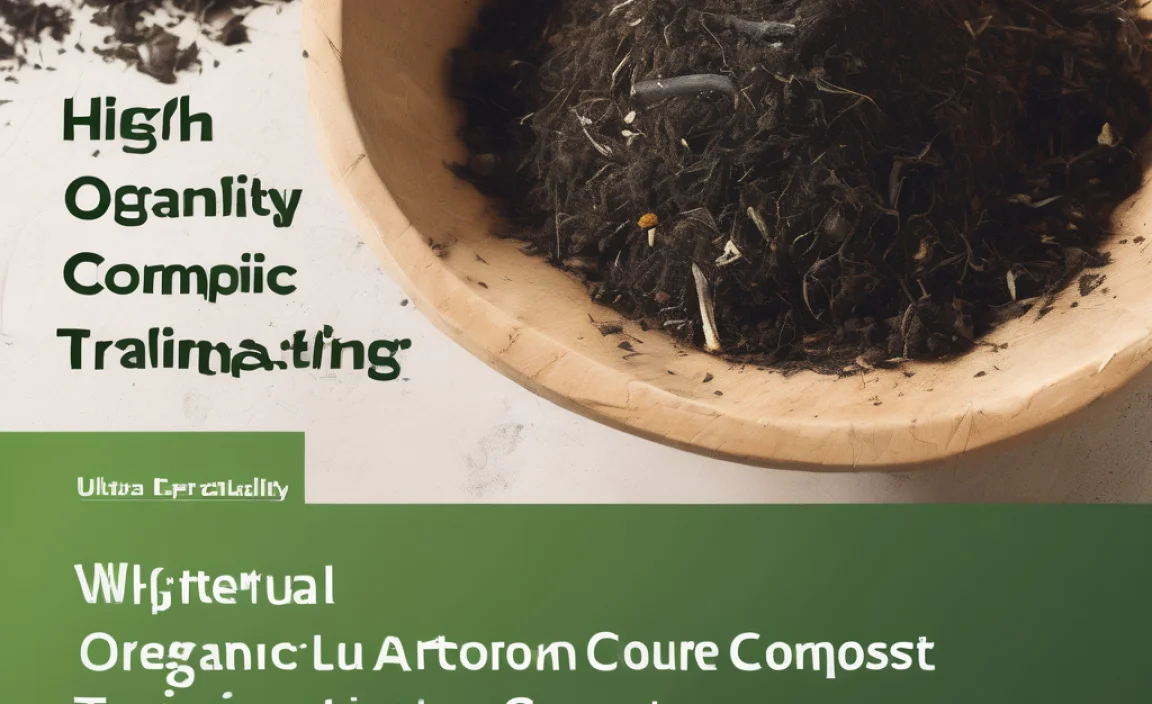
Ever look at amazing gardens and wonder how they get those plants so lush and healthy? A big secret is “black gold” – the rich, dark stuff you make from your kitchen scraps and yard waste. It’s called compost, and when you use it the right way, your plants will thank you! If you’ve ever felt a bit lost on how to best use your homemade compost, you’re in the right spot. We’re going to break down exactly how to train your soil to love organic compost, making your gardening dreams bloom. Let’s dig in!
What Exactly is Organic Compost Training?
Think of “organic compost training” not as a strict, complicated process, but more like introducing your soil to its new best friend – nature’s own fertilizer. It’s about getting your soil ready to accept and benefit from the goodness of compost. This isn’t about forcing anything; it’s about helping your soil become healthier and more receptive to the nutrients and structure that organic compost provides. When your soil is “trained,” it means it’s alive, well-draining, and full of the microbial life that plants thrive on.
Using organic compost is like giving your plants a superfood smoothie. It’s packed with nutrients, improves soil structure, and helps retain moisture. But just like you can’t guzzle a superfood smoothie too fast without feeling it, your soil can benefit from a thoughtful approach to compost. This guide will show you how to ease your soil into this wonderful partnership, ensuring the best possible results for your garden, whether you’re growing juicy tomatoes or vibrant flowers.
Why Organic Compost Training Matters
So, why go through the extra step of “training” your soil? Well, raw, uncomposted materials thrown directly onto your garden can actually do more harm than good initially. They might tie up nitrogen as they decompose, leaving your plants hungry. Or they could be too acidic or too dense. Organic compost training helps avoid these issues.
Benefits of a Well-Trained Soil with Organic Compost:
- Nutrient Powerhouse: Compost releases essential nutrients slowly, feeding your plants over time without burning them.
- Improved Soil Structure: It helps sandy soil hold water and nutrients, and loosens clay soil for better drainage and root growth.
- Healthier Microbes: Compost is teeming with beneficial bacteria, fungi, and other microorganisms that create a vibrant soil ecosystem.
- Better Water Retention: Your soil will act like a sponge, holding onto water so you might need to water less often.
- Disease Suppression: A healthy soil microbiome can help protect plants from pests and diseases.
- Reduced Need for Chemical Fertilizers: You’ll naturally enrich your soil, saving money and helping the environment.
Investing a little time in soil preparation makes a huge difference in the long run. It’s the foundation for a thriving garden. Let’s get that foundation strong!
Understanding Your Soil Type
Before we start “training” your soil, it’s super helpful to know what you’re working with. Different soil types need slightly different approaches when it comes to amending them with compost.
Common Soil Types:
- Sandy Soil: Feels gritty. Drains very quickly and doesn’t hold nutrients well. It needs compost to add binding agents and improve water retention.
- Clay Soil: Feels sticky when wet and hard when dry. It drains poorly and can be difficult for roots to penetrate. Compost helps break up the clay particles, improving aeration and drainage.
- Silty Soil: Feels smooth and soapy. Holds moisture well but can compact easily. Compost helps improve its structure and prevent compaction.
- Loamy Soil: This is the gardener’s dream! It’s a balanced mix of sand, silt, and clay, with good drainage, moisture retention, and nutrient content. Compost enhances its already excellent qualities.
How to Do a Simple Soil Test:
You can get a quick idea right at home:
- Take a handful of moist soil (not soaking wet, not bone dry).
- Try to form a “snake” by squeezing it.
- Sandy: It won’t form a snake or will crumble immediately.
- Clay: It will form a long, firm snake and might feel smooth.
- Silty: It will form a snake but might be a bit fragile.
- Loamy: It will form a nice, firm snake that you can bend a bit without it breaking.
Knowing your soil helps you understand how much compost your garden bed will need and how it will react. For more in-depth testing, you can send a sample to your local university extension office. They can provide detailed analysis.
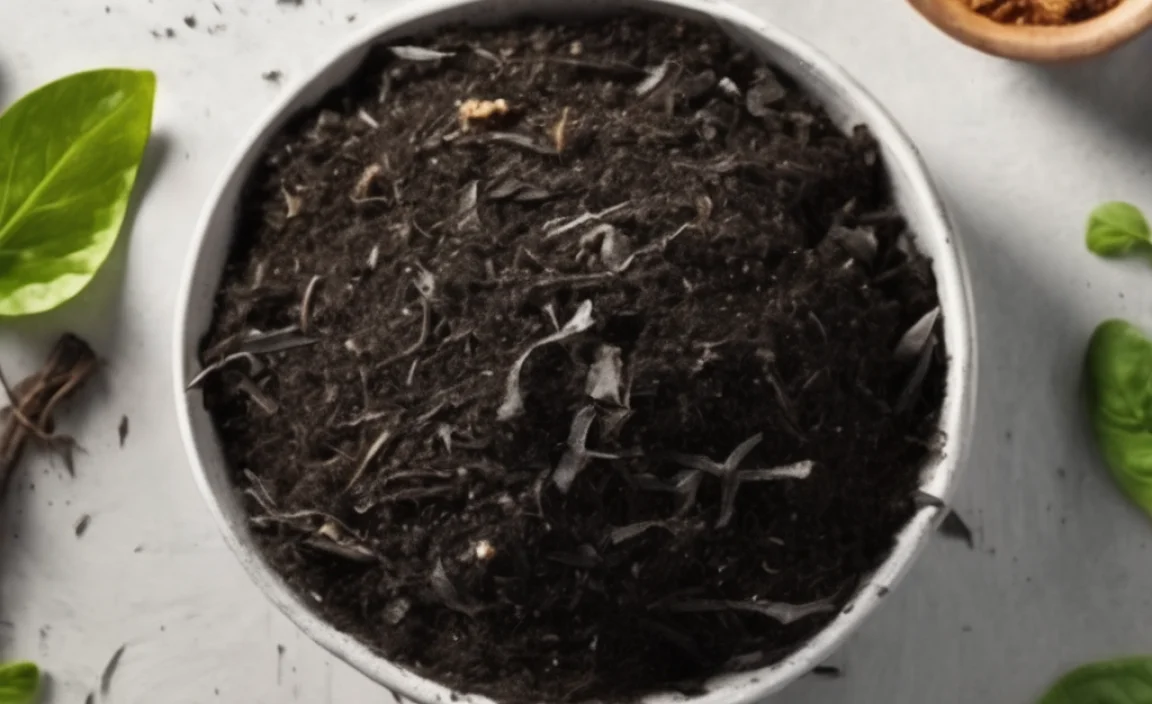
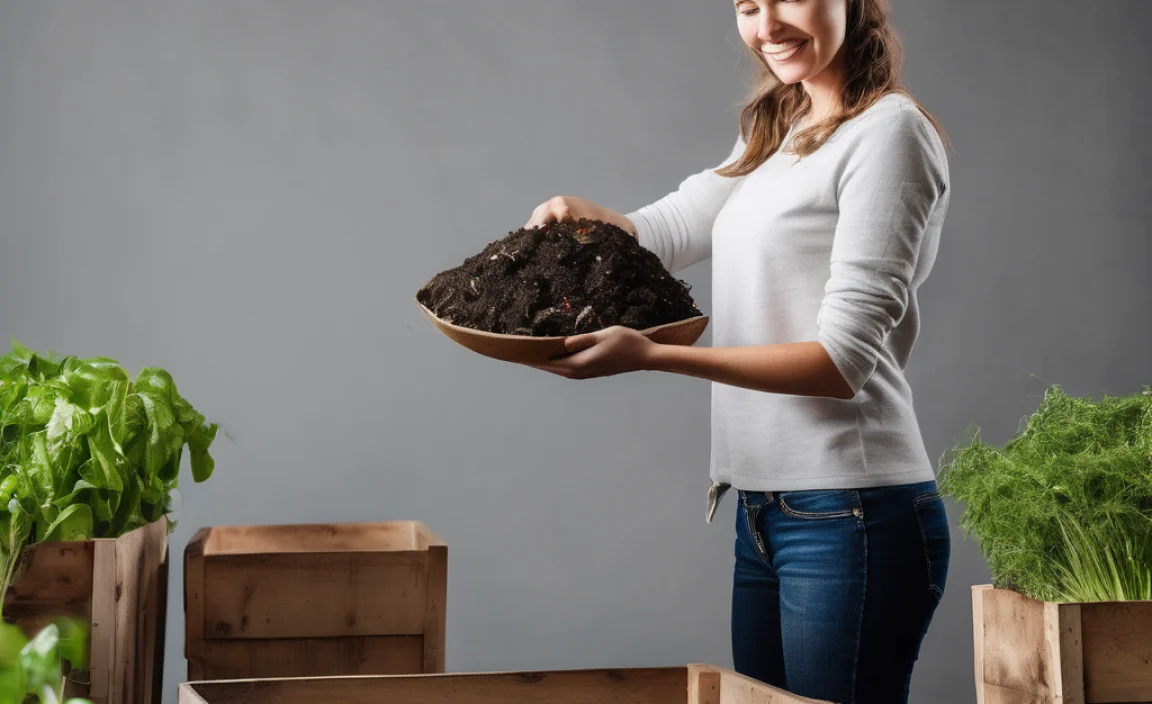
Gathering Your Compost Supplies

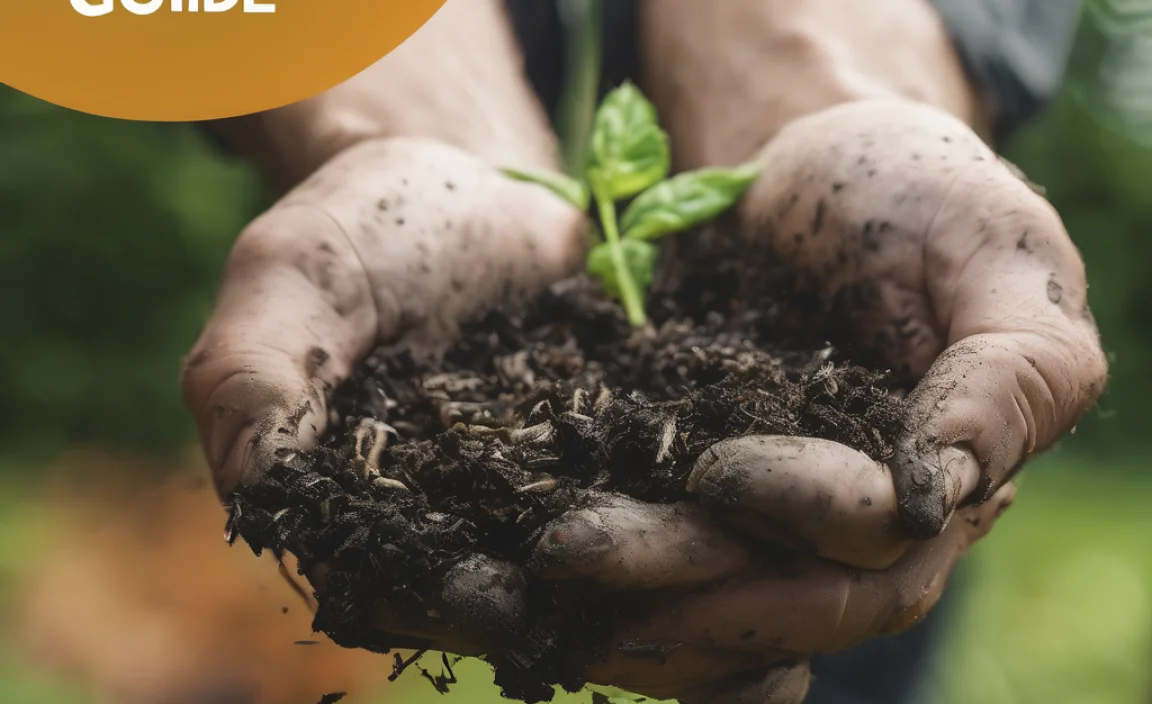
You’ve got your compost ready – it looks dark, crumbly, and smells earthy. Great job! Now, let’s talk about how to get it into your garden. You don’t need fancy equipment. Here are the basics:
Essential Tools:
- A Wheelbarrow or Garden Cart: For moving large amounts of compost from your pile or bin to your garden beds.
- A Shovel or Spade: For scooping and spreading the compost. A pointed shovel is good for digging, while a flat spade is useful for leveling.
- A Garden Fork: Excellent for loosening compacted soil and mixing compost in evenly.
- Gloves: To keep your hands clean and protected.
- A Trowel: For smaller jobs, like amending soil around individual plants or in containers.
Having good quality tools makes the job much easier and more enjoyable. If you’re buying new tools, look for sturdy handles and well-made metal parts that won’t rust or bend easily. Many hardware stores offer good value.
Methods for Organic Compost Training
Now for the hands-on part! There are a few ways to introduce compost to your soil, depending on what you’re planting and your garden setup.
Method 1: The Top Dressing Approach (For Established Plants & Gardens)
This is the simplest method and perfect for adding a boost to existing gardens or around established plants and trees. It’s like giving your plants a comforting blanket of nutrients.
When to Use: Spring and Fall are ideal times, but you can do it anytime your plants seem to need a pick-me-up.
Steps:
- Gather Your Compost: Ensure it’s well-rotted and finished.
- Gently Rake: Lightly loosen the surface of the soil around your plants. Don’t disturb the plant’s roots too much.
- Spread the Compost: Apply a layer of about 1-3 inches of compost around the base of your plants. Keep it a few inches away from the actual stem of the plant to prevent rot. For trees and shrubs, spread it out to the drip line (the outer edge of the branches).
- Water Thoroughly: This helps the compost begin to break down and settle into the soil.
- Let Nature Do the Work: Earthworms and soil microbes will gradually pull the compost down into the soil, feeding your plants as they go.
Pros: Very easy, minimal disturbance, great for ongoing plant health.
Cons: Slower integration into deeper soil layers.
Method 2: The Incorporation Method (For New Beds & Seasonal Planting)
This method involves mixing compost directly into the garden soil. It’s fantastic for preparing new garden beds or refreshing soil before planting a new season’s crops.
When to Use: Best done in the spring before planting or in the fall after harvesting.
Steps:
- Prepare the Area: Clear the garden bed of weeds and debris.
- Add Compost: Spread a generous layer of compost over the surface of the bed. Aim for 3-6 inches depending on your soil type and how much you have.
- Loosen the Soil: Use a garden fork or shovel to gently work the compost into the top 6-12 inches of your existing soil. You don’t need to thoroughly till deeply, just get it mixed in well. For very compacted soil, you might want to loosen it first before adding compost.
- Mix Evenly: Break up any large clumps of soil and compost to ensure a uniform distribution.
- Level the Bed: Use a rake to create a smooth, level surface for planting.
- Plant or Wait: You can plant immediately, or if preparing in the fall, let the soil rest over winter.
Pros: Integrates compost deeply and quickly, ideal for creating rich planting beds, boosts soil structure significantly.
Cons: Requires more physical effort, can disturb soil structure if tilled too aggressively.
Method 3: The Layering or “Lasagna” Gardening Method (No-Dig)
This is a fantastic method for creating new garden beds directly on top of grass or existing soil without digging. It mimics nature’s way of building soil.
When to Use: Best started in the fall to allow plenty of time for decomposition before spring planting. However, it can be done in spring if you’re patient.
Steps:
- Mow Low: If building on grass, mow the area as short as possible. You can leave the clippings.
- Lay Down Cardboard: Cover the entire area with a layer of plain brown cardboard (remove all tape and labels). Overlap the edges well to block out light and kill the grass/weeds underneath. Wet the cardboard thoroughly.
- Add Your Layers: Now, start layering your materials. Alternate “greens” (nitrogen-rich materials like kitchen scraps – no meat or dairy, grass clippings) and “browns” (carbon-rich materials like dried leaves, straw, shredded newspaper). You can also add finished compost as one of the layers!
- Start with a layer of nitrogen-rich material (e.g., grass clippings, kitchen scraps).
- Follow with carbon-rich material (e.g., shredded leaves, straw, cardboard).
- Add a layer of finished compost (highly recommended for a quick start!).
- Repeat layers, aiming for a total depth of 8-12 inches.
Pros: No digging required, builds incredible soil over time, suppresses weeds, excellent for soil health.
Cons: Requires patience (best for fall preparation), needs a good supply of varied materials.
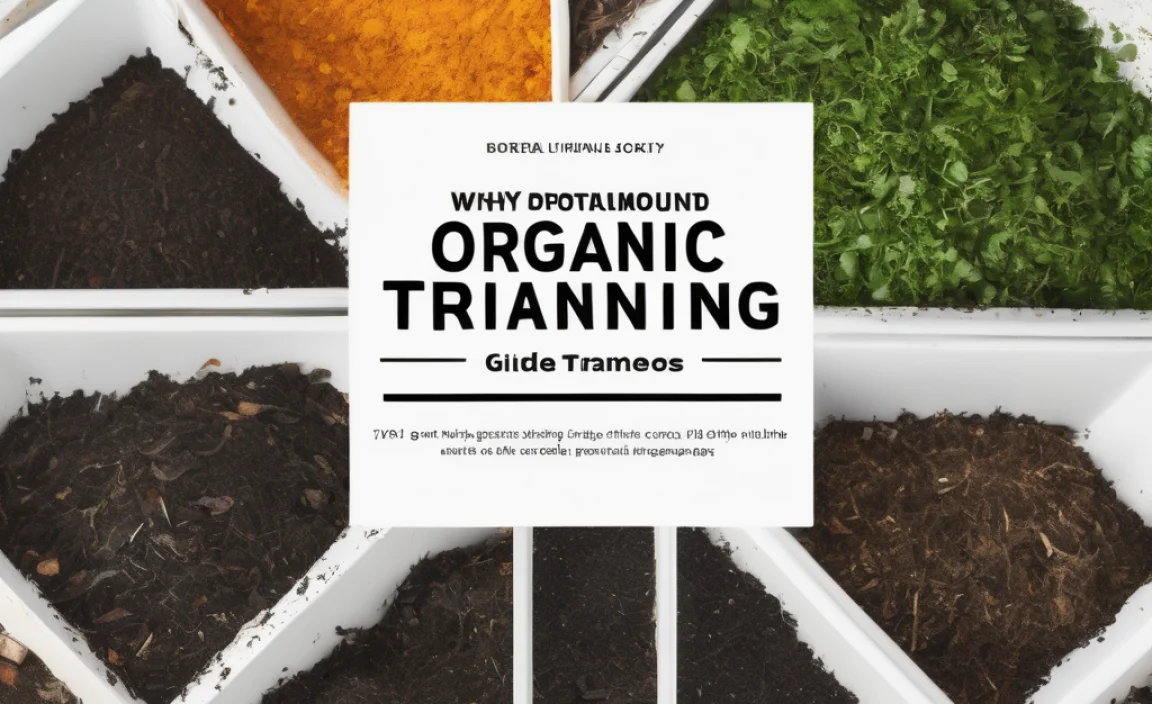
Composting Ratios: The “Greens” and “Browns” Explained
Whether you’re making your own compost or just using finished compost, understanding the “greens” and “browns” helps you appreciate the balance of nutrients. These are the building blocks of healthy decomposition and rich finished compost.
The ideal ratio for composting is often cited as approximately 2 parts “browns” to 1 part “greens” by volume. This ensures a good mix of carbon (browns) and nitrogen (greens) for the microbes that do the hard work of breaking everything down.
“Greens” (Nitrogen-Rich):
- Fruit and vegetable scraps
- Coffee grounds and tea bags
- Grass clippings (in thin layers to avoid matting)
- Plant trimmings (fresh)
- Manure from herbivores (cow, horse, chicken, rabbit)
“Browns” (Carbon-Rich):
- Dry leaves
- Straw and hay
- Shredded newspaper or plain cardboard
- Wood chips or sawdust (use sparingly, can take long to decompose)
- Twigs and small branches
- Pine needles
Finished compost is the result of these materials breaking down into a stable, nutrient-rich material. When you apply finished compost, this balance is already achieved, so you don’t need to worry about ratios in your garden beds, only in your compost bin!
Compost Application Rates by Plant Type
Not all plants need the same amount of compost. Here’s a general guide to help you apply it effectively:
Application Rate Table
| Plant/Garden Type | Application Method | Amount of Compost | Frequency |
|---|---|---|---|
| Vegetable Gardens (New Beds) | Incorporation Method | 3-6 inches incorporated into top 6-12 inches of soil | Once, during bed preparation (spring or fall) |
| Vegetable Gardens (Established) | Top Dressing | 1-2 inches spread around plants | Spring and/or Fall |
| Annual Flowers | Incorporation into planting holes or beds | Mix 1/3 compost with 2/3 soil in planting hole; or 2-3 inches incorporated into beds | Once during planting; top dress with 1 inch every 4-6 weeks if needed |
| Perennial Flowers & Shrubs | Top Dressing | 2-3 inches spread around base, out to the drip line | Spring or Fall |
| Trees | Top Dressing | 2-4 inches spread from the trunk out to the drip line | Annually in Spring or Fall |
| Lawns | Top Dressing (thinly) | 1/4 – 1/2 inch spread and raked in | Fall or Spring |
| Container Plants | Mixed into potting soil | 25-50% compost mixed with other potting media (e.g., coco coir, perlite). Adjust based on plant needs. | With each repotting |
Always observe your plants. If they look vigorous and healthy, you’re likely doing something right! If they seem to be struggling, a little extra compost might be just what they need.
Tips for Success and Common Pitfalls
Even with the best intentions, sometimes things don’t go perfectly. Here are some tips to ensure your organic compost training is a success and a few common issues to watch out for.
Tips for Success:
- Use FINISHED Compost: This is crucial! Unfinished compost can still be acidic, contain weed seeds, or even attract pests. It should be dark, crumbly, and smell like earthy forest floor, not like garbage.
- Don’t Overdo It: More isn’t always better. Applying excessive amounts of compost can sometimes lead to nutrient imbalances or overly wet soil. Stick to the recommended rates.
- Know Your Plants: Some plants are heavy feeders and love lots of compost, while others prefer leaner conditions. Research your specific plants’ needs.
- Combine with Other Organic Practices: Compost works best as part of a holistic approach, including mulching, crop rotation, and avoiding harmful chemicals.
- Observe and Adjust: Your garden will tell you what it needs. Pay attention to leaf color, growth rates, and overall plant health.
Common Pitfalls to Avoid:
- Using “Hot” or Unfinished Compost: As mentioned, this can harm plants. Patience is key in composting!
- Applying Compost Too Close to Stems: This can encourage rot, especially in humid weather. Always leave a small gap.
- Compacting Soil by Walking on Wet, Composted Beds: This negates the benefits of compost. Work on beds when they are moist but not waterlogged.
- Ignoring Weed Seeds: If your compost was made from diseased plants or weeds that went to seed, you might be introducing problems. Using mature, well-managed compost minimizes this risk.
- Compost Runoff: If you over-apply compost on slopes, especially during heavy rain, it can wash away and potentially pollute waterways. Apply thoughtfully. For more on preventing soil erosion and runoff, check out resources from the
Related Posts


I am passionate about home engineering. I specialize in designing, installing, and maintaining heating, ventilation, and air conditioning systems. My goal is to help people stay comfortable in their homes all year long.