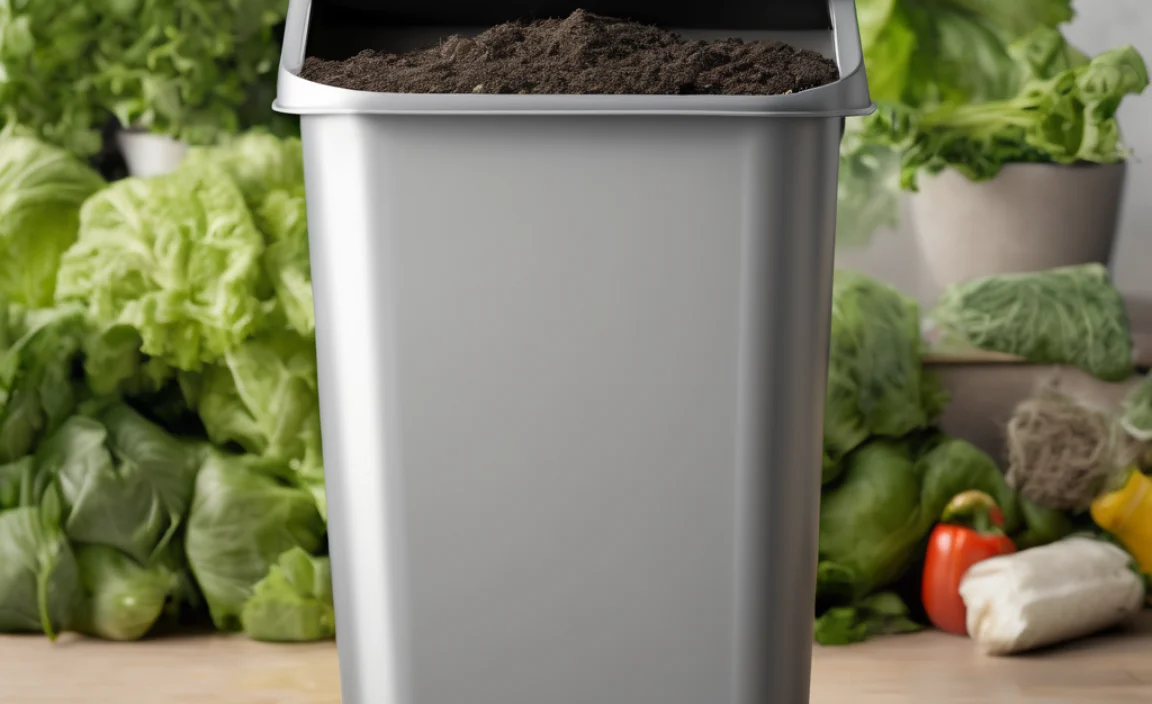
As a homeowner, you want rich soil for your garden. Compost is the answer, but how much do you actually need? Dealing with kitchen scraps and yard waste can create a mountain of organic material. Figuring out the right amount for your pit composter might seem tricky. It’s easy to feel overwhelmed. But don’t worry, I’m here to help! We’ll break down exactly how to estimate what goes into your composter. Get ready to understand your composting needs like never before.
Pit Composting Calculator: Your Genius Shortcut to Perfect Soil
Hey there, fellow garden enthusiasts and DIY home helpers! Troy D Harn here from TopChooser. You know, I love a good project around the house, and gardening is high on that list. Nothing beats the satisfaction of growing your own food or seeing those flowers bloom vibrantly. And the secret ingredient? Awesome soil. Compost is like black gold for your garden beds, and pit composting is a fantastic, low-tech way to make it.
But here’s the thing: jumping into pit composting without a little planning can be… well, messy. You might end up with a pile that’s too big, too small, or just not breaking down right. That’s where knowing your numbers comes in. And that’s exactly what a pit composting calculator is for. It might sound a bit techy, but trust me, it’s your friendly guide to composting success.
Stick with me, and I’ll walk you through what a pit composting calculator is, why you absolutely need one, and how to use it like a pro. We’ll make sure you’re set up for a beautiful, bountiful garden, starting with the best compost possible.
What Exactly is a Pit Composting Calculator?
Let’s demystify this tool! A pit composting calculator isn’t some fancy piece of machinery. It’s really just a way to estimate the volume of materials you’ll be adding to your compost pit, and sometimes, it helps you balance the “greens” (nitrogen-rich stuff) and “browns” (carbon-rich stuff) that are crucial for efficient composting. Think of it as a handy helper to figure out:
- How much space your compost pit needs.
- How much of each type of material to add to keep things cooking.
- How long it might take to get finished compost.
In essence, it takes the guesswork out of composting. Instead of just throwing everything in and hoping for the best, you gain a clearer picture of what’s happening in your compost pit. This means faster decomposition, fewer smells, and better quality compost for your plants.
Why is a Pit Composting Calculator Essential?
You might be thinking, “Can’t I just eyeball it?” Sure, you can. But why make things harder than they need to be? Here’s why using a calculator is a smart move:
- Efficiency: Composting is all about a delicate balance. Too much of one thing can slow down the whole process or create unpleasant odors. A calculator helps you strike that perfect “greens to browns” ratio.
- Volume Management: Knowing your potential compost volume helps you size your pit correctly from the start. No one wants a compost pit that’s constantly overflowing or too sparse to work effectively.
- Time Savings: Properly balanced compost breaks down much faster. This means you get that valuable soil amendment sooner, ready for your garden.
- Reduced Hassle: A well-managed compost pit is less likely to attract pests or become a soggy, smelly mess. A little planning goes a long way!
- Better Compost Quality: The right mix of materials leads to nutrient-rich compost that your plants will absolutely love.
For beginners, this tool is a lifesaver. It takes the complexity out and replaces it with simple, actionable information. You’ll feel more confident and achieve better results right from your first batch.
How to Use a Pit Composting Calculator: A Step-by-Step Guide
Alright, let’s get practical. Using a pit composting calculator is usually pretty straightforward, especially if you’re using an online tool or a simple chart. Here’s how you’ll typically use one:
Step 1: Estimate Your Material Input
This is the most important step. You need to get a rough idea of how much organic waste you generate over a certain period, like a week or a month. Think about:
- Kitchen Scraps: Fruit and vegetable peels, coffee grounds, tea bags, eggshells. Try to estimate how many pounds or gallons of this you toss out weekly.
- Yard Waste: Grass clippings, leaves, small twigs, garden trimmings. Again, estimate the volume. A good way to think about this is in terms of garbage bags or bins.
- Other “Greens”: Things like newspaper, cardboard, sawdust, shredded paper (though these verge more on “browns” depending on how they’re used, they add nitrogen if you’re adding too many browns or if they’re printed with soy ink).
- “Browns”: Dry leaves, straw, shredded cardboard or paper bags, small twigs, wood chips. These are crucial for carbon and aeration.
Pro Tip: Keep a small notebook near your kitchen bin and your yard waste area for a week. Jot down estimates of what you’re throwing away. This will give you the most accurate starting data.
Step 2: Measure Your Material Quantities (Roughly)
Most calculators will ask for quantities in volume (like cubic feet or gallons) or weight (pounds or kilograms). If you don’t have a scale handy (and who does for kitchen scraps?), volume is usually easier. For example, a standard kitchen trash bag might hold about 2 cubic feet, and a large yard waste bag could be 3-4 cubic feet. For liquids like grass clippings, you might estimate by the layer in a bin.
Step 3: Identify Your “Greens” and “Browns”
This is the core of balanced composting. A compost calculator often prompts you to categorize your waste:
- Greens (Nitrogen-rich): These are typically wet, soft materials that break down quickly. Examples include:
- Fruit and vegetable scraps
- Coffee grounds and filters
- Tea bags
- Grass clippings (fresh)
- Plant trimmings (non-woody)
- Browns (Carbon-rich): These are dry, bulky materials that provide carbon and help with aeration, preventing the pile from becoming a smelly, anaerobic mess. Examples include:
- Dry leaves
- Straw
- Shredded newspaper and cardboard (uncoated, non-glossy)
- Sawdust (from untreated wood)
- Small twigs and wood chips
A good rule of thumb for balancing is often a ratio of about 2 parts Browns to 1 part Greens by volume. Some calculators will guide you on this ratio directly.
Step 4: Input Data into the Calculator
Now, plug your estimated quantities of greens and browns into the calculator. This could be an online tool where you enter numbers in specific boxes, or it might be a table you fill out manually.
For example, an online calculator might have fields like:
- Estimated weekly kitchen scraps (gallons): [___]
- Estimated weekly grass clippings (gallons): [___]
- Estimated weekly dry leaves (cubic feet): [___]
- Estimated weekly cardboard/paper (cubic feet): [___]
Step 5: Review the Results
The calculator will then do its magic. It might provide you with:
- Recommended Pit Size: Based on your estimated weekly input, it can suggest the minimum dimensions for your compost pit.
- Ideal “Greens” to “Browns” Ratio: It will tell you if you’re adding the right balance or if you need more of one than the other.
- Material Adjustments: It might suggest adding more dry leaves (browns) if you’re heavy on kitchen scraps (greens) to avoid a smelly pile.
- Estimated Decomposition Time: Some advanced calculators can give you a ballpark figure of how long it will take to turn trash into treasure.
Step 6: Adjust Your Composting Habits
Use the calculator’s output to refine your composting process. If you’re generating too much “green” material, try to add more carbon-rich brown materials to your pit. If you don’t have enough greens, you might need to be more diligent about collecting kitchen scraps or find a local source.
If the calculator indicates your pit needs to be larger than you initially planned, it’s better to know that now. You can always start with a smaller pit and manage it more carefully, or plan for a larger excavation. Remember, proper sizing aids in faster decomposition and less handling.
Types of Pit Composting Calculators
While the core function is the same, you’ll find pit composting calculators in a few different formats, each with its own pros and cons:
Online Calculators
These are super convenient. You just search for “pit composting calculator” and find a website that offers one. They are usually interactive, asking you questions about your waste and preferences.
Pros:
- Easy to access and use.
- Often provide instant results and detailed recommendations.
- Can be updated with the latest composting science.
Cons:
- Requires internet access.
- Results might be generic if the calculator isn’t tailored to specific climates or composting styles.
For a good example of a comprehensive composting resource that touches on calculations, you can look at university extension offices. For instance, the Oregon State University Extension often has practical guides for home composting, which can inform your estimates.
Spreadsheet Calculators (DIY or Downloadable)
Many serious gardeners and composting enthusiasts create their own spreadsheets or find downloadable templates online. These can be customized but require a bit more technical skill.
Pros:
- Highly customizable.
- You can tweak formulas to match your specific needs.
- Once set up, it’s quick to update.
Cons:
- Requires spreadsheet software (like Excel or Google Sheets).
- Setting it up can be time-consuming if you’re not familiar with spreadsheets.
Printable Charts and Worksheets
These are like a low-tech version of an online calculator. You might find charts that show ratios of materials or worksheets where you manually calculate volumes and ratios.
Pros:
- No internet or software needed.
- Can be handy to have printed near your compost bin for quick reference.
Cons:
- Less dynamic than online tools or spreadsheets.
- Calculations are entirely manual, increasing the chance of errors.
The “Rule of Thumb” Method (Less of a Calculator, More of a Guideline)
Some experienced composters rely on general guidelines. The most common is aiming for a 2:1 or 3:1 ratio of browns to greens by volume. While not a calculator, understanding these ratios is what a calculator helps you achieve.
Pros:
- Very simple to remember.
- Effective for many common composting scenarios.
Cons:
- Less precise.
- Doesn’t account for the wide variety of materials or their moisture content.
Factors Affecting Your Compost Calculator Estimates
It’s important to remember that any calculator is a tool; it provides estimates. Several factors can influence your actual composting success and the figures you plug in:
| Factor | Impact on Calculation | How to Adjust |
|---|---|---|
| Moisture Content | Wet materials (like fresh grass clippings) are heavier and take up more volume than dry materials (like leaves) for the same weight. This affects your volume estimates profoundly. | When estimating volume, consider if the material is wet or dry. A “wet” volume of grass clippings might be half the “dry” volume of leaves to achieve a similar C:N ratio balance. |
| Material Density | Bulky items like twigs take up a lot of space but are mostly air. Finely shredded materials pack more densely. | Shredding browns (like cardboard and leaves) can make them easier to handle and mix, but will increase their packed volume. For calculations, consider the “fluffed” volume for better aeration. |
| Season/Climate | Composting happens much faster in warm weather than in cold. Your calculator might not account for this directly, but it influences how quickly your compost will be ready. High humidity can also affect material moisture. | In colder climates, you may need to start with a larger volume of material to generate enough heat for decomposition. Insulating your pit can help. |
| Pit Size and Aeration | A smaller pit might require more frequent turning to get air in. An unlined pit can lose moisture faster. | If your calculator suggests a size, and you have constraints, remember that aggressive turning and monitoring moisture are key to success with smaller or less ideal setups. A well-aerated compost pile (EPA guidance on composting mentions aeration as vital) decomposes faster. |
| Particle Size | Smaller pieces break down faster because they have more surface area exposed to microbes. | Chop up larger scraps (rind of watermelon, tough stalks) and shred cardboard/paper for quicker breakdown. This will slightly skew your volume measurements if not done consistently. |
Don’t get too bogged down by these variables initially. The goal of the calculator is to give you a solid starting point. As you compost more, you’ll develop an intuitive sense for what works best in your yard.
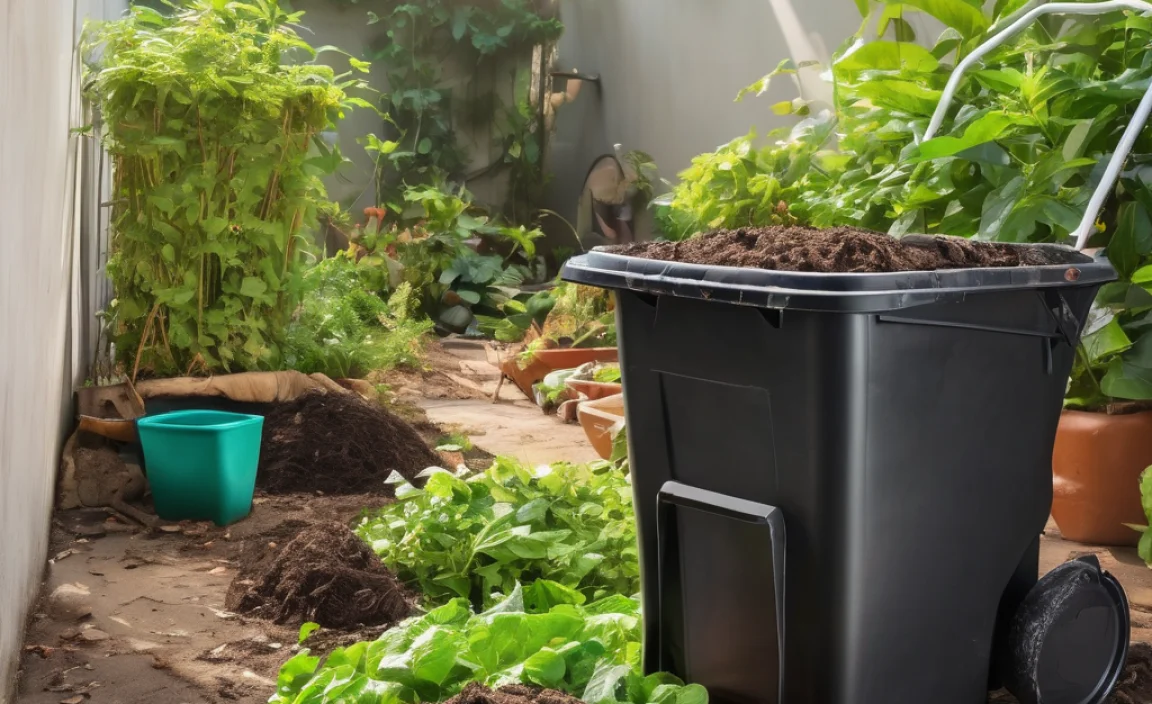
DIY Pit Composter Design Considerations
Before you even use a calculator, you need a pit! Pit composting is the simplest form of composting, where you dig a hole or trench in your garden to bury organic waste. It’s great because it’s out of sight and directly enriches the soil where it’s buried.
Choosing Your Location
- Accessibility: Make sure you can easily get to it with your kitchen scraps and yard waste.
- Drainage: Avoid low-lying areas that fill with water during rain. Composts need moisture, but not to be waterlogged.
- Sunlight: A partially shaded spot is often ideal. Too much sun can dry it out too quickly, while deep shade might slow decomposition in cooler climates.
- Distance: Keep it a reasonable distance from your house, but not so far that it becomes a chore to get to.
Digging Your Pit
The calculator will help you determine the ideal size, but here are some general tips for digging:
- Depth: Aim for at least 2-3 feet deep. This helps insulate the compost and prevent pests.
- Width/Length: This will depend on your calculator’s output, but 3×3 feet is a common size for a batch. For a continuous pit (like a trench), you can make it longer.
- Lining (Optional): For better containment, you can line your pit with wire mesh (hardware cloth) to help deter rodents, or with untreated lumber. However, for a simple, beginner-friendly pit, unlined is fine.
Important Note on Pests: Pit composting, especially if you bury food scraps directly, can sometimes attract animals. Using a calculator helps ensure you’re not leaving too much exposed or unbalanced material. Always bury food scraps at least 8 inches deep under other organic material or soil. For advanced pest deterrence, consider fully enclosed tumblers or bins, though that moves away from simple pit composting.
Filling Your Pit
As you add materials, remember to layer your greens and browns. A common method is to add:
- A layer of bulky browns (twigs, straw) for aeration at the very bottom.
- A layer of greens (kitchen scraps, grass).
- A layer of browns (dry leaves, shredded paper).
- Repeat, aiming for that ideal ratio.
- Ideally, finish each “filling session” with a layer of browns to cover potentially attractant greens and help with odor control.
The calculator helps you know how much and in what proportion to do this over time.

I am passionate about home engineering. I specialize in designing, installing, and maintaining heating, ventilation, and air conditioning systems. My goal is to help people stay comfortable in their homes all year long.