Pit Composting Cost: Essential Savings Revealed
Hey there, neighbor! Got a pile of kitchen scraps and yard waste and wondering what to do with it? Maybe you’ve heard about composting but think it’s complicated or expensive. I get it! Lots of folks feel that way. But what if I told you composting can actually save you money and is simpler than you might think? We’re going to break down the cost, or more importantly, the savings, of pit composting. Stick around, and we’ll dig into how this eco-friendly method can benefit your wallet and your garden!
What is Pit Composting Anyway?
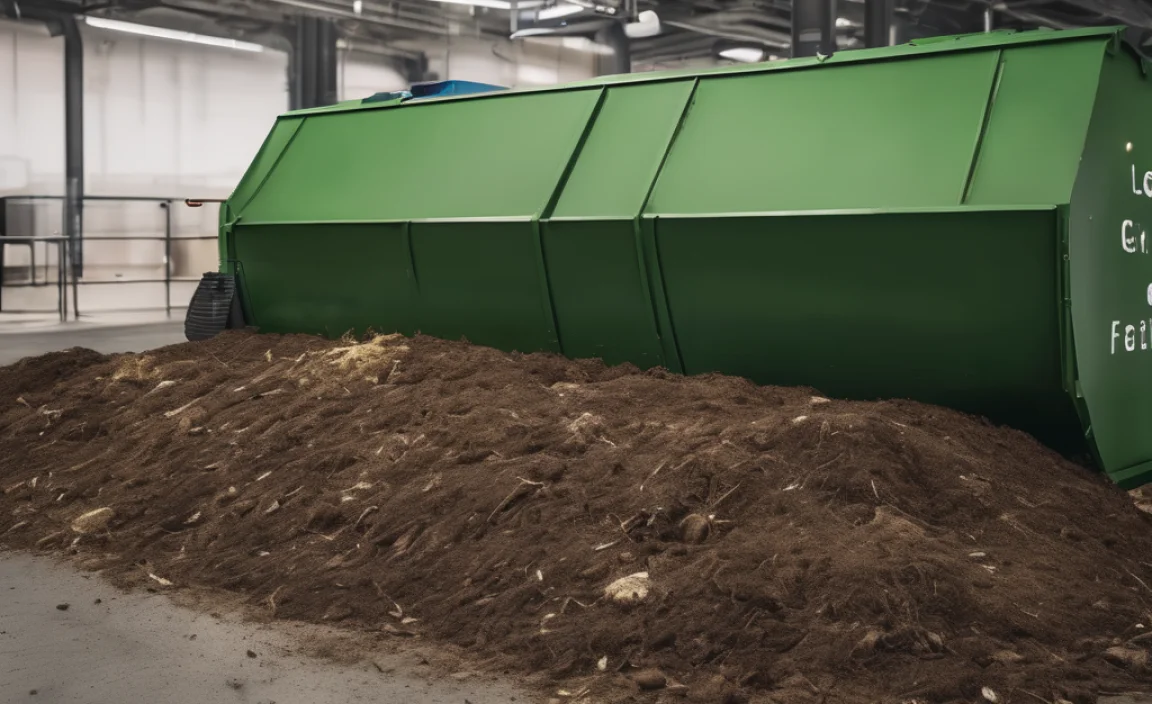
Pit composting, also known as in-ground composting, is one of the most straightforward ways to turn your organic waste into nutrient-rich compost. Unlike those fancy bins many people buy, pit composting doesn’t require much equipment. You simply dig a hole in your yard, add your compostable materials, and let nature do the work. It’s a fantastic option for beginners because it’s forgiving and requires minimal upfront investment. Plus, it’s a great way to enrich your soil directly where you need it most.
The Beauty of Budget-Friendly Composting

When we talk about composting costs, pit composting truly shines. The biggest draw is its incredibly low startup cost. Many composting methods involve buying bins, tumblers, or specialized tools. With pit composting, your primary “tool” is often already in your shed or garage: a shovel! This means you can start composting for next to nothing, making it one of the most cost-effective ways to manage waste and improve your garden.
Direct Savings on Waste Disposal
Think about your trash bill. In many areas, the more trash you produce, the more you pay. By diverting a significant portion of your household waste – kitchen scraps like vegetable peels, coffee grounds, and eggshells, along with yard waste like leaves and grass clippings – to a compost pit, you can potentially reduce your overall garbage volume. This reduction can lead to lower waste disposal fees if your municipality charges based on trash pickup frequency or volume. Even if you have a flat fee, reducing your trash output is a win for being more sustainable!
Free Fertilizer for Your Garden
This is where pit composting really pays off. Healthy soil is the foundation of a thriving garden. When you buy bagged fertilizers and soil amendments from a garden center, it can add up quickly. Pit composting creates a constant supply of rich, organic compost right in your backyard. This compost acts as a natural fertilizer and soil conditioner, improving soil structure, water retention, and nutrient content. Using your homemade compost means you’ll spend significantly less on store-bought fertilizers, saving you a good chunk of change season after season.
Reduced Need for Mulch
Finished compost also acts as a fantastic mulch when applied around plants. Mulch helps retain soil moisture, suppress weeds, and regulate soil temperature. By using your homemade compost, you can reduce or even eliminate the need to purchase wood chips, straw, or other mulching materials. This is another direct cost saving that adds up, especially if you have a large garden area to maintain.
Understanding the Pit Composting Cost Factors
While pit composting is largely free, there are a few minor considerations that could be considered “costs.” However, these are usually minimal and often involve items you might already own or can easily acquire.
Initial Setup Costs
The beauty of pit composting is that the initial setup is practically free. However, if you don’t have one, the basic tool you’ll need is a shovel or a digging fork. These are common garden tools, and if you need to buy one, the cost is a one-time expense:
| Item | Estimated Cost (USD) | Notes |
|---|---|---|
| Shovel or Digging Fork | $20 – $50 | A sturdy one will last for many years. Look for sales or consider a used option. |
| Gloves | $10 – $25 | Optional, but recommended for protecting your hands. |
| Optional: Garden Hose/Watering Can | $varies | For maintaining moisture if your site is dry. |
| Total Estimated Initial Cost: | $30 – $75 (if you need to buy tools) | For many, this cost is $0 if tools are already owned. |
As you can see, even if you need to purchase basic tools, the investment is very small compared to other gardening pursuits or waste management systems. Many people already have these tools for other yard work, making the actual out-of-pocket expense for starting pit composting absolutely zero.
Ongoing Costs: Minimal and Optional
Once your pit is established, there are virtually no ongoing costs associated with pit composting. The process is entirely natural. You don’t need to buy special activators or turners. The only “cost” might be your time, which is a small price to pay for the benefits you receive. If your compost pit dries out, you might use a bit of water from your hose, but this is typically negligible in terms of utility bills.
How to Start Your Pit Composting Journey: Step-by-Step
Ready to give pit composting a try? It’s easier than you think. Here’s how to get started:
Step 1: Choose Your Location
Find a spot in your yard that’s convenient for you to access but a bit out of the way. Ideally, pick a location with some sun and some shade – a mix is good for temperature regulation. Also, ensure it’s not too close to your house or neighbors’ property lines. Having it near your garden beds where you’ll eventually use the compost is a bonus!
Step 2: Dig Your Pit
Using your shovel, dig a hole. The size depends on how much compostable material you think you’ll produce. A good starting point is a pit that is about 3 feet wide and 3 feet deep. The depth is important: burying the compost helps retain moisture and heat, and it deters pests. You can make it as long as you like, depending on your needs.
Step 3: Start Adding Materials
Begin adding your compostable “greens” and “browns” to the pit.
Greens (Nitrogen-rich): Kitchen scraps (fruits, vegetables, coffee grounds, tea bags, eggshells), grass clippings, plant trimmings.
Browns (Carbon-rich): Dried leaves, straw, shredded newspaper or cardboard, small twigs.
It’s good to have a balance. Aim for roughly two parts browns to one part greens. Chop larger items into smaller pieces to help them break down faster.
Step 4: Bury and Layer
Each time you add fresh kitchen scraps (greens), cover them with a layer of yard waste or shredded paper (browns). This helps prevent odors and discourages pests like flies and rodents. You can also bury new additions directly into the existing material in the pit.
Step 5: Maintain Moisture
Your compost pile needs to be moist, like a wrung-out sponge. If it seems too dry, especially during hot weather, add a little water. If it gets too wet, add more brown materials to soak up excess moisture.
Step 6: Let it Decompose
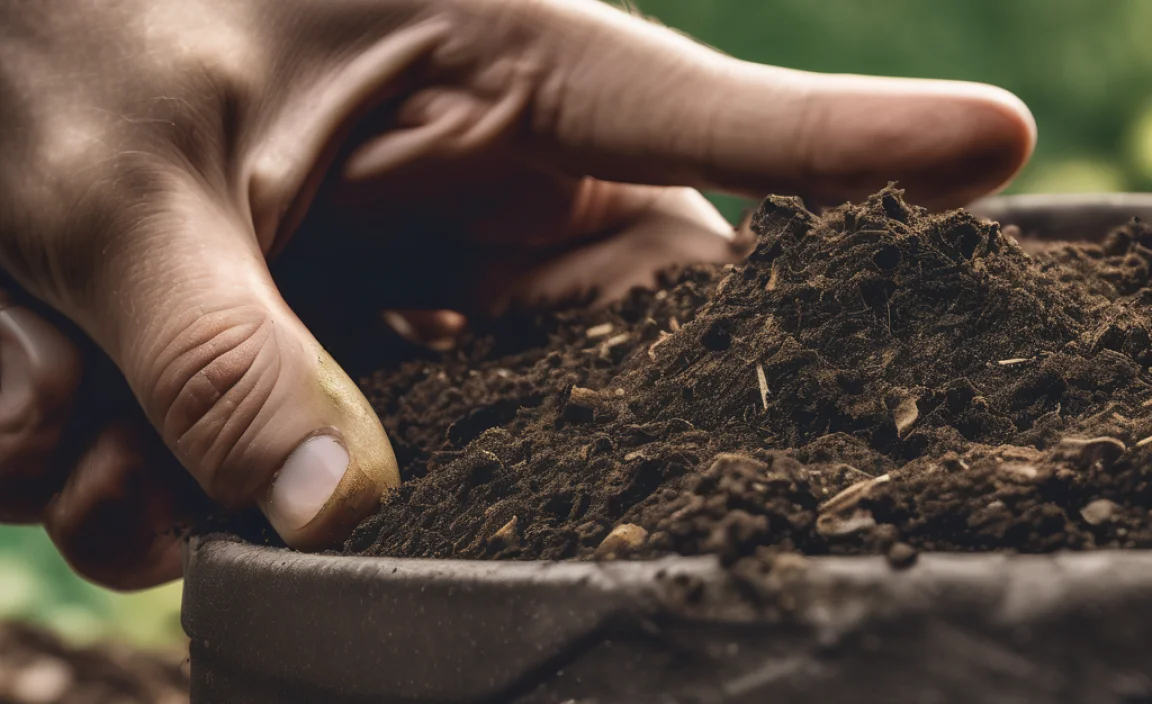
The magic of pit composting is that it’s largely a hands-off process. The microorganisms and earthworms will break down the material for you. Depending on the materials you add and the conditions, it can take anywhere from a few months to a year to produce finished compost. You’ll know it’s ready when it looks dark, crumbly, and smells earthy.
Step 7: Harvest and Use
Once the material at the bottom of the pit has decomposed into rich compost, you can start harvesting it. You can dig down to the bottom of the pit or use a pitchfork to scoop out the finished compost. You can then apply it directly to your garden beds, around trees and shrubs, or mix it into potting soil. You can continue adding new materials to the top as you harvest from the bottom, creating continuous composting.
Pit Composting vs. Other Methods: Cost Comparison
Let’s look at how pit composting stacks up against other popular composting methods in terms of cost.
| Composting Method | Estimated Initial Cost | Estimated Ongoing Cost | Pros (Cost-Related) | Cons (Cost-Related) |
|---|---|---|---|---|
| Pit Composting | $0 – $75 (if buying tools) | $0 | Extremely Low Startup, No ongoing costs, Uses existing space. | Requires yard space, Slower decomposition if not managed well. |
| Compost Bins (Plastic/Wood) | $75 – $300+ | $0 – $25 (for occasional activators) | Contains materials neatly, Can look tidier. | Higher upfront cost, May require more active turning. |
| Compost Tumblers | $150 – $400+ | $0 – $25 (for occasional activators) | Faster composting due to easy turning, contained. | Highest upfront cost, Smaller batch sizes often. |
| Worm Composting (Vermicomposting) | $50 – $150 (for bin and worms) | $20 – $50/year (for worm food like bedding) | Excellent for indoor composting, Produces high-quality castings. | Requires specific care for worms, Initial cost for worms. |
As this table shows, pit composting is the undisputed champion when it comes to minimizing upfront costs. It leverages what you already have and a simple process to deliver valuable garden amendments without breaking the bank. For budget-conscious gardeners, it’s often the best choice.
Maximizing Your Savings with Pit Composting
To get the most bang for your buck with pit composting, consider these tips:
- Use Everything You Can: Be diligent about collecting all your kitchen scraps (avoiding meat, dairy, and oily foods) and yard waste. The more you compost, the less you’ll need to buy.
- Layer Wisely: A good mix of greens and browns is key to efficient breakdown. This ensures a faster composting cycle, meaning you get usable compost sooner, which means you can “replenish” your garden nutrients faster, and save money on fertilizers sooner.
- Cover Your Pit: While not strictly necessary, a simple cover (like a piece of old carpet or a tarp secured on top) can help retain moisture and heat, speeding up decomposition. This means you get your valuable compost faster, allowing you to stop buying bagged amendments sooner.
- Patience is a Virtue (and a Cost Saver): Don’t rush the process. Letting your compost fully mature ensures it’s rich in nutrients and beneficial microbes. This results in a higher quality product for your garden, reducing the need for any supplementary store-bought products.
- Share Your Bounty: If you produce more compost than you need, consider sharing it with neighbors or community gardens. This spreads good will and reduces waste even further.
Understanding Compostable Materials: A Quick Guide
To compost effectively, it’s helpful to know what to add and what to avoid. Remember the “greens” and “browns” rule!
What to COMPOST (Greens – Nitrogen):
- Fruit and vegetable scraps
- Coffee grounds and filters
- Tea bags
- Eggshells (crushed)
- Grass clippings (in thin layers)
- Plant trimmings (non-diseased)
- Weeds (before they go to seed)
What to COMPOST (Browns – Carbon):
- Dried leaves
- Straw or hay
- Shredded newspaper and cardboard (avoid glossy paper)
- Sawdust (from untreated wood)
- Small twigs and wood chips
- Pine needles (in moderation)
What to AVOID:
- Meat, fish, and bones
- Dairy products
- Oily or greasy foods
- Diseased plants
- Weeds with mature seeds
- Pet waste (dog/cat feces)
- Treated wood or sawdust
- Coal ash/charcoal briquettes
Avoiding the “avoid” list is crucial, especially for pit composting. These items can attract pests, create foul odors, and introduce harmful pathogens or chemicals into your compost, making it unusable and potentially harmful for your garden. Sticking to plant-based materials ensures a safe and beneficial end product.
FAQs About Pit Composting Costs
Do I really need to buy anything to start pit composting?
Nope! The beauty of pit composting is that you often only need a shovel, which many people already have. If you don’t, a basic shovel costs between $20-$50, a one-time purchase that will serve you for years. So, the actual cost can be $0!
Will my trash bill go down if I start pit composting?
Possibly! If your local waste management charges by volume or pickup frequency, reducing the amount of trash you put out can lead to savings over time. It’s a great indirect way to save money.
How much money can I realistically save on fertilizer?
It varies greatly depending on your garden size and how much you traditionally spend on fertilizers and soil amendments. However, converting all your organic waste into nutrient-rich compost can easily save you hundreds of dollars over a few years, as you’ll significantly reduce or eliminate your need to buy them.
Are there hidden costs to pit composting?
No, pit composting is remarkably free of hidden costs. The process relies on natural decomposition. The only “cost” is your time to add materials and, if needed, water. There are no ongoing purchases required.
How long does it take for pit compost to be ready?
This can vary, but typically it takes anywhere from 3 months to a year. Factors like the mix of materials, moisture levels, and temperature play a role. Faster decomposition means you get your free fertilizer sooner, leading to quicker savings on store-bought products.
Can I use any old container instead of digging a pit?
Yes, you can! If digging is not an option, you can create a similar pit composting system using a large, sturdy container like an old trash can (with drainage holes drilled in the bottom) or a wooden structure you build yourself. The principle of burying and decomposing remains the same. The cost would then
Related Posts
- How to Fix Towel Hanger: Easy DIY Fix!
- Hotel Composting: Optimal Temperature Tips for Success
- Will Grass Grow Back After Dog Urine? Get the Fix!
- Boost Your Garden with Worm Composting Calculator!


I am passionate about home engineering. I specialize in designing, installing, and maintaining heating, ventilation, and air conditioning systems. My goal is to help people stay comfortable in their homes all year long.