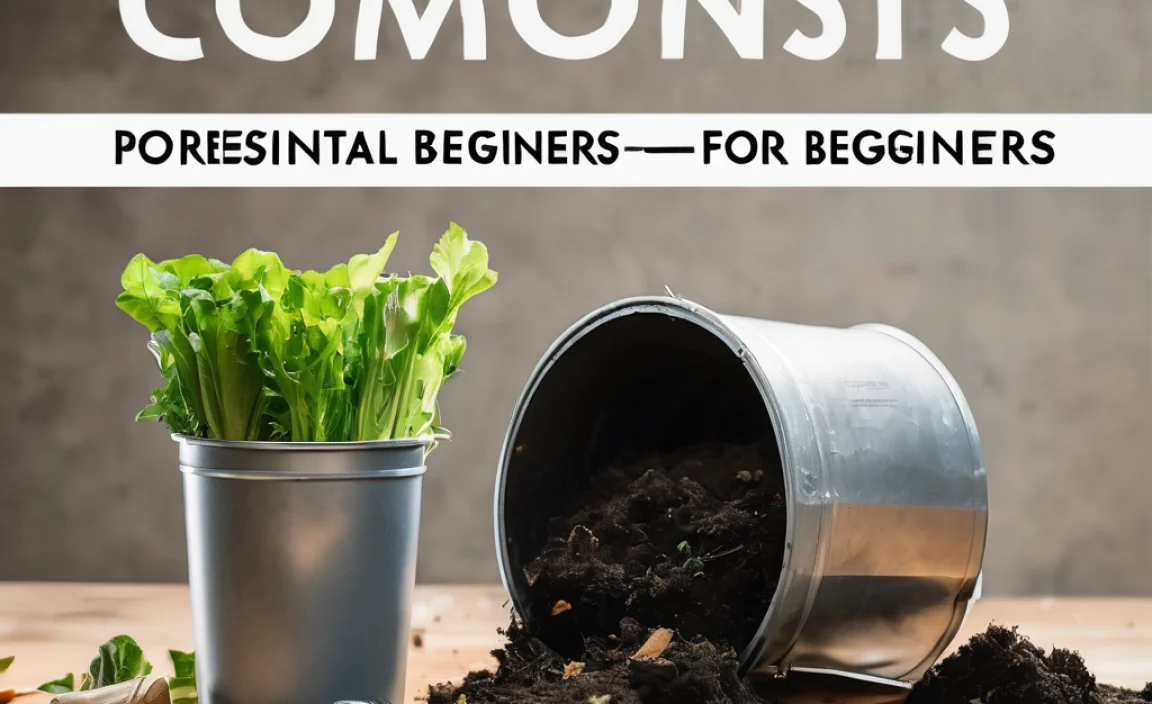
Tired of tossing food scraps and yard waste into the trash? Wish you could turn that waste into something amazing for your garden? You’re not alone! Many of us want to compost, but the thought of complicated bins or smelly piles can be a headache. This guide is here to help. We’re going to break down how to start pit composting, the simplest way to create nutrient-rich soil, without needing fancy equipment. Get ready to transform your yard waste into garden gold!
What is Pit Composting, Anyway?
Think of pit composting as nature’s way of recycling, but with a little help from you. It’s a method where you bury organic materials directly into the ground. Instead of building a compost bin above ground, you dig a hole or pit and layer your “greens” and “browns” (we’ll get to that!) right into it. Microorganisms, worms, and other helpful critters in the soil do the hard work of breaking it all down into rich compost.
It’s a super straightforward approach to composting that’s perfect for beginners. You don’t need to buy expensive bins or worry about turning piles. The ground itself becomes your compost container! This makes it an ideal solution if you have a decent amount of space in your yard and are looking for a low-effort way to manage organic waste.
Why Pit Composting is a Great Choice for Beginners
If you’re just dipping your toes into the world of composting, pit composting has a lot going for it:
- Simplicity: Seriously, it’s just digging and burying. No complex instructions.
- Low Cost: You likely already have a shovel. No need to buy special bins or equipment.
- Less Odor Potential: Burying your waste helps contain smells, keeping your yard pleasant.
- Natural Integration: Your compost enriches the soil where it’s made, directly benefiting the ground.
- Space Saving (Sort Of): While you need space for the pit, you don’t have a big visual structure taking up yard space.
It’s a fantastic way to reduce landfill waste while creating a natural fertilizer for your plants, flowers, and veggies. Plus, it’s kind of a secret weapon for your garden, revitalizing the soil over time without you having to do much manual labor.
Understanding the “Green” and “Brown” Ingredients
Just like baking a cake, composting requires the right ingredients. In the composting world, we talk about “greens” and “browns.” Getting this balance right is key to efficient decomposition. Think of it as feeding your compost pile!
Greens (Nitrogen-Rich Materials)
Greens are generally moist, nitrogen-rich materials. They provide the “fuel” for the microorganisms that break down your compost. Think fresh and vibrant:
- Fruit and vegetable scraps (peels, cores, wilted produce)
- Coffee grounds and tea bags
- Grass clippings (in thin layers to avoid matting)
- Plant trimmings (non-woody, green leaves and stems)
- Eggshells (crushed)
Greens break down quickly and can add moisture to your compost. However, if you add too many greens without enough browns, your compost can become slimy and smelly.
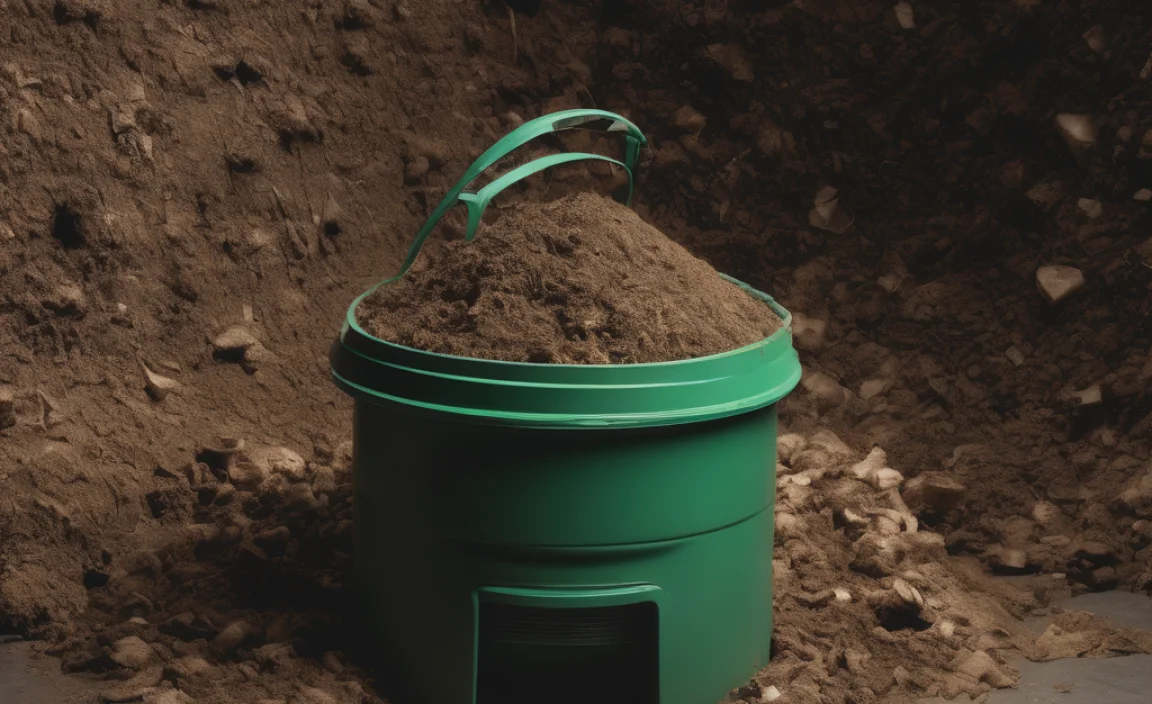
Browns (Carbon-Rich Materials)
Browns are typically dry, carbon-rich materials. They provide bulk and aeration to your compost, preventing it from becoming too dense and helping it “breathe.” Think dry and woody:
- Dried leaves
- Straw or hay
- Shredded newspaper or plain cardboard (avoid glossy paper or colored inks that might be toxic)
- Twigs and small branches (chopped or shredded)
- Sawdust from untreated wood
- Paper towels and soiled napkins (if not contaminated with harsh chemicals)
Browns are essential for balancing the moisture and air in your compost. Without enough browns, your compost can become waterlogged and anaerobic, leading to unpleasant odors.
The Ideal Ratio
While it’s not an exact science, a good rule of thumb for successful composting is to aim for a C:N (carbon-to-nitrogen) ratio of about 25:1 to 30:1. In simpler terms, this often translates to roughly 2 to 3 parts Browns to 1 part Greens by volume.
Don’t get too hung up on precise measurements. The goal is to have a good mix. If your compost seems too wet and smelly, add more browns. If it seems dry and isn’t breaking down, add more greens and a bit of water.
What You Can and Cannot Compost in a Pit
Knowing what to add is crucial for healthy decomposition and to avoid attracting unwanted pests. Here’s a quick rundown:
Compostable Materials (Your Garden’s Best Friends)
- All the “greens” and “browns” listed above
- Finished compost from a previous batch (to inoculate the new one)
- Weeds that haven’t gone to seed (weeds with seeds can still sprout!)
- Plant debris from healthy plants
- Food scraps (see what to avoid below)
Materials to Avoid (No Thanks!)
These items can cause problems for your compost, your garden, or attract pests:
- Meat, fish, bones, and dairy products: These attract rodents and other scavengers and can create foul odors.
- Fats, oils, and grease: They slow down decomposition and can also attract pests.
- Diseased plant matter: You don’t want to spread plant diseases in your garden. Toss these in the trash!
- Weeds that have gone to seed: Unless your pit gets very hot, seeds can survive and sprout in your garden later.
- Pet waste (dog and cat feces): These can contain pathogens that are harmful to humans.
- Chemically treated wood or yard waste: Pesticides and chemicals can harm beneficial microbes and contaminate your compost.
- Glossy or heavily inked paper/cardboard: The inks and coatings may not break down well or could be toxic.
- Coal or charcoal ash: Can contain sulfur and iron in amounts that can harm plants, and it doesn’t add nutrients.
When in doubt, it’s often best to err on the side of caution and compost only easily identifiable plant-based materials and kitchen scraps.
How to Set Up Your Pit Composting System: A Step-by-Step Guide
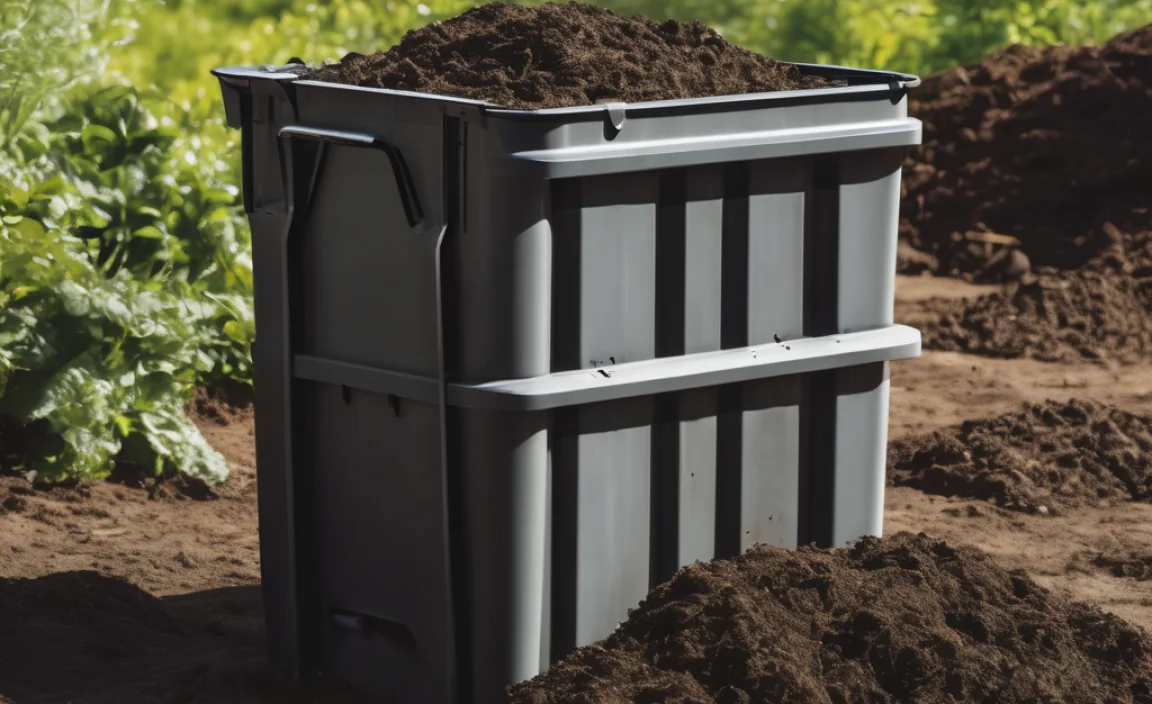
Ready to get your hands dirty? Pit composting is blessedly simple. Here’s how to do it:
Step 1: Choose Your Location
Find a spot in your yard that’s:
- Accessible: You’ll be adding to it regularly, so make sure it’s easy to get to from your kitchen and garden.
- Well-drained: You don’t want your compost pit to become a swimming pool after rain.
- Partially Shaded: Too much direct sun can dry out your compost too quickly, while deep shade might keep it too wet. A spot that gets morning sun and afternoon shade is often ideal.
- Away from Water Sources: Keep it at least 10 feet away from wells, streams, or septic systems to prevent potential contamination. Check your local regulations, as some areas have specific setback requirements for composting. The U.S. Environmental Protection Agency (EPA) offers guidelines on composting that can be helpful for understanding best practices.
Step 2: Dig Your Pit
This is where the “pit” in pit composting comes in! You can do this in a couple of ways:
- Option A: Single Pit. Dig a hole that’s about 3 feet deep and 3 feet wide. You can make it any shape you like, but a good size ensures decent aeration and heat generation.
- Option B: Two Pits Side-by-Side. Dig two pits next to each other, each about 3x3x3 feet. This is great if you want to have one pit you’re currently filling and another that’s actively decomposing or ready to use.
You don’t need to line the pit with anything unless your soil drainage is particularly poor. The soil itself will hold the compost. If you have very sandy soil, occasionally adding a layer of clay-rich soil might help retain moisture. Ensure the sides of your pit are sloped slightly inward or are vertical to prevent collapse.
Step 3: Start Adding Materials
Now for the fun part! Begin layering your organic “greens” and “browns” into the pit. Aim for that 2-3 parts brown to 1 part green ratio we talked about.
Layering Technique:
- Start with a base layer of coarse brown material, like small twigs or straw, at the bottom. This helps with drainage and aeration.
- Add a layer of greens (kitchen scraps, grass clippings).
- Cover the greens with a layer of browns (dried leaves, shredded paper).
- You can add a shovel-full of finished compost or garden soil between layers to introduce beneficial microorganisms.
- When adding kitchen scraps, try to bury them a bit within the other materials to deter pests.
Step 4: Maintain Moisture Levels
Your compost needs to be moist, but not soaked. Think of a wrung-out sponge. If your pit seems too dry, add some water. If it’s too wet, add more brown materials.
The best way to check is to grab a handful of the material from the middle of the pit and squeeze it. If only a drop or two of water comes out, it’s just right. If water streams out, it’s too wet. If it feels crumbly and dry, it needs more moisture.
Step 5: “Close” the Pit (Temporarily)
When your pit is about 3/4 full, or when you want to start decomposing a “batch,” cover the top layer with a thick layer of brown material (like leaves or straw). This helps retain moisture, keeps odors down, and deters pests.
If you’re using a single pit system, you’ll continue adding to it for a period. If you’re using two pits, once the first is full and covered, you can let it decompose while you start filling the second pit. This allows for continuous composting.
Step 6: The Waiting Game (and Optional Stirring)
Now, patience is key! Decomposition happens naturally. Microorganisms get to work, breaking down the organic matter.
- Temperature: A healthy compost pile can get warm in the center, which speeds up decomposition and kills weed seeds/pathogens. You might feel this warmth just by digging into it.
- Timeframe: Depending on the materials, moisture, and temperature, pit composting can take anywhere from 3 months to a year to yield usable compost.
- No Turning Needed (But Can Help): Unlike traditional compost bins where turning aerates the pile, pit composting relies on the soil and natural processes. However, if you want to speed things up significantly, you can dig into the pit every few weeks to mix things around. This is optional for pit composting!
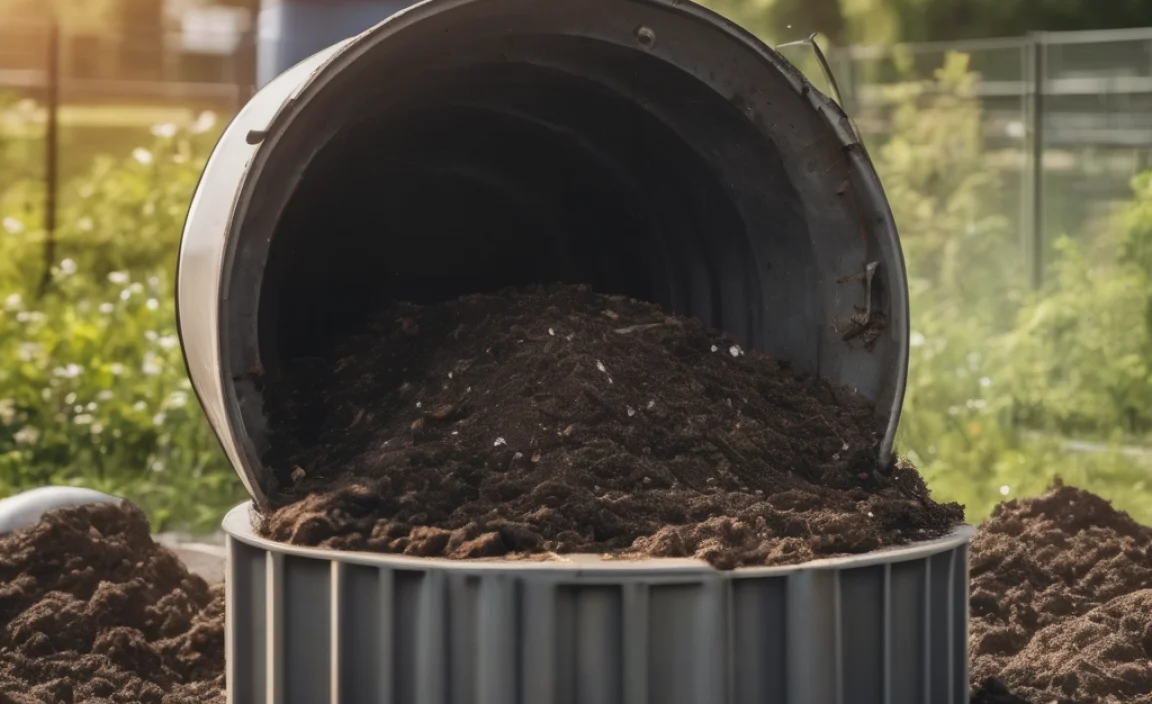
Step 7: Harvesting Your Compost
How do you know when it’s ready? Finished compost will look and smell like rich, dark soil. You won’t be able to identify the original materials (no recognizable food scraps or leaves).
For Single Pits: You can either dig down to the bottom and scoop out finished compost, or if you’ve filled it and let it sit for many months, you can simply dig the finished compost out from the bottom. It will naturally separate as it matures.
For Two Pits: The pit that has been left undisturbed the longest is likely ready. Simply dig out the dark, crumbly material from the bottom. The top layers might still be decomposing, so you can either continue adding to them or let them finish.
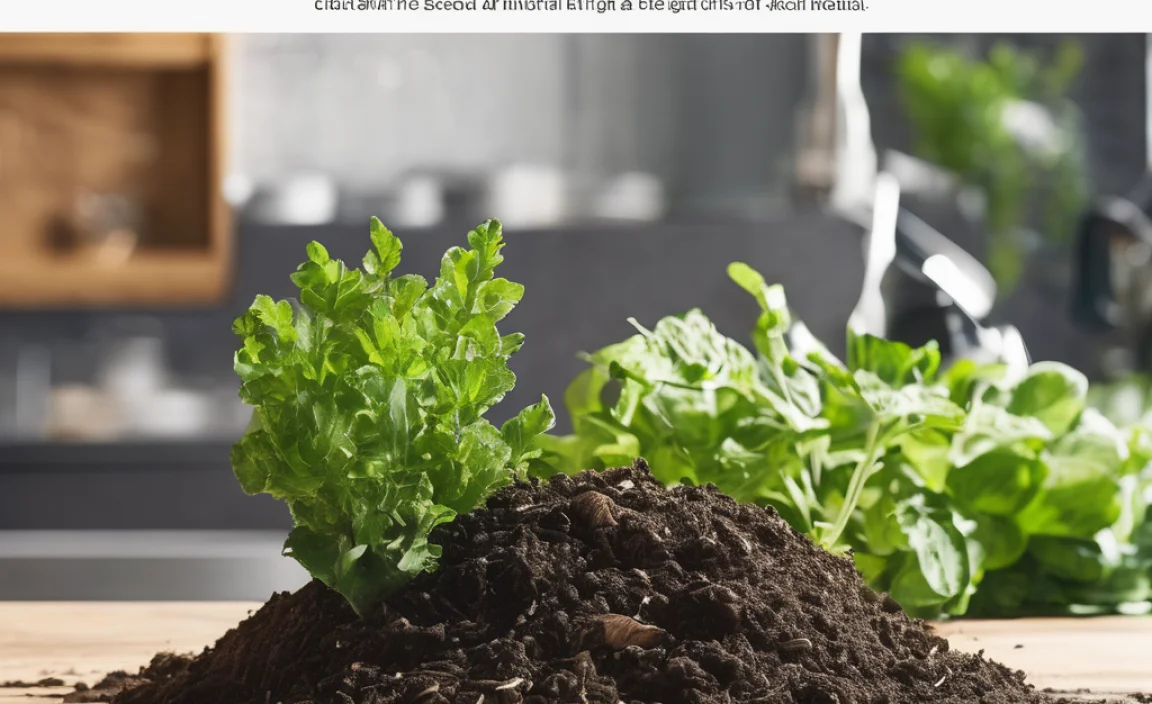
Sift the compost if you want a finer texture, removing any larger, undigested pieces to return to your active compost pit. Use your wonderful, homemade compost in your garden beds, around trees and shrubs, or in your vegetable patch!
Troubleshooting Common Pit Composting Challenges
Even with a simple method like pit composting, you might run into a few hiccups. Here’s how to fix them:
My Compost Pit Smells Bad!
Cause: Too much of the same material (usually greens), not enough air, or too wet.
Solution: Add more “brown” materials (leaves, shredded cardboard, straw) to balance the nitrogen and provide air. Make sure the materials are not compacted. Gently turn or fluff the pile if accessible, or add a thick layer of browns on top and a bit of soil.
My Compost Isn’t Breaking Down
Cause: Too dry, not enough “greens” (nitrogen), or the materials are too large.
Solution: Add water until it’s as moist as a rung-out sponge. Incorporate more nitrogen-rich “green” materials like fresh kitchen scraps or grass clippings. Chop larger items into smaller pieces to give decomposers a head start.
I’m Attracting Pests (Rodents, Flies, etc.)
Cause: Exposed food scraps, or including prohibited items like meat or dairy.
Solution: Always cover fresh kitchen scraps with a layer of “brown” material or soil. Make sure you are strictly avoiding meat, dairy, oils, and pet waste. If the problem persists and you continue to use a single pit, consider establishing a new pit in an even more secluded location.
Weeds Sprouting from My Compost
Cause: You added weeds that had gone to seed, or the pit didn’t get hot enough to kill the seeds.
Solution: Only add weeds that you know haven’t gone to seed. If you’ve had this problem consistently, consider a different composting method if weed seed viability is a major concern for you, or ensure your pit receives maximum sunlight if possible to generate higher temperatures. For pit composting, it’s often best to stick to garden trimmings from healthy plants.
Comparing Pit Composting to Other Methods
Pit composting is just one way to make compost. Here’s how it stacks up against a couple of other popular methods.
| Feature | Pit Composting | Compost Bins (Tumblers/Stationary) | Worm Composting (Vermicomposting) |
|---|---|---|---|
| Effort Level | Very Low | Medium (requires turning/aeration) | Medium (requires feeding worms, managing moisture) |
| Cost of Setup | Very Low (just a shovel) | Moderate to High ($50-$300+) | Low to Moderate ($30-$100+) |
| Speed of Composting | Slow to Medium (3-12+ months) | Medium to Fast (1-4 months, depending on type and effort) | Medium (steady production, but limited volume) |
| Odor Control | Good (especially when covered) | Good to Excellent (depends on design and maintenance) | Excellent (if managed correctly) |
| Space Requirements | Requires an open spot in the ground | Varies, can be compact or large | Can be done indoors, on balconies, or in small spaces |
| Pest Attraction | Potential risk if not managed with covers/proper materials | Low to Moderate (depends on bin design) | Low (when managed properly, avoids prohibited items) |
| Best For | Beginners, those with yard space, low-maintenance desired | Those who want faster compost, more control, or have limited space for a pit | Apartment dwellers, those who want compost for houseplants or small gardens, recycling kitchen scraps |
As you can see, pit composting shines when it comes to sheer simplicity and low cost. If you’re looking for a no-fuss way to start composting, it’s hard to beat. If you’re an impatient gardener eager for compost faster, or you don’t have yard space, other methods might be more suitable. For instance, stationary compost bins, which are essentially large containers, are also a popular choice, and the <a href=”https://catalog.extension.oregonstate.edu/ec1630″ target=”_blank

I am passionate about home engineering. I specialize in designing, installing, and maintaining heating, ventilation, and air conditioning systems. My goal is to help people stay comfortable in their homes all year long.