“`html
Pit Composting Time: Effortless Success
Tired of food scraps and yard waste piling up? Wondering how long it actually takes for your compost pile to be ready? Pit composting is a super straightforward method that turns your kitchen and garden discards into rich, valuable soil. It can feel like a black box, though, with many folks unsure about the timeline. Don’t worry, it’s easier than you think! This guide will break down pit composting time so you can get nutrient-rich compost without the guesswork.
We’ll cover what affects how quickly your compost cooks, how to speed things up, and what to look for when it’s ready. Let’s get your compost cooking!
What Exactly is Pit Composting?
Pit composting, also known as in-ground composting or trench composting, is one of the simplest ways to compost. Instead of building a pile above ground in a bin or on a surface, you dig a hole or trench directly in your garden soil. You then fill this pit with your compostable materials. The magic of decomposition happens right there, in the earth, with the help of soil microbes and earthworms.
This method is fantastic because it:
- Doesn’t require fancy bins or structures.
- Keeps your yard looking tidy by hiding the composting process.
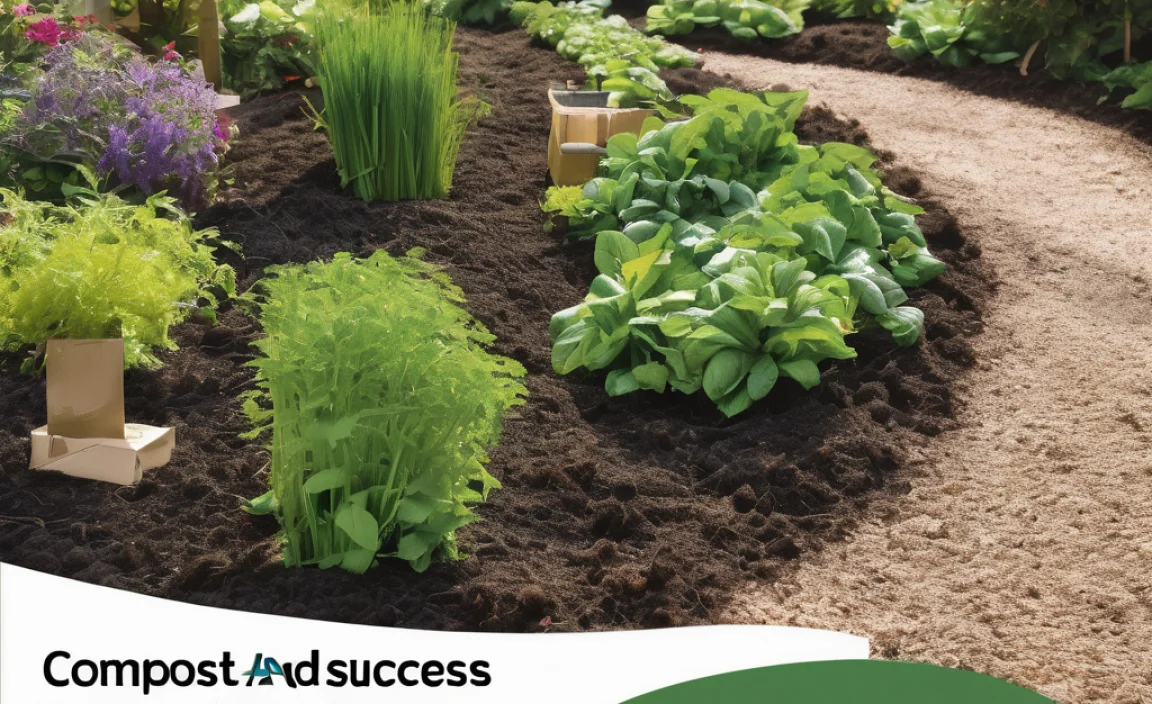
- Directly enriches the soil where it’s located, making it great for garden beds.
- Requires minimal turning or active management compared to other methods.
It’s a low-effort, high-reward way to manage waste and boost your garden’s health.
The Big Question: Pit Composting Time!
So, how long does pit composting take? This is where it gets interesting – there’s no single, fixed number. The “pit composting time” can range anywhere from 2 to 12 months, and sometimes even longer, depending on several key factors. Think of it less like a timer and more like a recipe where ingredients and conditions can change the cooking time.
The goal is to create an environment where microorganisms – bacteria, fungi, and actinomycetes – can thrive. These tiny helpers are the real composters. They break down organic matter, but they need the right conditions. When these conditions are met, your compost will break down much faster.
Factors Influencing Pit Composting Time
Let’s dive into what really makes the compost clock tick faster or slower:
- The Ratio of “Greens” to “Browns”: This is probably the most crucial element. Compost needs a good balance of nitrogen-rich materials (greens like kitchen scraps, grass clippings) and carbon-rich materials (browns like dry leaves, shredded cardboard, twigs). A common recommendation is a ratio of about 1 part greens to 2 or 3 parts browns. Too much green can make the pile slimy and smelly, while too much brown can slow decomposition way down.
- Particle Size: Smaller pieces break down faster because they have more surface area for microbes to work on. Tossing in whole watermelon rinds will take ages compared to chopped-up vegetable peels. Shredding or chopping your larger items makes a big difference.
- Moisture Content: Compost needs to be damp, like a wrung-out sponge. Too dry, and the microbes can’t reproduce and work effectively. Too wet, and the pile can become anaerobic (lacking oxygen), leading to stinky, slow decomposition.
- Aeration (Oxygen): Microbes need oxygen to do their job efficiently. While pit composting is less about active turning, ensuring some air can get into the pit is still important. Burying materials, especially “greens,” helps with this, and occasional poking with a stick can improve air circulation.
- Temperature: Compost piles generate heat as they decompose, especially “hot composting” piles. Higher temperatures can accelerate the breakdown process. Your pit’s location (sun vs. shade) and the season will influence this.
- Type of Materials: Some items break down much faster than others. Tender kitchen scraps and fresh grass clippings decompose relatively quickly. Tougher materials like woody branches, corn stalks, or large fruit pits will take much longer.
- Microbial Activity: The more diverse and active the microbial community in your pit, the faster the breakdown. Introducing some finished compost or garden soil can “seed” your pit with helpful microbes.
What to Compost (and What to Avoid)
Getting this right is key to efficient decomposition. Aim for a good mix! Here’s a quick guide:
Good to Compost (“Greens” & “Browns”):
- Greens (Nitrogen-rich):
- Fruit and vegetable scraps
- Grass clippings (in thin layers to avoid matting)
- Coffee grounds and tea bags
- Plant trimmings (non-diseased)
- Browns (Carbon-rich):
- Dry leaves
- Shredded newspaper or plain cardboard (no glossy inks)
- Straw and hay
- Small twigs and wood chips (chop them up!)
- Sawdust (from untreated wood, use sparingly to avoid matting)
Materials to Avoid:
- Meat, fish, and dairy products (can attract pests and create odors)
- Oily or greasy foods
- Diseased plants or weed seeds you don’t want to spread
- Pet waste (dog and cat feces can contain pathogens)
- Chemically treated yard waste or wood
- Large woody branches (take too long to break down)
How to Set Up Your Pit Composter for Faster Results
While pit composting is naturally hands-off, you can take a few simple steps to encourage quicker decomposition and achieve that coveted “ready” compost sooner. Think of these as helpful nudges for your compost microbes!
Step-by-Step Guide to Effortless Pit Composting
1. Choose Your Spot: Find a location in your garden that you can afford to lose as active planting space for a while. A spot that gets some sun is generally good, as it can help heat the pile. Avoid areas that get waterlogged. It’s often convenient to choose a spot near where you’ll use the compost, perhaps an area you plan to turn into a new garden bed.
2. Dig Your Pit: The size can vary based on your waste volume, but a pit that is at least 2-3 feet deep and 2-3 feet wide is a good start. You can also dig a trench if you prefer. The deeper you dig, the better it can insulate and retain moisture. If you’re near the University of Wisconsin-Madison, they have fantastic resources on composting basics that can provide further insight into decomposition processes: UW-Madison Extension Composting.
3. Start Layering: Begin by adding a layer of “brown” materials to the bottom. This helps with drainage and aeration. Then, start adding your kitchen scraps (“greens”) and other yard waste. The key here is to mix your greens and browns as you add them. Don’t just heap all your kitchen scraps in one go. Aim for that 1:2 or 1:3 ratio as best as you can.
4. Chop and Shred: As mentioned, smaller pieces mean faster breakdown. Take a moment to chop up large vegetable peels, shred cardboard, or break up twigs. This is one of the easiest ways to speed things up.
5. Maintain Moisture: After adding materials, especially dry browns, give the pit a good watering. You want it to be consistently moist but not soaking wet. If it rains a lot, you might need to cover it loosely to prevent it from becoming waterlogged. If it’s very dry, water it.
6. Bury Your Greens: To deter pests and manage odors, it’s a good practice to always cover your fresh kitchen scraps (“greens”) with a layer of “brown” material. This also helps keep the moisture balanced.
7. Add Air (Optional but helpful): Periodically, you can poke holes in the compost with a stick or garden fork. This isn’t as intensive as turning a hot compost pile, but it allows oxygen to reach the microbes.
8. Bury and Forget (Mostly): Once the pit is full, cover it with a final layer of browns (like leaves or straw) and a bit of soil. You can then start a new pit or simply stop adding to this one until it decomposes. You can plant directly over the pit after a few months if you bury it well, and roots will benefit from the enriching material.
The “Hot vs. Cold” Composting Speed Difference
Pit composting often leans towards “cold composting” because it’s so low-effort. Cold composting is slower but requires virtually no work. It can take 6 months to 2 years for materials to fully break down.
If you want to speed things up using your pit, you’ll need to be more mindful of the “hot composting” principles, even without a dedicated bin. This means:
- Achieving a better Green/Brown Ratio: Aim for that 1:2 or 1:3 ratio diligently.
- Smaller Particle Size: Chop and shred everything you can.
- Ensuring Moisture: Regular checks are key.
- Aeration: More frequent poking or a slightly less dense pit can help.
If you actively manage these factors, your pit composting time could be closer to the 2-4 month range, especially for the most perishable materials. However, for most beginners, a more relaxed approach leading to 6-12 months is perfectly normal and still yields excellent results.
Table: Pit Composting Time Estimates
This table provides a general idea based on management level. Remember, these are estimates!
| Management Level | Primary Factors Encouraged | Estimated Pit Composting Time | Comments |
|---|---|---|---|
| Minimal Effort (Cold Composting) | Adding materials, limited layering | 6-12+ months | Very hands-off, good for lazy gardeners. Some items may remain chunky. Great for soil improvement over time. |
| Moderate Effort (Warm Composting) | Good Green/Brown ratio, moisture checks, occasional aeration | 3-6 months | More active management. Produces compost for planting sooner. Still easy to manage. |
| Active Effort (Attempting Hot Composting) | Precise Green/Brown ratio, regular moisture, frequent aeration, smaller particle size | 2-4 months | Requires more attention. Best results for speedy compost. Might feel more like traditional composting. |
How to Tell When Your Pit Compost is Ready
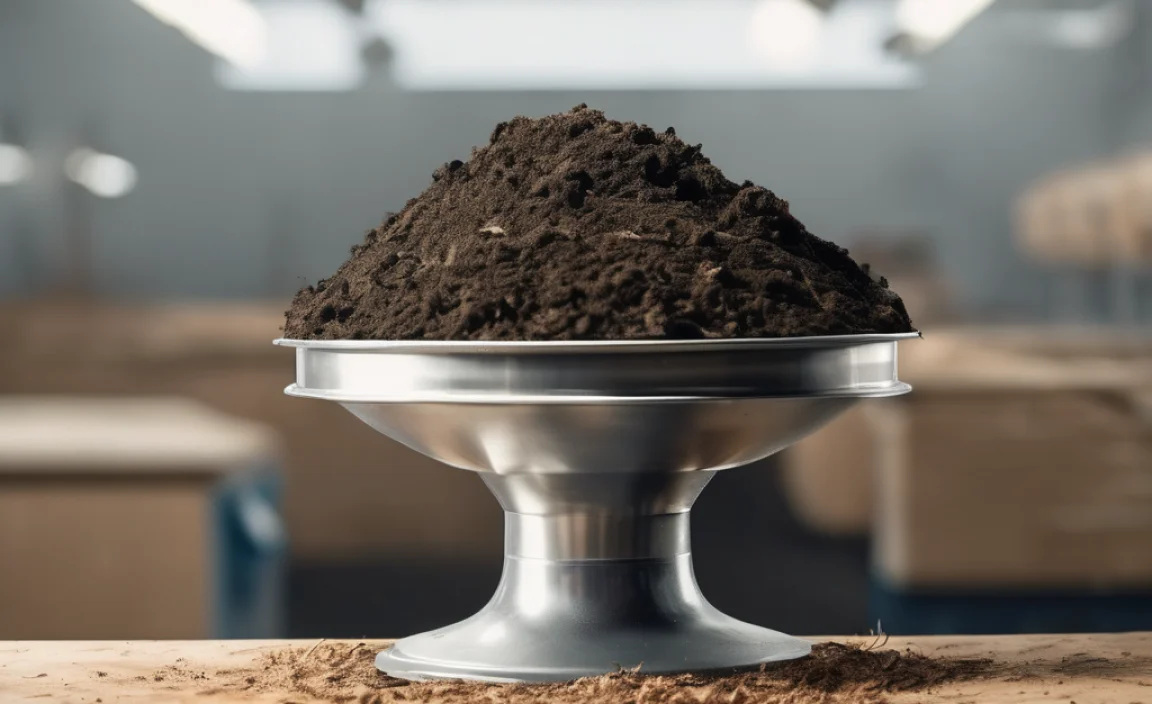
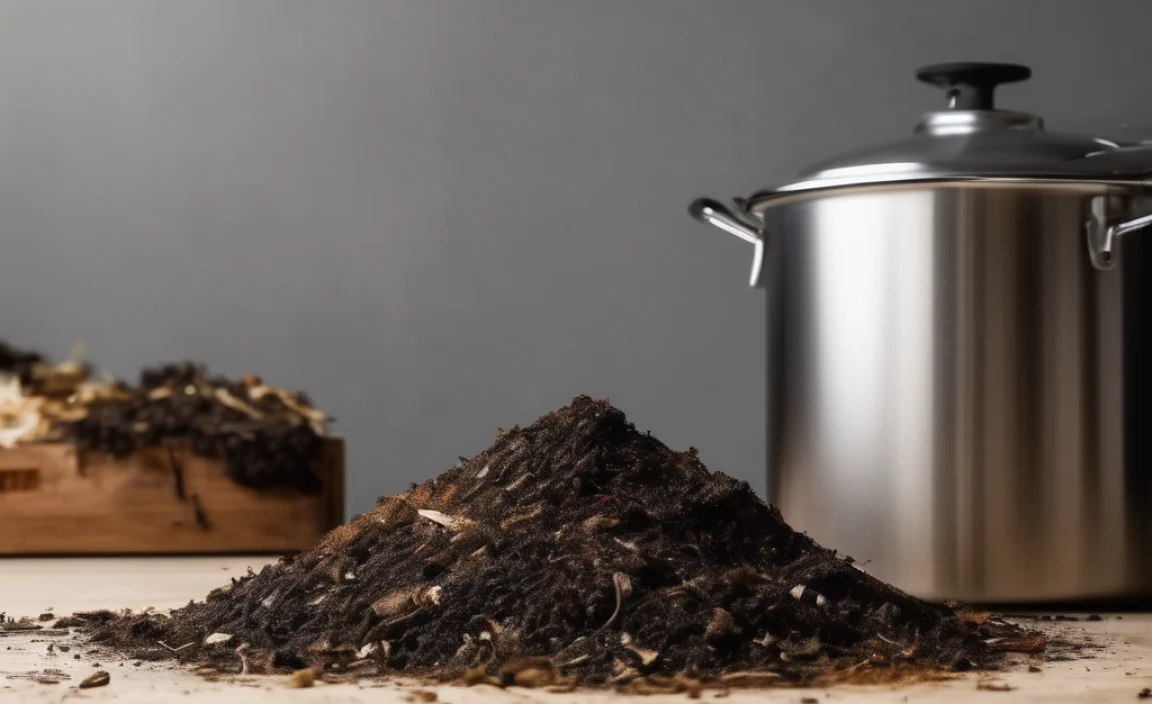
This is another area where patience is rewarded. You’ll know your pit compost is ready when it looks, smells, and feels like rich, dark soil. Here are the signs to look for:
Visual Clues:
- Texture: It should be crumbly and uniform. You shouldn’t be able to distinguish the original materials (like banana peels or leaves).
- Color: The color will be dark brown or black, similar to fertile garden soil.
- No Recognizable Scraps: All your original food scraps, yard waste, and other additions should be completely broken down.
Sensory Clues:
- Smell: It should smell earthy and fresh, like a forest floor after rain. If it smells sour, ammonia-like, or rotten, it’s not ready or might be too wet/anaerobic.
- Temperature: If the pile was actively “hot” composting, it will have cooled down.
The “Shake Test” (Optional): Grab a handful. If it feels gritty or has any lingering slippery or slimy bits, give it a bit more time. Finished compost is light and airy.
If you’re unsure, the safest bet is to let it decompose a little longer. Using unfinished compost can sometimes tie up nitrogen in the soil as it continues to break down, which can hinder plant growth. For the best results, wait until it’s truly ready.
Troubleshooting Common Pit Composting Issues
Even with a simple method like pit composting, things can sometimes go a bit awry. Here’s how to fix common problems:
- The Pit Smells Bad (Like Ammonia or Rotten Eggs): This usually means it’s too wet and lacks oxygen (anaerobic).
- Solution: Dig in some dry “brown” materials like shredded cardboard, straw, or dry leaves. If possible, poke some holes with a stick to improve aeration.
- The Pit is Dry and Nothing is Happening: The microbes need moisture to work!
- Solution: Water the pit thoroughly, ensuring the moisture penetrates. Add more “green” materials, which have higher moisture content, if you have them.
- Acids and Pests: You see flies, ants, or other critters, or the pit seems too acidic.
- Solution: Always bury fresh kitchen scraps (“greens”) with a layer of “browns” and a bit of soil. This is the best way to deter pests and mask odors. Avoid adding too many acidic things like citrus peels or coffee grounds without balancing with browns.
- Decomposition is Extremely Slow: This can be due to a variety of factors.
- Solution: Check your green-to-brown ratio – you might have too many browns. Ensure adequate moisture. Chop your materials smaller. Consider adding a shovel-full of finished compost or garden soil to introduce more microbes.
Why is Pit Composting Time Variable? A Deeper Look
We’ve touched on the key factors affecting pit composting time, but it’s worth reinforcing why these variables create such a difference. Think of your compost pit as a small ecosystem. Just like in nature, different conditions lead to vastly different outcomes.
Consider the role of temperature. In warmer months, microbial activity naturally increases. A pit in full sun will likely decompose faster than one in deep shade, especially in cooler climates or seasons. This is why hot composting, which aims to generate and maintain high temperatures (130-160°F or 55-70°C), can break down materials in weeks rather than months. While truly “hot” pit composting is difficult due to limited aeration and mass, even a slight increase in internal temperature from sun exposure or active decomposition will speed things up.
Moisture is another critical element. Microbes are living organisms and require water. However, too much of a good thing can be detrimental. Waterlogged conditions force air out, creating an anaerobic state. Anaerobic decomposition is much slower and produces foul odors because different types of bacteria take over. These microbes work less efficiently and produce less desirable byproducts. This highlights why balancing moisture and ensuring some air exchange is so vital for efficient composting. For a more in-depth understanding of the science behind composting, resources from university extension offices, such as those from Wisconsin DNR soil health information, are invaluable.
Finally, the sheer variety of organic materials adds to the variability. A material like a thin grass clipping will break down rapidly, providing quick food for microbes. Conversely, a thick woody stem or a large corn cob will take a considerably longer time to be colonized and decomposed by the microbial community and invertebrates like earthworms. Even though pit composting is designed to be simple, understanding these nuances helps you manage expectations and appreciate the natural processes at play. The beauty of pit composting is that even with less-than-ideal conditions, composting will eventually happen; it just might take a bit longer.
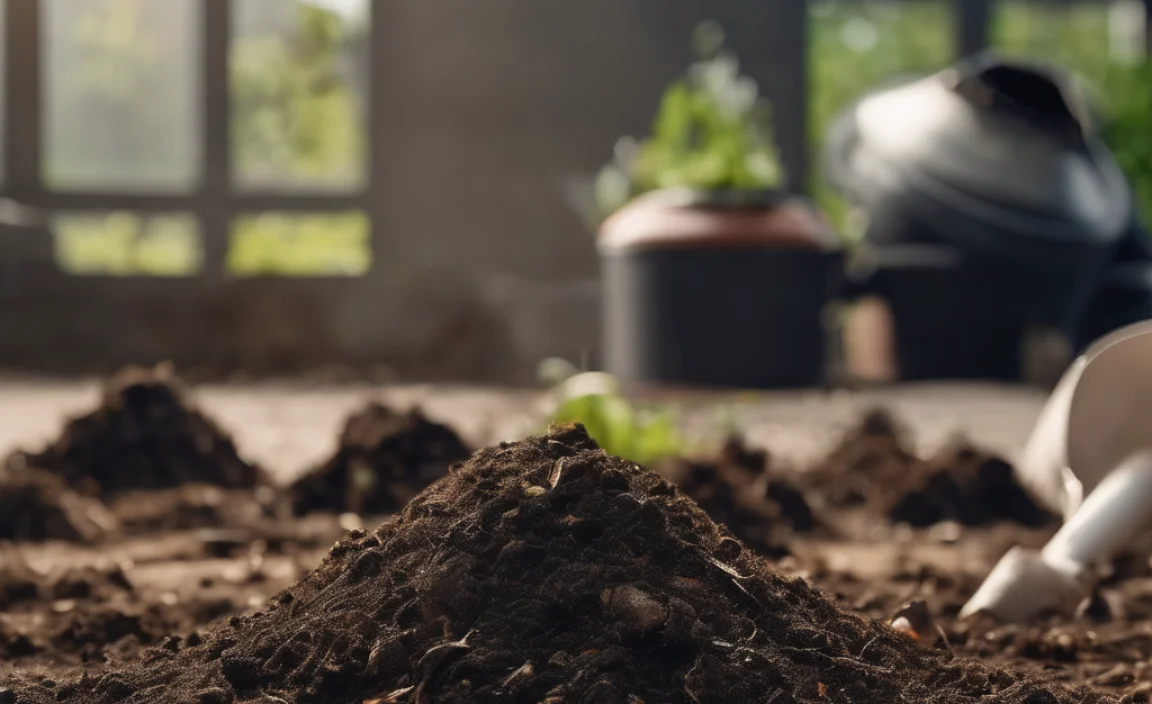
Using Your Finished Pit Compost
Once your pit compost is ready – dark, crumbly, and smelling earthy – it’s time for the reward! You can use it in several ways:
- Soil Amendment: Mix it into your garden beds before planting. This improves soil structure, water retention, and provides essential nutrients for your plants.
- Top Dressing: Spread a layer around existing plants, shrubs
.lwrp.link-whisper-related-posts{
margin-top: 40px;
margin-bottom: 30px;
}
.lwrp .lwrp-title{}.lwrp .lwrp-description{
}
.lwrp .lwrp-list-container{
}
.lwrp .lwrp-list-multi-container{
display: flex;
}
.lwrp .lwrp-list-double{
width: 48%;
}
.lwrp .lwrp-list-triple{
width: 32%;
}
.lwrp .lwrp-list-row-container{
display: flex;
justify-content: space-between;
}
.lwrp .lwrp-list-row-container .lwrp-list-item{
width: calc(25% – 20px);
}
.lwrp .lwrp-list-item:not(.lwrp-no-posts-message-item){max-width: 150px;
}
.lwrp .lwrp-list-item img{
max-width: 100%;
height: auto;
object-fit: cover;
aspect-ratio: 1 / 1;
}
.lwrp .lwrp-list-item.lwrp-empty-list-item{
background: initial !important;
}
.lwrp .lwrp-list-item .lwrp-list-link .lwrp-list-link-title-text,
.lwrp .lwrp-list-item .lwrp-list-no-posts-message{}@media screen and (max-width: 480px) {
.lwrp.link-whisper-related-posts{}
.lwrp .lwrp-title{}.lwrp .lwrp-description{
}
.lwrp .lwrp-list-multi-container{
flex-direction: column;
}
.lwrp .lwrp-list-multi-container ul.lwrp-list{
margin-top: 0px;
margin-bottom: 0px;
padding-top: 0px;
padding-bottom: 0px;
}
.lwrp .lwrp-list-double,
.lwrp .lwrp-list-triple{
width: 100%;
}
.lwrp .lwrp-list-row-container{
justify-content: initial;
flex-direction: column;
}
.lwrp .lwrp-list-row-container .lwrp-list-item{
width: 100%;
}
.lwrp .lwrp-list-item:not(.lwrp-no-posts-message-item){max-width: initial;
}
.lwrp .lwrp-list-item .lwrp-list-link .lwrp-list-link-title-text,
.lwrp .lwrp-list-item .lwrp-list-no-posts-message{};
}

I am passionate about home engineering. I specialize in designing, installing, and maintaining heating, ventilation, and air conditioning systems. My goal is to help people stay comfortable in their homes all year long.