Nothing is more frustrating than purchasing an air tool only to discover that it ruins the air motor. Thankfully, this blog is here to teach you how to rebuild a pneumatic impact wrench air motor.
By following the instructions provided, you’ll be able to get your tool working again like new in no time! This guide is perfect for anyone who needs to replace or repair their air motor, as it contains all the necessary information, including specifications and part numbers. So what are you waiting for? Start rebuilding your pneumatic impact wrench today.
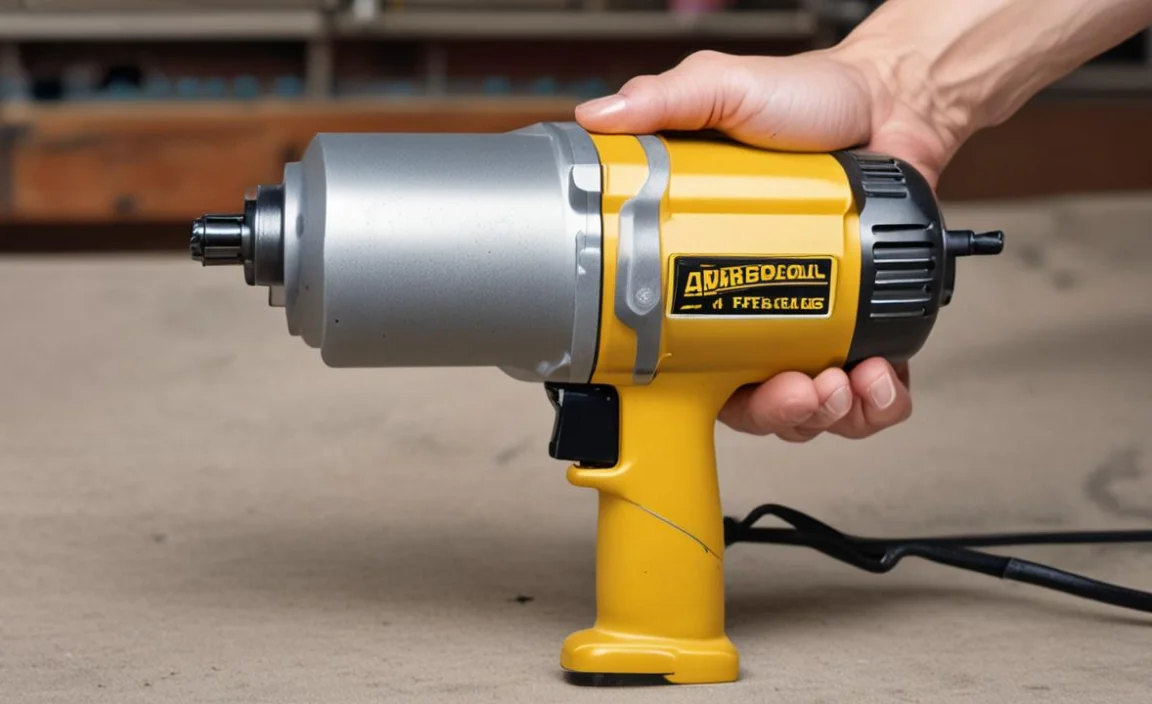
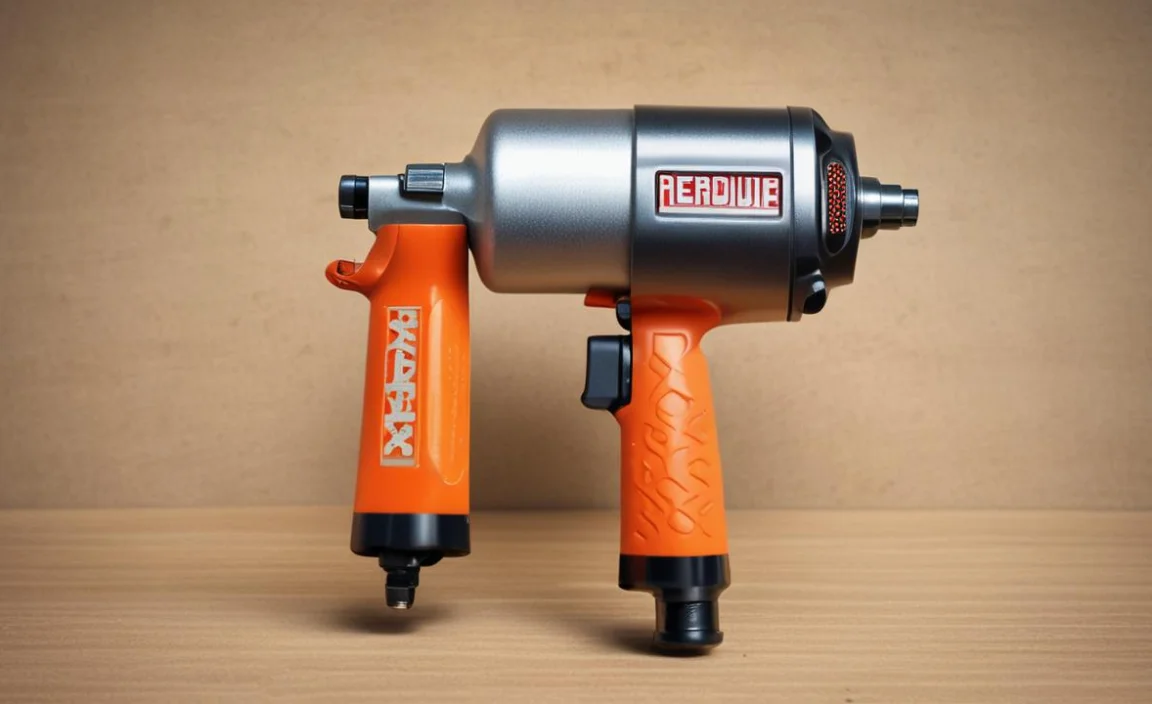
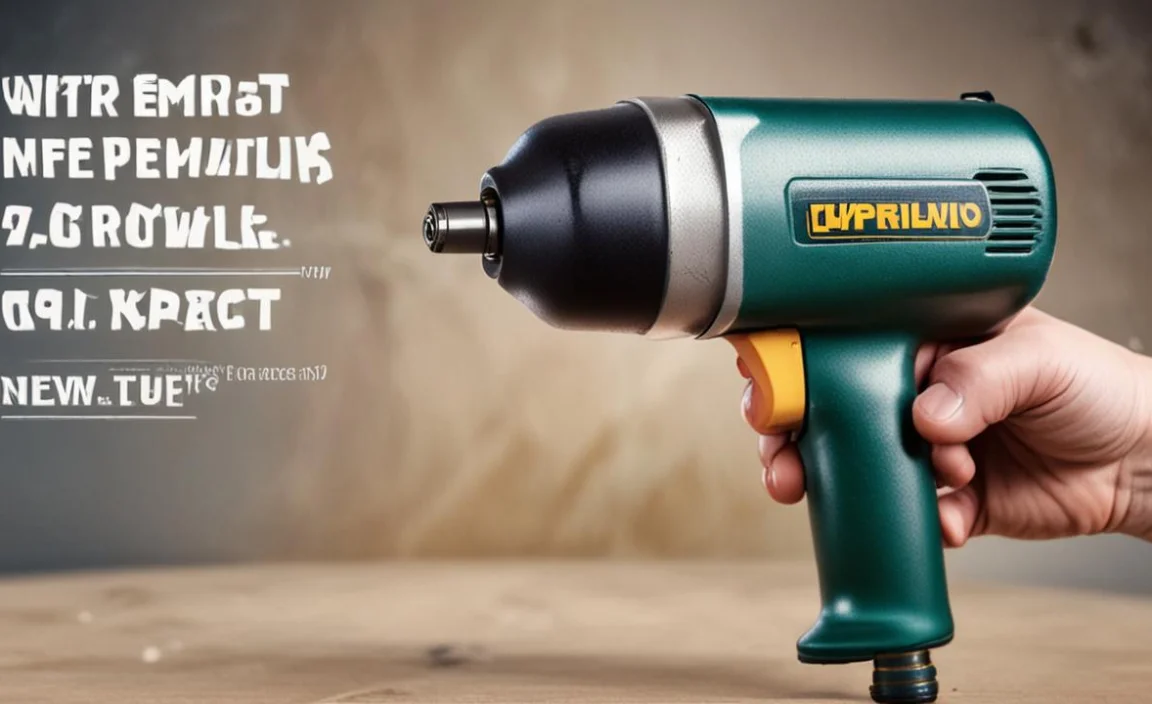
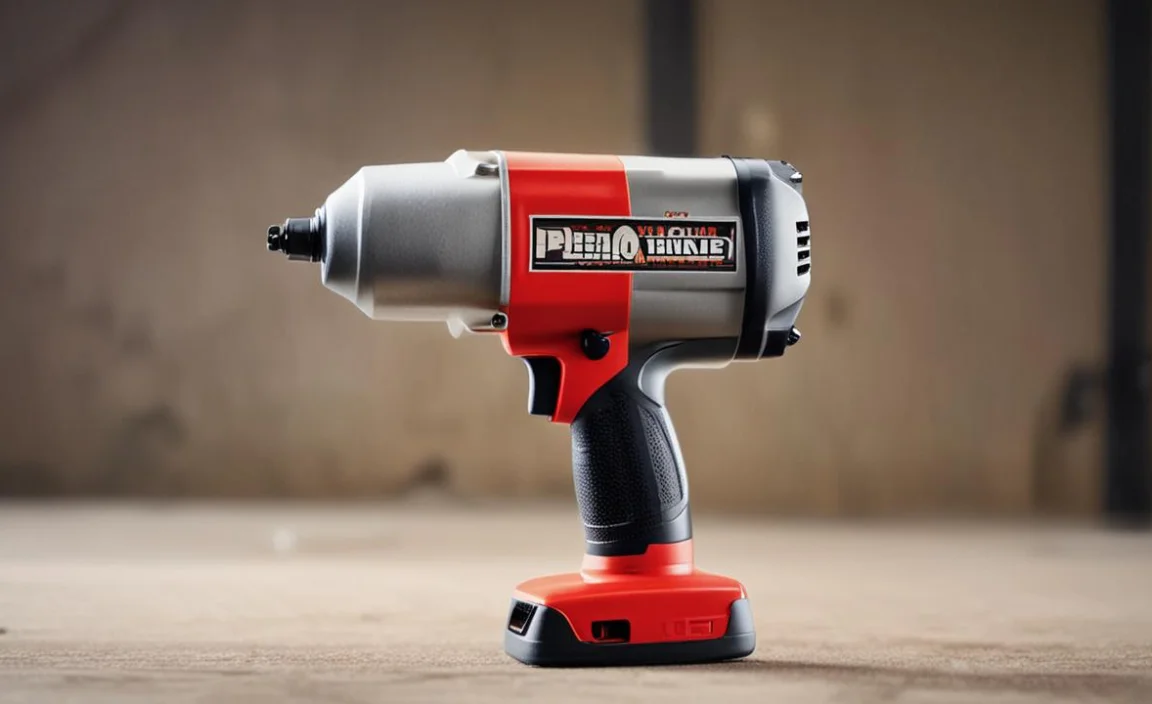
What Is A Pneumatic Impact Wrench?
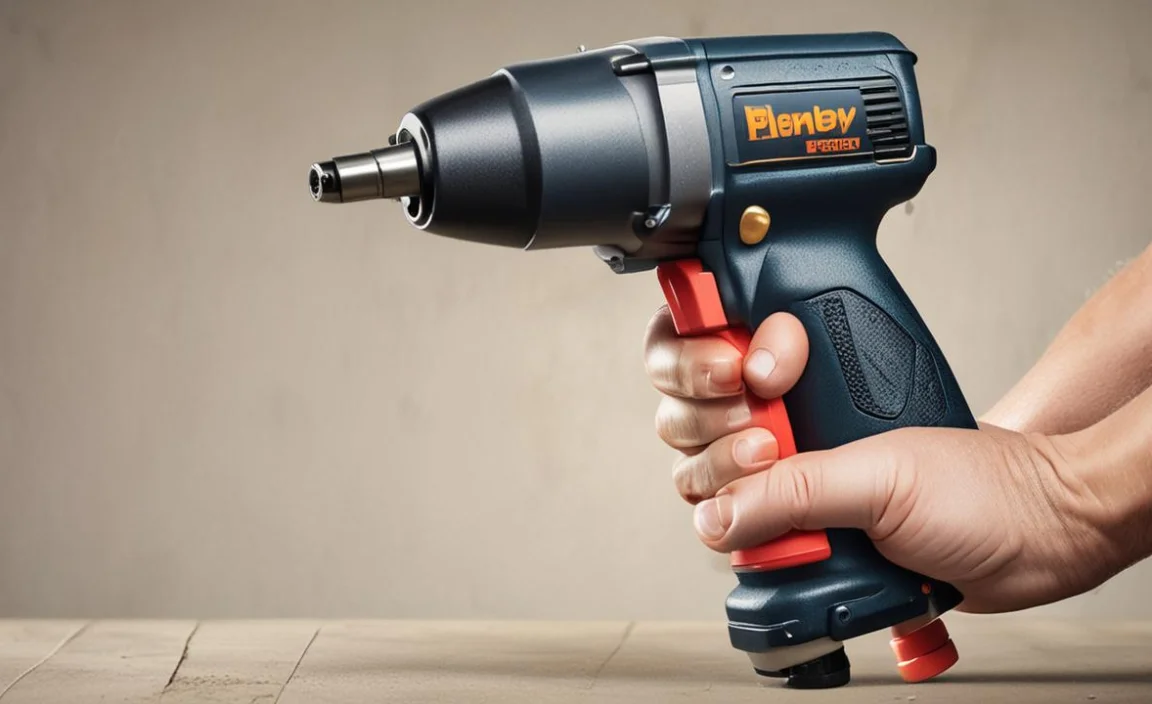
If you’re in the market for an impact wrench and are afraid of taking on a DIY project, don’t be! A pneumatic impact wrench is an essential tool that uses compressed air to do the work. It’s important to know how to rebuild the air motor occasionally, as this will help the wrench last longer.
Additionally, this type of wrench is used to tighten bolts and screws, making it a valuable tool for DIYers and repairers. If you’re looking for a powerful tool that can handle various tasks, a pneumatic impact wrench is a great option.
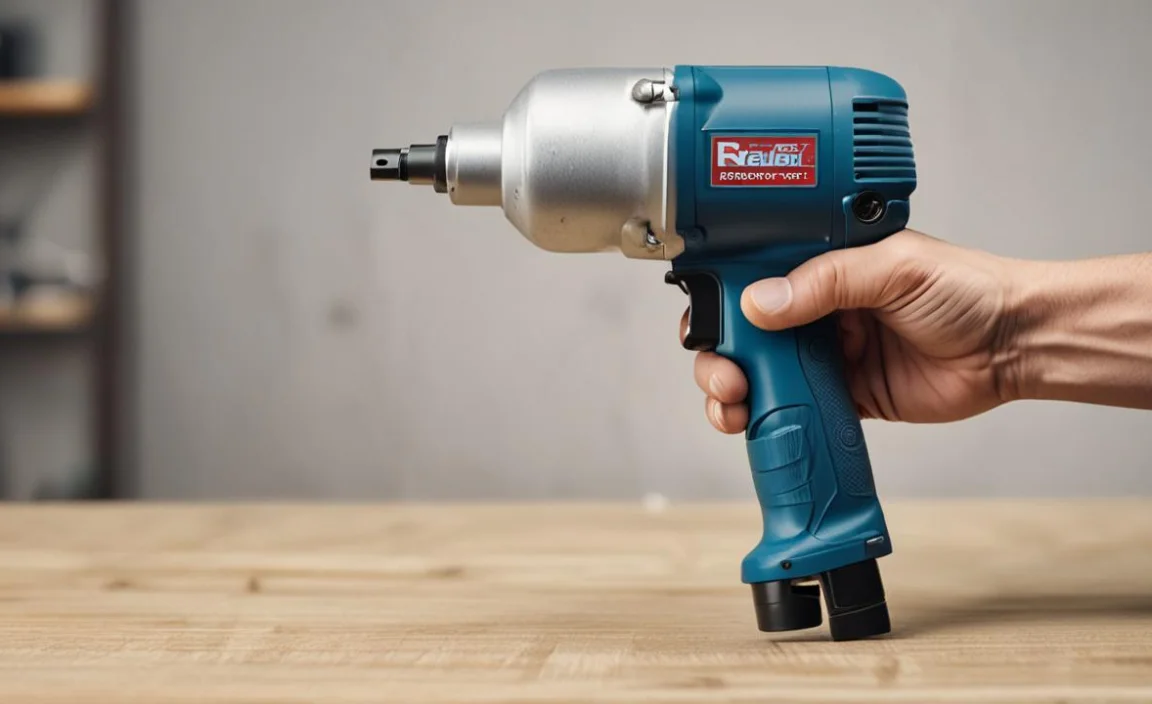
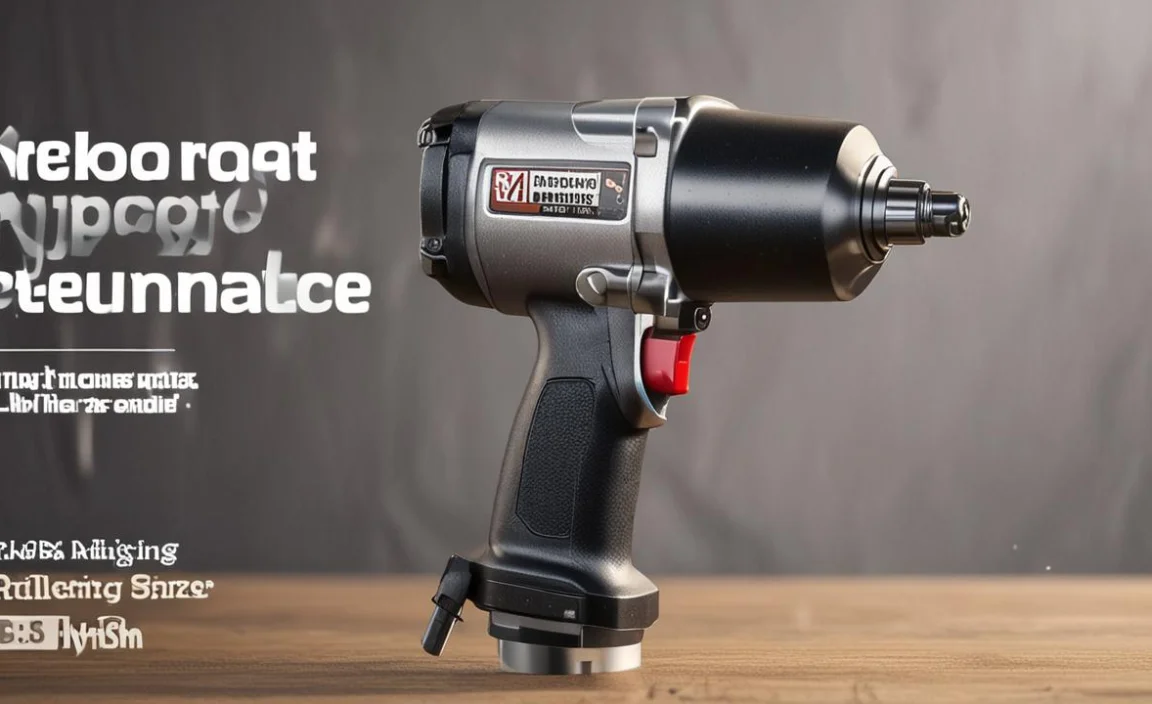
How Does A Pneumatic Impact Wrench Work?
If your pneumatic impact wrench isn’t performing as it should, it’s time to take it in for a rebuild. A pneumatic impact wrench is an electric tool that uses compressed air to create a powerful jolt. The air motor powers the mechanism that impacts the workpiece, which in turn displaces the metal and causes it to break.
First, disconnect all of the electrical components from the tool to rebuild your air motor. Next, remove any burrs or broken pieces from the rotating element with a file or sandpaper kit before reinstalling them using new gaskets and bolts. Finally, connect all the electrical components and test the tool for proper operation. Have fun and be safe!
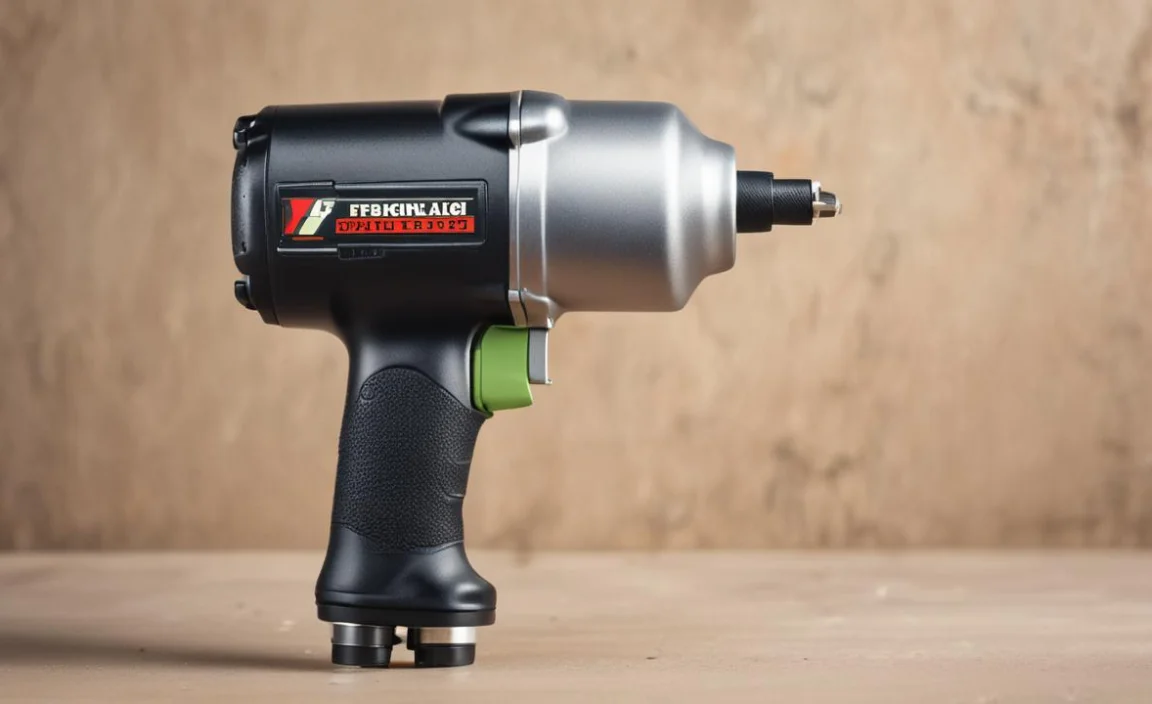
1. Components Of The Air Motor
If your air tool is acting up, there’s a good chance that it’s the air motor. This tool’s essential component is making various components depending on the model, which can produce from metal or plastic.
The cylinder is what puts the power into the tool, and it usually uses metal or plastic for made. The piston is what moves back and forth inside the cylinder; it also uses metal or plastic for making. The nozzle controls how much air force during use; it typically uses brass or aluminum for making.
Lastly, the parts of an impact wrench air motor include the cylinder, piston, and nozzle. If your air tool is acting up, it’s usually because one or more of these parts is not functioning correctly. To fix the issue, you’ll need to determine which part is not working and replace it with a new one.
2. The Compressor
The compressor is an essential component of air tools, and as such, it is necessary to keep it in good working order. Regular servicing ensures that the compressor remains operational and keeps its seals and parts free from contaminants.
Air Motor requires frequent oil changes to ensure longevity, while a wrench’s calibration significantly impacts its performance. By following these simple guidelines, you can ensure your air tool performs at its best!
3. The Motor Housing
The motor housing is one of the essential parts of an air impact wrench air motor and should treat as such. It’s easy to go wrong with it, so it needs to be regularly replaced.
Replacing the housing can often be done cheaply and without any significant hassle – by doing a quick online search, you’ll find many companies that provide this service. Additionally, cleaning the air motor regularly will help reduce the build-up of bacteria – essential for keeping your tool in good condition.
4. The Shaft
The shaft is the component that transmits power to the air motor. It needs to make a material that can withstand high temperatures and pressures and move freely for optimum performance. In addition, it should also be resistant to wear and tear so that it lasts longer.
5. Air Reservoir
If you are experiencing decreased air power or poor performance with your impact wrench, it is most likely due to a damaged or clogged air reservoir. To rebuild the air motor, you will need to disassemble it and replace any damaged or clogged parts. In addition, accurate calibration of the air reservoir is essential for ensuring consistent power output.
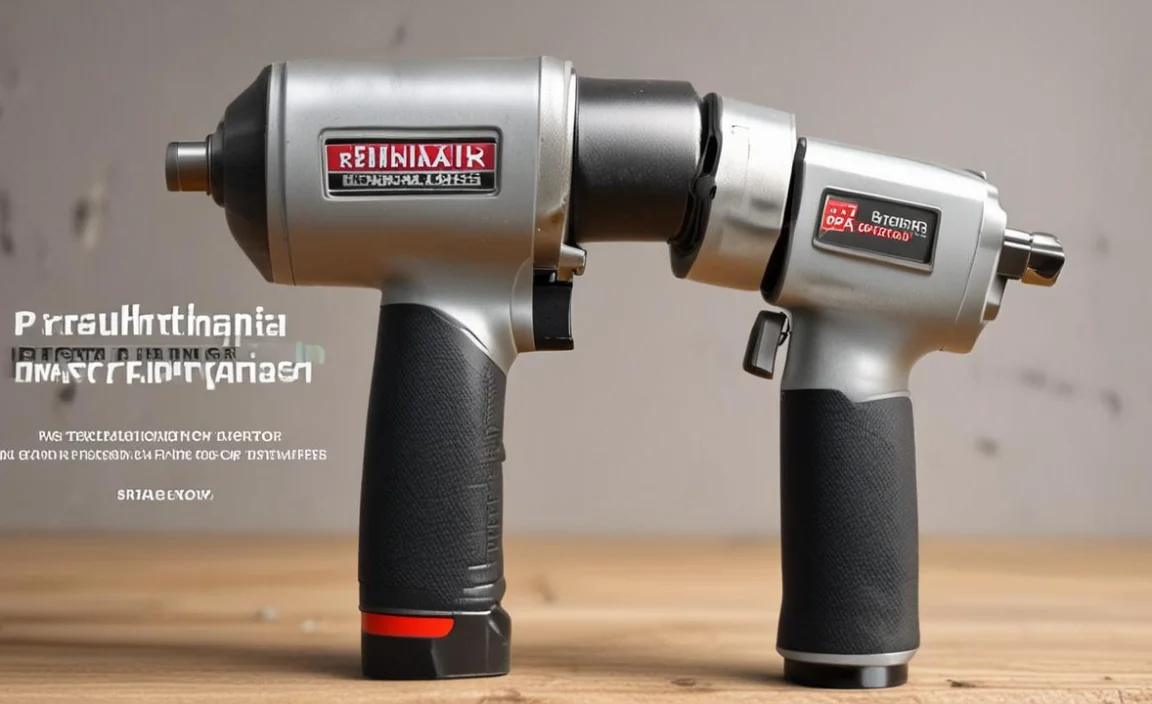
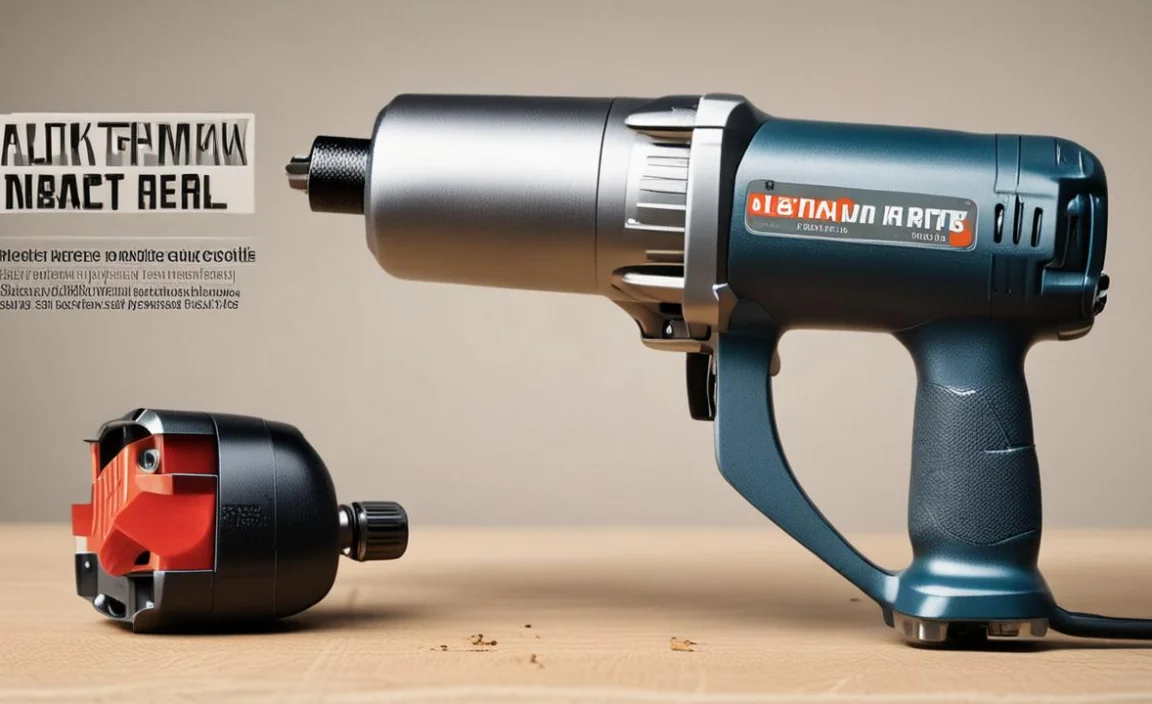
How To Disassemble The Motor
If your impact wrench is broken or worn out, it’s time to fix it. Luckily, rebuilding an air motor is a relatively easy task that can be done by just about anyone with a Phillips screwdriver and some Locktite (or another high-strength thread locker). Here’s a guide on how to do it:
- You’ll need to acquire an impact wrench. The correct size air motor will need to fit inside the wrench’s bolt pattern.
- Next, remove the air motor from the impact wrench. Make sure to take note of the manufacturer, model number, and a serial number of the air motor.
- If it is necessary to replace the air motor, you’ll need to order the correct size air motor from an online parts store.
- Once you have the air motor, remove the screws that hold the casing together. Be sure to take note of the manufacturer, model number, and a serial number of the air motor casing.
Unscrew The Motor Shaft
When it comes to tool heads and motors, it is always essential to keep them in tip-top shape for optimum performance. That’s why unscrewing the motor shaft is so important – by doing so, you can easily clean it and fix any problems that might arise. Here are the steps involved:
- Disassemble the motor by reversing these steps: remove the wrench first, then the screwdriver; turn screws counterclockwise with a screwdriver.
- To disassemble the tool head, you will need a wrench and a screwdriver – as when assembling the tool head in step 1 above (see image below).
- Take care when removing/installing tools on the threaded rod as they may become loose after unscrewing/reassembling motor shafts
Remove The Compressor Wheel And Valve Body
Compressor wheel and valve body removal To rebuild the air motor, you need to disassemble it first. This involves removing the compressor wheel and valve body. Here are some instructions that will help you do just that:
- Remove the front cover by unscrewing its four screws.
- Remove the two air baffles on either side of the compressor wheel. Make sure you disconnect all cables attached to them before taking them off.
- Replacing these parts is easy.
Disconnect The Drive Belt From The Motor Sprocket
To rebuild a Pneumatic Impact Wrench Air Motor, you must first disconnect the drive belt from the motor sprocket. Next, remove the four screws that hold on the cover. After that, you can see inside and take necessary measures to fix or replace anything malfunctioning.
Required Tools And Materials For The Job
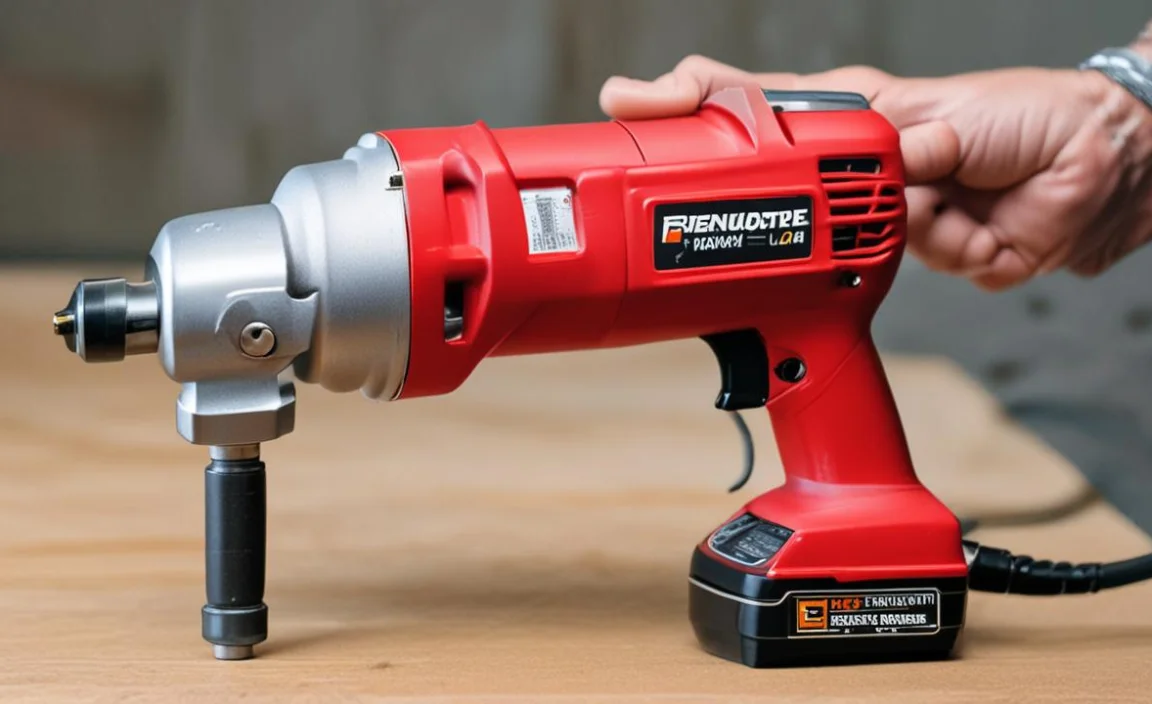
If your impact wrench air motor is giving you trouble, it’s time to rebuild it. This guide will outline the required tools and materials you will need for the job and the steps you need to take to ensure a successful rebuild.
Always read all instructions carefully before beginning, as failure could result in serious injury.The process is simple and can complete in less than an hour. Once your impact wrench has rebuilt the air motor, it should last many years without any problems. Happy wrenching.
Impact Gun
An impact gun is a powerful tool to break apart objects. It is essential to use safety gear when working with an impact gun, as the device has the potential to cause serious injury. You will need the following tools and materials for this job: air compressor, impact wrench, brake pedal, and wrenches. Ensure you wear appropriate clothing and equipment so you don’t get injured while breaking things.
Wrench Set
It is always a good idea to have all the necessary tools and materials handy when it comes to wrench repairs. This includes items like hex keys, ratchets, screwdrivers, etcetera. As for impact wrenches- you will need to rebuild them, while air compressors need regular servicing. Once everything is done and dusted – make sure you clean up properly!
Steps Involved In Rebuilding A Pneumatic Impact Wrench Air Motor
If your pneumatic impact wrench air motor is not working as it should, it may be time to rebuild it. This guide will help you replace all the lubricating components, install the motor in reverse order, clean and rebuild the bearing and seals, and finally, remove the old motor. Make sure to follow the steps carefully to ensure a successful rebuild.
1. Remove The Motor Cover
Unscrewing the motor shaft from the bearing housing is always a good practice as it helps to avoid potential damage in the future. Once unscrewed, you can pull out the motor cover and fan blade/belt. Finally, remove any screws holding on these parts before setting them aside for later.
2. Disassemble The Air Motor Housing
When replacing an air motor, it is essential to disassemble the housing first and then replace any broken or missing parts. This will ensure that everything is put back together in reverse order and that no wires are left behind. Once those are out, you can start taking off the housing itself.
Make sure to remove all of the internal parts before removing them – this will make installation much easier later on. Start by removing the screws that secure the housing to the impact arm. Once they’re out, unscrew both sides of the impact arm until the housing pops off easily.
3. Decide The Issue
To troubleshoot an issue, it is essential first to identify the problem. Perhaps the motor isn’t turning? Once this is determined, clear any obstructions from the air intake and exhaust and clean and lubricate all moving parts. Finally, test the machine by running it in its normal mode – if everything is working correctly, so may have resolved your issue.
4. Locate And Remove The Motor Bolts
- Disassemble the impact wrench as per the manufacturer’s instructions.
- Reassemble the impact wrench and test it for proper operation.3. Clean and lubricate all moving parts with a suitable grease or oil.
- Remove the motor by unscrewing bolts clockwise until it comes off its mounting bracket (or slides freely).
5. Clean And Lubricate All Moving Parts
It is essential to clean all the moving parts of your machine with a degreaser and lubricant before you start it up. This will help prevent any friction and wear, which can lead to problems down the line. Check for wear and tear on moving parts – if there is heavy damage, it’s best to replace them as soon as possible. After cleaning everything up, reassemble the motor so that it operates properly. Finally, take apart each motor component for further inspection or replacement.
6. Install New Bearings And Seals If Needed
If you notice that your wrench air motor is not operating as smoothly or powerfully as it used to, it might be time to rebuild the bearings and seals. It can replace the bearings, seals, and shaft – depending on the condition of those parts. In addition, cleaning and inspecting these components will also help in identifying any issues early on.
If necessary, replace these components too. To do all this work effectively, you’ll need to disassemble your wrench air motor – luckily for you, and we have a guide that walks you through every step.
Conclusion
Our blog is the perfect place for you if you require a pneumatic impact wrench. This article will teach you everything you need to know about rebuilding a pneumatic impact wrench air motor. We have covered everything from the components of the air motor to the steps involved in repairing it! So, if you want to buy or rebuild a pneumatic impact wrench air motor, read our blog article today.
Frequently Asked Questions
1.How Do I Install The New Parts On My Air Motor?
Ans: There are a few different ways to do this:
- Use an air tool wrench to tighten the bolts that hold the air motor to the chassis.
- Apply pressure to the air motor with your hand, and then use a wrench to tighten the bolts that hold it in place.
- Detach the air motor from the chassis by removing the four screws.
2.What Are The Steps Necessary To Rebuild A Pneumatic Impact Wrench Air Motor?
Ans: The steps to rebuild an air motor for a Pneumatic Impact wrench depend on the air motor and wrench model. However, most air motors can be taken apart and rebuilt using essential tools such as a wrench, screwdriver, and pliers.
3.Where Can I Buy New Parts For My Air Motor?
Ans: The Source of information for this question is airmotors.net.
4.How Do I Determine The Right Parts And Supplies For My Project?
Ans: The Right Parts and Supplies for Your Project: A Guide to Selecting the Right Tools and Materials is an article by Ray Villard, a National Tooling and Machining Association (NTMA) technical editor.
5.Is It Safe To Work With Compressed Air While Rebuilding My Air Motor?
Ans: The National Institute for Occupational Safety and Health (NIOSH) has not found an increased risk of lung cancer from working with compressed air in an occupational setting.
However, if you have any respiratory symptoms such as shortness of breath, worsening chest pressure, or coughing, stop working immediately and see a doctor.
6.What Tools And Techniques Should I Use When Rebuilding My Air Motor?
Ans: Air motor rebuilding tool kit, air pump, air hose, air wrench, spark plug wrench, timing belt tool
