Setting up a table saw can be daunting, especially for those new to woodworking. But with the right guidance and tools, it can be a breeze. We will guide you on how to set up the Ridgid- R4511 table saw perfectly.
The Ridgid R4511 is a highly popular and versatile table saw that is designed to provide precision and accuracy in every cut. However, to maximize its potential, proper set-up is essential.
We will cover everything from unboxing the product to calibrating and aligning the blade, fence, and mitre gauge. We will also provide you with tips on how to maintain your saw and troubleshoot any common issues that may arise. Whether you’re a seasoned woodworker or just starting, this guide will help you set up your Ridgid-R4511 table saw like a pro.

Full Ridgid R4511 Set Up Process – Follow The Below Steps
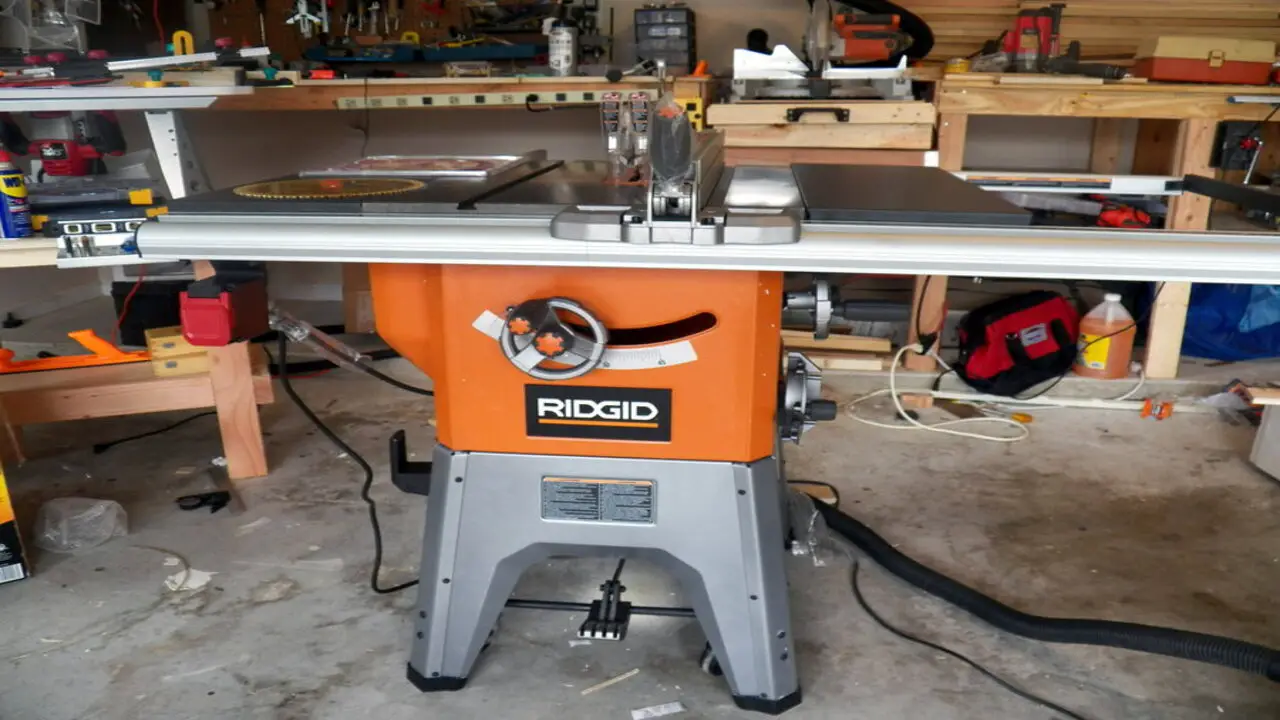
Setting up the Ridgid R4511 table saw is essential to get the most out of your woodworking projects. It is important to set up this saw properly for several reasons. First and foremost, it ensures that the saw is safe to use. A well-calibrated saw with properly adjusted blades and fences can prevent accidents and ensure that your cuts are accurate and clean.
Additionally, the Ridgid-R4511 is a precision tool that requires careful calibration to achieve the best results. Properly setting up the saw allows you to take advantage of its many features, such as its powerful motor, large table surface, and adjustable blade height and angle. With these features, you can make precise cuts for all woodworking projects. Finally, proper setup of the saw will extend its lifespan and ensure it functions at peak performance for years.
Step 1: Unboxing And Inspection
Unboxing and inspection are essential to setting up the Ridgid- R4511 table saw. Upon receiving the package, the first thing to do is to cut the tape and open the box carefully. It is crucial to inspect the contents of the package to ensure that everything is included and undamaged. The package should contain the table saw, the fence, the blade guard, and other accessories.
Once you account for everything, you can set up the table saw. To set up the Ridgid- R4511 table saw, you must follow the manual instructions carefully. The first step is to attach the fence and blade guard to the saw. After that, you must connect the power cord and turn on the machine. But before doing so, you must double-check that the blade guard and all other safety features are in place.
Step 2: Assemble The Stand
Assembling the stand for the Ridgid- R4511 table saw is a crucial step in setting up this powerful tool. To get started, ensure you have all the necessary parts and tools, including the stand, hardware, and instructions. Begin by laying out all the components and identifying each to avoid confusion during the assembly process.
Next, follow the instructions carefully, starting with the base assembly and moving on to the legs and cross braces. Securely bolt together the stand to ensure stability and safety when using the table saw. Once you assemble the stand, mount the R4511 on top.
This requires careful attention to detail to ensure the saw is level and aligned with the mitre slots. Finally, test the saw to ensure it functions properly and make any necessary adjustments to the stand or the saw itself.
Step 3: Install The Tabletop
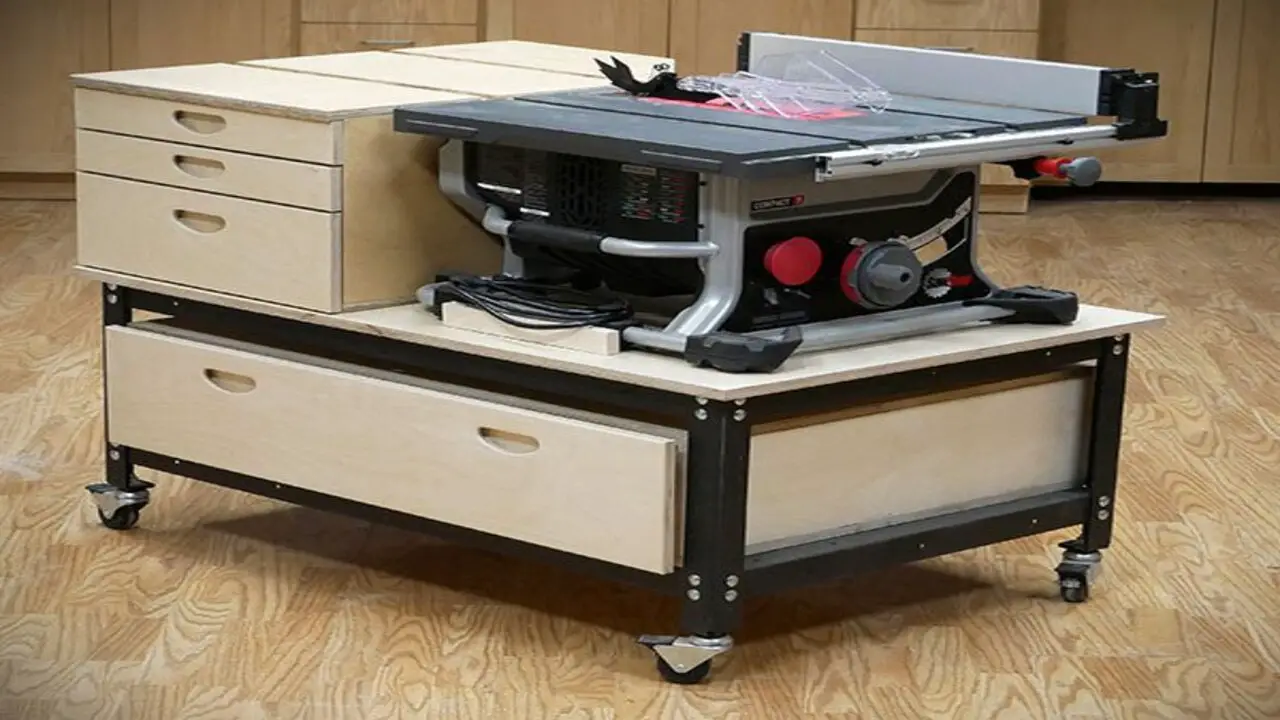
Installing the tabletop on the Ridgid- R4511 table saw is a crucial step in the setup process. Before beginning, ensure that all necessary tools are readily available. First, remove the saw from its packaging and place it on a sturdy work surface.
Then, locate the tabletop and carefully lift it into position on the saw’s base. Align the mounting holes on the tabletop with the corresponding holes on the saw base, and insert the screws provided. Tighten the screws securely, but do not overtighten, as this could damage the table.
Once the tabletop is installed, check that it sits level and is securely attached. It’s important to note that while the installation process is relatively straightforward, it may require some time and effort. However, setting up the Ridgid-R4511 properly will ensure that the saw is safe and effective to use.
Step 4: Attach The Fence And Rails
You are looking to set up the Ridgid- R4511 table saw, the first thing you need to do is install the tabletop. This is an essential step in getting the saw up and running, as it provides a stable platform for all your cutting needs. To begin, you must carefully unpack the tabletop and remove any protective packaging covering it.
Once you have done this, you can lay the tabletop on a flat surface and attach the legs. This may require some heavy lifting and careful manoeuvring, so be sure to enlist the help of another person if necessary. Once the legs are securely in place, you can install the rest of the table components, such as the rip fence and miter gauge.
Step 5: Install The Blade
To set up the Ridgid -R4511 table saw, one of the first steps is to install the blade. It is important to take the necessary safety precautions before starting this process, such as unplugging the saw and wearing protective gloves and eyewear. Once these precautions are taken, the blade can be installed by loosening the blade nut and washer, sliding the blade onto the arbor, and then tightening the nut and washer back into place.
Ensure you properly align and securely fasten the blade before using the saw. The Ridgid-R4511 also comes with a number of other features that make it a great option for woodworking enthusiasts. For example, the saw has a powerful motor that can handle even the toughest materials and a large cast iron table that provides plenty of space for working on larger projects.
Step 6: Align The Blade And Fence
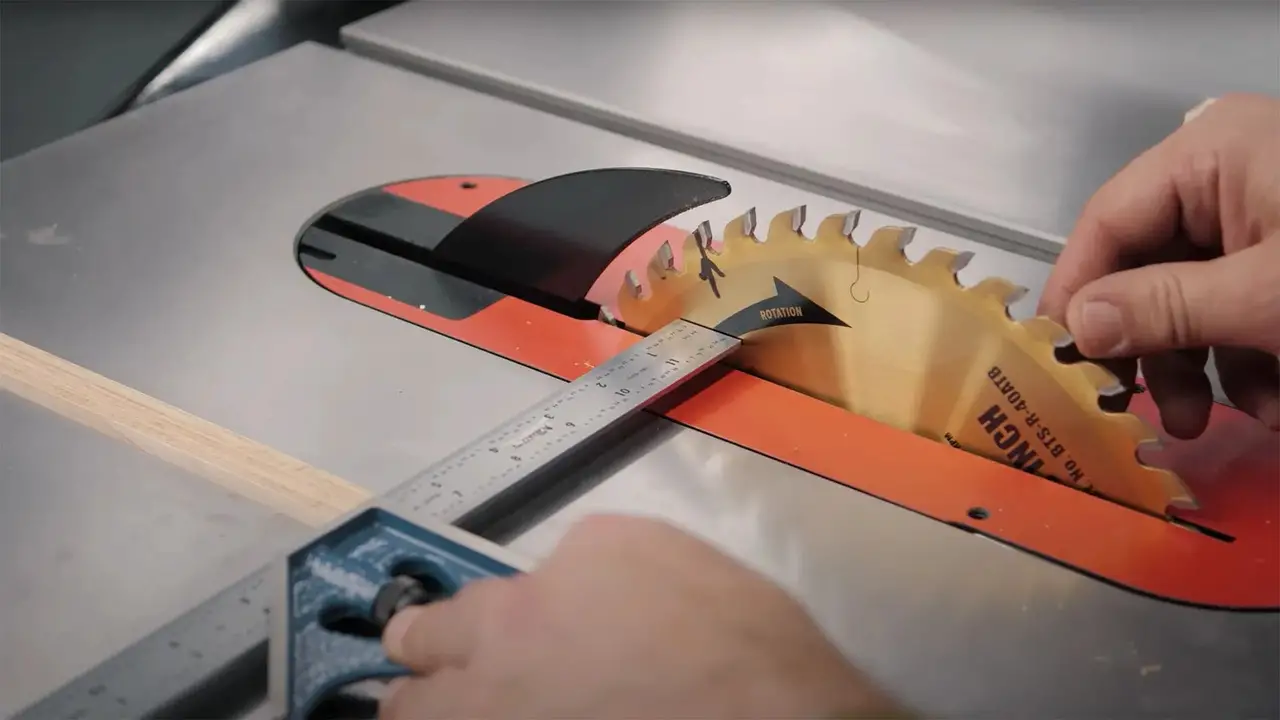
When setting up the Ridgid- R4511 table saw, one of the first steps is to align the blade and fence. This is crucial for ensuring accurate and safe cuts. To begin, start by lowering the blade and unplugging the saw. Then, rotate a straight edge against the blade until it lines up perfectly with the straight edge.
This will ensure the blade is straight and not tilted to one side. Next, adjust the fence so that it is parallel to the blade. To do this, measure the distance between the fence and the blade at the front and rear.
If the measurements differ, adjust the fence accordingly until the measurements are the same. Once the blade and fence are aligned, it is important to double-check the alignment before making any cuts.
Step 7: Install Safety Features
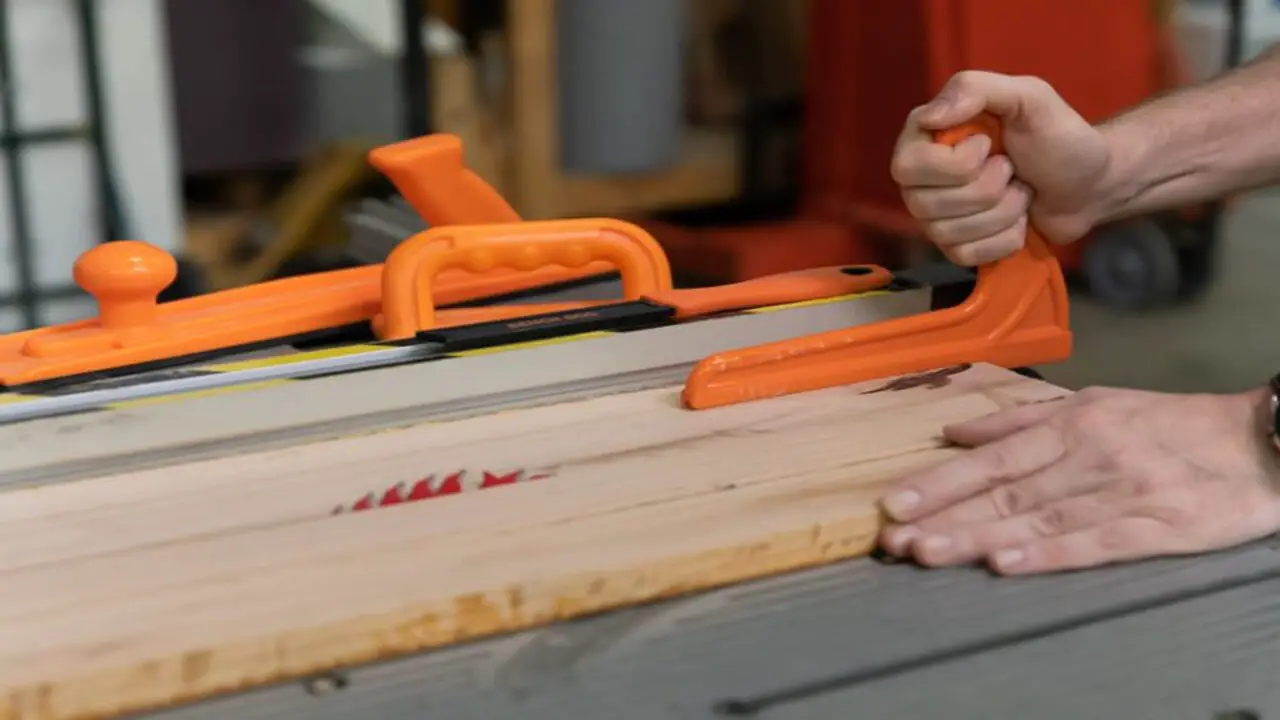
When setting up the Ridgid -R4511 table saw, it’s important to check the power source and dust collection system to ensure optimal performance and safety. Before plugging in the saw, ensure the power outlet can handle the saw’s 15-amp motor and that the power cord is in good condition.
Using a surge protector to prevent any electrical issues is also a good idea. As for dust collection, the R4511 has a built-in dust port that can be connected to a vacuum or dust collector. Ensure the dust collection system is properly set up and functioning before using the saw.
This will not only keep your work area cleaner but also improve the longevity of the saw, as dust buildup can cause damage over time. Additionally, it’s recommended to wear appropriate safety gear, such as eye protection and earplugs, when operating the R4511.
Step 8: Check The Power And Dust Collection
First and foremost, it’s important to verify that the power source you plan to use is compatible with the saw’s requirements. You’ll want to check the power supply, voltage, and amperage to ensure everything matches up.
This will help you avoid electrical issues and ensure your saw runs smoothly. Another key consideration is dust collection. Table saws tend to generate a lot of sawdust; if you’re not careful, it can quickly accumulate and create a messy workspace. Fortunately, the Ridgid- R4511 has a built-in dust collection system to help mitigate this issue.
Step 9: Perform Test Cuts

Performing test cuts is an essential step before beginning any woodworking project. This is particularly important when using a new saw such as the Ridgid- R4511 table saw. Properly setting up the Ridgid-R4511 is crucial to achieving accurate cuts. Begin by checking the alignment of the blade, fence, and miter gauge. Once properly aligned, it is time to perform test cuts to ensure everything works as it should.
First, adjust the blade height to the desired thickness of the cut material. Then, make a test cut on a scrap piece of wood. Check the thickness and straightness of the cut. If any adjustments need to be made, carefully adjust the blade height, fence position, or mitre gauge angle until the desired results are achieved. Repeat the test cuts until satisfied with the accuracy of the saw.
Step 10: Read The User Manual
You’re planning to set up the Ridgid- R4511 table saw; it’s important to read the user manual carefully to ensure you set it up correctly and safely. The manual provides detailed instructions on assembling the saw, including attaching the blade guard, riving knife, and anti-kickback pawls.
It also provides information on adjusting the blade height and tilt and aligning the rip fence and miter gauge. Before you begin the setup process, it’s important to make sure you have all the necessary tools and equipment, such as a screwdriver, wrench, and measuring tape. You should also ensure that the work area is clean and well-lit and that you have enough space to manoeuvre the saw.
Conclusion:
Setting up the Ridgid R4511 table saw requires careful attention to detail and adherence to the manufacturer’s instructions. By following the step-by-step assembly process outlined in the user manual, users can ensure that the table saw is set up correctly, maximizing its performance and safety.
By adhering to the manufacturer’s guidelines and employing safety precautions, users can enjoy the full potential of the Ridgid -R4511 table saw while minimizing risks and promoting a safe working environment.
Remember to consult the user manual for specific requirements and guidelines, and do not hesitate to seek professional assistance. The Ridgid-R4511 can become a valuable tool for woodworking enthusiasts and professionals with proper setup and care.
FAQ
[rank_math_rich_snippet id=”s-bb311a84-4e67-4872-836c-86c849dd0d3c”]

I am passionate about home engineering. I specialize in designing, installing, and maintaining heating, ventilation, and air conditioning systems. My goal is to help people stay comfortable in their homes all year long.


