Rotating Bin Composting DIY: Genius Guide
Feeling buried under kitchen scraps and yard waste? Want to turn that trash into garden gold without a stinky mess or a ton of effort? You’re in the right place! Many people find traditional composting a bit daunting, but I’ve got a sweet DIY solution. We’re going to build a rotating compost bin. It’s faster, cleaner, and easier than you think. Let’s get your composting journey started the smart way. Ready to make some black gold?
Why Choose Rotating Bin Composting?
Composting is fantastic for your garden and the environment. It reduces landfill waste and creates nutrient-rich soil. But let’s be honest, some methods can be slow, smelly, or just plain hard work. That’s where the rotating compost bin shines!
A rotating bin offers several advantages, especially for beginners:
- Speed: Tumbling the compost introduces oxygen, which is crucial for the microbes that break down waste. This means faster composting – you can go from scraps to usable compost in as little as 4-8 weeks!
- Less Work: No more arduous turning with a pitchfork. A few spins of the bin a few times a week is all it takes.
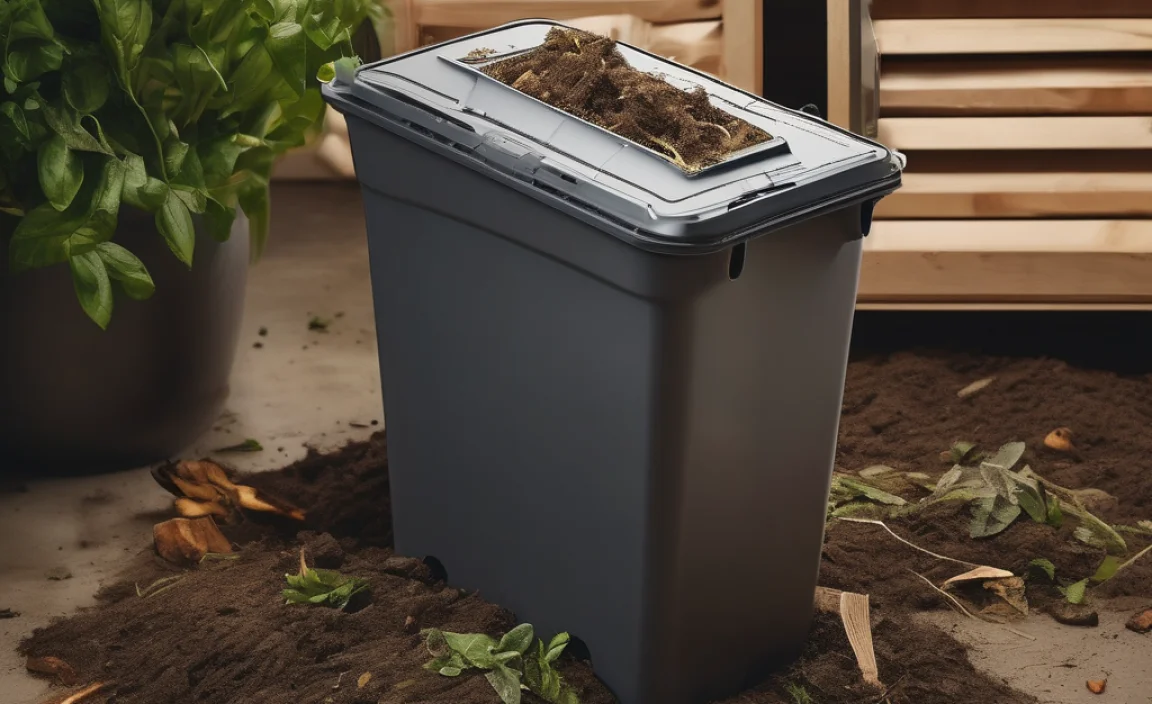
- Neater: It’s a contained system, which helps keep pests out and odors down compared to open piles.
- Easy Mixing: All your “greens” (like kitchen scraps) and “browns” (like dry leaves) get mixed up efficiently with each turn.
What You’ll Need: Tools and Materials
Building your own rotating compost bin is a rewarding DIY project. It’s not overly complicated, and you can often use materials you might already have lying around. Here’s a breakdown of what you’ll likely need:
Materials List:
- A sturdy plastic barrel or drum (food-grade is best if you can find it). Aim for one around 55 gallons (about 200 liters). These are often available for free or cheap from car washes, food processing plants, or online marketplaces. Make sure it’s thoroughly cleaned!
- Lumber:
- Four sturdy corner posts (e.g., 4×4 or 2×4 lumber), about 4-5 feet long.
- Two side support pieces (e.g., 2×4 lumber), cut to the width of your barrel.
- Two pieces to create the cradle for the barrel (e.g., 2×4 or 2×6 lumber), cut to support the barrel’s diameter.
- Optional: Extra lumber for bracing or a lid.
- Hardware:
- Wood screws (galvanized or exterior-grade are best to prevent rust).
- Hinges (if you decide to build a lid).
- A latch or closure mechanism (for the lid).
- A way to secure the barrel to its cradle. This could be sturdy straps, U-bolts, or even just tight-fitting supports.
- Metal rod or pipe (around 3 feet long): This will be the axle your barrel spins on. Schedule 40 PVC pipe can work for lighter loads, but galvanized steel pipe is more durable. Ensure it’s slightly longer than the width of your barrel.
- Two large fender washers or steel plates: These will go on either side of the barrel where the axle passes through.
- Two eye bolts or plumbing straps: To help support the axle on the frame.
- Optional: A simple crank handle or a repurposed pulley system to make turning easier.
- Optional: Casters/wheels for the frame if you want to move the entire unit.
Tools List:
- Drill and drill bits: For creating holes for the axle, screws, and any new drainage/aeration holes.
- Saw: To cut lumber to size (circular saw, miter saw, or even a handsaw will work).
- Measuring tape.
- Pencil or marker.
- Screwdriver or drill bits for screws.
- Wrench or pliers: If using bolts or nuts.
- Safety glasses: Always protect your eyes!
- Work gloves: To protect your hands.
- Optional: Jigsaw for cutting more precise holes in the barrel.
- Optional: Sandpaper for smoothing rough edges.
Step-by-Step Guide to Building Your Rotating Composter
Alright, let’s get building! We’ll break this down into manageable steps to make it super clear.
Step 1: Prepare the Barrel
Your barrel is the heart of the composter. First, give it a really good clean inside and out. No want of soap residue or leftover chemicals in your compost!
- Drill Aeration Holes: The composting microbes need air! Drill lots of small holes (about 1/4 to 1/2 inch diameter) all around the sides of the barrel. Space them every 4-6 inches.
- Drill Drainage Holes: On the bottom of the barrel, drill a few larger holes (about 1/2 to 3/4 inch) to let any excess moisture escape. You don’t want a soggy mess.
- Create Axle Holes: This is important. You need holes on opposite sides of the barrel, centered, to fit your metal rod or pipe. The hole should be just large enough for the rod to pass through snugly. You might want to reinforce the inside and outside around these holes with your fender washers or steel plates to prevent the rod from tearing the plastic over time. Drill these holes carefully. If you have a jigsaw, you can make a larger opening or even cut the barrel in half and reassemble it with a hinge to create an easy-access door, but for a simple DIY, passing the axle through is the easiest.
Step 2: Build the Support Frame
This frame will hold your barrel and allow it to spin happily. Think of it as a sturdy stand.
- Cut Your Lumber: Cut your corner posts and support pieces according to the dimensions you need to create a stable rectangular or A-frame structure tall enough to allow the barrel to spin freely. The two side pieces should be wide enough to accommodate the barrel’s diameter, and the corner posts will connect them.
- Assemble the Sides: Attach the two side support pieces to the corner posts. You can make a simple rectangle or an A-frame for extra stability. Ensure the frame is square and sturdy.
- Add the Barrel Cradle: On the inside of the side supports, attach the pieces you cut to cradle the barrel on its axle. These should form a stable V-shape or U-shape where the barrel will rest. Make sure the cradle is deep and wide enough to support the barrel securely.
- Add Axle Supports: Attach the eye bolts or plumbing straps to the inside of your side supports, at the point where the axle will rest. These will hold the metal rod in place.
Step 3: Assemble the Axle and Barrel
Now we put the barrel onto its spinny pole!
- Insert the Axle: Slide your metal rod or pipe through one of the drilled axle holes in the barrel.
- Add Washers/Plates: Place a fender washer or steel plate on the rod on the inside and outside of the barrel wall.
- Slide Through Other Side: Carefully maneuver the barrel and rod so the rod slides through the second axle hole on the opposite side of the barrel. Ensure the washers/plates are on both sides in this hole too.
- Mount to Frame: Place the barrel assembly onto the support frame, resting the metal rod in the eye bolts or straps you attached earlier. Make sure the barrel can spin freely without hitting the frame.
Step 4: Secure and Stabilize
We need to make sure your composter stays put, especially when it’s full and spinning.
- Check Stability: Give the barrel a gentle spin. Does it move freely? Is the frame stable?
- Add Bracing (if needed): You might want to add some diagonal braces between the corner posts and the side supports for extra rigidity.
- Secure Barrel (Optional but recommended): While the cradle should hold it, you can add a simple strap or U-bolt that goes over the barrel and attaches to the frame to prevent it from wobbling or accidentally coming off the axle, especially in windy conditions or when it’s full.
- Install Crank (Optional): If you want a crank, you can attach a simple handle to one end of the metal axle. You could also use a salvaged pulley system if you’re feeling ambitious.
- Add Feet/Casters (Optional): If you added casters, attach them to the bottom of the frame now.
Step 5: Final Checks and Placement
Almost there! Take a moment to review your work.
- Inspect All Connections: Double-check that all screws are tight and the frame is solid.
- Smooth Rough Edges: If you have any sharp or splintery wood, give it a quick sand.
- Choose a Location: Place your new rotating compost bin in a convenient spot. Partial sun is ideal – too much sun can dry it out, while too much shade might keep it too cool and slow things down. Ensure it’s on level ground and has easy access for adding materials and collecting compost. You might want to place it on a layer of gravel or bricks.
How to Use Your Rotating Composter

Building it is only half the fun! Using it correctly is key to success.
What to Compost: Greens and Browns
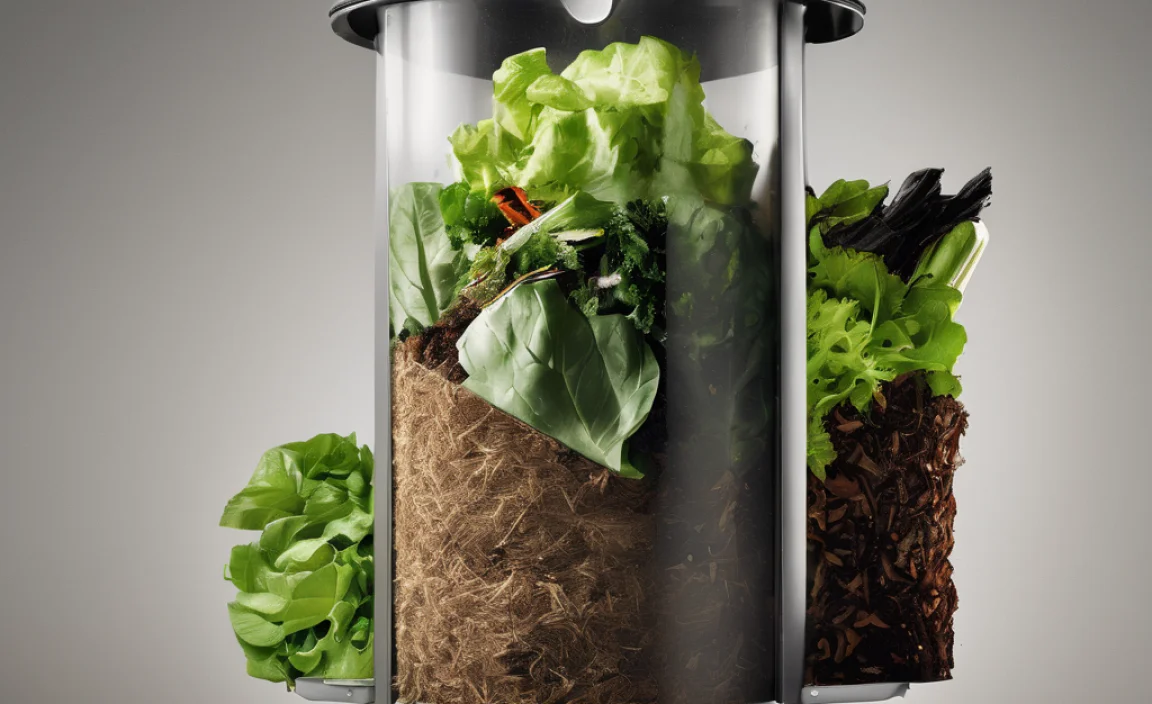
The secret to good compost is a balanced mix of “greens” and “browns.” Think of it like a recipe!
Greens (Nitrogen-rich materials): These are usually moist and add nutrients.
- Fruit and vegetable scraps
- Coffee grounds and tea bags
- Grass clippings (in moderation, thin layers)
- Plant trimmings (non-diseased)
- Eggshells
Browns (Carbon-rich materials): These are usually dry and add bulk and air pockets.
- Dry leaves
- Shredded newspaper or cardboard (avoid glossy or colored inks)
- Straw or hay
- Wood chips or sawdust (in moderation)
- Paper towel rolls and toilet paper tubes
What to Avoid:
To keep your compost healthy and pest-free, skip these:
- Meat, fish, and dairy products (can attract pests and create odors)
- Oily or greasy foods
- Diseased plants
- Weeds that have gone to seed
- Pet waste (dog or cat feces)
- Chemically treated wood or yard waste
- Large woody branches that take too long to break down
A good starting ratio is roughly 1 part greens to 2-3 parts browns. Don’t worry about being exact; you’ll get a feel for it.
Adding Materials:
Start adding your kitchen scraps (greens) and yard waste (browns) to the barrel. Chop up larger items into smaller pieces – this speeds up decomposition.
The Tumbling Routine:
This is where the magic happens!
- Frequency: Aim to turn or tumble your compost bin 3-5 times a week.
- How-to: Simply grab the barrel (or use your crank!) and give it a good number of spins. About 10-15 full rotations should do the trick.
- Why: This aeration feeds the beneficial microbes, speeds up decomposition, and helps distribute moisture evenly.
Managing Moisture:
Your compost should feel like a damp sponge – not soaking wet and not bone dry.
- Too Dry? If it seems dry, add a little water. You can spray it with a hose or add more moist “green” materials.
- Too Wet? If it’s too soggy, add more “brown” materials like dry leaves or shredded cardboard. Sometimes, turning it more frequently helps it dry out a bit too.
When is Compost Ready?
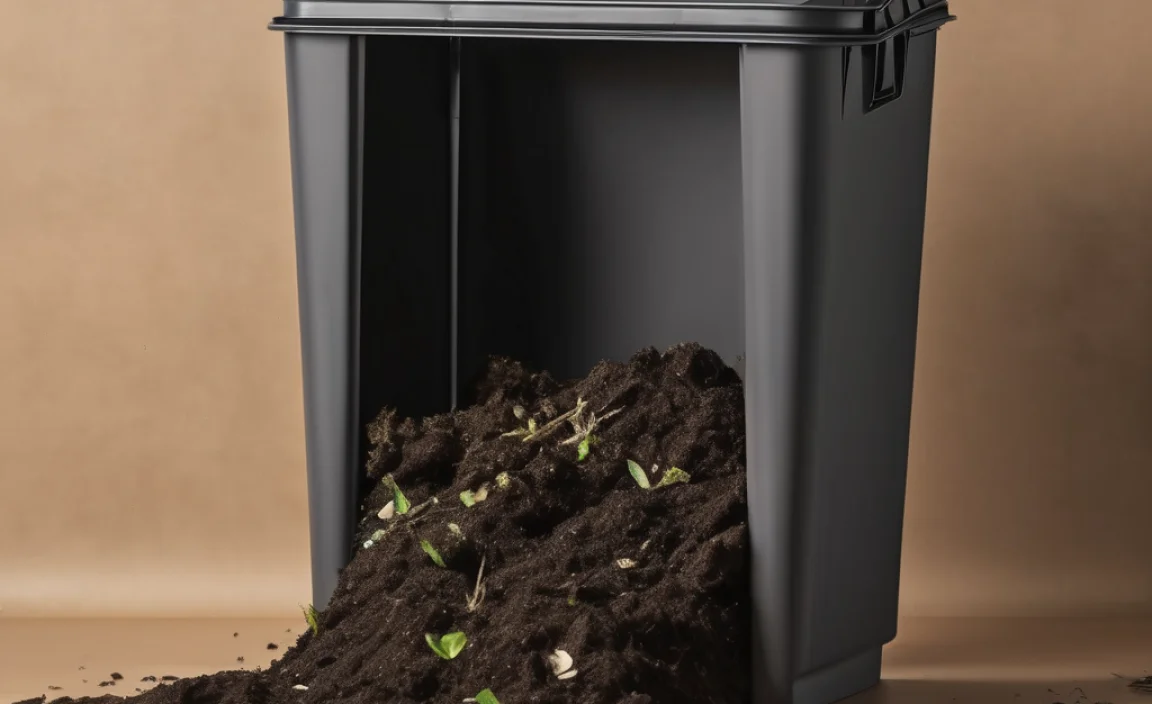
Your compost is ready when it looks and smells like rich, dark soil. You shouldn’t be able to identify the original materials. It will be crumbly and earthy-smelling. This can take anywhere from 1 month to 4 months, depending on the materials, frequency of turning, and temperature.
How to Harvest Your Compost:
Once your compost is ready, you can harvest the finished material from the bottom. If your DIY bin doesn’t have a way to access the bottom, you can tilt the barrel and scoop out the finished compost, or simply empty the whole bin onto a tarp, sift out the finished compost, and put the unfinished material back in to continue breaking down.
Your freshly made compost is now ready to be mixed into your garden beds, used as mulch, or added to potting soil. Enjoy the fruits of your labor – literally!
Pros and Cons of DIY Rotating Compost Bins
Like any DIY project, your homemade rotating composter has its upsides and potential downsides. Knowing these will help you manage expectations.
| Pros | Cons |
|---|---|
| Cost-Effective: Often much cheaper than buying a pre-made tumbler. | Labor Intensive Build: Requires time, basic tools, and some effort to construct. |
| Customizable: You can build it to your specific size and needs. | Durability Varies: The lifespan depends heavily on the quality of materials and construction. Plastic barrels can become brittle over time in sunlight. |
| Faster Composting: Tumbling speeds up the process significantly compared to static piles. | Requires Regular Turning: Needs consistent effort (3-5 times/week) to reap the speed benefits. |
| Less Odor & Pests: Being enclosed helps manage smells and deter unwanted visitors. | Can Get Heavy: When full, the barrel can be quite heavy, making turning more strenuous if not properly balanced or aided. |
| Educational: A great project for learning basic construction skills and about the composting process. | Potential for Leaks: Poorly drilled drainage holes or cracks in the barrel could lead to leaks. |
| Eco-Friendly: Repurposes old barrels and reduces waste. | Aesthetics: A DIY build |