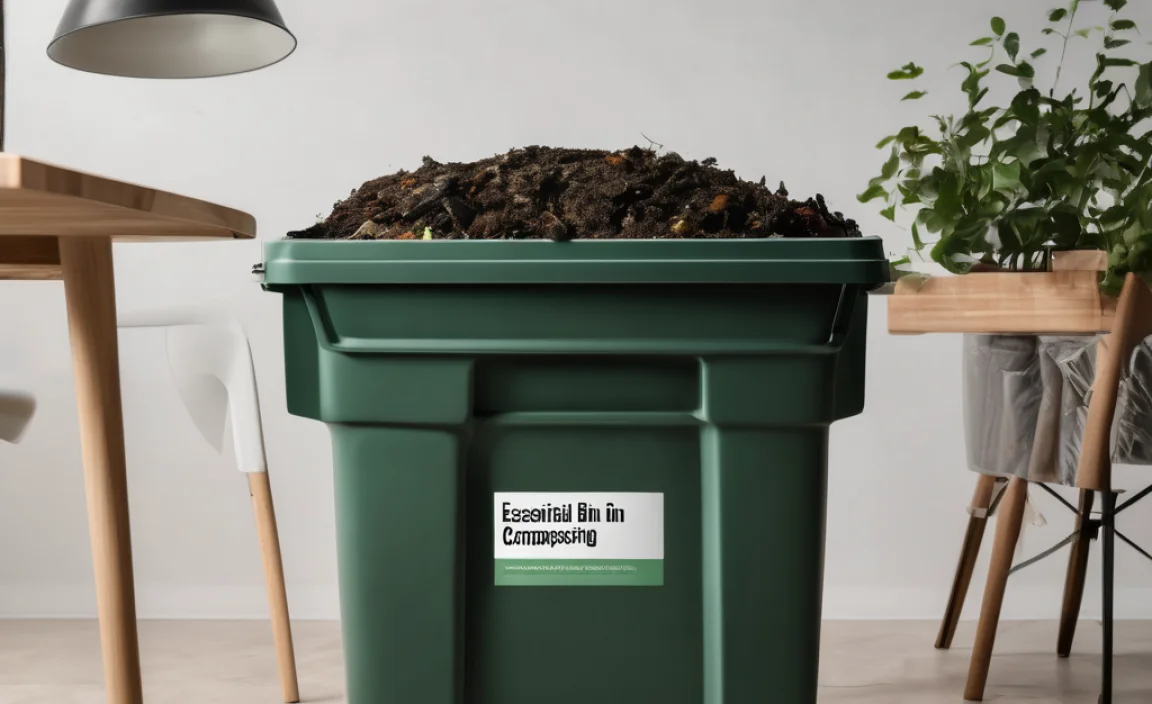
Hey there, fellow home improvers and garden enthusiasts! Are you looking to turn your kitchen scraps and yard waste into garden gold? Composting is a fantastic way to do it, and today, we’re diving deep into the world of rotating bin composting. Sometimes, the idea of composting can seem a bit… messy or complicated. But guess what? It doesn’t have to be! Rotating bins make the whole process way easier and faster. We’ll walk through some genius ideas and essential tips to get you composting like a pro, even if you’ve never done it before. Stick around, and you’ll be creating nutrient-rich compost in no time!
Rotating Bin Composting: Your Speedy Solution to Kitchen Waste
So, what exactly is rotating bin composting, and why is it such a big deal for beginners? Think of it like a super-powered compost tumbler. Instead of just letting things pile up and waiting, you’ve got a contained system that you can spin or tumble. This mixing action speeds up the decomposition process significantly, meaning you get usable compost much faster. Plus, it’s less work for you and often tidier than traditional open piles. It’s a smart, modern approach to turning waste into a gardener’s best friend.
Why Choose a Rotating Bin? The Big Benefits
Let’s break down why a rotating compost bin is a smart choice, especially for those just starting out. It’s designed to make your life easier and your compost better. Here are the key advantages that make this method a real winner:
- Speed: The tumbling action introduces oxygen, which is crucial for the microbes that break down organic matter. This means faster composting – often in just a few weeks to a couple of months, compared to many months for a static pile.
- Ease of Use: No more arduous turning with a pitchfork! A simple spin or a few turns of the handle is all it takes to mix your compost.
- Pest Prevention: Most rotating bins are enclosed, which helps keep out curious critters like rodents and raccoons that might be attracted to an open compost pile.
- Neater Appearance: An enclosed bin often looks tidier in your yard than an open compost heap, which is a big plus for many homeowners.
- Optimized Moisture and Heat: The enclosed nature also helps retain moisture and heat, creating an ideal environment for decomposition.
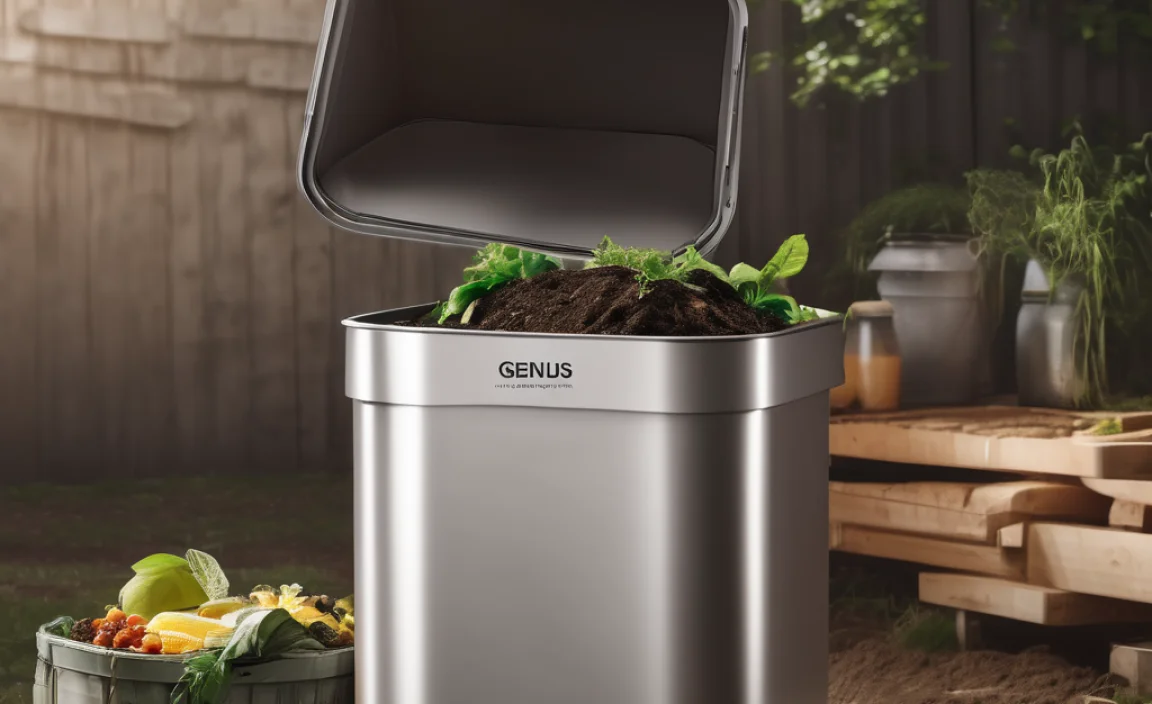
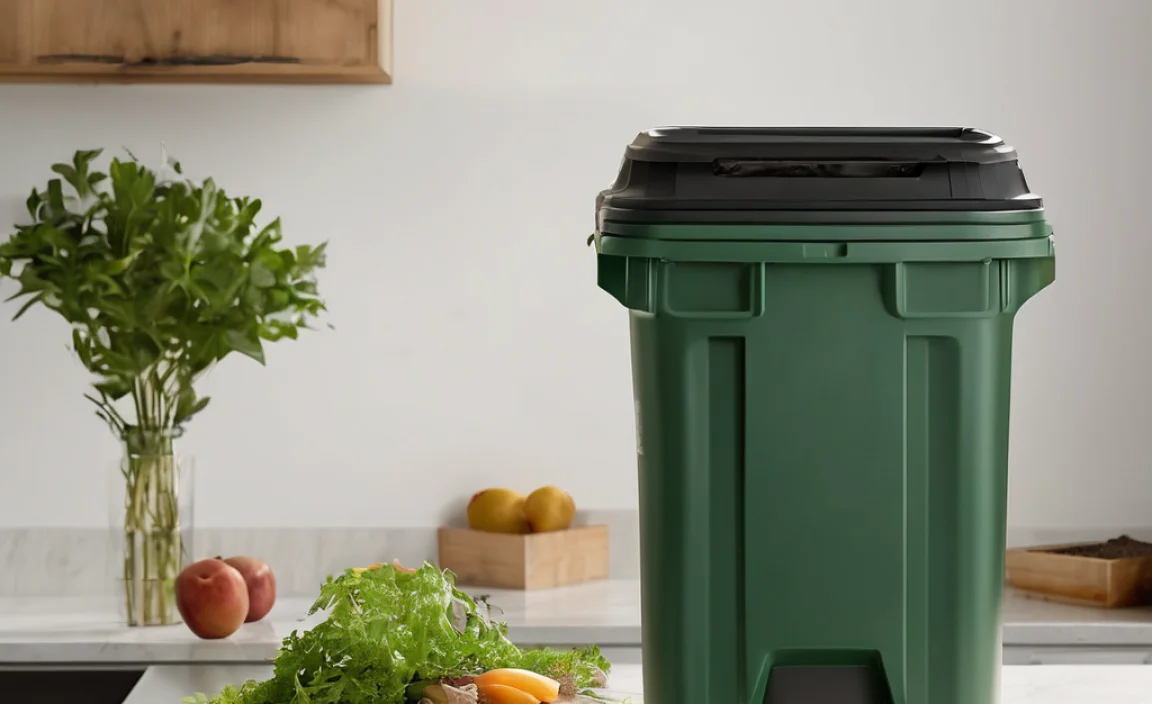
Choosing Your Rotating Compost Bin: Options and Ideas
When you start looking for rotating compost bins, you’ll find a few main types. Each has its own vibe and works slightly differently. Knowing the options helps you pick the one that best fits your space and needs.
Single Chamber Bins
These are the most common and usually the most affordable. They consist of one barrel or drum that you fill with compost materials. Once it’s full, you let it break down. You can’t add new scraps until the batch inside is ready, which can be a limitation if you generate a lot of compostables.
- Pros: Simple to use, generally smaller footprint, good for smaller households.
- Cons: You have to wait for a batch to finish before starting a new one; can sometimes be harder to achieve a good mix if not tumbled regularly.
Dual Chamber Bins
These clever bins have two separate compartments. You fill one side while the other side continues to cure or finish composting. Once the first side is full and you’ve moved it to the curing side (or the bin design allows for continuous adding to one side while the other finishes), you can start filling the first side again. This provides a continuous composting cycle.
- Pros: Ongoing compost production; allows you to have a “ready” batch while still actively composting.
- Cons: Can be larger and take up more space; might be slightly more complex to manage the rotation between chambers.
Multi-Chamber Bins (Three or More)
Some more advanced rotating bins offer three or even four chambers. This setup allows for a more sophisticated composting process, where materials can move through different stages of decomposition. You might add to chamber 1, then move it to chamber 2 as it breaks down, and finally to chamber 3 for curing. This segmentation is excellent for producing high-quality compost efficiently.
- Pros: Highly efficient continuous composting; allows for distinct stages of decomposition.
- Cons: Usually the largest and most expensive option; requires more understanding of the composting stages.
DIY Rotating Bin Ideas
Don’t want to buy a bin? You can totally build your own! Many people find success using repurposed materials. A popular DIY option involves using a large plastic barrel (like a food-grade barrel, often found for free or cheap from food processing companies) and mounting it on a stand so it can be easily rotated. You’ll need to cut an access door and potentially add drainage holes. For more detailed instructions, check out resources from university Extension offices like those from University of California Agriculture and Natural Resources for composting basics.
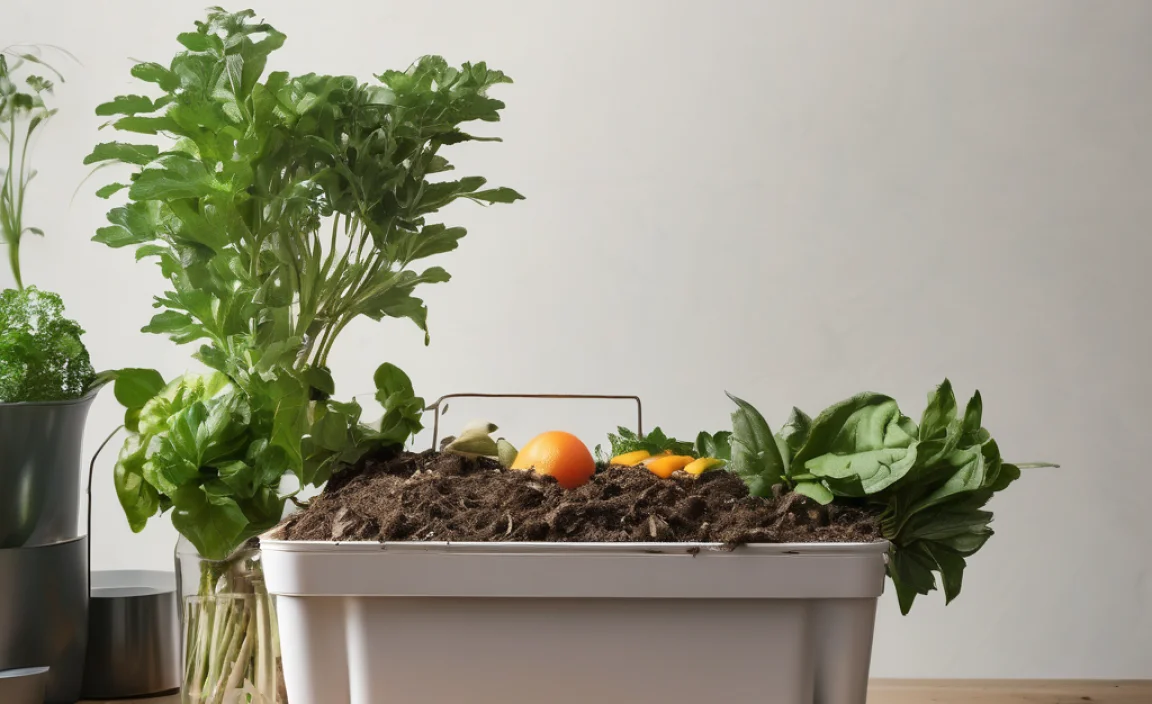
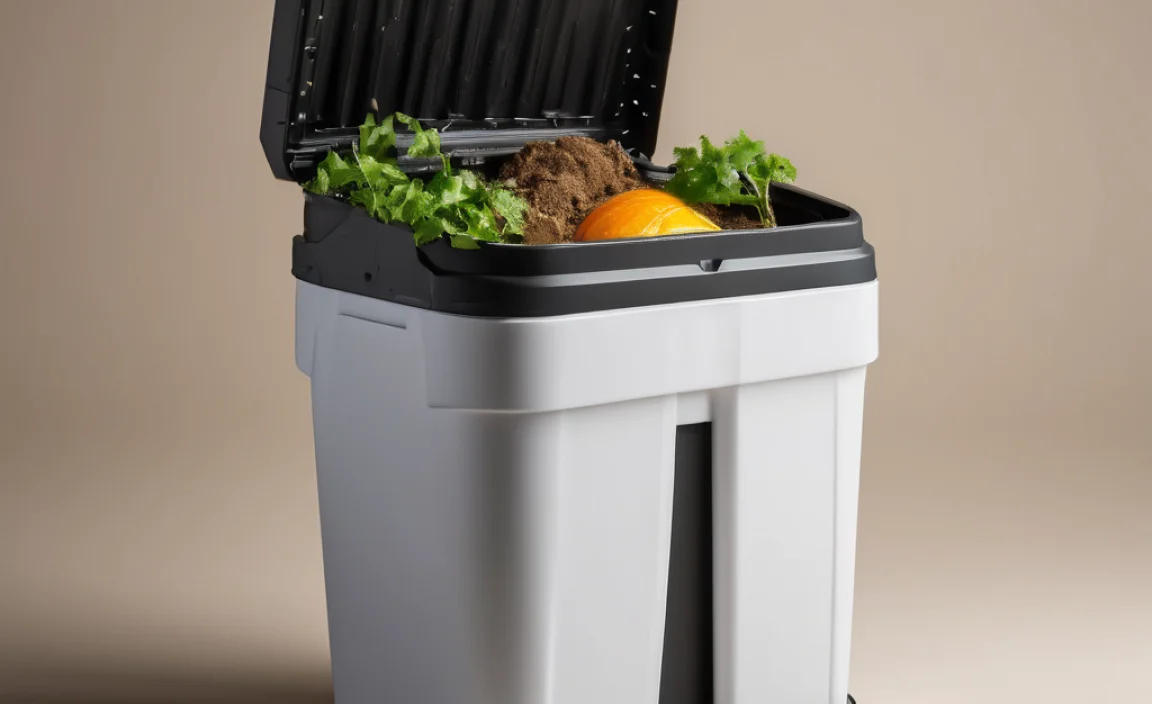
What to Put In Your Rotating Compost Bin (“Greens” and “Browns”)
The magic of composting lies in balancing the “greens” (nitrogen-rich materials) and “browns” (carbon-rich materials). Think of them as the fuel and the structure for your compost pile. Getting this ratio right is key to speedy decomposition and avoiding stinky compost.
“Greens” – The Nitrogen Providers
These are typically moist, nitrogen-rich materials that provide fuel for the microbes. They tend to break down quickly.
- Fruit and vegetable scraps
- Coffee grounds and filters
- Tea bags
- Grass clippings (in moderation, can get matted)
- Plant trimmings (non-woody)
- Manure from herbivores (chickens, rabbits, cows – avoid pet waste)
“Browns” – The Carbon Providers
These materials are usually dry and carbon-rich. They provide structure and aeration, and help prevent the pile from becoming too wet and smelly.
- Dry leaves
- Shredded newspaper and plain cardboard
- Straw and hay
- Wood chips and sawdust (small amounts)
- Pine needles
- Eggshells (crushed)
What NOT to Compost
To keep your compost healthy and avoid problems, it’s important to know what to leave out.
- Meat, fish, and bones (attract pests, can smell)
- Dairy products (attract pests, can smell)
- Oily or greasy foods
- Diseased plants
- Weeds that have gone to seed (unless your compost gets very hot)
- Pet waste (dog and cat feces can contain pathogens)
- Chemically treated wood or yard waste
The “Goldilocks” Ratio: Getting Your Greens and Browns Right
The ideal ratio for composting is often said to be about 2 parts Browns to 1 part Greens by volume. This is a good starting point. You’re looking for a balance that isn’t too wet (smelly) and not too dry (slow-moving).
If your compost is too wet and slimy, it probably needs more browns. If it’s dry and not breaking down, it needs more greens. Occasionally tossing in some crushed eggshells or a bit of garden soil can add beneficial microbes to speed things up.
How to Use Your Rotating Compost Bin: Step-by-Step
Ready to get started? It’s pretty straightforward. Follow these steps to make your composting journey a success:
Step 1: Set Up Your Bin
Place your rotating bin in a convenient location. Ideally, it should be in a spot that gets some sun (to help heat it up) but is also easy to access. Make sure there’s enough space around it to spin it easily.
Step 2: Start Adding Materials
Begin by adding a layer of browns (like dry leaves or shredded cardboard) at the bottom to help with aeration and drainage. Then, start adding your alternating layers of greens and browns. Chop larger items into smaller pieces – this speeds up decomposition.
Pro Tip: Try to maintain that 2:1 Browns to Greens ratio as you fill the bin. If you add a lot of kitchen scraps (greens), make sure to add an equal or larger amount of dry materials (browns).
Step 3: Tumble/Rotate Regularly
This is the key to rotating bin composting! Aim to give your bin a good tumble or turn at least every 2-3 days. A few spins are usually enough. This mixes the materials, adds oxygen, and keeps the decomposition process active.
Step 4: Monitor Moisture Levels
Your compost should be moist, like a wrung-out sponge. If it’s too dry, add a little water while tumbling. If it’s too wet, add more browns and tumble well to incorporate them and absorb excess moisture.
Step 5: Be Patient and Observe
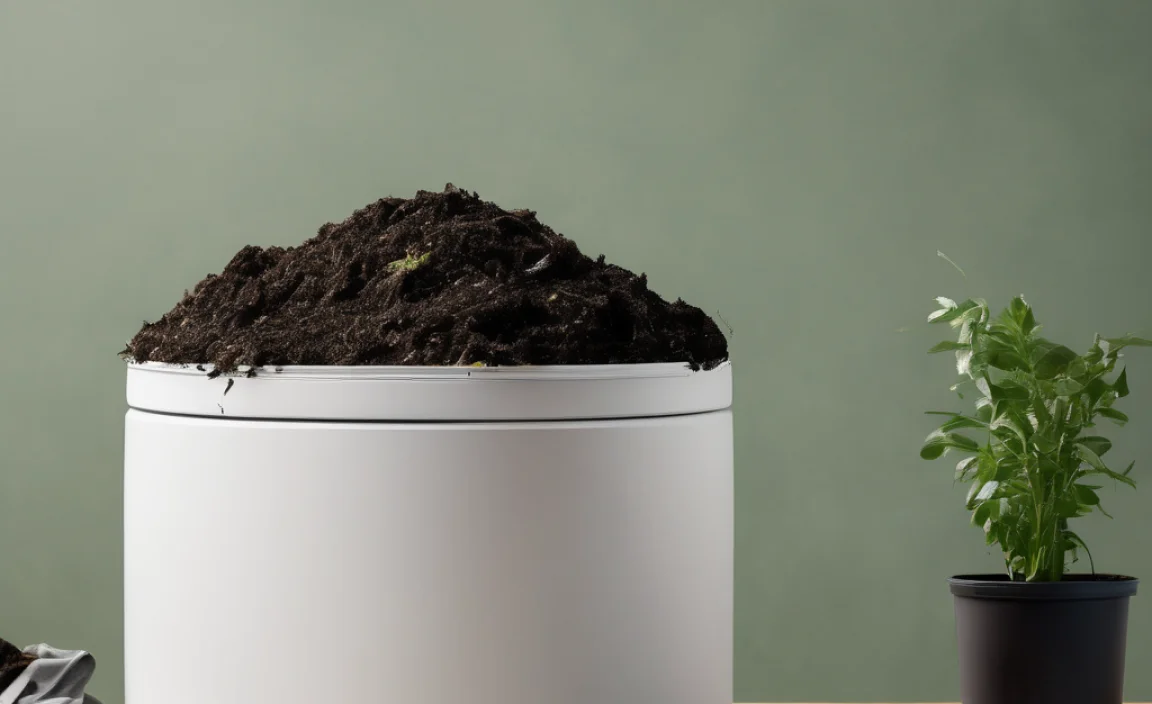
The time it takes to get finished compost varies depending on your bin, the materials you use, and how often you tumble. It can take anywhere from 4 weeks to 3 months. You’ll know it’s ready when it looks dark, crumbly, and smells earthy. You shouldn’t be able to recognize the original materials.
Step 6: Harvest Your Compost
Once your compost is ready, you can harvest it. Many bins have a door or a way to empty out the finished material. You can then use it in your garden beds, around trees and shrubs, or mix it into potting soil. You can then start a fresh batch!
Common Composting Challenges and Clever Solutions
Even with a rotating bin, you might run into a few snags. But don’t worry, these are common and have simple fixes.
The Smell Problem
If your compost smells foul (like rotten eggs or ammonia), it’s likely too wet and lacks oxygen. This is a sign of anaerobic decomposition.
Solution: Add more browns (dry leaves, shredded paper, sawdust) and tumble thoroughly to introduce air and absorb excess moisture. Make sure your bin has adequate ventilation.
For more on managing compost odors, the Environmental Protection Agency (EPA) offers excellent general composting advice.
It’s Not Breaking Down
If your compost seems stagnant and nothing is happening, it might be too dry, or you might not have enough “greens” (nitrogen).
Solution: Ensure the compost is moist (like a wrung-out sponge). Add more nitrogen-rich “green” materials like kitchen scraps or grass clippings and tumble well. Ensure you are tumbling regularly.
Pests are Visiting
While rotating bins are good at deterring pests, sometimes they can still find a way in, especially if the lid isn’t sealed well or if you’re composting things you shouldn’t.
* Solution: Double-check that your bin is properly sealed. Avoid adding meat, dairy, and oily foods. Make sure not to add diseased plants or seeds that could sprout in your garden. Ensure your compost is actively decomposing; hot compost piles are less attractive to pests.
Troubleshooting Table: Your Rotating Bin Companion
Here’s a handy table to quickly diagnose and fix common rotating bin composting issues:
| Problem | Possible Causes | Solutions |
|---|---|---|
| Bad Smell (Ammonia/Rotten Eggs) | Too wet, not enough air (anaerobic) | Add browns, increase tumbling/aeration. Ensure lid seals properly. |
| Too Dry / Not Heating Up | Lack of moisture, not enough greens (nitrogen) | Add water, add greens, ensure regular tumbling. |
| Slow Decomposition | Materials too large, low moisture, imbalance of greens/browns, infrequent tumbling | Chop materials smaller, adjust moisture, balance greens/browns, tumble more often. Consider adding compost starter or a shovelful of finished compost. |
| Attracting Pests (Rodents, Flies) | Composting forbidden items (meat, dairy, oils), exposed food scraps | Stop adding forbidden items. Bury fresh food scraps deep within the bin. Ensure lid is secure. |
| Compost is Slimy | Too much moisture, lack of browns, too much green material | Add dry browns (leaves, cardboard), tumble to aerate and mix. |
Genius Rotating Bin Composting Ideas for Extra Boost
Want to take your rotating bin composting from good to great? Here are some extra tips and ideas to speed things up and improve your compost quality:
- Chop it Up: The smaller the pieces of your greens and browns, the faster the microbes can break them down. Before adding materials, give them a quick chop or shred.
- Layer Smartly: When filling a new bin or chamber, alternate layers of greens and browns like making lasagna. This ensures good mixing from the start.
- Add Compost Activators: If you’re struggling to get your pile active, a handful of finished compost, a bit of garden soil, or a commercial compost activator can introduce beneficial microbes to get things rolling.
- Think About Temperature: Compost piles need to heat up to kill weed seeds and pathogens. Most rotating bins get warm in the sun, but you can help by adding materials promptly and tumbling regularly. For advanced composting, research hot composting techniques.
- Consider a Worm Blanket: Some gardeners like to add a layer of earthworms (red wigglers work best) to their compost bin, especially once it’s started to cool down a bit. Worms are excellent at breaking down organic matter, adding another layer of “magic” to your compost. While not strictly “rotating bin” specific, it’s a fantastic organic accelerator.
- Use a Thermometer: Compost thermometers are inexpensive tools that let you monitor the internal temperature of your compost. Ideal hot composting temperatures are between 131°F and 160°F (55°C and 71°C).
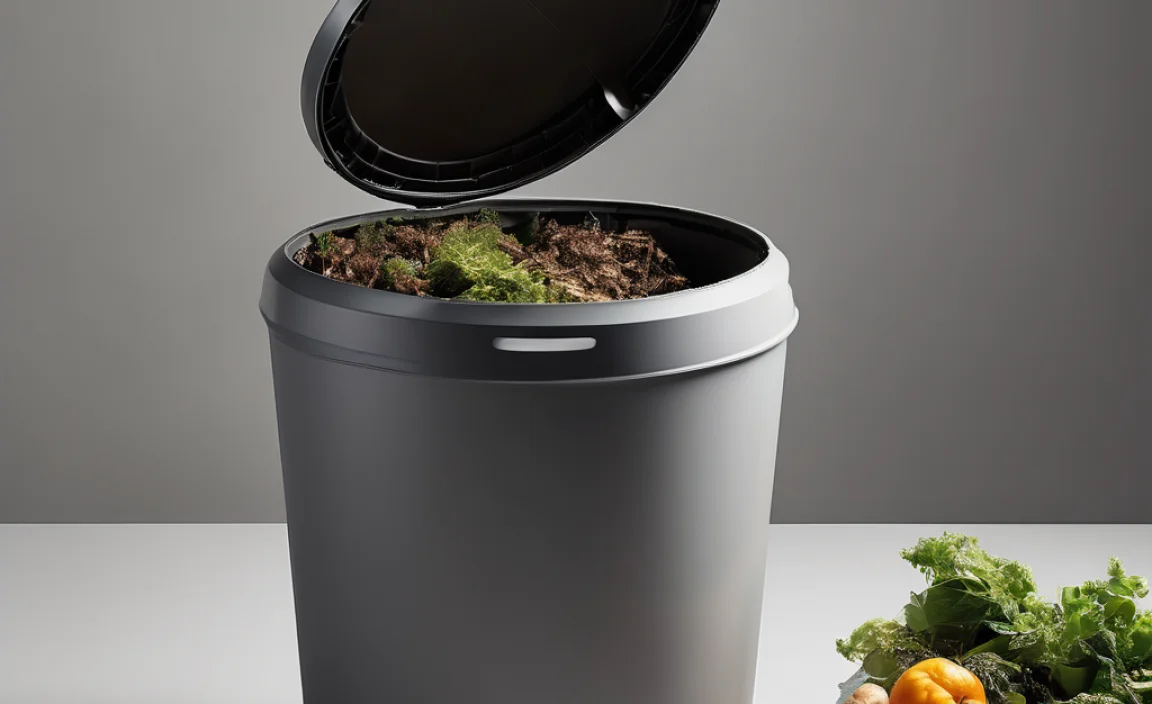
The Best Rotating Compost Bins Reviewed (A Quick Look)
While we’re not doing a full product review here, knowing what to look for can help. When choosing a bin, consider:
- Capacity: How much waste do you produce? A 40-60 gallon bin is often good for a small to medium household.
- Material: Most bins are made of durable, UV-stabilized plastic.
- Ease of Rotation: Does it have comfortable handles? Is it balanced when full?
- Durability: Look for sturdy construction.
- Price: Costs can range from under $100 for simple single-chamber bins to $300+ for dual-chamber or features.
Popular brands often include names you might see at garden centers or online retailers. Reading user reviews can be very helpful in deciding which model is best for you.
Frequently Asked Questions About Rotating Bin Composting
Here are some common questions beginners have about rotating bin composting:
Q1: How often should I turn my rotating compost bin?
A: Aim to turn or tumble your bin every 2-3 days. More frequent turning (daily) can speed up the process even further. Consistent aeration is key!
Q2: My rotating bin smells bad. What did I do wrong?
A: A bad smell usually means the compost is too wet and lacking air. Add more “browns” (like dry leaves or shredded cardboard) and tumble thoroughly to mix them in and introduce oxygen. Ensure your bin has adequate ventilation.
Q3: Can I put all my kitchen scraps in a rotating bin?
A: Most kitchen scraps are great! However, avoid meat, fish, bones, dairy products, and oily foods. These can attract pests and create unpleasant odors. Diseased plants and pet waste should also be avoided.
Q4: How long does it take to get finished compost from a rotating bin?
A: It varies, but with regular turning and a good balance of “greens” and “browns,” you can expect finished compost in as little as 4-8 weeks for some materials, or up to 2-3 months. Factors like temperature and material size play a big role.
Q5: Do I need to chop up my materials before putting them in the bin?
A: While not strictly necessary, chopping or shredding your materials (especially tougher items like stalks or large fruit rinds) will significantly speed up the composting process. Smaller pieces break down faster.

I am passionate about home engineering. I specialize in designing, installing, and maintaining heating, ventilation, and air conditioning systems. My goal is to help people stay comfortable in their homes all year long.