Want to turn your kitchen scraps and yard waste into amazing garden food? It sounds tricky, right? Composting can seem like a big task, but it doesn’t have to be. We’ll walk through the easy way to do it with a rotating compost bin. Get ready to make your garden happy!
Rotating Bin Composting Process: Your Essential Guide
Hey there, neighbor! Troy D Harn here from TopChooser, ready to break down something that might seem a little… well, messy. Composting! Lots of folks think it’s a big chore, or maybe just for experienced gardeners. But honestly, it’s one of the best things you can do for your yard and your wallet. And if you’ve seen those tumbling compost bins and wondered if they’re magic or just another thing to clutter up the yard, stick around. We’re going to dive deep into the rotating bin composting process. Think of me as your friendly guide, simplifying everything so you can get started with confidence. By the end of this, you’ll know exactly how to use a rotating bin to make that black gold that plants just love.
Why a Rotating Bin Compost System Makes Things Easier
So, why a rotating bin specifically? Traditional compost piles can take a while, need a lot of turning, and sometimes attract critters. A rotating compost bin, also known as a tumbler composter, speeds things up and keeps things tidy. Think of it as a sealed, self-contained composting machine for your backyard.
Here’s why it’s a great choice for beginners and busy folks:
- Faster Composting: The tumbling action aerates the compost easily, which is crucial for breaking down materials quickly. This means you can get finished compost in as little as a few weeks to a couple of months, rather than many months or even a year for a static pile.
- Less Physical Labor: Instead of hefting shovels and pitchforks to turn a large pile, you simply give the bin a good spin. It’s much easier on your back!
- Neater and More Contained: Tumblers usually have lids and are enclosed, which helps keep unwanted guests like rodents and flies out. It also looks tidier in your yard.
- Better Moisture and Heat Control: Being enclosed helps the compost pile retain heat and moisture, both key ingredients for effective decomposition.
- Simple to Use: The process is straightforward, making it perfect for anyone new to composting.
Understanding the Science (The Simple Version!)
At its core, compositing is nature’s recycling program! It’s all about encouraging tiny microorganisms—like bacteria and fungi—to break down organic matter. These little helpers need a few things to thrive:
- Food: This comes from your kitchen scraps and yard waste.
- Air: Microbes need oxygen to work their magic.
- Water: The right moisture level keeps them happy and hydrated.
- Warmth: Decomposition creates its own heat, but a good starting temperature helps speed things up.
The rotating bin helps provide all of these. The tumbling mixes air in, the enclosed nature helps keep moisture and heat, and your added materials are the food. It’s a neat little ecosystem in a box!
What You Need: Your Rotating Bin Composting Toolkit
The great news is you don’t need a lot of fancy gear to get started with a rotating compost bin. Here’s a quick rundown of what’s essential:
- A Rotating Compost Bin (Tumbler): This is your main tool. They come in various sizes and designs. Some are single-chamber, meaning you fill it up, let it compost, then empty it all at once. Others have dual chambers, allowing you to fill one while the other finishes composting, giving you a continuous supply.
- Kitchen Compost Caddy: This is a small container with a lid that you keep on your kitchen counter. It’s where you’ll collect your fruit peels, vegetable scraps, and coffee grounds before taking them out to the main bin. Look for one with a charcoal filter to help control odors.
- Gardening Gloves: To keep your hands clean and protect them while handling materials or finished compost.
- A Pitchfork or Small Spade: While the tumbler does the heavy lifting, you might occasionally need to break up clumps or move finished compost.
- A Watering Can or Hose: To add moisture if your compost gets too dry.
- Your “Greens” and “Browns”: These are the organic materials you’ll be composting. We’ll cover these in detail next!
For a good variety of composting bins suitable for different needs, you might want to check out resources like the EPA’s composting guidance for general principles, and then look at reviews from reputable home and garden sites for specific bin recommendations.
The “Greens” and “Browns” – What to Compost
This is where many beginners get a little confused, but it’s actually quite simple. Think of it like a recipe for good compost. You need a balance of nitrogen-rich “greens” and carbon-rich “browns.” Aiming for a ratio of roughly 2 parts browns to 1 part greens by volume is a good starting point.
What are “Greens” (Nitrogen-Rich)?
These materials are typically moist and tend to break down quickly. They provide the nitrogen that fuels the microbes.
- Fruit scraps (peels, cores, rinds, seeds)
- Vegetable scraps (peels, ends, leaves)
- Coffee grounds and paper filters
- Tea bags (remove staples and synthetic bags)
- Grass clippings (add in thin layers to avoid matting)
- Plant trimmings (non-diseased)
- Manure from herbivores (like rabbits, chickens, cows – ensure it’s aged if possible to kill pathogens)
What are “Browns” (Carbon-Rich)?
These materials are usually dry and provide carbon, which is the energy source for the microbes. They also help create air pockets and prevent the compost from becoming a soggy, smelly mess.
- Dried leaves
- Straw or hay
- Shredded newspaper (avoid glossy inserts)
- Cardboard (torn into small pieces, remove tape/labels)
- Paper towel and toilet paper tubes (shredded)
- Wood chips or sawdust (use in moderation, as they break down slowly)
- Dryer lint (from natural fibers like cotton)
- Pine needles (use in moderation, as they are acidic and break down slowly)
What NOT to Compost in a Rotating Bin
To keep your compost healthy, fast-composting, and odor-free, it’s important to avoid certain items, especially in a confined tumbler system:
- Meat, fish, and dairy products: These can attract pests, create foul odors, and harbor harmful bacteria.
- Oils, greases, and fatty foods: Similar to meat products, these attract pests and can slow down decomposition.
- Diseased plants: You don’t want to spread plant diseases to your garden.
- Weeds that have gone to seed: You risk spreading unwanted weeds throughout your garden.
- Pet waste (from dogs and cats): These can contain pathogens harmful to humans.
- Chemically treated wood or yard waste: You don’t want those chemicals in your garden.
- Coal or charcoal ash: These can contain harmful substances.
- Glossy or coated paper/cardboard: The coatings often don’t break down and can contain plastics.
When in doubt, it’s always better to leave it out!
Step-by-Step: The Rotating Bin Composting Process
Alright, let’s get this composting party started! Using a rotating bin is pretty straightforward. Here’s how you do it:
Step 1: Choose Your Location
Find a convenient spot for your rotating compost bin. Ideally:
- It should be on level ground.
- It should be accessible year-round.
- Partial shade is generally best. Full sun can dry it out too quickly, and deep shade might keep it too cool or damp.
- Keep it a reasonable distance from your house to minimize any potential (though unlikely with good practices) odors, but close enough to make trips from the kitchen easy.
Step 2: Assemble Your Bin (If Needed)
Follow the manufacturer’s instructions to assemble your rotating compost bin. Most are pretty intuitive, often involving connecting the drum to a stand. Ensure all parts are securely in place.
Step 3: Start Layering Your Materials
Begin by adding your first batch of materials. It’s a good idea to start with a layer of “browns” like straw or shredded cardboard. This helps with drainage and aeration from the start. Then, start adding your “greens” and “browns” as you collect them. A good rule of thumb is to add a layer of browns after adding a significant amount of greens. This helps maintain that crucial balance.
Pro Tip: Chop or shred larger items (like banana peels or cardboard boxes) into smaller pieces. Smaller pieces have more surface area, allowing microbes to break them down much faster.
Step 4: Add Water
Your compost needs to be moist, like a wrung-out sponge. Not soaking wet, and not bone dry. As you add materials, sprinkle in some water. The enclosed nature of the bin helps retain moisture, but you’ll need to monitor it. If everything looks dry and dusty, add water. If it looks sludgy, add more browns and tumble more frequently.
Step 5: Tumble, Tumble, Tumble!
This is the fun part! Once you’ve added a good amount of material (or if you’re using a dual-chamber bin and have filled one side), it’s time to tumble. Secure the lid and give the bin a good spin. Aim for about 5-10 full rotations. The frequency of tumbling depends on how quickly you want compost and how active your pile is:
- Active Composting: Turn the bin every 2-3 days. This is the fastest method and can yield compost in as little as 2-4 weeks.
- Moderate Composting: Turn the bin 1-2 times a week. This typically yields compost in 1-3 months.
- Less Active Composting: Turn the bin once a week or less. This will take longer, potentially 3-6 months or more.
As the material breaks down, the volume will decrease. You can continue adding new materials to a single-chamber bin until it’s full, then let it finish. With a dual-chamber bin, once one side is full, you switch to filling the other, allowing the first to finish without new additions.
Step 6: Monitor and Balance
Keep an eye on your compost. What should you look for?
- Moisture: Squeeze a handful. A few drops of water should come out. Too dry? Add water. Too wet? Add more browns and tumble.
- Temperature: An actively composting pile will heat up. You won’t be able to touch it for long. This heat is great for killing weed seeds and pathogens. If it’s not heating up, you might need more greens, more moisture, or more frequent tumbling.
- Smell: It should smell earthy, like a forest floor. If it smells rotten or like ammonia, it’s usually too wet, too many greens, or not enough air. Add browns and tumble.
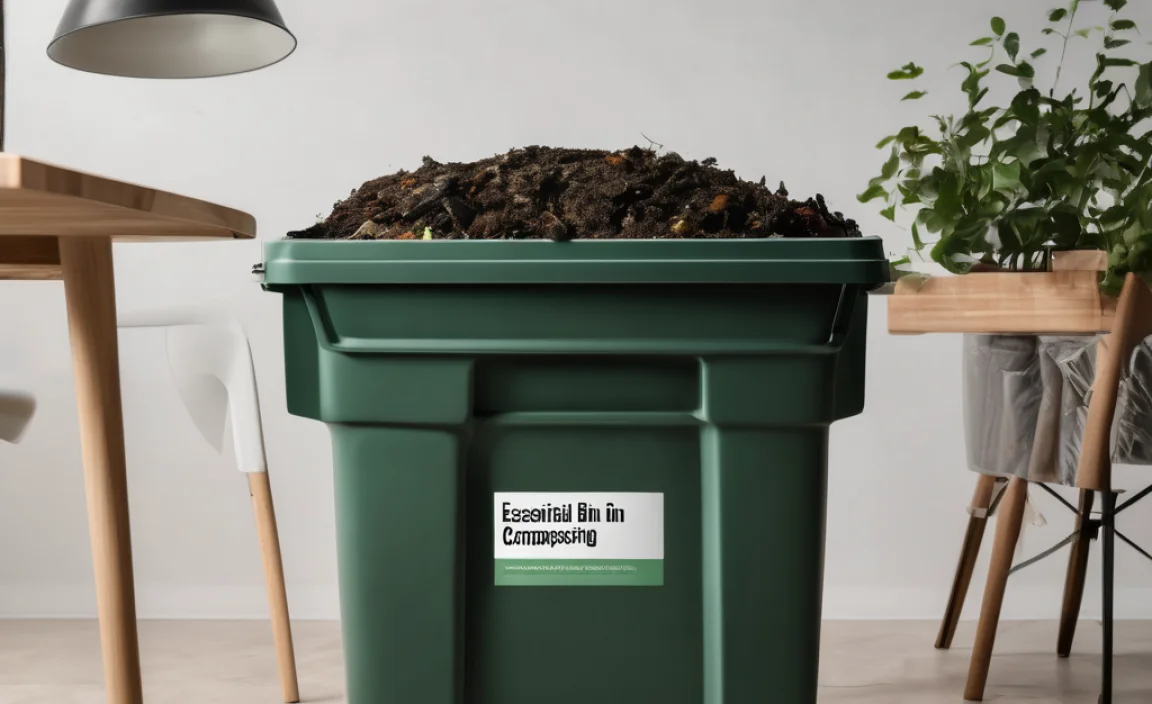
Step 7: Harvest Your Compost!
Your compost is ready when it’s dark, crumbly, and smells pleasant and earthy. You shouldn’t be able to identify the original materials. Depending on your bin type and how often you tumble, this can take anywhere from a few weeks to a few months.
To harvest:
- Open the door or hatch of your compost bin.
- Use your pitchfork or spade to scoop out the finished compost. You might want to sift it through a screen if you want a finer texture, removing any larger, undigested pieces to put back into the bin.
- Add the finished compost to your garden beds, use it in potting soil, or top-dress your lawn.
Troubleshooting Common Rotating Bin Composting Issues
Even with the best intentions, you might run into a snag. Don’t worry, these are common and usually easy to fix!
| Problem | Possible Cause | Solution |
|---|---|---|
| Compost Smells Bad (Rotten Egg/Ammonia) | Too wet; too many greens; not enough air. | Add more “browns” (leaves, shredded cardboard); tumble more frequently to aerate; ensure it’s not waterlogged. Add a layer of finished compost or soil to introduce helpful microbes. |
| Compost is Dry and Dusty | Not enough moisture; too many browns; too much sun exposure. | Add water, aiming for a damp-sponge consistency; add more “greens”; tumble to mix; move the bin to a shadier spot if it’s drying out too fast. |
| Compost is Not Heating Up | Not enough “greens” (nitrogen); pile is too small; too dry; infrequent tumbling. | Add more “greens” like grass clippings or food scraps; ensure you have enough material for the pile to generate heat (check bin size recommendations); add water if dry; tumble more often. |
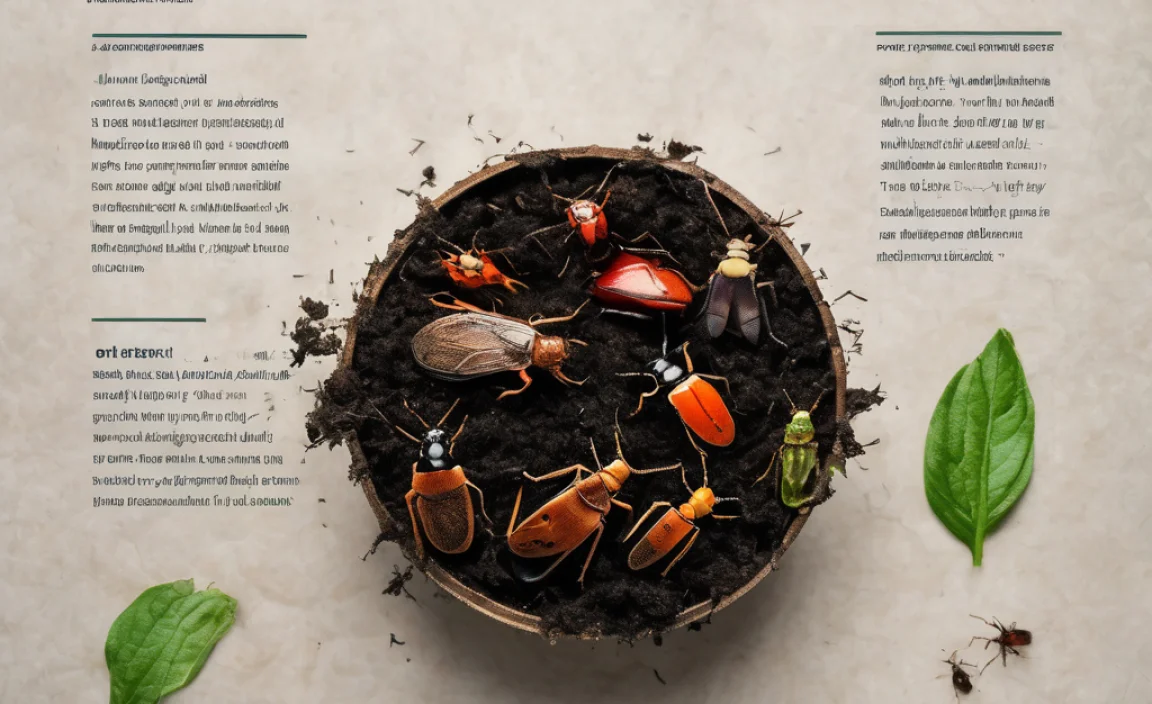
| Compost is Full of Pests (Flies, Rodents) | Exposed food scraps; improper materials being added (meat, dairy); bin not properly sealed. | Bury food scraps deep within browns; ensure you’re not adding prohibited items; check bin lid and hatches for secure closure; for minor fly issues, a good tumble can help. |
| Compost is Not Breaking Down (Slow Progress) | Incorrect “green” to “brown” ratio; materials too large; lack of moisture; infrequent tumbling. | Adjust the ratio – add more greens if too many browns, or more browns if too many greens; chop materials smaller; check moisture levels; increase tumbling frequency. |
The Benefits of Using Your Homemade Compost
Why go through all this effort? Because the results are fantastic! Turning your waste into nutrient-rich compost is like giving your garden a superfood boost. Here’s what your plants will thank you for:
- Improved Soil Structure: Compost helps sandy soils retain moisture and nutrients, and it loosens up heavy clay soils, improving drainage and aeration.
- Nutrient Boost: It’s packed with essential nutrients that plants need, reducing the need for synthetic fertilizers.
- Healthier Plants: Compost encourages beneficial soil organisms that can help suppress plant diseases and pests.
- Better Water Retention: Your soil will hold onto water more efficiently, meaning you might need to water less often.
- Reduced Waste: You’ll be diverting a significant amount of household waste from landfills, which is great for the environment.
- Cost Savings: You’ll save money on purchasing fertilizers, soil amendments, and even some potting mixes.
According to the USDA’s Agricultural Marketing Service, compost application can significantly improve soil health and plant growth.

I am passionate about home engineering. I specialize in designing, installing, and maintaining heating, ventilation, and air conditioning systems. My goal is to help people stay comfortable in their homes all year long.