Ever stare at your food scraps and wonder if there’s a better way than just tossing them in the trash? You’re not alone! Many folks want to compost but feel a bit overwhelmed. Rotating bin composting is a fantastic method, and getting it right makes all the difference. It’s simpler than you might think, and we’re here to walk you through it, step-by-step. Let’s turn those kitchen scraps into garden gold!
Your Essential Rotating Bin Composting Training Guide
Hey there, neighbors! Troy D Harn here from TopChooser. If you’ve been curious about composting but felt like it was too complicated, I’ve got your back. Rotating bin composting is a super effective and relatively quick way to create nutrient-rich compost for your garden. It’s a closed system, which helps speed things up and keep smells and critters at bay. Think of it as a compost tumbler that does the hard work for you! Today, we’re going to break down everything you need to know to get started and keep your compost cooking.
Why Choose a Rotating Bin Composter?
Rotating bin composters, often called compost tumblers, offer a few neat advantages, especially for beginners. They keep your compost contained, which is great if you’re worried about pests or just want a tidier setup. The tumbling action makes it easy to aerate your compost – that’s key to helping the microbes do their job efficiently and preventing stinky, anaerobic conditions. Plus, they can often produce compost faster than traditional static piles.
Benefits at a Glance:
- Faster Composting: Regular turning speeds up decomposition.
- Pest Deterrent: Enclosed bins help keep unwanted visitors out.
- Neater Appearance: Keeps compost tidy and contained.
- Easy Aeration: Simple to turn and mix materials.
- Reduced Odor: Proper aeration minimizes compost smells.
What Exactly is Rotating Bin Composting?
At its heart, rotating bin composting is about managing the ingredients and conditions inside a sealed, rotating container. You add your “greens” (nitrogen-rich materials) and “browns” (carbon-rich materials) in the right balance. Then, you periodically turn or “tumble” the bin. This action mixes everything together, exposes the materials to oxygen, and keeps the moisture levels consistent. Decomposition happens thanks to a team of tiny organisms: bacteria, fungi, and other beneficial microbes that thrive in this environment.
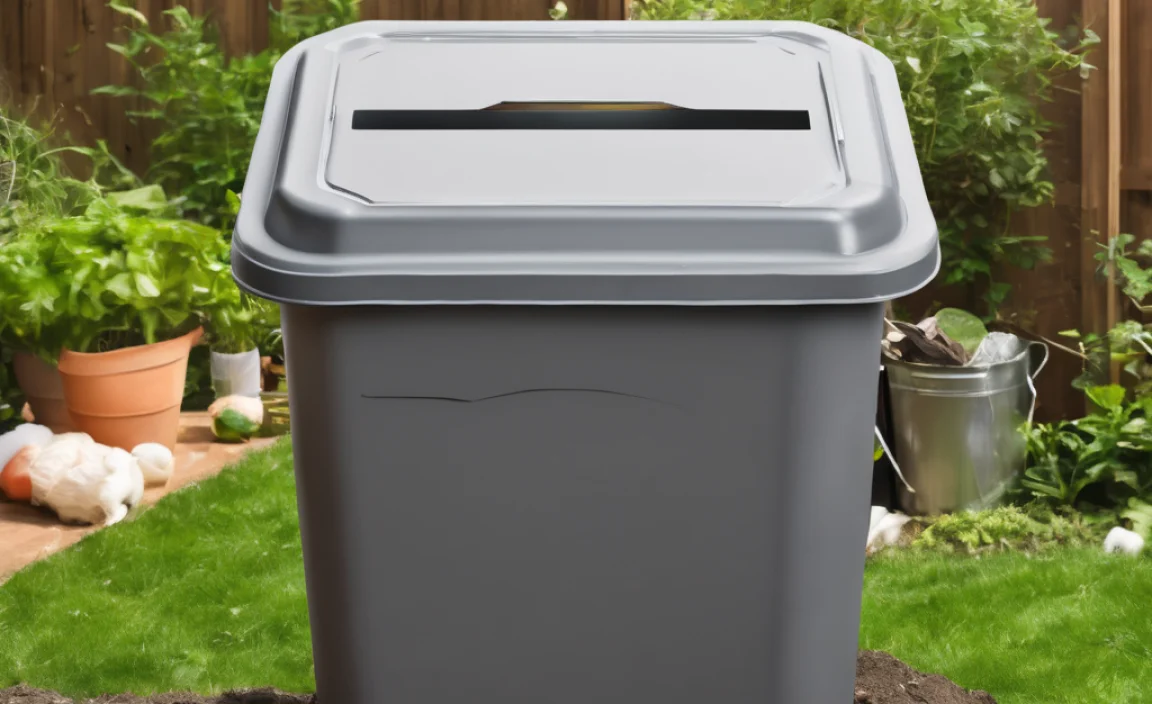
Gathering Your Rotating Bin Composting Supplies
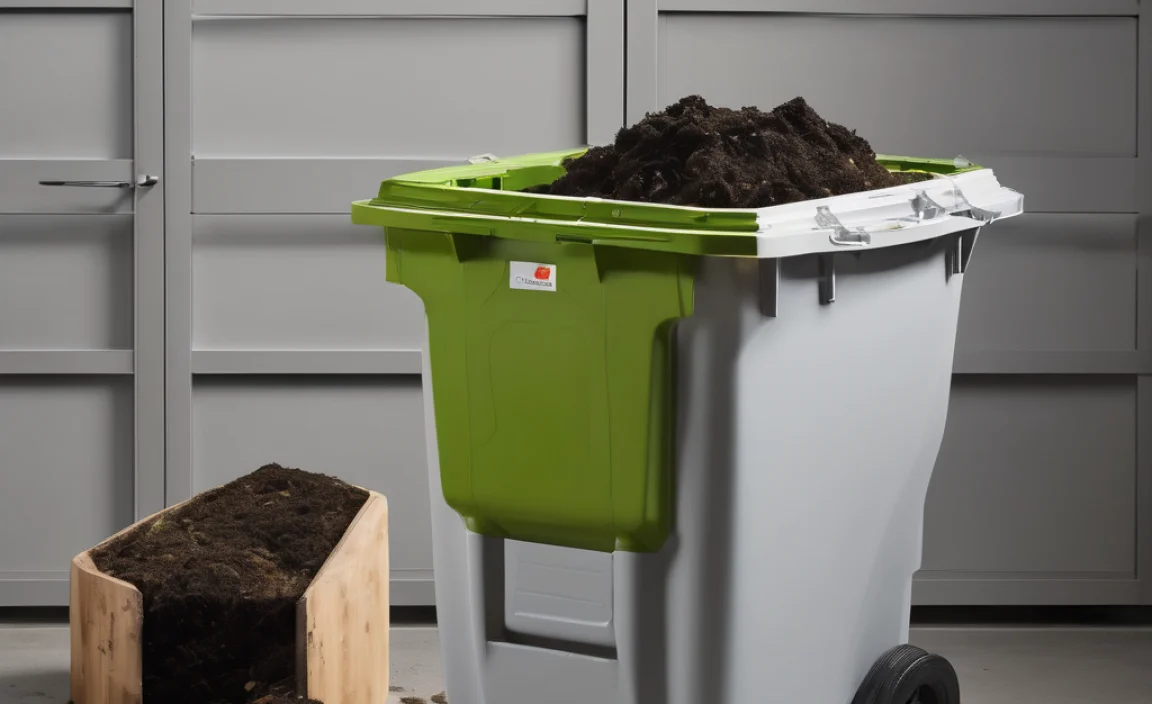
Before you start tossing in your kitchen scraps, let’s make sure you have the right gear. The main piece, of course, is the rotating bin composter itself. There are many options out there, from single-chamber to dual-chamber models. Dual-chamber bins are fantastic because you can have one side actively composting while the other is ready for new materials.
Essential Gear:
- Rotating Bin Composter: Choose a size and style that fits your needs.
- Kitchen Compost Pail: A small, lidded container for collecting scraps indoors.
- Gardening Gloves: To keep your hands clean.
- Small Hand Trowel or Scoop: For adding materials and eventually harvesting compost.
- Watering Can or Hose with a Gentle Spray Nozzle: For adjusting moisture.
The Crucial Balance: Greens and Browns
This is one of the most important parts of composting, no matter the method. Think of it like a recipe for your compost pile. Too much of one thing can lead to a stinky, slow-composting mess. The goal is a good mixture of nitrogen-rich “greens” and carbon-rich “browns.”
Greens (Nitrogen-Rich):
- Fruit and vegetable scraps
- Coffee grounds and tea bags
- Grass clippings (in thin layers)
- Plant trimmings (non-diseased)
- Eggshells (crushed)
Browns (Carbon-Rich):
- Dry fallen leaves
- Shredded newspaper and cardboard (avoid glossy or colored inks)
- Straw or hay
- Wood chips or small twigs (chopped up)
- Sawdust (from untreated wood)
As a general rule of thumb, aim for a ratio of about 2 parts Browns to 1 part Greens by volume. Don’t stress too much about being perfect! Composting microbes are pretty forgiving. If your compost starts to smell, you likely have too many greens. If it’s not breaking down, you might need more greens or more moisture. A great resource for understanding composting inputs is the U.S. Environmental Protection Agency (EPA), though they often focus on larger-scale operations, the principles still apply!
Step-by-Step Rotating Bin Composting Training
Ready to get started? Here’s how to set up and manage your rotating bin composter for optimal results.
Step 1: Set Up Your Composter
Find a good spot for your bin. It should be on level ground, easily accessible from your kitchen and garden, and ideally in a location that gets some sun to help with warmth, but not baking all day long, which could dry it out too quickly. Follow the manufacturer’s instructions for assembly. Most rotating bins are pretty straightforward.
Step 2: Add Your First Batch of Materials
Start by adding a layer of browns (like shredded cardboard or dry leaves) to the bottom of the bin. This helps with drainage and airflow. Then, begin adding your kitchen scraps (greens) and more browns. Aim to go from your kitchen pail to the composter every day or two. Try to chop larger items into smaller pieces before adding them; they’ll break down faster. It’s also a good idea to mix your greens and browns as you add them, or at least ensure they’re not in big clumps.
Step 3: The Magic Ratio – Balancing Greens and Browns
Remember that 2:1 Browns to Greens ratio we talked about? As you add materials, try to maintain this. If you’re adding a lot of fruit and veggie peels, follow them up with a good amount of shredded newspaper or dry leaves. If you’re unsure, err on the side of adding more browns. Too many greens can create a slimy, smelly situation.
Step 4: Moisture Management is Key
Your compost pile needs to be moist, but not soaking wet. Think of a wrung-out sponge – damp to the touch but no water drips when you squeeze it. If your compost looks dry, add some water. If it feels too wet and is giving off a sour smell, add more browns and tumble vigorously to aerate.
Step 5: Tumble, Tumble, Tumble!
This is the fun part! How often you tumble depends on your composter and how quickly you want compost. For faster results, try tumbling 2-4 times a week. If you’re more patient, once a week might be enough. Give the bin a good spin, ideally turning it end-over-end or side-to-side several times. This mixes the materials, introduces oxygen, and helps maintain an even temperature.
Pro Tip: If you have a dual-chamber bin, fill one side until it’s nearly full, let it compost while you fill the second. Once the first is done and you’re harvesting, the second is ready to start. This continuous system is fantastic!
Step 6: What to Avoid Adding
To keep your compost healthy and pest-free, avoid adding certain things:
- Meat, fish, and dairy products (they attract pests and can smell bad)
- Oily or greasy foods
- Diseased plants
- Weeds that have gone to seed (they might sprout later)
- Pet waste (dog or cat feces can contain harmful pathogens)
- Treated wood or coal ash
- Large woody materials that won’t break down easily
Step 7: Knowing When Your Compost is Ready
Compost is ready when it looks and smells like dark, rich soil. It should be crumbly, uniform in texture, and have a pleasant, earthy odor. You won’t be able to identify the original materials you put in. Depending on your bin, the materials you add, and how diligently you tumble, compost can be ready in as little as 4-8 weeks, or it might take a few months.
Step 8: Harvesting Your Compost
Once your compost is ready, open the access door and empty the contents. You can use a sieve or screen to sift out any larger, unfinished pieces. These can be tossed back into your active composter to break down further. The finished compost is great for amending garden beds, potting mixes, or top-dressing lawns.
Troubleshooting Common Rotating Bin Composting Issues
Even with the best intentions, sometimes things don’t go perfectly. Here are a few common issues and how to fix them:
Issue 1: My Compost Smells Bad (Like Ammonia or Rotten Eggs)
Likely Cause: Too much nitrogen (greens) or not enough air. The smell of ammonia usually means you have way too many greens. The rotten egg smell is typical of anaerobic (without oxygen) conditions.
Solution:
- Add more browns (shredded cardboard, dry leaves) to balance the nitrogen.
- Tumble the bin more frequently and thoroughly to increase aeration.
- Ensure the moisture level isn’t too high. Add dry browns to absorb excess moisture.
Issue 2: Nothing Seems to Be Happening / Composting is Too Slow
Likely Cause: Pile is too dry, not enough nitrogen (greens), or not enough air.
Solution:
- Check moisture. It should feel like a wrung-out sponge. Add water if needed.
- Add more greens. If you’ve been adding mostly browns, it’s time for some kitchen scraps or grass clippings.
- Tumble the bin more often to ensure good aeration and mixing.
- Make sure materials are chopped into smaller pieces to increase surface area for microbes.
Issue 3: My Compost is Always Too Wet or Slimy
Likely Cause: Too many greens or too much moisture, not enough airflow.
Solution:
- Add plenty of dry browns to absorb excess moisture and balance nitrogen.
- Tumble frequently to introduce air and help dry things out.
- Ensure your bin’s drainage is adequate and not blocked.
Issue 4: Fruit Flies or Other Pests Are Visiting
Likely Cause: Exposed food scraps, especially sugary or greasy ones. Meat/dairy can also attract issues (which you should avoid adding anyway!).
Solution:
- Always bury fresh food scraps deep within the bin, covered by browns.
- Tumble the bin regularly to incorporate new materials.
- Ensure your bin lid is secure and there are no large gaps.
- Avoid adding meat, fish, and dairy products.
Best Practices for Continuous Composting
To keep your compost production running smoothly, adopt these habits:
- Keep a Kitchen Caddy Handy: Collect scraps conveniently.
- Chop Materials: Smaller pieces decompose faster.
- Observe and Adjust: Pay attention to smell, moisture, and signs of activity.
- Tumble Consistently: Make it a routine—e.g., every time you add new scraps, or on a set day of the week.
- Layer Appropriately: Mix greens and browns as you add them.
- Be Patient: Composting is a natural process and has its own timeline.
Choosing the Right Rotating Bin for You
When picking out a tumbler, consider these factors:
Rotating Bin Features to Consider
| Feature | Pros | Cons |
|---|---|---|
| Single Chamber vs. Dual Chamber | Single: Simpler, often more affordable. Dual: Allows for continuous composting (one side active, one curing). | Single: You have to wait for the whole batch to finish before starting anew. Dual: Can be larger and more expensive. |
| Size/Capacity | Larger bins can handle more waste and retain heat better. | Larger bins can be harder to turn if too full, take up more space. |
| Material (Plastic vs. Metal) | Plastic: Lightweight, rust-resistant, often more affordable. Metal: Can be more durable, absorb heat better. | Plastic: Can become brittle in extreme cold or prolonged sun. Metal: Can rust if coating is damaged, may get very hot in direct sun. |
| Ease of Turning | Look for designs that are easy to rotate, with good leverage. Some have handles. | Some designs can be difficult to turn, especially when full. |
| Assembly | Various degrees of assembly required. Some are ready to go out of the box! | Complex assembly can be frustrating. |
Many reputable brands offer good quality rotating composters. For example, online retailers and garden centers carry options from brands like Sun Terra, Envirocycle, and Yimasa. A quick comparison of features and customer reviews on sites like GardensAlive! or larger home improvement store websites can help you find the best fit for your space and budget.
Conclusion: Happy Composting!
So there you have it – your essential training for rotating bin composting! It’s a rewarding process that benefits your garden and the environment. By understanding the balance of greens and browns, managing moisture, and giving your bin a regular tumble, you’ll be well on your way to creating fantastic compost. Don’t be afraid to experiment a little; composting is a living process, and you’ll learn what works best for your specific situation. Happy tumbling, and enjoy the fruits (and veggies!) of your labor!
Frequently Asked Questions (FAQ)
Q1: How often should I turn my rotating composter?
A1: For faster results, aim to turn it 2-4 times a week. If you’re more patient, once a week is usually sufficient.
Q2: Can I compost in a rotating bin during winter?
A2: Yes, but composting will be slower in cold weather. Insulated bins or placing the composter in a sunny, sheltered spot can help. You may need to add more “greens” and monitor moisture closely.
Q3: What if my rotating composter starts to smell bad?
A3: This usually means it’s too wet or has too many “greens” (nitrogen-rich materials). Add more “browns” (carbon-rich materials) like dry leaves or shredded cardboard, and tumble more frequently to aerate.
Q4: How do I know if my compost is “cooking”?
A4: A healthy compost batch will generate heat. You might see steam rising from it on a cool morning. If it feels warm to the touch (be careful!), the microbes are actively working!
Q5: Can I put diseased plants in my rotating composter?
A5: It’s best to avoid adding diseased plants to a home compost system. The temperatures in home compost bins often aren’t high enough to kill all pathogens, potentially spreading disease back into your garden. Focus on healthy plant trimmings.
Q6: Do I need to add anything special to make composting work?
A6: No, you don’t need special additives. The magic happens naturally with the right mix of greens, browns, air, and moisture. Just maintain those key elements, and the microbes will do the rest!
Q7: How small do my pieces need to be?
A7: The smaller, the better! Aim for pieces no larger than a few inches. This dramatically increases the surface area for microbes to work on, speeding up decomposition.
Related Posts

I am passionate about home engineering. I specialize in designing, installing, and maintaining heating, ventilation, and air conditioning systems. My goal is to help people stay comfortable in their homes all year long.