Want a simpler way to build amazing garden soil right where you want it? Tired of hauling heavy bags of compost or turning smelly piles? Sheet composting, also known as lasagna gardening, is a fantastic, no-fuss method that transforms your yard waste and kitchen scraps into rich, healthy soil. It’s like building a layered cake for your garden! We’ll walk you through exactly how to do it, step-by-step, so you can create a thriving garden with way less effort. Get ready to turn trash into treasure!
Sheet Composting: Your Easy Path to a Greener Garden

Hey there, fellow garden enthusiasts and DIYers! Troy D Harn here, your go-to guy for making home projects and gardening less of a chore and more of a joy. If you’ve been eyeing those lush, productive gardens online and thinking, “How do they do it?”, I’ve got a secret weapon for you: sheet composting. Or as some folks call it, lasagna gardening. It’s called that because, just like a delicious lasagna, it’s all about layering different ingredients to create something truly wonderful.
The best part? It’s incredibly beginner-friendly. You don’t need fancy equipment, and you can start it right in your garden bed. It’s also wonderfully eco-friendly, turning waste into a valuable resource. Think of it as nature’s recycling program, and you’re the mastermind behind it! We’re going to break this down so it’s super straightforward. By the end, you’ll be ready to build your very own sheet compost layers and watch your garden flourish.
What Exactly is Sheet Composting?
At its heart, sheet composting is a method of building garden beds or improving existing soil by layering organic materials directly on the ground. Instead of composting materials separately and then adding them to your garden, you build the compost layers right where your plants will grow. These layers break down over time, creating a rich, fertile soil that’s packed with all the nutrients your plants will crave. It’s a fantastic way to feed the soil and, in turn, feed your plants.
This technique is particularly great for creating new garden beds directly on top of grass or even on less-than-ideal soil. You’re essentially smothering existing vegetation and building a new ecosystem right on top. It’s a gentle, passive way to compost, and it’s unbelievably effective. Plus, it reduces the need to dig and disturb the soil too much, which is good for soil structure and beneficial organisms.
Why Choose Sheet Composting Best?
So, why is “sheet composting best” a phrase you’ll hear often in eco-gardening circles? It truly combines simplicity with incredible results. Here’s a look at why this method stands out:
The Amazing Benefits of Sheet Composting
- Effortless Soil Building: No turning compost piles! You layer materials and let nature do the work. It’s ideal for busy folks or those who find traditional composting too demanding.
- Weed Suppression: By layering materials, you smother existing weeds and prevent new ones from sprouting easily, reducing your weeding time significantly.
- Improved Soil Structure: The layers break down into a dark, crumbly, and well-draining soil that’s perfect for plant roots. It helps sandy soil retain moisture and improves drainage in clay soils.
- Water Retention: Healthy, compost-rich soil acts like a sponge, holding onto moisture and reducing your need to water as often. This is a huge plus, especially in drier climates.
- Nutrient Richness: As the organic matter decomposes, it releases essential nutrients that are readily available to your plants, leading to healthier, more vigorous growth. The University of Maryland Extension highlights the importance of organic matter for soil health, which sheet composting directly addresses.
- Cost-Effective: You’re using materials you likely already have – kitchen scraps, yard waste, cardboard, newspaper. This saves money on buying soil amendments or fertilizers.
- Environmentally Friendly: It diverts organic waste from landfills, where it produces methane gas, and turns it into a valuable resource for your garden. It’s a true win-win for you and the planet.
Getting Started: What You’ll Need
The beauty of sheet composting is its simplicity. You really don’t need much in terms of tools or fancy supplies. It’s more about gathering the “ingredients” for your compost lasagna!
Essential Materials for Your Compost Layers
Think of your sheet compost like a sandwich with alternating layers. The key is to mix “greens” (nitrogen-rich materials) and “browns” (carbon-rich materials) for a balanced decomposition. A good rule of thumb is to aim for roughly a 2:1 or 3:1 ratio of browns to greens by volume.
- “Browns” (Carbon Rich): These provide the bulk and structure, and they decompose slowly.
- Shredded newspaper (black and white ink is best, avoid glossy inserts)
- Cardboard (torn into pieces, remove tape and labels)
- Straw or hay
- Dry leaves
- Wood chips or sawdust (use sparingly, can tie up nitrogen)
- Pine needles (use in moderation as they can be acidic)
- “Greens” (Nitrogen Rich): These provide the moisture and kickstart the decomposition process.
- Kitchen scraps (fruit and vegetable peels, coffee grounds, tea bags, eggshells – no meat, dairy, or oily foods)
- Grass clippings (use in thin layers to avoid matting)
- Manure (from herbivores like horses, cows, rabbits, chickens – aged is best)
- Garden waste (non-diseased plant trimmings, spent flowers)
- Alfalfa meal or other plant-based fertilizers
- Seaweed
- Sod or Existing Grass: If you’re building a new bed directly on a lawn, this will be your bottom layer to smother the grass.
- Water Source: A hose or watering can is essential to moisten the layers as you build.
- Optional: Existing Compost or Soil: A thin layer of finished compost or good garden soil can be added between some layers to introduce beneficial microbes and speed things up.
Tools You Might Find Helpful
While not strictly necessary, a few common garden tools can make the process smoother:
- Shovel or spade: For turning sod if needed, or moving larger materials.
- Garden fork: Useful for loosening packed layers or turning materials if your heart desires (though not essential for sheet composting).
- Wheelbarrow: Great for hauling materials to your build site.
- Gloves: To keep your hands clean.
- Hose with a spray nozzle or watering can.
Sheet Composting Step-by-Step: Your Lasagna Layers
Ready to build your compost masterpiece? It’s as easy as layering your ingredients. You can build these directly on the ground where you want your garden, or on top of an existing bed.
Step 1: Choose Your Location
Pick a spot that gets adequate sunlight for the plants you intend to grow. If you’re creating a new bed on your lawn, you can simply mark out the area. If you’re improving an existing bed, just start layering on top.
Step 2: Lay the Foundation (Optional, but Recommended for New Beds)
If you’re building on grass or weeds, you might want to start by either removing the sod (and composting it elsewhere) or simply flipping it upside down. Flipping the sod over smothers the grass and roots, and its decomposition will add nutrients to your new bed. You can also lay down a layer of plain cardboard to help smother weeds and grass. Make sure to overlap edges well. For a super-duper weed barrier, you can run the mower over the area to flatten the grass first.
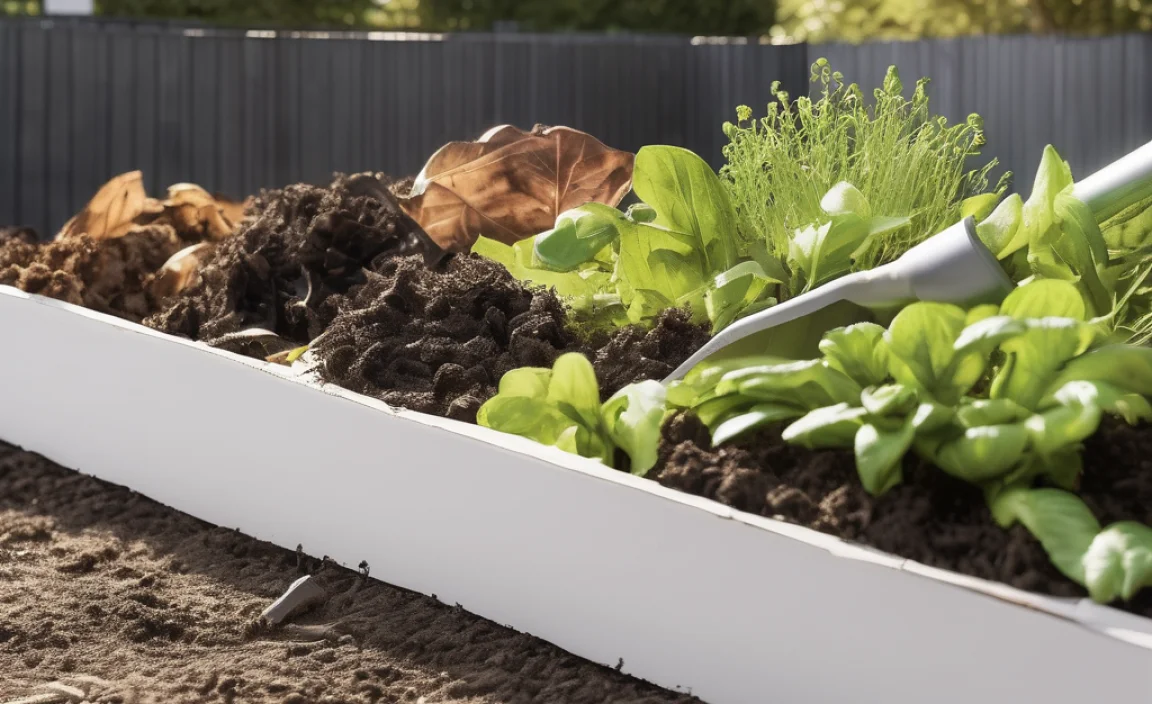
Step 3: Start Layering Your “Browns”
Begin with a thick layer (4-6 inches) of carbon-rich materials. This could be shredded newspaper, brown leaves, or straw. This layer provides aeration and slowly breaks down.
Step 4: Add a Layer of “Greens”
Next, add a thinner layer (2-4 inches) of nitrogen-rich materials. This could be kitchen scraps, grass clippings, or manure. This layer provides the “fuel” for decomposition.
Step 5: Moisten the Layers
As you add each layer (or every couple of layers), give it a good soak with water. The materials should be damp, like a wrung-out sponge, not soaking wet. This is crucial for the decomposition process to start correctly.
Step 6: Continue Layering
Keep alternating layers of browns and greens, moistening as you go. Aim for a variety of materials to ensure a well-balanced mix of nutrients. You can finish with a layer of browns to act as a protective topcoat. A good target thickness for your entire bed is anywhere from 1 to 3 feet, but even 8-12 inches will start to break down.
Step 7: The Waiting Game (Composting Happens!)
Now, patience is key! The magic happens underground. The layers will begin to decompose. If you’re building a bed in the fall or winter, it will likely be ready for spring planting. If you’re building it in spring, it might be ready by late summer or fall, depending on the materials used and the weather. You’ll notice the layers sinking and shrinking as they break down.
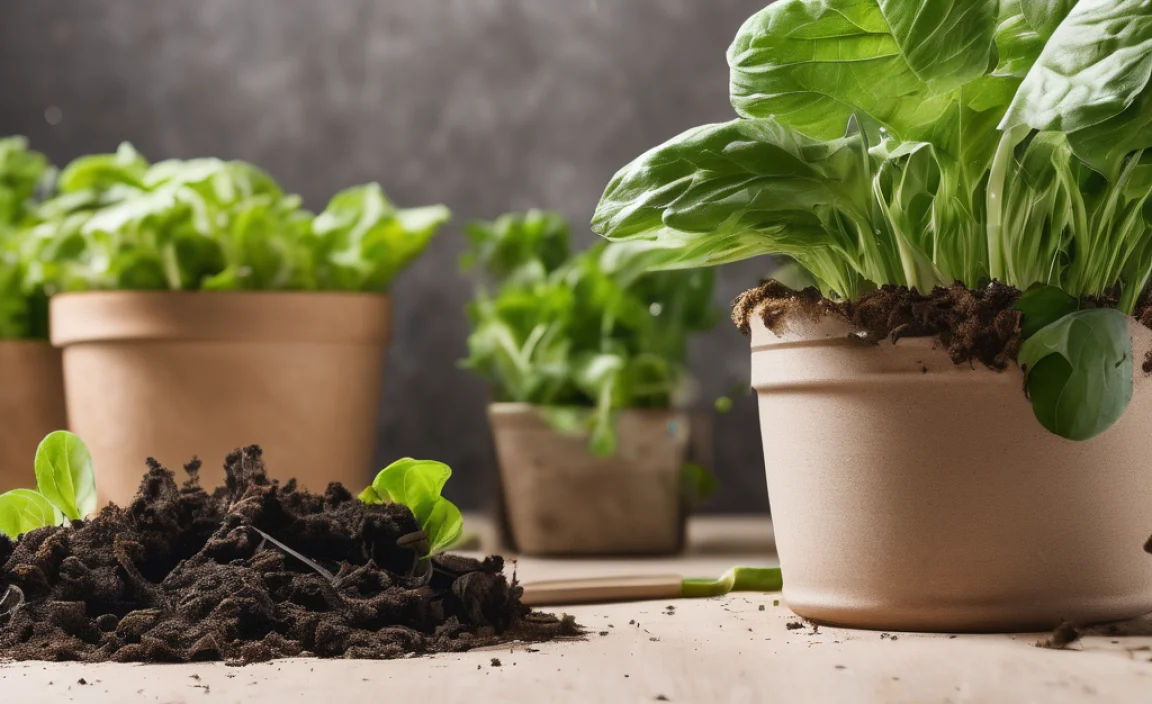
Step 8: Planting Time
Once your sheet compost bed has settled and broken down significantly (it will look much more like soil), you can plant directly into it. You can even plant into it while it’s still actively composting, especially in the deeper layers, as long as your plants have some finished compost to establish their roots in at the surface. You might find that some materials are still recognizable, but they will continue to break down.
What NOT to Compost in Your Sheet Garden
Just like any composting method, there are a few things you should avoid adding to your sheet compost layers. These can attract pests, create foul odors, or introduce diseases and unwanted seeds into your garden.
- Meat, fish, and bones (attract pests, smell bad)
- Dairy products (attract pests, smell bad)
- Oily or greasy foods (slow decomposition, attract pests)
- Pet waste (dog or cat feces can contain pathogens)
- Diseased plants (can spread disease to your garden)
- Weeds that have gone to seed (seeds may survive and sprout)
- Chemically treated wood or yard waste
- Synthetic materials (plastics, Styrofoam, etc.)
Comparing Sheet Composting to Traditional Composting
Sheet composting and traditional composting both achieve the goal of creating nutrient-rich soil amendments. However, they differ significantly in their process and application. Here’s a quick comparison:
| Feature | Sheet Composting (Lasagna Gardening) | Traditional Composting (Pile/Bin) |
|---|---|---|
| Location | Directly in the garden bed or where plants will grow. | Separate pile or bin, away from garden beds. |
| Labor/Effort | Low (layering only, no turning required). | Moderate to High (requires regular turning for aeration and quicker decomposition). |
| Speed of Compost | Slow (relies on passive decomposition over months). | Faster (especially if managed with turning and aeration). |
| Weed Control | Excellent; smothers existing weeds and prevents new ones. | None directly on garden beds; compost may contain weed seeds if not managed properly. |
| Soil Improvement | Immediate improvement in the planting bed as nutrients are incorporated directly. | Requires application of finished compost to beds. |
| Space | Takes up garden space for the composting process. | Requires dedicated space for bin/pile. |
| Pest Attraction | Minimal if proper “do not compost” items are avoided. | Can attract pests if imbalances occur or wrong materials are added. |
Tips for Sheet Composting Success
To ensure your sheet compost project is a roaring success, keep these tips in mind:
- Chop it Up: Smaller pieces of organic matter break down faster. Shredding newspaper and cardboard, and chopping up larger kitchen scraps, will speed up the process.
- Balance is Key: Remember the brown-to-green ratio. Too many greens can lead to a slimy, smelly mess, while too many browns will decompose very slowly.
- Moisture Matters: Don’t let your layers dry out. They need to be consistently damp to foster microbial activity.
- Think Ahead: Sheet composting is a long-term strategy. It’s best to start new beds a few months in advance of when you plan to plant. Fall is an ideal time to start a bed for spring planting.
- Diversity is Good: Use a wide variety of materials to give your compost a broad range of nutrients.
- Consider a Cover: Once built, you can mulch the top with straw or wood chips to retain moisture and deter weeds. For faster decomposition, some gardeners will cover their new sheet compost beds with black plastic sheeting through hotter months to trap heat and moisture, essentially “cooking” the layers.
Troubleshooting Common Sheet Composting Issues
Even with the best intentions, you might run into a snag. Here’s how to fix some common problems:
- Smelly Compost: This is usually a sign of too many “greens” or a lack of air. Try adding more dry “brown” materials like shredded cardboard or leaves, and gently turn the layers if possible to introduce air. Ensure it’s not too wet.
- Decomposition Too Slow: This could be due to not enough “greens,” insufficient moisture, or the pieces being too large. Add more nitrogen-rich materials (like grass clippings or manure), make sure the layers are damp, and chop your materials smaller next time. Introducing a shovel-full of finished compost can also help kickstart the process by adding microbes.
- Attracting Pests: Make sure you’re not including meat, dairy, or oily foods. Burying food scraps well within the layers, rather than leaving them on top, also helps deter unwelcome visitors.
- Still Weeds After a While: If you built on a very stubborn patch of weeds or used materials that contained seeds, some might still pop through. Keep an eye on it and pull them as they appear, or consider adding another layer of cardboard and compost.
Sheet Composting for Advanced Gardeners (and the Curious!)
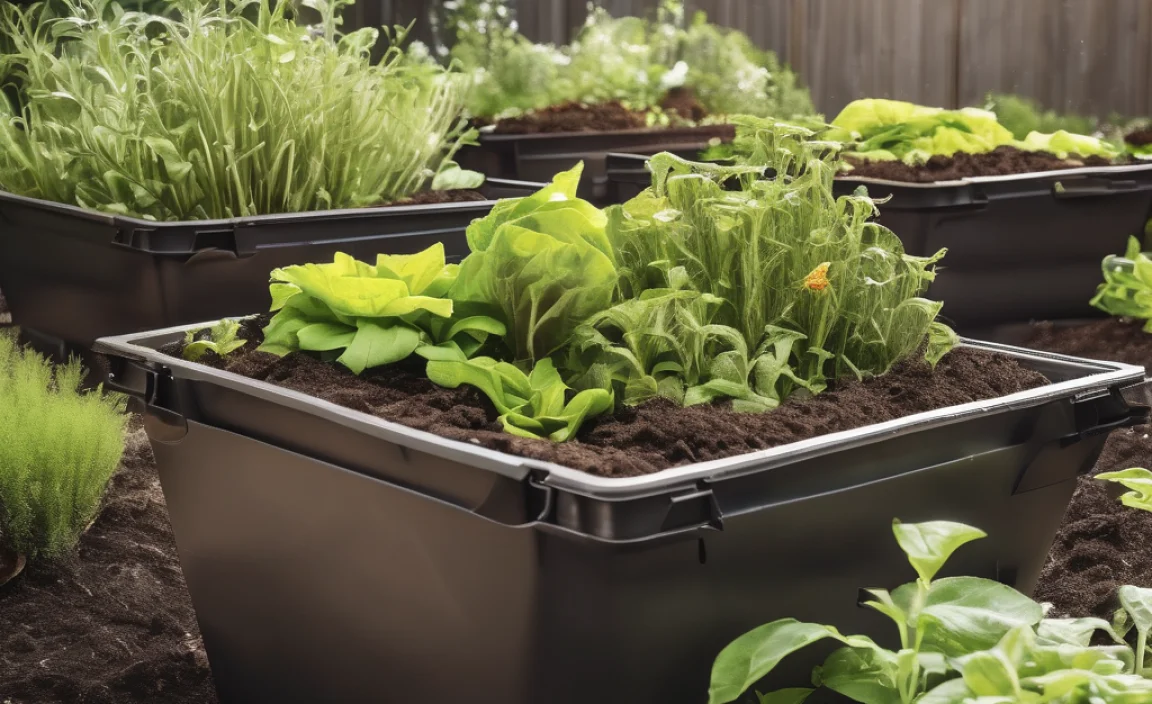
Once you’ve mastered the basics, you can get creative. Some gardeners use sheet composting to build raised beds without needing to construct wooden frames. You simply pile the materials high, shaping them like a raised bed. For very impatient gardeners, a thin layer of finished compost on top allows you to plant sooner, while the layers below continue to break down.
Another advanced technique is to build sheet compost beds directly on top of existing garden beds that have been depleted of nutrients. This is a fantastic way to revitalize tired soil without having to dig it up or replace it. You are essentially adding a fresh, nutrient-rich layer that will be incorporated over time. For those interested in soil biology, the University of California, Berkeley’s Master Gardener program offers valuable insights into how organic matter fuels a healthy soil ecosystem, which is precisely what sheet composting aims to create. (Note: Specific program links may change, but searching for “UC Master Gardener soil health” will yield relevant information).
Frequently Asked Questions (FAQ)
Q1: How thick should my sheet compost layers be?
A1: Aim for anywhere from 8 inches to 3 feet in total thickness. Thicker layers will decompose more slowly but create richer soil over time. Even 8-12 inches will significantly improve your soil.
Q2: How long does sheet composting take?
A2: It varies greatly depending on the materials used, the thickness of the layers, moisture levels, and local climate. Typically, it takes anywhere from 3-6 months for the top layers to become plantable and up to a year for deeper layers to fully decompose.
Q3: Can I plant directly into a new sheet compost bed?
A3: Yes, you can plant into a bed once the top layers have broken down enough to resemble soil. For beds still actively decomposing, you can plant faster-growing crops or those that don’t mind richer soil, or add a few inches of finished compost to the very top planting surface.
Q4: What’s the difference between sheet composting and hugelkultur?
A4: While both build soil with organic matter, hugelkultur involves burying logs and larger woody debris within the compost pile or bed, which break down very slowly and retain moisture. Sheet composting is purely about layering finer organic materials.