Have you ever heard of turning your yard into a natural recycling machine? It sounds like magic, but it’s actually a method called sheet composting DIY. Imagine you can create a rich, fertile garden by simply layering materials right on the ground. It’s easy, fun, and helps the earth. Would you like to learn how to start?
Key Takeaways
- Sheet composting DIY helps turn yard waste into rich soil.
- This method is easy and perfect for beginners.
- Composting sheets enrich soil without much effort.
- Reduces the need for chemical fertilizers.
- Great for recycling leaves, grass, and kitchen scraps.
Getting Started With Sheet Composting DIY
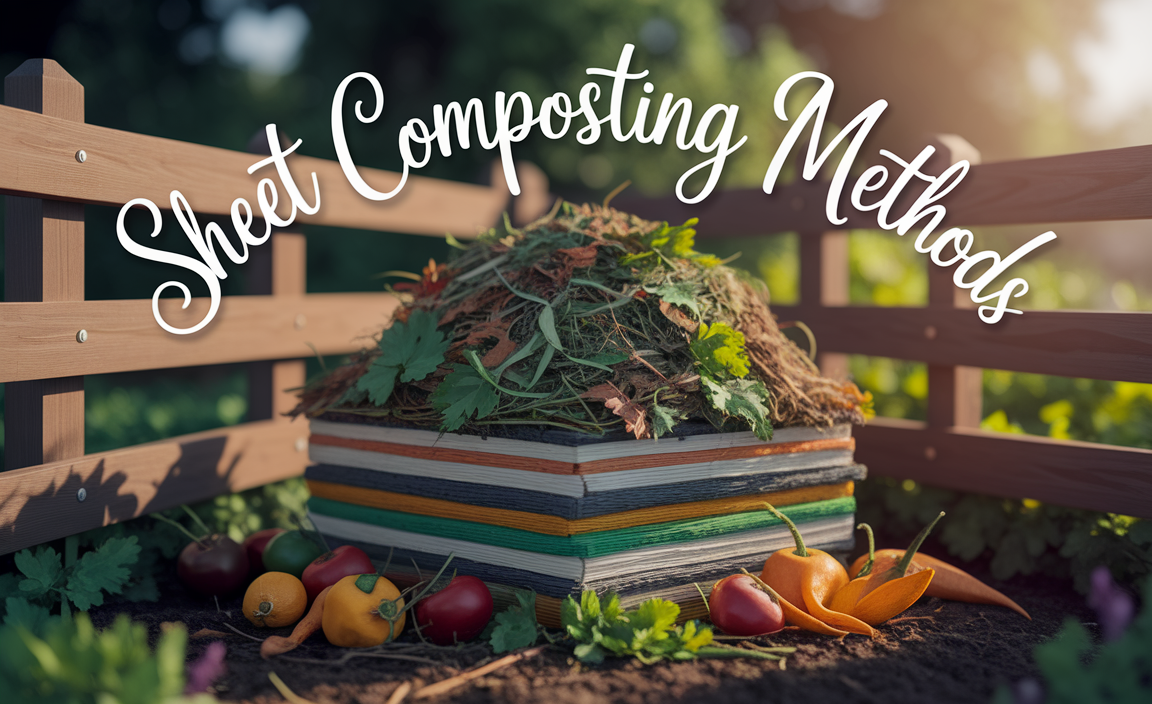
Sheet composting DIY is like making a lasagna for your garden. The first step is choosing a location. Find a spot where you want healthier soil. It could be your backyard or a patch in your garden. Next, gather materials. You’ll need things like grass clippings, leaves, and kitchen scraps. Start by mowing or cutting the grass short. This gives you a smooth base. Lay down a layer of cardboard or newspaper. This blocks weeds. Wet it thoroughly, like a sponge.
- Choose a sunny spot for your compost.
- Gather cardboard, grass, and leaves.
- Lawn mow or trim the base area first.
- Lay down layers of paper to suppress weeds.
- Make sure to soak the paper layers.
Once your base is ready, you’re all set to build your compost layers. Add a thick layer of dry leaves or straw. Next, sprinkle some grass clippings or food scraps. Repeat these layers like a cake, up to five layers high. Each layer should be about 2 inches thick. Don’t worry if it looks messy now. Nature will take care of the rest. Soon, you’ll have a beautiful, rich compost.
Fun Fact: Did you know composting can reduce waste by 30%?
What Are The Benefits?
Why should you try sheet composting DIY? Well, there are many benefits! One big reason is that it’s easy and requires little effort. You don’t need to turn the pile or manage it daily. It’s a set-it-and-forget-it process. It’s also great for the environment. It recycles natural waste and keeps your garden healthy. Plus, it saves money. You won’t need to buy fertilizers or soil enhancers. Isn’t it amazing how simple actions can have such big impacts?
How To Choose The Right Spot
Picking the right place for your compost is important. Do you have a sunny spot in mind? Sunlight helps the compost break down faster. It can’t be too far from your water source either. You need to water it sometimes. Also, make sure it’s away from tree roots. They might compete for nutrients. By choosing the right spot, you’ll ensure your compost works well. Isn’t it exciting to think of how lush your garden can become?
What Materials To Use
What should you use in your sheet composting DIY? Start with brown materials like leaves and cardboard. These add carbon. Then, add green materials like grass and kitchen scraps. They provide nitrogen. Both are important for healthy compost. Avoid using meat or dairy. They attract pests. Also, stay clear of weeds with seeds. You don’t want them growing in your garden. With the right mix, you’ll have garden gold in no time!
Layering Techniques For Success
Building your compost layers is like making a sandwich. Each layer should be rich in nutrients and well-balanced. Start by laying down a foundation of cardboard or newspaper. This is your weed barrier. Over it, spread a thick layer of brown materials, like dry leaves or straw. Add a layer of green materials next, such as grass clippings or vegetable waste. Keep layering until you have three to five layers. Water each layer well to help it break down.
- Use newspapers as the first layer.
- Alternate brown and green materials.
- Water each layer to aid decomposition.
- Avoid compacting layers too tightly.
- Stop when you reach 12 inches high.
Consider employing different techniques like adding coffee grounds or eggshells. Keep an eye on your compost. In a few months, everything will break down into rich, dark soil. Remember, patience is key. This process mimics nature. Wait and watch as your garden transforms for the better.
Fun Fact: Composting can attract beneficial worms to your garden!
The Importance Of Watering
Water is vital in sheet composting DIY. Without it, compost won’t decompose properly. Do you know compost should be as wet as a wrung-out sponge? Too much water can drown the materials, causing a bad smell. Too little, and the process slows down. Check your pile weekly. Water it if it’s dry. This simple step goes a long way in ensuring successful composting.
How To Gauge Progress
Wondering how to tell if your compost is working? Observe the changes. The layers should start to look dark and crumbly. That means it’s turning into soil. Use a garden fork to check the middle. It should feel warm. The warmth indicates active decomposition. If it’s cool, it might need more green materials. Keep adjusting until you find the right balance. It’s like a science experiment in your backyard!
Dealing With Pests
Nobody likes pests in their garden compost. Ever found an unwanted critter? Don’t worry, it happens. Try to avoid attracting them by not adding meat or dairy. Cover your compost with a layer of soil. This helps to mask any smells while adding nutrients. If pests persist, consider using a wire mesh around the area. Keeping your compost clean helps keep pests away. Isn’t it nice to know you can manage your garden companions?
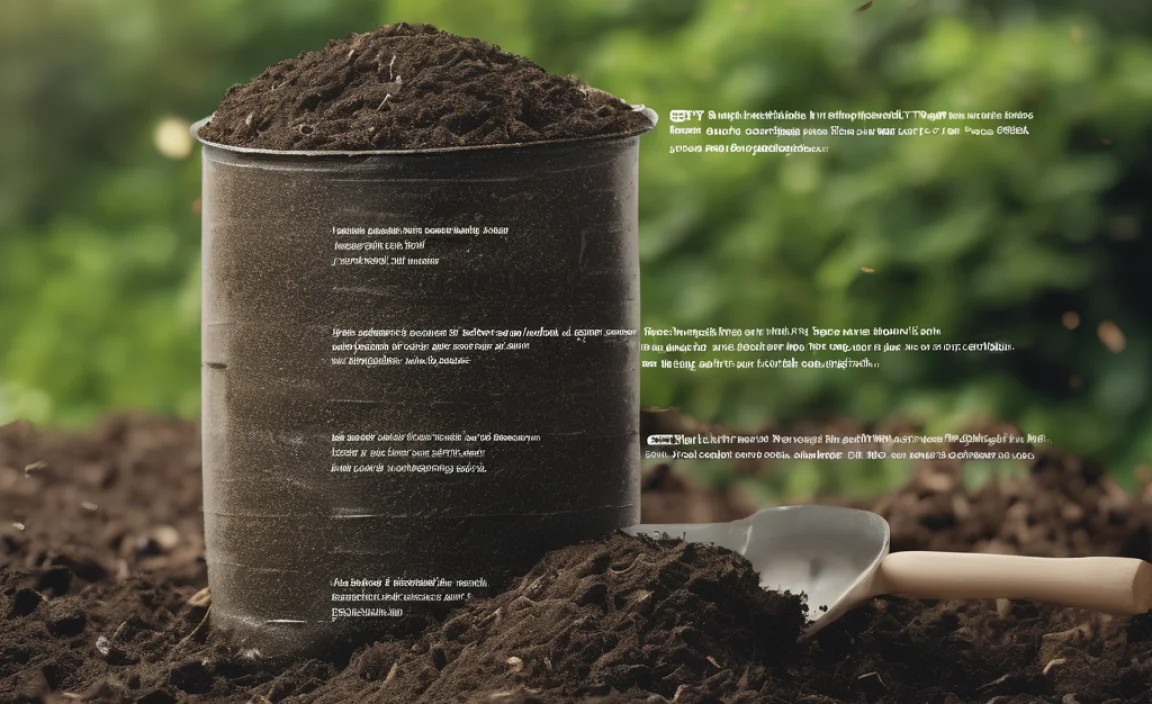
Nutrient Benefits Of Sheet Composting
Sheet composting DIY enhances the soil with nutrients. It’s an excellent way to recycle organic waste. The compost naturally releases nitrogen, phosphorus, and potassium. These are key nutrients for plants. As the layers break down, they nourish the soil. Think of it like a steady stream of vitamins for your garden. Healthier plants lead to a more vibrant garden, full of blooms and vegetables. It’s a win-win for you and the environment.
- Compost enriches soil with natural nutrients.
- Improves soil structure and water retention.
- Reduces the need for chemical fertilizers.
- Supports healthy plant growth and yields.
- Encourages beneficial soil organisms.
The benefits extend beyond plant health. Using compost helps reduce waste in landfills. It’s a sustainable practice that anyone can adopt. By enriching your soil, you create a thriving garden. It’s amazing how nature’s cycle can be so rewarding.
Fun Fact: Composting helps reduce landfill waste and greenhouse gases!
How Plants Benefit
Plants love compost for its rich nutrients. Have you ever seen lush plants in a nursery? They thrive because of nutrient-rich soil. Compost adds these nutrients naturally. It boosts plant growth and strengthens roots. It also improves soil texture. This helps plants receive water and nutrients efficiently. Compost aids in turning a weak garden into a flourishing one. Isn’t it wonderful to see plants happy and healthy?
Impact On Soil Health
Healthy soil is the foundation of any garden. What’s more, composting enhances soil health significantly. Compost improves texture, making it light and crumbly. It adds organic matter, which holds water better. This means less watering for you. It also supports beneficial microbes. These tiny organisms help break down organic matter into nutrients. With compost, you’re not just improving plants but also the soil. Isn’t it amazing how much difference it makes?
Environmental Advantages
Did you know that sheet composting DIY has positive impacts on the environment? It reduces landfill waste, as fewer materials go to the trash. It also lowers methane emissions from landfills. Methane is a harmful greenhouse gas. Composting helps recycle nutrients back into the earth. This makes it a sustainable practice. It’s wonderful how small actions can help our planet. Wouldn’t it be great to be part of this positive change?
Composting Best Practices
For successful sheet composting DIY, follow best practices. Start with a balanced mix of green and brown materials. Ensure the layers are moist but not soggy. The location should be sunny and well-drained. Avoid compacting the layers too much. It’s important to let air circulate. This keeps the composting process going. Regularly check the pile and adjust if needed. By following these tips, you’ll have a healthy, productive compost in no time.
- Maintain a balance of green and brown materials.
- Keep the compost layers moist but not waterlogged.
- Ensure the compost location gets enough sunlight.
- Avoid compacting the compost layers tightly.
- Regularly check and adjust the compost as needed.
Consistency is key in composting. Small efforts lead to great results over time. Remember, nature takes its course. Be patient and let it do its magic. Soon, you’ll notice the positive changes in your garden. Isn’t it exciting to see results from your hard work?
Fun Fact: Composting can improve soil quality within months!
Monitoring Compost Progress
How do you know if your compost is on track? Keep an eye on its color and texture. It should gradually turn dark and crumbly. Feel its temperature. It should be warm, which means it’s breaking down well. If it’s cool, it might need more green materials. Adjust the balance if needed. Composting is an ongoing learning process. Isn’t it fun to experiment and see nature in action?
Adjusting For Weather
Weather plays a big role in composting. Have you noticed your compost slowing in winter? It happens because cold slows down decomposition. You can help by adding extra layers for insulation. In summer, make sure it doesn’t dry out. Water it more often. Weather affects decomposition rates, so it’s important to adjust your process. By being adaptable, you’ll make the most of your composting efforts.
Preventing Odors
Does your compost have a bad smell? Don’t worry, it’s fixable. Odors usually mean too much green material. Add more brown materials like leaves or straw to balance it. Turning the layers can help air circulation, reducing smells. Ensure it’s not too wet. A slightly dry compost smells less. With these tips, you’ll keep your compost smelling fresh. Isn’t it great to know you can manage this effectively?
Conclusion
Sheet composting DIY is a fantastic way to enrich your garden. It’s simple and eco-friendly. You can recycle waste while creating rich soil for your plants. With patience and care, you’ll see amazing results. Start your composting journey today. Watch your garden flourish with this natural method!
FAQs
Question: What materials should I avoid in sheet composting DIY?
Answer: Avoid adding meat, dairy, and oily foods. These attract pests and create odors. Also, steer clear of seeds from weeds. They might grow in your compost and garden. Stick to plant-based materials for best results.
Question: How often should I water my sheet compost?
Answer: Water your sheet compost weekly, or as needed. Check if it’s as moist as a wrung-out sponge. If it’s dry, add water. Moisture helps the materials break down efficiently. Adjust based on weather and material type.
Question: Can I start sheet composting DIY in winter?
Answer: Yes, you can start in winter, but decomposition is slower. Add extra layers for insulation. Protect the compost from heavy rain with a tarp. It will break down slowly and be ready by spring.
Question: How do I know when my compost is ready?
Answer: Your compost is ready when it’s dark, crumbly, and earthy-smelling. It should no longer resemble the original materials. This can take a few months to a year. Be patient, and you’ll have nutrient-rich soil!
Question: Is sheet composting suitable for small gardens?
Answer: Yes, sheet composting DIY is perfect for small gardens. It doesn’t take much space. You can compost directly where you want to enrich the soil. It’s efficient and saves you time and effort.
Question: What should I do if my compost attracts pests?
Answer: If pests invade, check what you’re adding. Remove meat or dairy and cover food scraps with soil. Use wire mesh to keep larger pests away. Maintaining a clean compost area keeps pests in check.