Got a bit of a whiff coming from your sheet composting pile? Don’t sweat it! It happens to the best of us, and it’s usually a sign that your compost is almost ready to work its magic in your garden. The good news is, you don’t need fancy gadgets or complicated steps to fix it. We’re going to walk through some super simple, practical ways to keep your sheet compost smelling fresh and your neighbors happy. Let’s get that compost smelling like sweet earth, not rotten eggs!
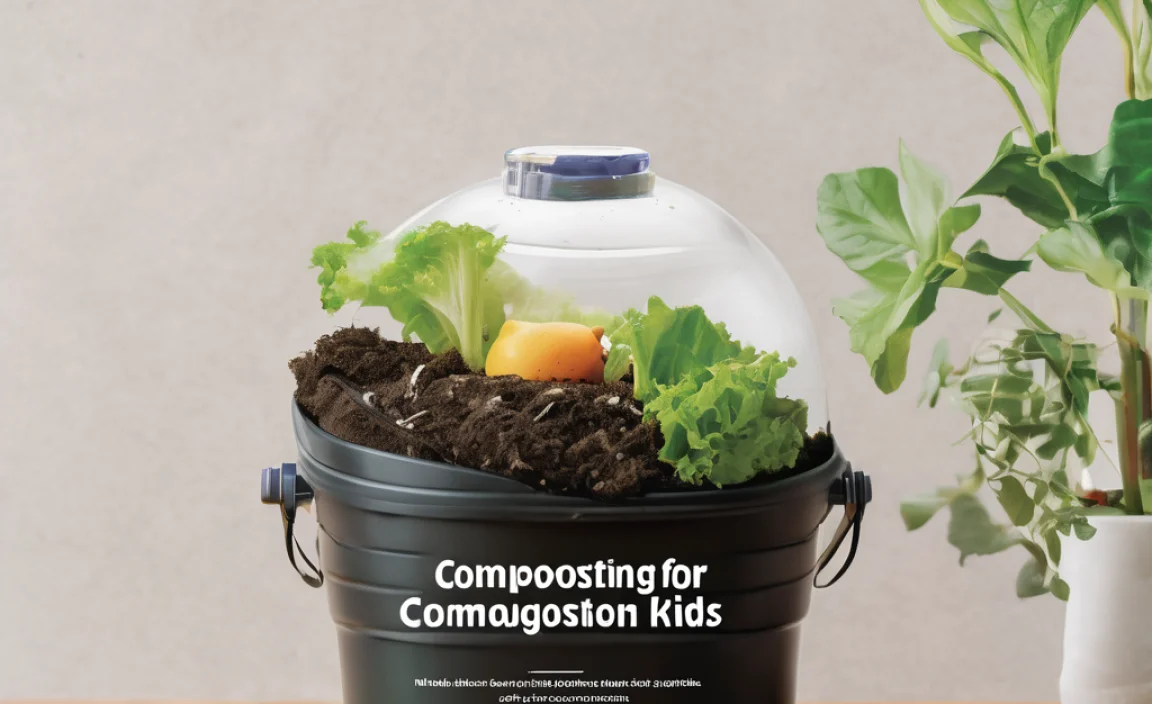
Sheet composting, also known as lasagna gardening, is a fantastic way to create nutrient-rich soil right in your garden beds. You layer organic materials like leaves, grass clippings, and kitchen scraps, and let nature do the rest. But sometimes, as those materials break down, they can release an uninvited smell. This is often due to an imbalance in your compost’s “diet” or a lack of air. We’ll tackle these issues head-on with easy fixes.
Why Does Sheet Composting Sometimes Smell?
Think of your compost pile like a busy community of tiny organisms working hard to break down organic matter. They need the right conditions to thrive and do their job quietly. When things go wrong, and an odor appears, it’s usually the microorganisms talking to you, saying, “Hey, something’s not quite right here!”
The Main Culprits Behind Compost Smells
Most unpleasant odors in sheet composting come from one of two main issues: too much “green” material or not enough air. Let’s break that down:
- Anaerobic Conditions (Lack of Oxygen): This is probably the biggest offender. When your compost pile gets too wet and compacted, air can’t get in. This forces the hardworking microbes to switch to a different, smellier, type of decomposition that creates gases like hydrogen sulfide. Ever smelled rotten eggs? That’s a classic sign of this.
- Too Much “Green” Material: “Greens” are nitrogen-rich materials like grass clippings, food scraps, and coffee grounds. While essential for feeding your compost critters, too much of them without enough “browns” (carbon-rich materials like dried leaves, straw, and shredded paper) can make the pile slimy and anaerobic, leading to ammonia or sour milk smells.
- Materials That Shouldn’t Be There: Certain things, like meat, dairy, oily foods, or diseased plants, can create foul odors and attract pests. It’s best to keep these out of your home compost bin.
- Pile is Too Wet: Excessive moisture can suffocate the pile, leading to anaerobic conditions.
Your Essential Solutions to Sheet Composting Odor
The great news is that tackling compost smells is usually pretty straightforward. It often comes down to adjusting the balance of your compost “ingredients” and ensuring good airflow. Here’s how to get your pile smelling sweet again:
1. Add More “Browns” (Carbon-Rich Materials)
If your pile is giving off a strong ammonia or rotten egg smell, it’s likely too dense and needs more carbon. Browns are the equivalent of cozy bedding for your compost microbes. They soak up excess moisture and create air pockets.
- What to add:
- Dried leaves
- Shredded newspaper or cardboard
- Straw or hay
- Wood shavings or sawdust (in moderation)
- Pine needles
- How to do it: Simply dig into the outer layers of your pile and mix in a generous amount of dry brown material. Try to get it well-distributed throughout the pile. Aim for a good mix of browns and greens, ideally around a 2:1 or 3:1 ratio of browns to greens by volume.
2. Improve Aeration (Give it Air!)
Compacted, wet compost is a breeding ground for stinky anaerobic bacteria. You need to let oxygen in so the good aerobic microbes can do their work. This is probably the most effective way to combat odors.
Methods to Boost Airflow:
- Turn Your Pile: This is the most direct way to get air in. Use a pitchfork or compost aerator tool to mix the materials, breaking up clumps and distributing moisture and air. If your pile is large, focus on turning the outer layers inward and the inner layers outward.
- Add Bulky Materials: When building your sheet compost layers, include rougher, bulkier brown materials like twigs or coarse wood chips. These naturally create air pockets within the pile.
- Use a Compost Aerator Tool: These specialized tools are designed to poke holes deep into the compost pile, allowing air to circulate without requiring a full turn. They are a lifesaver for less physically demanding aeration. You can find them at most garden supply stores.Gardening Know How offers a great overview of how compost aerators work.
- Avoid Over-Compacting: When adding new layers, try not to pack them down too tightly, especially the grass clippings.
3. Adjust Moisture Levels
Compost needs to be moist, like a wrung-out sponge, but not soaking wet. If your pile is too damp, it can become anaerobic and smelly.
- If too wet:
- Add more dry “brown” materials (leaves, cardboard, straw).
- Turn the pile to expose the wet areas to air.
- If it’s in a bin or enclosed space, consider adding a tarp loosely over the top during heavy rains. Ensure it’s not sealed, so air can still get in!
- If too dry (less common for smells, but good to know):
- Sprinkle with water as you turn it.
- Add more “green” materials, which have higher moisture content.
4. Layer Like a Lasagna
Sheet composting involves layering different materials. This helps with even decomposition and air circulation from the start. Think of it as designing your compost for success before it even gets smelly.
A good layering approach:
- Base Layer: Start with a layer of coarse brown material like twigs or wood chips (around 4-6 inches). This provides drainage and aeration from the bottom.
- Alternating Layers: Alternate between layers of “greens” (nitrogen-rich) and “browns” (carbon-rich). Aim for greens to be about 2-4 inches and browns to be about 4-6 inches thick.
- Kitchen Scraps: Bury kitchen scraps (vegetable peels, coffee grounds, eggshells) within a layer of browns to prevent odors and deter pests.
- Moisture Check: Lightly water each layer as you build it, ensuring it’s damp but not soggy.
- Top Layer: Finish with a layer of browns to act as a cover.
5. Bury Food Scraps Properly
If you’re adding kitchen scraps, make sure they are well-covered by other materials. Burying them deep within a layer of browns (like shredded newspaper or leaves) is key to preventing offensive odors and keeping pesky critters away. Think of it as tucking them in so they can decompose discreetly.
6. Consider Size Matters
Smaller pieces of organic matter break down faster. While you don’t need to shred everything to confetti, chopping up larger items like thick stalks or whole fruits can help speed up decomposition and prevent large, wet pockets from forming, which can go anaerobic.
When to Call in the “Browns Brigade”: A Practical Guide
Knowing when to add more browns is as important as knowing what to add. Your nose will often tell you, but here’s a quick guide to help you diagnose and treat the odor:
| Type of Odor | Likely Cause | Solution | Materials to Add |
|---|---|---|---|
| Ammonia (like strong urine or Windex) | Too much nitrogen (“greens”) or not enough carbon (“browns”). Pile is too wet. | Add carbon-rich materials. Turn the pile to aerate and dry it out. | Dried leaves, shredded cardboard, straw |
| Rotten Eggs (hydrogen sulfide) | Anaerobic conditions (lack of oxygen). Pile is too wet and compacted. | Turn the pile thoroughly to introduce air. Add bulky brown materials to create air pockets. Ensure it’s not waterlogged. | Straw, wood chips, twigs, shredded newspaper |
| Sour or Putrid (like spoiled milk or garbage) | Often caused by anaerobic conditions with food scraps, or meat/dairy products (which should be avoided). Pile is too wet. | Remove any prohibited items (meat, dairy). Turn the pile. Add browns to absorb moisture and improve aeration. Ensure adequate air circulation. | Shredded cardboard, dry leaves, sawdust |
Remember, these smells are just compost’s way of asking for a little adjustment. With a bit of “browns” and some extra air, you’ll get it back on track.
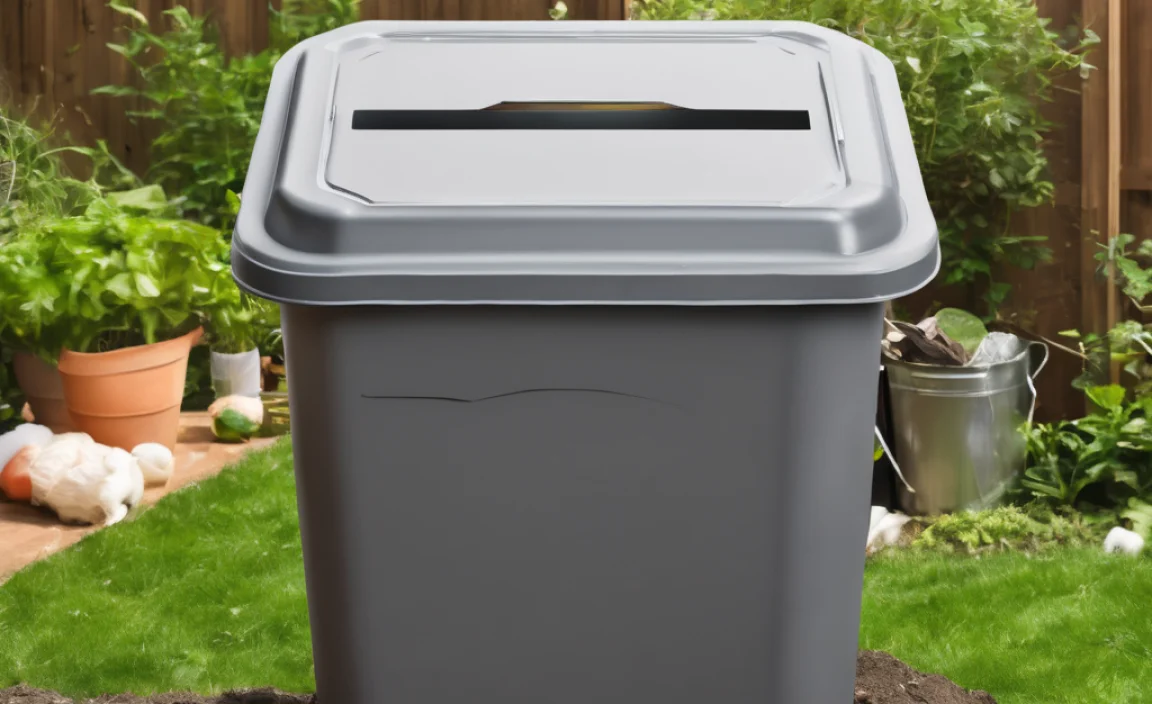
Tools That Make Odor Control Easier
You don’t need a workshop full of tools to manage compost smells. A few basic items can make a world of difference.
- Pitchfork: Essential for turning and aerating your pile. It’s great for breaking up clumps and mixing materials.
- Compost Aerator Tool: A specialized tool that allows you to poke holes deep into the pile without a full turnaround. It’s fantastic for maintaining airflow. For example, the Compost Turning Aerating Tool from Gardener.com is a sturdy option.
- Shovel: Useful for moving materials, especially browns, around the pile.
- Gloves: To keep your hands clean and comfortable while working.
- Optional: Shredder (for paper/cardboard): While not essential, shredding browns can help them integrate better and create more even aeration.
Maintaining a Sweet-Smelling Compost Pile
Prevention is always better than cure! By following a few best practices as you build and maintain your sheet compost pile, you can significantly reduce the chances of it developing unpleasant odors in the first place.
Key Practices for Prevention:
- Balance Your Greens and Browns: Aim for a healthy ratio of about 2-3 parts browns to 1 part greens by volume. This is your best defense against most smells.
- Layer Appropriately: Build your pile with distinct layers of greens and browns. This helps with airflow and even decomposition.
- Bury Food Scraps: Always cover kitchen waste with a good layer of browns to avoid attracting pests and to prevent odors.
- Don’t Overwater: Keep your compost pile as damp as a wrung-out sponge, not soaking wet.
- Ensure Good Drainage: If your compost is in a bin, make sure it has drainage holes. If it’s a pile on the ground, avoid placing it in a spot that collects water.
- Monitor and Mix Regularly: Give your pile a poke or turn every couple of weeks to ensure air can circulate.
- Avoid Problematic Materials: Steer clear of meat, dairy, oily foods, pet waste, and treated wood.
Sheet Composting Odor: Troubleshooting Table
Here’s a quick reference guide to help you pinpoint and fix the problem:
| Problem | Cause | Quick Fix |
|---|---|---|
| Ammonia smell | Too much nitrogen (greens); pile too wet. | Add dry brown materials. Turn pile. |
| Rotten egg smell | Lack of oxygen (anaerobic); pile too compacted and wet. | Turn pile thoroughly. Add bulky browns. |
| Sour smell | Anaerobic decomposition, possibly from meat/dairy or too wet. | Remove prohibited items. Turn pile. Add browns. |
| Attracting flies/pests | Exposed food scraps; offensive odors acting as an invitation. | Bury food scraps deeply in browns. Ensure pile isn’t too wet. |
| Pile is too dry inside, but smells on outside | Outer layer is exposed and dry, inner layer might be compacted and wet. | Turn entire pile; add moisture to dry parts, add browns to wet parts. |
Getting your compost balance right is about observation and small adjustments. Don’t be discouraged if it takes a try or two!
Conclusion
Dealing with sheet composting odor doesn’t have to be a headache. By understanding the common causes—primarily lack of air and an imbalance of “greens” and “browns”—you can easily implement solutions. Adding more carbon-rich materials, ensuring your pile is well-aerated, and managing moisture are your go-to strategies.
Remember, an occasional whiff of ammonia or a hint of sourness is just a temporary sign that your compost community needs a little adjustment. With a few simple turns of a pitchfork, a sprinkle of leaves, or a mix of shredded cardboard, you’ll get your pile back to that sweet, earthy scent that signals rich, garden-ready compost. Keep layering, keep observing, and you’ll be well on your way to a thriving compost system that benefits your garden and your nose!
Frequently Asked Questions About Sheet Composting Odor
Q1: My sheet compost smells like ammonia. What should I do?
A1: An ammonia smell usually means you have too much nitrogen (your “green” materials) and not enough carbon (“brown” materials). The simplest fix is to add a good amount of dry brown material like shredded cardboard, dried leaves, or straw. Gently mix it into the pile, especially in the areas that smell, and ensure the pile isn’t too wet.
Q2: Why does my compost smell like rotten eggs?
A2: This is a classic sign of anaerobic conditions, meaning there’s not enough air. Your compost pile is probably too wet and compacted. The best solution is to turn your compost pile thoroughly to introduce oxygen. Adding bulky brown materials like straw or twigs will also help create air pockets.
Q3: Can I put meat or dairy scraps in my sheet compost?
A3: It’s generally not recommended for home composting, especially if you’re experiencing odors. Meat, dairy, and oily foods can create really foul smells, attract pests like rodents and flies, and may not break down effectively in a typical home compost setup. Stick to vegetable scraps, fruit peels, coffee grounds, and eggshells.
Q4: My compost pile is too wet and smelly. How can I dry it out?
A4: Mix in plenty of dry, absorbent “brown” materials like shredded newspaper, cardboard, or straw. Turning the pile also exposes wet layers to air, helping them dry. If it’s raining heavily, you might consider loosely covering the pile to prevent excess water from accumulating, but make sure air can still get in.
Q5: How often should I turn my sheet compost pile to prevent smells?
A5: For a healthy, odor-free pile, turning it every 2-4 weeks is a good general guideline. If you notice a smell developing, turn it sooner. Regular turning ensures good aeration and helps materials break down evenly. If turning is too much work, using a compost aerator tool regularly is a great alternative.
Q6: Is it normal for a compost pile to have a slight earthy smell?
A6: Absolutely! A healthy, active compost pile should have a pleasant, earthy, or loamy smell, much like forest soil. This indicates that the beneficial aerobic microorganisms are hard at work. If it smells earthy, you’re doing great!

I am passionate about home engineering. I specialize in designing, installing, and maintaining heating, ventilation, and air conditioning systems. My goal is to help people stay comfortable in their homes all year long.