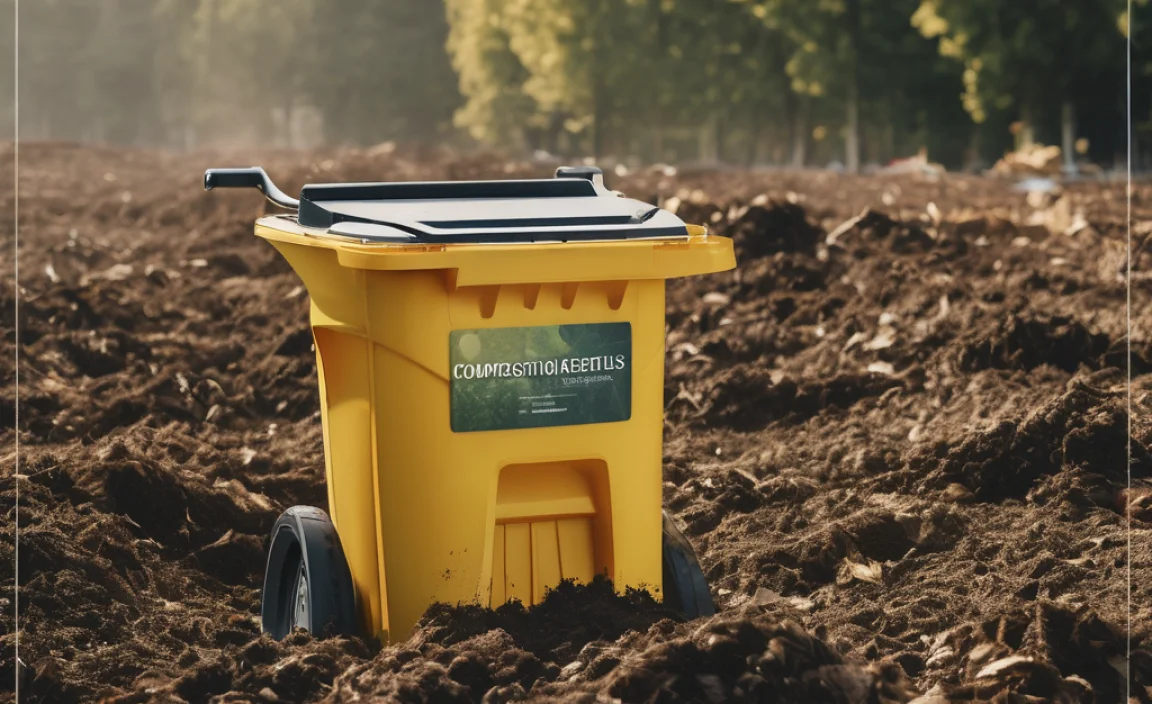
Got a beloved furry friend? Love gardening? What if you could combine those passions to create amazing compost for your plants? If you’ve heard of sheet composting and wondered if it’s for pet waste, you’re in the right spot. It might sound a bit tricky, but it’s simpler than you think! Let’s break down how to safely and effectively use your pet’s waste to enrich your garden soil. We’ll walk through everything you need to know, step by step, so you can feel confident turning pet waste into garden gold.
Sheet Composting Pets: Your Essential Guide to Turning Waste into Garden Gold
Hey there, fellow green thumbs and pet parents! Troy D Harn here from TopChooser, and I’m excited to dive into a topic that might seem a little unusual at first: sheet composting with pet waste. If you love your pets and want to give your garden the best, you’re probably looking for ways to create rich, nutrient-dense compost. Many people hesitate when it comes to pet waste, but with the right approach, it’s perfectly possible – and beneficial! This guide is all about making it simple, safe, and effective. We’ll cover what you need to know to do it right, the benefits, and how to avoid any common pitfalls. Let’s get composting!
Why Sheet Compost Pet Waste? The Big Benefits
Let’s talk about why you’d even consider this. It might sound a bit “out there,” but using pet waste in your compost can offer some fantastic advantages. Primarily, it’s about reducing waste and creating a valuable resource for your garden. Traditional composting methods often exclude pet waste because of potential pathogens. However, sheet composting, when done correctly, is a different ballgame.
Here are some key perks:
- Nutrient Powerhouse: Pet waste, especially from herbivores and omnivores, is packed with nitrogen, phosphorus, and potassium – the NPK your plants crave.
- Waste Reduction: It diverts a significant amount of organic material from landfills, contributing to a more sustainable lifestyle.
- Cost-Effective: By creating your own compost, you’ll reduce or eliminate the need to buy expensive soil amendments.
- Healthier Garden: This nutrient-rich compost can significantly improve soil structure, water retention, and overall plant health.
Understanding Sheet Composting: The Basics
Before we get into the nitty-gritty of pet waste, let’s quickly touch on what sheet composting (sometimes called lasagna gardening or layering) actually is. It’s a method where you build layers of organic materials directly where you want them to decompose, usually in a garden bed. Instead of putting everything in a bin and waiting, you’re essentially creating a compost pile right on the ground, often within a designated garden area.
The key is layering “green” (nitrogen-rich) and “brown” (carbon-rich) materials. This mimics natural decomposition. When we talk about pet waste, it typically falls into the “green” category due to its high nitrogen content. The critical difference when using pet waste from dogs and cats is the need to properly manage potential pathogens. This isn’t your Grandma’s compost bin!
Is It Safe to Compost Pet Waste?
This is the million-dollar question, and the honest answer is: yes, but with specific precautions. Animal waste, particularly from carnivores like dogs and cats, can harbor pathogens such as E. coli, Salmonella, and various parasites. These can pose a risk to human health if they contaminate edible plants and are consumed.
Here’s what you need to know:
- Herbivore vs. Carnivore Waste: Waste from herbivores (like rabbits, horses, cows) is generally safer and breaks down more readily. Dog and cat waste requires more caution.
- Pathogen Risk: The primary concern is the survival of harmful bacteria and parasites.
- Composting Temperature: Standard home composting piles often don’t get hot enough to reliably kill these pathogens. High temperatures (131°F to 170°F or 55°C to 77°C) are needed for effective pathogen destruction, as recommended by the U.S. Environmental Protection Agency (EPA) for composting yard trimmings and food scraps.
- Sheet Composting Specifics: Sheet composting, when done without achieving these high temperatures, is generally NOT recommended for pet waste that will be used on food crops.
Crucially, for dog and cat waste, the most recommended method is not to use it on edible gardens at all, or to use specific hot composting methods that are guaranteed to reach and maintain temperatures high enough to kill pathogens. If you are committed to using dog/cat waste for your garden, you’ll need to focus on methods that ensure the waste is fully decomposed and buried deep.
Important Note: If you have immunocompromised individuals in your household, or if you’re composting for a community garden where food safety is paramount, it’s often best to avoid pet waste from dogs and cats altogether. For simpler, safer composting, focus on yard waste and vegetable scraps.
Which Pets Can You Compost For?
The type of pet significantly influences how you should approach composting their waste.
Herbivore Waste: A Composter’s Friend
If your pet is a rabbit, guinea pig, or other small herbivore, you’re in luck! Their waste is excellent for composting:
- Rich in Nutrients: It’s packed with nitrogen and other essential plant nutrients.
- Breaks Down Easily: Herbivore manure is considered “easy” to compost.
- Less Pathogen Risk: It carries a much lower risk of harmful pathogens compared to carnivore waste.
You can often add this waste directly to your compost pile or use it in sheet composting layers, provided you layer it with plenty of carbon-rich materials (like dried leaves or shredded cardboard) to balance the nitrogen and manage moisture. For a rabbit, consider mixing their sawdust bedding (if it’s untreated wood) with their droppings.
Dog and Cat Waste: Proceed with Extreme Caution
This is where things get tricky. As mentioned, dog and cat feces can contain harmful pathogens:
- High Pathogen Load: Can include E. coli, Salmonella, parasites like roundworms and Giardia.
- Requires High Heat: To be safe for use on gardens, especially food gardens, this waste needs to be composted at high temperatures (131°F to 170°F) for an extended period (up to 60 days) to kill pathogens effectively.
- Specific Composting Systems: For dog and cat waste, it’s often recommended to use dedicated composting systems designed for pet waste, or to bury it deeply in separate, hot composting piles.
General sheet composting layers, which might not reach sufficient temperatures, are NOT the recommended method for dog and cat waste intended for use on edible plants.
Sheet Composting Method for (Safe) Pet Waste
If you are composting herbivore waste or are using a very specific, high-heat method for dog/cat waste (which is beyond beginner sheet composting), here’s how you’d integrate it into a sheet composting setup.
Remember: For dog and cat waste, layering directly into a bed that will be used for food crops is generally NOT advised for beginner-level sheet composting due to pathogen concerns. Instead, focus on herbivore waste for this beginner-friendly sheet composting guide. If you’re dealing with dog/cat waste, consider a dedicated pet waste composting system or a separate, hot composting method not detailed here.
Step 1: Choose Your Location
Select the spot where you want to build your new garden bed. This could be an area of lawn you want to convert, a bare patch of soil, or even a larger container if you’re doing a smaller scale project.
Step 2: Gather Your Materials
Sheet composting is all about layering. You need a mix of “greens” (nitrogen-rich) and “browns” (carbon-rich). Your herbivore pet waste fits into the “greens” category.
Greens (Nitrogen-Rich):
- Herbivore manure (rabbit, guinea pig, etc.) – fresh or aged
- Kitchen scraps (fruit and vegetable peels, coffee grounds, tea bags)
- Fresh grass clippings
Browns (Carbon-Rich):
- Shredded newspaper (non-glossy ink)
- Shredded cardboard (corrugated, tape removed)
- Dried leaves
- Straw
- Wood chips or sawdust (untreated)
Step 3: Prepare the Ground (Optional but Recommended)
If you’re building on grass, you can lightly loosen the soil with forks or a rake. You can also lay down a layer of cardboard or newspaper directly on the grass. This helps smother existing weeds and grass and adds another carbon layer.
Step 4: Start Layering!
This is the fun part. Aim for alternating layers, similar to making a lasagna.
Layering Order Example for Herbivore Waste
- Base Layer (Browns): Start with a thick layer of shredded cardboard or newspaper, or several inches of dried leaves. This smothers grass and weeds. If you’re on bare soil, a layer of straw or leaves can work.
- “Green” Layer (Pet Waste): Add a layer of your herbivore pet waste. Spread it evenly. Don’t go too thick on this layer, perhaps an inch or two.
- “Brown” Layer: Cover the pet waste generously with another layer of brown material – dried leaves, shredded paper, or straw. This is important for odor control and to start breaking down.
- “Green” Layer (Other Organics): Add a layer of kitchen scraps or grass clippings.
- “Brown” Layer: Cover again with browns.
- Continue Layering: Keep alternating green and brown layers. Aim for a total depth of at least 12-18 inches when all is said and done.
- Top Layer (Browns): Finish with a thick layer of brown material (like straw or leaves) to act as a mulch and deter pests.
Step 5: Moisten and Wait
Lightly water each layer as you build it. The compost needs moisture to decompose, but it shouldn’t be soaking wet. Think of a wrung-out sponge.
The magic of sheet composting is letting nature do its thing. Depending on your materials, the season, and the depth of your pile, decomposition can take anywhere from 3 months to a year. The layers will settle significantly as they break down.
Step 6: Planting Time
Once the layers have broken down considerably and the material feels springy and earthy, you can plant directly into the bed. You can also add another top layer of finished compost or soil before planting. The decomposition process will continue throughout the growing season, feeding your plants.
What NOT to Compost (Especially for Beginners!)
When dealing with any compost, including sheet composting, it’s crucial to know what to leave out to avoid problems:
- Meat, bones, dairy, greasy foods: These attract pests and can cause odors.
- Diseased plants: Can spread diseases to your garden.
- Weeds that have gone to seed: Unless you are confident your compost gets hot enough, seeds can survive and sprout in your garden.
- Coal ash or charcoal: Can contain harmful substances.
- Pet waste from cats and dogs: (As discussed, for beginner sheet composting, avoid this for edible gardens unless you have a specialized hot composting system.)
- Treated wood or sawdust: May contain harmful chemicals.
- Human waste: A definite no-go for home composting due to serious health risks.
Materials: A Quick Comparison for Pet Waste
Let’s look at a simple table to lay out the differences regarding pet waste and composting:
| Pet Type | Waste Type | Compostability | Safety for Edible Gardens (Beginner Sheet Composting) | Notes |
|---|---|---|---|---|
| Rabbit, Guinea Pig, Hamster | Herbivore Droppings | High | Yes (when properly layered with browns) | Excellent source of nitrogen. Can be added with bedding like straw or untreated wood shavings. |
| Horse, Cow, Sheep | Herbivore Manure | High | Yes (when properly composted, ideally aged) | Very common and beneficial compost ingredient. Often requires aging. Breaks down well with browns. |
| Dog, Cat | Carnivore/Omnivore Feces | Low (without specific management) | No (for beginner sheet composting directly on food beds) | Carries significant pathogen risk. Requires hot composting (131°F+ for 60 days), dedicated systems, or deep burial. |
This table highlights why focusing on herbivores for beginner sheet composting is the safest and most straightforward path for your garden.
Troubleshooting Common Sheet Composting Issues
Even with the best intentions, you might run into a few hiccups. Here are some common problems and how to fix them:
- It smells bad: This is usually a sign of too much “green” material (nitrogen) and not enough “brown” material (carbon), or the pile is too wet.
- Fix: Add more brown materials like shredded cardboard, leaves, or straw. Turn the pile to aerate it. If it’s too wet, add dry browns.
- It’s not breaking down: Your pile might be too dry, too cold, or lacking nitrogen.
- Fix: Add some moisture. Turn the pile to introduce air. If you suspect it’s low on nitrogen, add a bit more “green” material like kitchen scraps or, if you’re using herbivore waste, a fresh layer of that.
- Pests are showing up: You might be adding prohibited items, or the pile isn’t covered well.
- Fix: Avoid adding meat, dairy, or greasy foods. Ensure your layers are well-covered, especially the kitchen scraps, with at least a 4-6 inch layer of browns like leaves or shredded cardboard. Consider burying food scraps deeper within the layers.
- It’s taking too long: Decomposition speed depends on many factors.
- Fix: Ensure good moisture levels, plenty of aeration (turning occasionally can help, though less crucial for sheet composting), and a good mix of greens and browns. Chopping or shredding materials smaller will also speed things up.
Tools You Might Find Handy
While sheet composting is pretty low-tech, a few tools can make the job easier and more efficient:
- Shovel and Garden Fork: Essential for loosening soil, moving materials, and turning layers.
- Wheelbarrow: Great for transporting layers of leaves, compost materials, or pet waste from its collection spot.
- Garden Hose or Watering Can: To moisten layers as you build.
- Gloves: Always a good idea when handling compost materials, especially pet waste.
- Shredder (Optional): For breaking down cardboard and newspaper quickly.
- Collection Tools: A scoop, rake, or broom for gathering leaves and other brown materials.
You can find a wide range of gardening tools at reputable hardware stores or specialized garden supply shops. For example, brands like Gardena offer durable hand tools that stand the test of time.
Frequently Asked Questions about Sheet Composting Pets
Q1: Can I just put my dog’s poop directly on my garden beds?
A1: No, it’s not recommended. Dog feces can contain harmful pathogens that are not reliably destroyed by simple layering in a sheet compost system. This could contaminate your food crops.
Q2: What kind of pet waste is safest for composting?
A2: Waste from herbivores like rabbits, guinea pigs, and horses is generally safe and beneficial for composting. It’s rich in nutrients and has a lower risk of harmful pathogens.
Q3: How do I know when my sheet compost is ready to plant in?
A3: The compost is ready when the layers have significantly broken

I am passionate about home engineering. I specialize in designing, installing, and maintaining heating, ventilation, and air conditioning systems. My goal is to help people stay comfortable in their homes all year long.