Quick Summary:
It’s best to sugar wax before showering. Showering beforehand helps to remove dirt, oil, and dead skin cells, creating a clean surface for the sugar wax to grip the hairs properly. Just make sure your skin is completely dry before you start sugaring! Think of it like prepping a wall before you paint – a clean wall gives you the best finish.
Sugar waxing is a fantastic way to get smooth skin right at home. But like any DIY beauty treatment, timing is everything. Wondering whether to hop in the shower before or after you grab that sugary paste? Don’t worry, you’re not alone! Many people ask the same question, and getting the order right can make a big difference in how well sugaring works and how comfortable it is.
In this guide, we’ll walk you through the best way to prep your skin for sugaring. We’ll cover why showering beforehand is a smart move and what to avoid so you get the best results. Ready to get started? Let’s dive in!
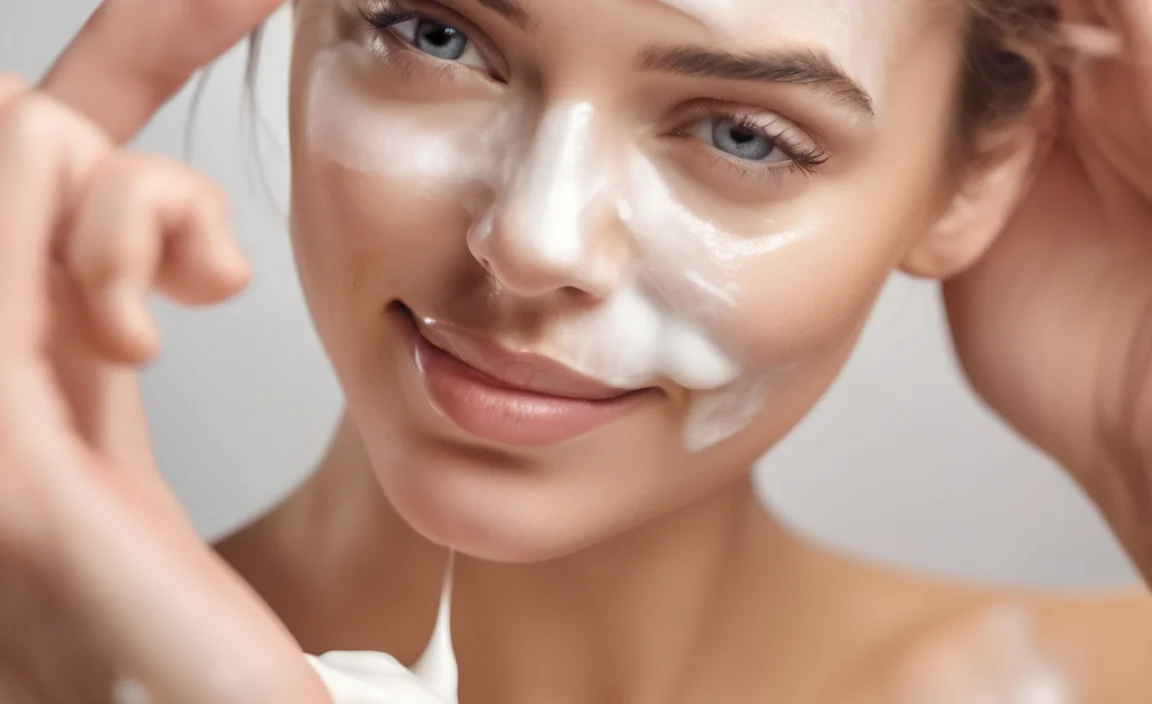
Why Showering Before Sugaring is a Great Idea
Think of showering as your skin’s pre-sugaring spa treatment! It’s all about creating the perfect canvas for the sugar wax to do its job effectively. Here’s why showering beforehand is a game-changer:
- Removes Dirt and Oil: Throughout the day, your skin collects dirt, oil, and sweat. These can create a barrier, preventing the sugar wax from properly adhering to the hair. A quick wash gets rid of these impurities.
- Exfoliates Dead Skin Cells: A gentle scrub in the shower helps to slough off dead skin cells. This is super important because dead skin can clog hair follicles, leading to ingrown hairs. Exfoliating beforehand helps the sugar wax grab the hair, not the skin.
- Softens Hair: Warm water can help soften the hair, making it easier to remove. Softer hair is less likely to break during the sugaring process, giving you a smoother, longer-lasting result.
What to Avoid When Showering Before Sugaring
While showering is great, there are a few things to keep in mind to avoid any sugaring mishaps:
- Avoid Oily Soaps and Lotions: Steer clear of heavy, oily soaps or lotions that can leave a residue on your skin. This residue can prevent the sugar wax from gripping the hair properly. Opt for a gentle, non-comedogenic cleanser.
- Skip the Shaving: This might seem obvious, but don’t shave before sugaring! You need the hair to be long enough for the sugar wax to grab onto. Aim for at least ¼ inch of hair length.
- No Super Hot Water: While a warm shower is great, scalding hot water can irritate your skin. Stick to a comfortable temperature to avoid any redness or sensitivity.
Step-by-Step: Prepping Your Skin for Sugaring
Now that you know why showering beforehand is a good idea, let’s get into the specifics. Here’s a step-by-step guide to prepping your skin for sugaring:
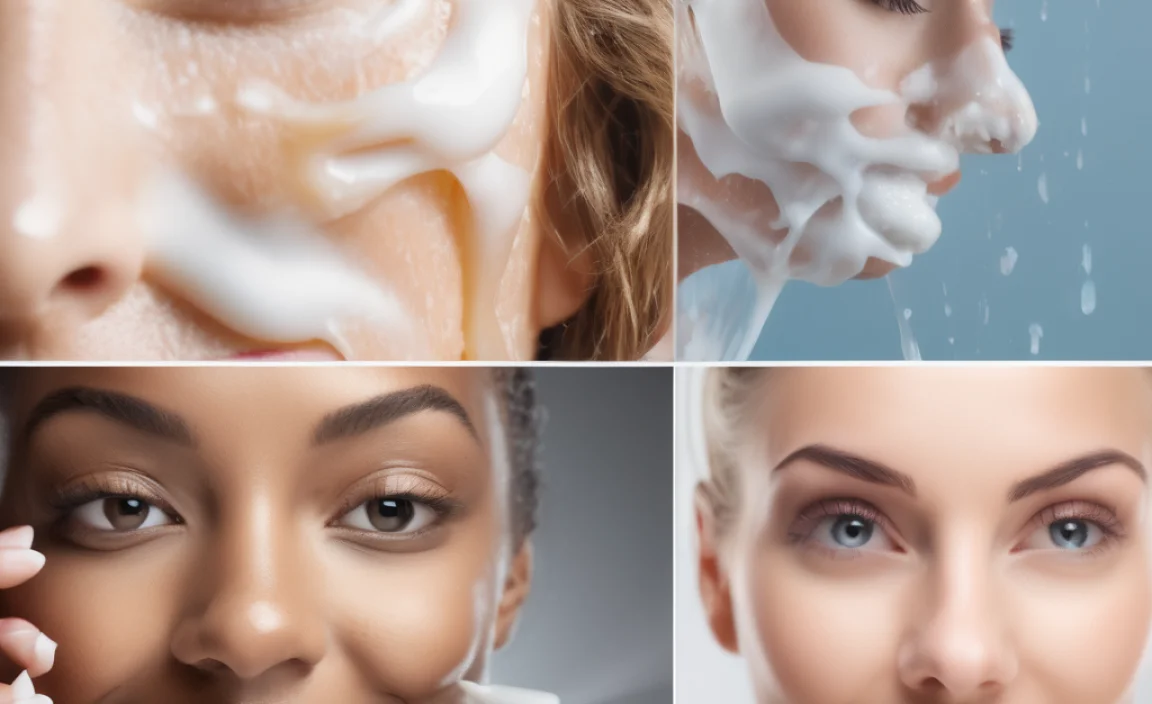
- Take a Warm Shower: Use a gentle, non-oily cleanser to wash the area you plan to sugar. Avoid anything with heavy perfumes or moisturizers.
- Exfoliate Gently: Use a soft washcloth or exfoliating glove to gently scrub the area. Focus on circular motions to remove dead skin cells. You can also use a mild exfoliating scrub, but be sure to rinse thoroughly.
- Dry Your Skin Completely: This is super important! Sugar wax won’t stick to wet skin. Pat your skin dry with a clean towel. You can even use a bit of cornstarch to ensure your skin is completely dry and oil-free.
- Check Hair Length: Make sure your hair is at least ¼ inch long. If it’s too short, the sugar wax won’t be able to grab it properly. If it’s too long, you can trim it slightly with scissors.
- Avoid Lotions and Oils: After drying, don’t apply any lotions, oils, or creams to the area. You want your skin to be clean and dry for the best results.
What About Showering After Sugaring?
So, you’ve successfully sugared – congrats! Now, when can you shower? It’s best to wait at least 24 hours before showering after sugaring. Here’s why:
- Avoid Irritation: Your skin is more sensitive immediately after sugaring. Hot water, harsh soaps, and scrubbing can irritate the area, leading to redness, bumps, or even ingrown hairs.
- Give Your Pores Time to Close: Sugaring opens up your pores. Giving them time to close before showering helps prevent bacteria from entering and causing infections.
- Let Your Skin Recover: Sugaring can be a bit of a workout for your skin. Waiting 24 hours allows your skin to calm down and recover before you expose it to more potential irritants.
What to Do Instead of Showering After Sugaring
If you can’t wait a full 24 hours, here are a few things you can do to keep your skin clean and happy:
- Gentle Cleansing Wipes: Use gentle, fragrance-free cleansing wipes to freshen up the area.
- Spot Clean: If you need to clean a specific area, use a damp washcloth with a mild cleanser. Pat dry gently.
- Loose Clothing: Wear loose, breathable clothing to avoid friction and irritation.
The Sugaring Process: A Quick Overview
Now that we’ve covered the showering aspect, let’s do a quick recap of the actual sugaring process. This will help you put everything into context and ensure you get the best results.
- Gather Your Supplies: You’ll need sugar wax, applicator sticks, fabric strips (if using the strip method), cornstarch, and a clean, dry surface.
- Prepare the Sugar Wax: Follow the instructions on your sugar wax to heat it to the correct temperature. It should be warm and pliable, but not too hot.
- Apply Cornstarch: Lightly dust the area you plan to sugar with cornstarch. This helps absorb any moisture and ensures the sugar wax adheres properly.
- Apply the Sugar Wax: Using an applicator stick, spread a thin layer of sugar wax against the direction of hair growth.
- Apply the Fabric Strip (if using): Press a fabric strip firmly onto the sugar wax, leaving a bit of the strip free for gripping.
- Pull Quickly: Hold your skin taut and quickly pull the fabric strip in the opposite direction of hair growth. Keep the strip close to your skin as you pull.
- Repeat: Repeat the process until you’ve removed all the unwanted hair.
- Clean Up: Use warm water to remove any sugar wax residue. Apply a soothing lotion or oil to calm the skin.
Tips for a Smoother Sugaring Experience
Here are a few extra tips to help you get the best results and minimize any discomfort:
- Test the Temperature: Before applying the sugar wax to a large area, test it on a small patch of skin to make sure it’s not too hot.
- Hold Skin Taut: Keeping your skin taut is key to minimizing pain and preventing bruising.
- Pull Quickly: The faster you pull, the less it will hurt. Trust us!
- Exfoliate Regularly: Start exfoliating a few days after sugaring to prevent ingrown hairs.
- Moisturize: Keep your skin moisturized to keep it healthy and prevent dryness.
- Avoid Sun Exposure: Your skin will be more sensitive after sugaring, so avoid direct sun exposure for at least 24 hours.
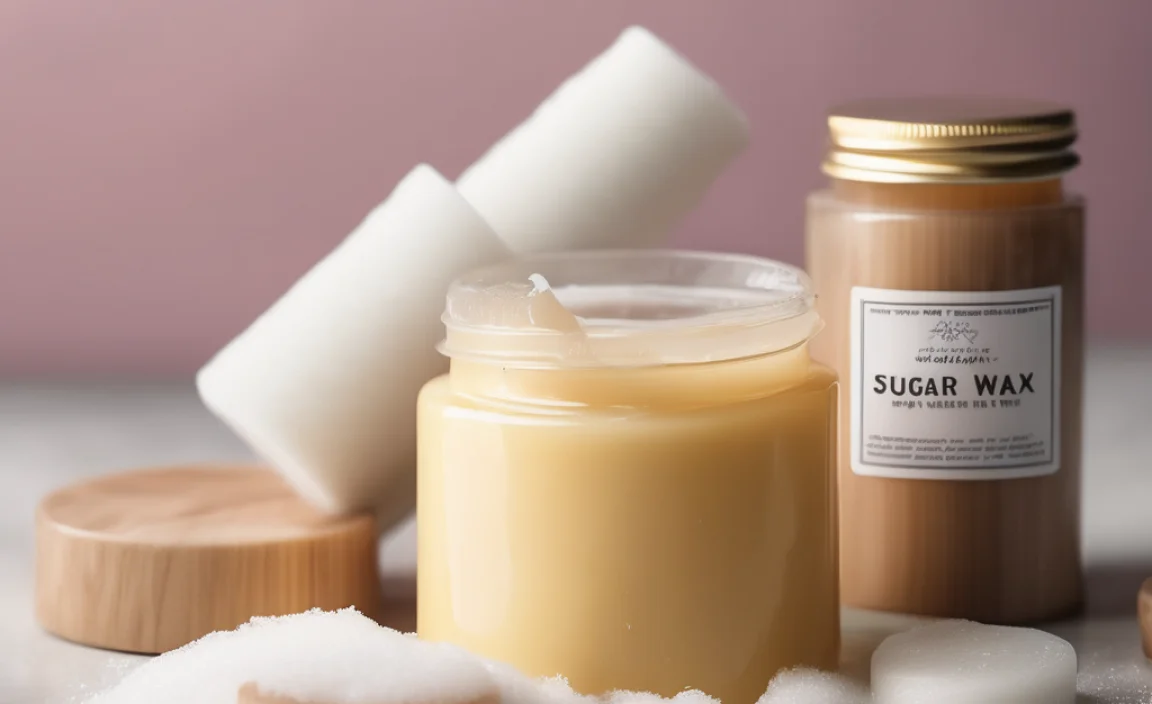
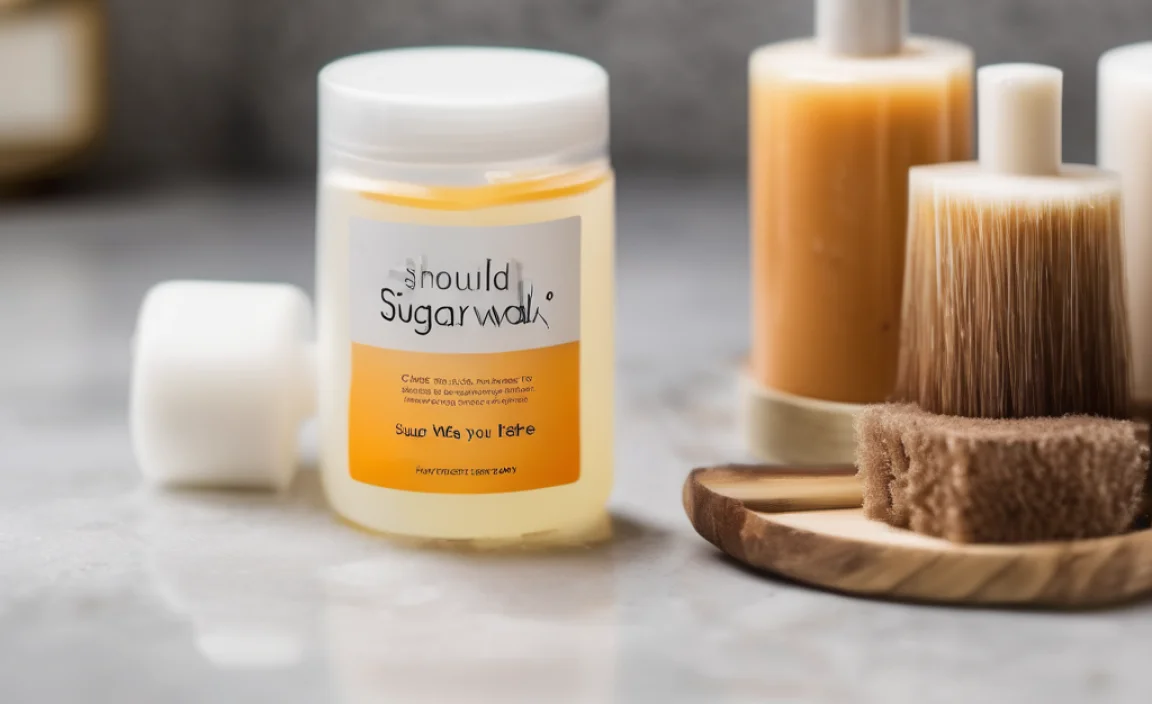
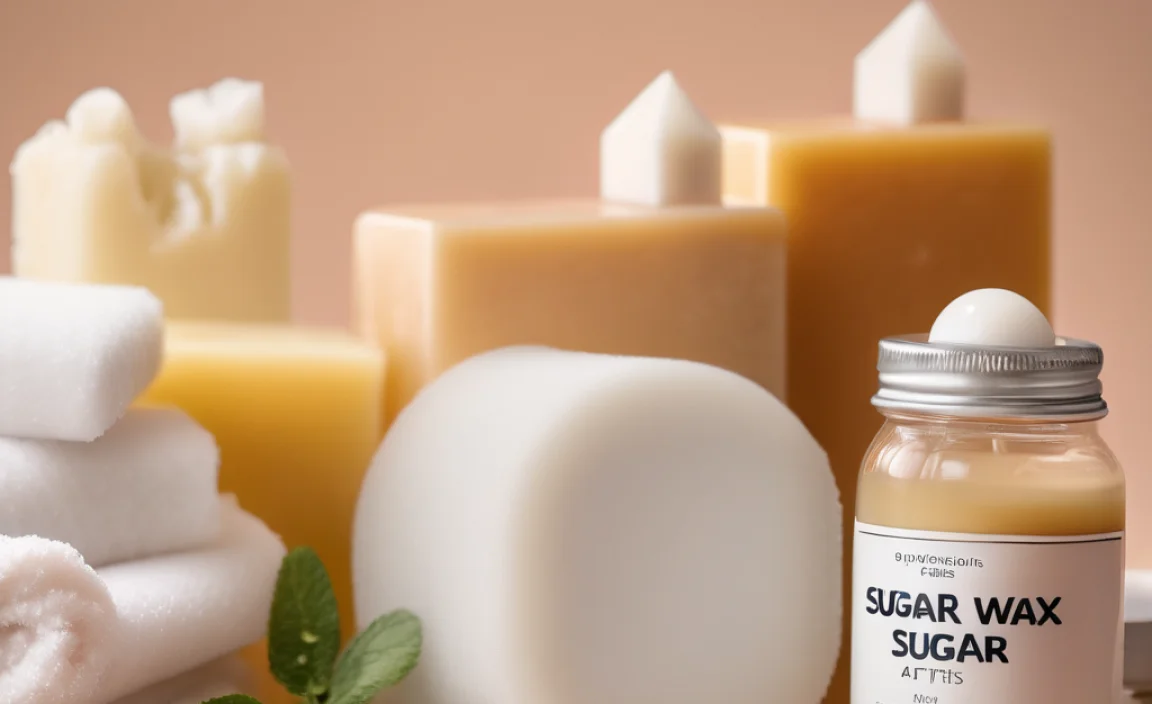
Choosing the Right Sugar Wax
With so many sugar wax options out there, it can be tough to choose the right one. Here’s a quick guide to help you find the perfect match:
- Consider Your Skin Type: If you have sensitive skin, look for a sugar wax that’s specifically formulated for sensitive skin. These often contain soothing ingredients like aloe vera or chamomile.
- Read Reviews: Check out online reviews to see what other people are saying about different sugar wax brands.
- Check the Ingredients: Look for a sugar wax with natural ingredients like sugar, lemon juice, and water. Avoid waxes with harsh chemicals or artificial fragrances.
- Choose a Method: Decide whether you prefer the strip method or the hand method. The strip method is generally easier for beginners, while the hand method can be more precise.
DIY Sugar Wax Recipe
Feeling adventurous? You can even make your own sugar wax at home! Here’s a simple recipe:
Ingredients:
- 1 cup white sugar
- ⅛ cup lemon juice
- ⅛ cup water
Instructions:
- Combine all ingredients in a saucepan.
- Heat over medium heat, stirring constantly, until the sugar dissolves.
- Continue to cook until the mixture turns a golden brown color. This can take about 10-15 minutes.
- Remove from heat and let cool slightly.
- Test the consistency by dropping a small amount of the mixture into a glass of cold water. It should form a soft, pliable ball.
- If the mixture is too soft, cook it for a few more minutes. If it’s too hard, add a bit more water.
- Let the mixture cool completely before using.
Important Note: Homemade sugar wax can be tricky to get right. Be careful not to burn yourself, and always test the temperature before applying it to your skin.
Sugaring vs. Waxing: What’s the Difference?
Sugar waxing and traditional waxing both remove hair from the root, but there are some key differences:
| Feature | Sugar Waxing | Traditional Waxing |
|---|---|---|
| Ingredients | Sugar, lemon juice, water | Resin, beeswax, oils |
| Application | Applied against hair growth, removed with hair growth | Applied with hair growth, removed against hair growth |
| Water Solubility | Water-soluble, easy to clean up | Not water-soluble, requires oil for clean up |
| Temperature | Applied at body temperature | Applied hot |
| Skin Sensitivity | Generally gentler on the skin | Can be more irritating to the skin |
Many people find sugar waxing to be less painful and less irritating than traditional waxing. Plus, the ingredients are all-natural and easy to find!
For more information on the differences between sugaring and waxing, check out this article from the American Academy of Dermatology.
Potential Risks and How to Avoid Them
Like any hair removal method, sugaring comes with a few potential risks. Here’s what to watch out for and how to avoid them:
- Ingrown Hairs: Prevent ingrown hairs by exfoliating regularly and wearing loose clothing.
- Redness and Irritation: Soothe irritated skin with a cold compress or a calming lotion.
- Burns: Always test the temperature of the sugar wax before applying it to your skin.
- Infections: Keep your skin clean and avoid touching the area after sugaring.
- Allergic Reactions: If you have sensitive skin, do a patch test before sugaring a large area.
FAQ: Your Sugaring Questions Answered
Got more questions? We’ve got answers! Here are some of the most common questions about sugaring:
- Q: How long does hair need to be for sugaring?
- A: Aim for at least ¼ inch of hair length. This allows the sugar wax to grab the hair properly.
- Q: How often should I sugar wax?
- A: Most people sugar wax every 3-6 weeks, depending on how quickly their hair grows.
- Q: Does sugaring hurt?
- A: Sugaring can be a bit uncomfortable, but many people find it less painful than traditional waxing. The more you do it, the less it hurts!
- Q: Can I sugar wax if I’m pregnant?
- A: Yes, sugaring is generally safe during pregnancy. However, your skin may be more sensitive, so be extra gentle.
- Q: Can I sugar wax my bikini area?
- A: Absolutely! Sugaring is a popular choice for the bikini area because it’s gentler on the skin. Just be sure to go slowly and hold your skin taut.
- Q: How do I prevent ingrown hairs after sugaring?
- A: Exfoliate regularly, wear loose clothing, and avoid picking at your skin.
- Q: Can I use sugar wax on my face?
- A: Yes, you can use sugar wax on your face, but be very careful. The skin on your face is more sensitive, so use a gentle touch and test the temperature beforehand.
Conclusion
So, should you shower before or after sugar waxing? The answer is definitely before! A warm shower with gentle exfoliation preps your skin for the best possible results. Remember to avoid oily soaps and lotions, and always dry your skin completely before sugaring. After sugaring, give your skin at least 24 hours to recover before showering again. With a little practice and these helpful tips, you’ll be rocking smooth, hair-free skin in no time. Happy sugaring!