Thinking about composting but feel a little overwhelmed? You’re not alone! It seems like a great idea to reduce waste and help your garden, but where do you even start? Many folks get tangled up in confusing jargon or worry about making a mess. But guess what? It doesn’t have to be complicated.
I’m Troy D Harn, and my goal is to break down these home projects into easy steps, just like I’d chat with a neighbor over the fence. Today, we’re diving into the world of smart compost bins. We’ll cut through the confusion and give you the essential tips you need to get started with confidence. Let’s make composting simple and rewarding!
Smart Compost Bins Guide: Essential Tips for Beginners
Composting is a fantastic way to turn your kitchen scraps and yard waste into nutrient-rich soil for your garden. But if you’re new to it, the whole process can seem a bit daunting. What kind of bin do you need? What can you compost? How often do you turn it? We’re here to take the guesswork out of it!
A “smart” compost bin isn’t necessarily a high-tech gadget, but rather a bin that’s designed to make the composting process more efficient, less smelly, and easier for you. It’s about choosing the right tool for the job and understanding a few basic principles. Think of it as setting yourself up for success from the start.
Why Choose a Smart Compost Bin?
Traditional composting can sometimes lead to unpleasant odors, attracting pests, or slow decomposition if not managed perfectly. Smart compost bins are designed to mitigate these common issues. They often feature:
- Better Aeration: Special designs allow more airflow, which is crucial for healthy decomposition and reduces the chance of anaerobic (stinky!) conditions.
- Moisture Control: Many bins help manage the moisture levels, preventing your compost pile from becoming too wet or too dry.
- Pest Resistance: Lids and solid construction can deter critters like raccoons, rats, or flies.
- Ease of Use: Features like turning mechanisms or easy access for adding materials and harvesting finished compost make the process simpler.
- Neater Appearance: Closed bins often look tidier in your yard than an open pile.
Essentially, these bins take some of the “hard work” out of composting, making it an achievable and enjoyable task for anyone, even if you have limited space or time.
Types of Smart Compost Bins
When we talk about “smart” composting, we’re often referring to well-designed, efficient bins. Here’s a look at the most popular types:
1. Tumbler Composters
These are freestanding barrels or drums mounted on a base, allowing you to easily rotate (tumble) the contents. They often come in single or dual-chamber designs.
Pros:
- Faster Composting: Tumbling mixes and aerates the materials frequently, speeding up decomposition.
- Easy Turning: Requires minimal physical effort to turn the compost.
- Pest-Proof: Fully enclosed design keeps pests out.
- Neat and Contained: Looks tidy in any yard.
Cons:
- Higher Cost: Generally more expensive than static bins.
- Limited Capacity: Some models can be on the smaller side, especially for larger households or extensive gardening.
- May Dry Out: If not monitored, the contents can dry out quickly due to constant aeration.
- Batch Composting: Best suited for adding materials in batches; difficult to mix new scraps with existing, partially decomposed material.
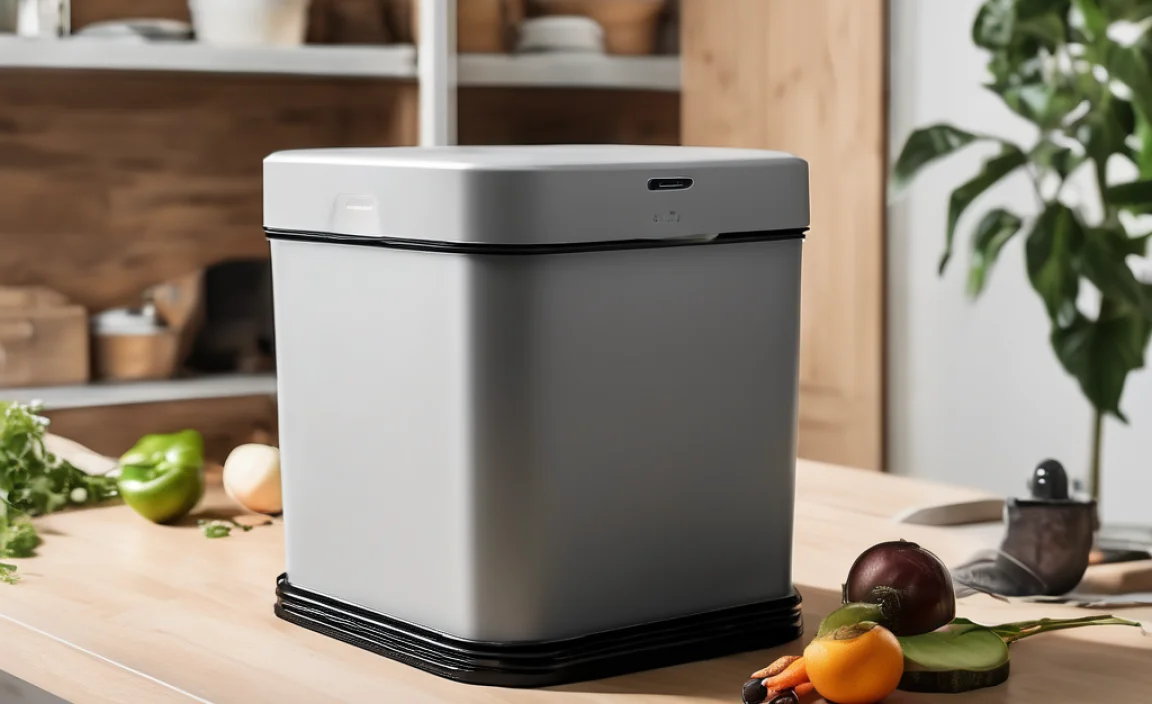
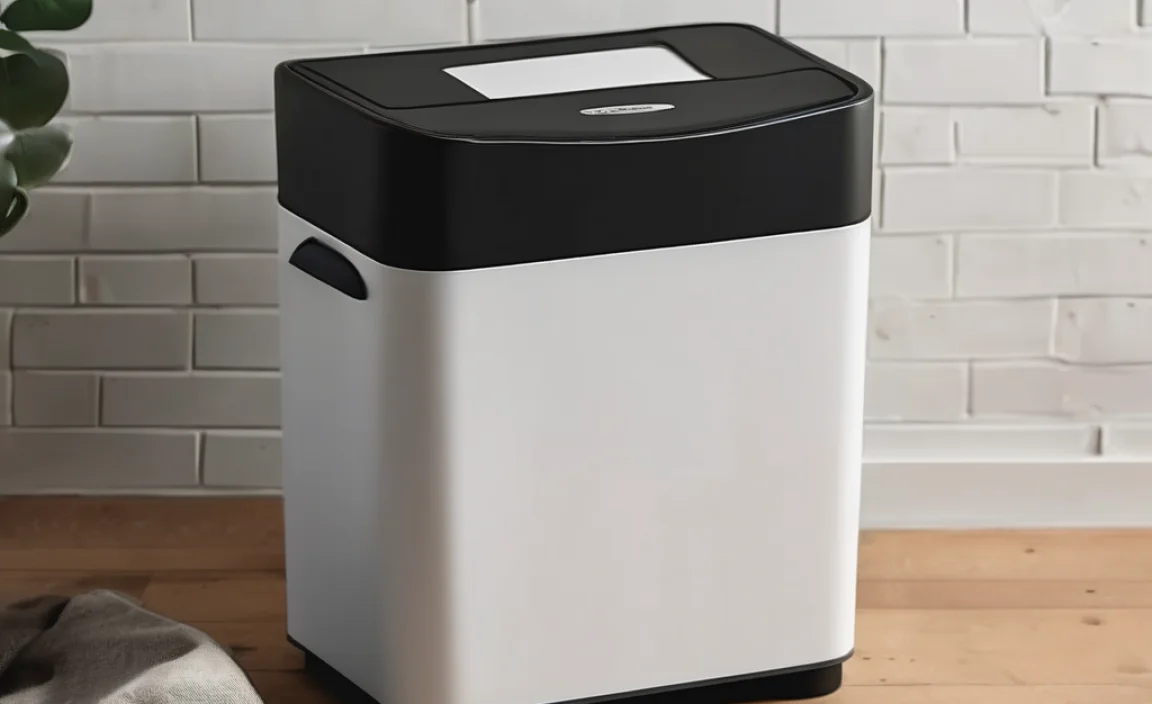
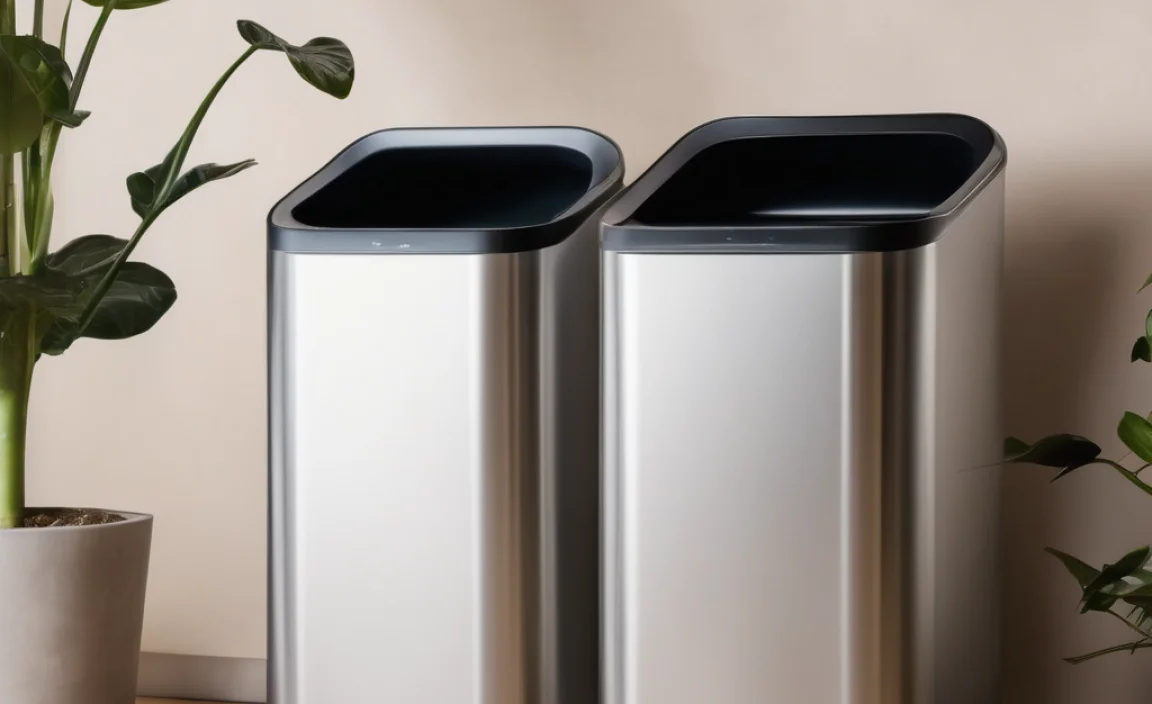
2. Static Compost Bins (Enclosed)
These are typically stationary bins with solid sides and a lid. They can be made from plastic, wood, or metal. Some have doors or openings at the bottom for easy harvesting.
Pros:
- Cost-Effective: Generally more affordable than tumblers.
- Good Moisture Retention: The enclosed design helps keep the contents moist.
- Pest Resistant: A well-sealed lid and solid sides offer good protection.
- Larger Capacity: Can often hold more material than tumblers.
Cons:
- Slower Composting: Requires more manual effort (turning with a pitchfork or aerator) to ensure good aeration.
- Harvesting Can Be Tricky: If there’s no bottom door, you might have to dig most of the compost out from the top.
- Less Aeration if Not Managed: Without regular turning, it can become compacted and anaerobic.
3. Worm Composters (Vermicomposting)
While not a “bin” in the traditional sense, worm composting systems are incredibly efficient for kitchen scraps and are often housed in specialized, multi-tiered plastic bins. They use red wiggler worms to break down food scraps.
Pros:
- Excellent for Kitchen Scraps: Worms are voracious eaters of fruit and vegetable waste.
- Fast Output: Produces nutrient-rich worm castings (vermicast) and “worm tea” liquid fertilizer quickly.
- Odorless: When managed correctly, worm bins have very little odor.
- Compact: Can be kept indoors (e.g., in a garage, under a sink) or outdoors.
Cons:
- Specific Diet: Worms have preferences, and you can’t compost meat, dairy, or oily foods.
- Temperature Sensitive: Worms need specific temperatures to thrive.
- Learning Curve: Requires understanding worm needs and avoiding overfeeding.
- Limited Volume: Best for household food waste, not large amounts of yard debris.
For beginners, a well-designed tumbler or an enclosed static bin are usually the best starting points. Worm composting is fantastic, but it’s a slightly different system worth exploring once you’re comfortable with the basics.
Essential Tips for Smart Composting Success
Regardless of the bin type you choose, a few fundamental principles will make your composting journey smooth and successful. These are the “smart” moves that make all the difference.
Tip 1: Get the “Greens” and “Browns” Ratio Right
This is perhaps the most crucial concept in composting. You need a good balance of nitrogen-rich materials (“greens”) and carbon-rich materials (“browns”).
- Greens (Nitrogen): These are typically moist materials that provide nitrogen. They help the microorganisms multiply quickly.
- Fruit and vegetable scraps
- Coffee grounds and tea bags
- Grass clippings (in moderation)
- Plant trimmings (non-woody)
- Eggshells
- Browns (Carbon): These are dry, woody materials that provide carbon. They offer structure and allow air to circulate.
- Dried leaves
- Shredded newspaper or cardboard (non-glossy)
- Straw or hay
- Wood chips or sawdust (untreated)
- Small twigs
The Ideal Ratio: Aim for roughly 2 to 3 parts Browns to 1 part Greens by volume. Too many greens can make your compost wet and smelly. Too many browns will slow down decomposition. Don’t stress about exact measurements; it’s more of a guideline. If it’s smelling, add more browns. If it’s not breaking down, add more greens.
Tip 2: Chop It Up!
Smaller pieces break down much faster. Think of it like this: a whole apple takes longer to decompose than an apple that’s been chopped into small pieces. So, take a few extra seconds to chop up those larger kitchen scraps.
- Kitchen scraps: Chop into 1-2 inch pieces.
- Yard waste: Shred leaves, chop up twigs.
- Cardboard/newspaper: Tear or shred into small strips.
Tip 3: Keep It Moist, Not Soggy
Composting organisms need moisture to live and work. Your compost pile should feel like a damp, well-wrung-out sponge.
- Too Dry? Add water. If you have a tumbler, add a gallon or two and tumble it well. If you have a static bin, you might need to use a hose or watering can to moisten the layers.
- Too Wet? Add more “browns.” Dry leaves, shredded cardboard, or straw will absorb excess moisture. Ensure good air circulation.
Pro Tip: If you have a lid on your bin, it will help retain moisture, especially in dry climates. However, in very wet climates, you might need to ensure your bin has good drainage or even cover it slightly during heavy rains. Check out EPA’s composting basics for more on moisture and what to expect.
Tip 4: Aeration is Key
Microorganisms need oxygen to thrive and break down organic matter efficiently. This is where “smart” bin designs often shine, but you still need to be mindful.
- Tumblers: Simply turn the drum every few days. This mixes materials and introduces air.
- Static Bins: Use a compost aerator tool, a pitchfork, or a shovel to turn the pile regularly. Aim to turn it every 1-2 weeks. If your bin has ventilation holes, ensure they aren’t blocked.
- Avoid Compaction: Don’t let your compost get too compacted. Turning helps prevent this.
Good aeration prevents foul odors and speeds up the composting process dramatically.
Tip 5: What NOT to Compost
While composting is versatile, some items should be avoided to prevent pests, odors, and the spread of disease.
- Meat, Fish, and Bones: These attract pests and can smell terrible.
- Dairy Products (Milk, Cheese, Yogurt): Similar to meat, these attract pests and can become rancid.
- Oily Foods and Grease: Can create anaerobic conditions and slow down decomposition, plus attract pests.
- Diseased Plants: You risk spreading plant diseases to your garden.
- Weeds with Seeds or Persistent Roots: Some weeds can survive the composting process and spread if the pile doesn’t get hot enough.
- Pet Waste (Dog, Cat): Can contain harmful pathogens.
- Chemically Treated Wood or Yard Waste: Avoid anything treated with pesticides or herbicides.
- Glossy or Coated Paper/Cardboard: The coatings and inks can be problematic.
Sticking to fruits, vegetables, grains, coffee grounds, tea bags, grass clippings, leaves, and untreated paper/cardboard is your safest bet for a successful compost bin.
Tip 6: Be Patient and Monitor
Composting is a natural process and takes time. Depending on your bin type, the climate, and the materials you use, it can take anywhere from four weeks to a year to get finished compost.
What to look for:
- Smell: It should smell earthy, like moist soil. If it smells foul or sulfuric, it’s likely too wet or lacks air. Add browns and turn it.
- Temperature: A healthy compost pile will heat up in the center (this is good!). It will cool down as it finishes.
- Appearance: The original materials should be unrecognizable, and you should have a dark, crumbly material.
Don’t be discouraged if it takes a while. Observation is key! Regularly check the moisture, air, and ratio of greens to browns.
Maintaining Your Smart Compost Bin
Once you’ve got the basics down, ongoing maintenance is simple. Think of it as tending to a garden.
Adding New Materials
When adding fresh kitchen scraps (greens), try to bury them slightly beneath the existing material to minimize odors and deter pests. Immediately follow up by adding a layer of “browns” on top.
For tumblers, you can add materials for a while until the chamber is full. Then, you let that batch “cook” and start a new batch in the second chamber (if you have one) or simply let the first chamber continue to cure.
Harvesting Your Compost
Finished compost is dark, crumbly, and smells earthy. If you have a static bin with a bottom door, this is where it’s a lifesaver! Simply unlock and open the door, and scoop out the finished compost.
If you don’t have a harvest door, you’ll need to empty the bin or carefully dig out the finished compost from the bottom. The material at the top and sides will likely be less decomposed.
Tip: You can sift your compost through a screen (hardware cloth or a repurposed sieve) to remove any larger, undigested pieces. Toss these back into your bin to continue decomposing.
Troubleshooting Common Composting Issues
Even with smart bins, you might encounter hiccups. Here’s how to fix common problems:
Problem: Bad Odors (Ammonia or Rotten Eggs)
Cause: Usually too many “greens” or not enough air (anaerobic conditions).
Solution: Add plenty of “browns” (dried leaves, shredded cardboard, straw). Turn the compost thoroughly to aerate it. If it’s very wet, adding dry browns is essential.
Problem: Pile Isn’t Heating Up or Decomposing
Cause: Too many “browns,” too dry, or not enough aeration.
Solution: Add more “greens” (kitchen scraps, grass clippings). Add water if it’s dry – it should be like a damp sponge. Turn the pile to introduce air and mix materials.
Problem: Attracting Pests (Flies, Rodents)
Cause: Exposed food scraps, wrong materials in the bin.
Solution: Always bury fresh kitchen scraps under a layer of browns. Ensure your bin’s lid is secure. Never add meat, dairy, or oily foods. If using an open bin and pests are persistent, consider a tumbler or a more secure bin design.
Problem: Compost is Too Wet and Slimy
Cause: Too many “greens,” not enough “browns,” or poor drainage/aeration.
Solution: Add generous amounts of dry “browns.” Turn the pile to improve air circulation. If the bin is sitting in an area that collects water, relocate it or improve drainage.
Choosing the Right Smart Compost Bin for You
To make the smartest choice, consider these factors:
Space Available
Small Balcony/Patio: A compact worm bin or a small tumbler might be ideal.
Small Yard: An enclosed static bin or a medium-sized tumbler works well.
Larger Property: You might opt for a larger static bin, a multi-chamber tumbler, or even consider a more advanced system like a continuous flow composter (though these are less beginner-friendly).
Budget
Low Budget: DIY bins or basic static bins are the most affordable.
Mid-Range: Most enclosed static bins and medium-sized tumblers fall into this category.
Higher Budget: Large capacity, heavy-duty tumblers or more automated systems.
Time Commitment
Less Turning: Tumblers require less physical effort.
More Hands-On: Static bins necessitate more manual turning for faster results.
Compost Needs
Just Kitchen Scraps: Worm bins are excellent.
Kitchen + Yard Waste: Tumblers and static bins are designed for a mix.
Here’s a quick comparison table to help visualize:
| Bin Type | Best For | Ease of Use (Turning) | Speed of Composting | Typical Cost |
|---|---|---|---|---|
| Tumbler | Kitchen & light yard waste | Very Easy | Faster (e.g., 4-12 weeks) | $$ – $$$ |
| Static Bin (Enclosed) | Larger volumes of kitchen & yard waste | Moderate (requires tool) | Moderate (e.g., 6-18 months) | $ – $$ |
| Worm Bin (Vermicomposter) | Primarily kitchen scraps | N/A (worms do the work) | Fast
.lwrp.link-whisper-related-posts{ margin-top: 40px; }.lwrp .lwrp-description{ } max-width: 150px; }@media screen and (max-width: 480px) { } }.lwrp .lwrp-description{ } max-width: initial; }; |

I am passionate about home engineering. I specialize in designing, installing, and maintaining heating, ventilation, and air conditioning systems. My goal is to help people stay comfortable in their homes all year long.