Discovering maggots in your compost bin can be a bit alarming, but don’t fret! It’s a common sight, especially when the weather warms up. These little grubs are actually a sign that your compost is working its magic and breaking down organic material. While they might not be the prettiest visitors, they are beneficial decomposers. This guide will walk you through why they appear, how to manage them, and how to keep your compost happy and healthy without them becoming a nuisance. Let’s turn this common composting challenge into a simple fix!
Why Are There Maggots in My Compost Bin? (And Is It Actually Bad?)
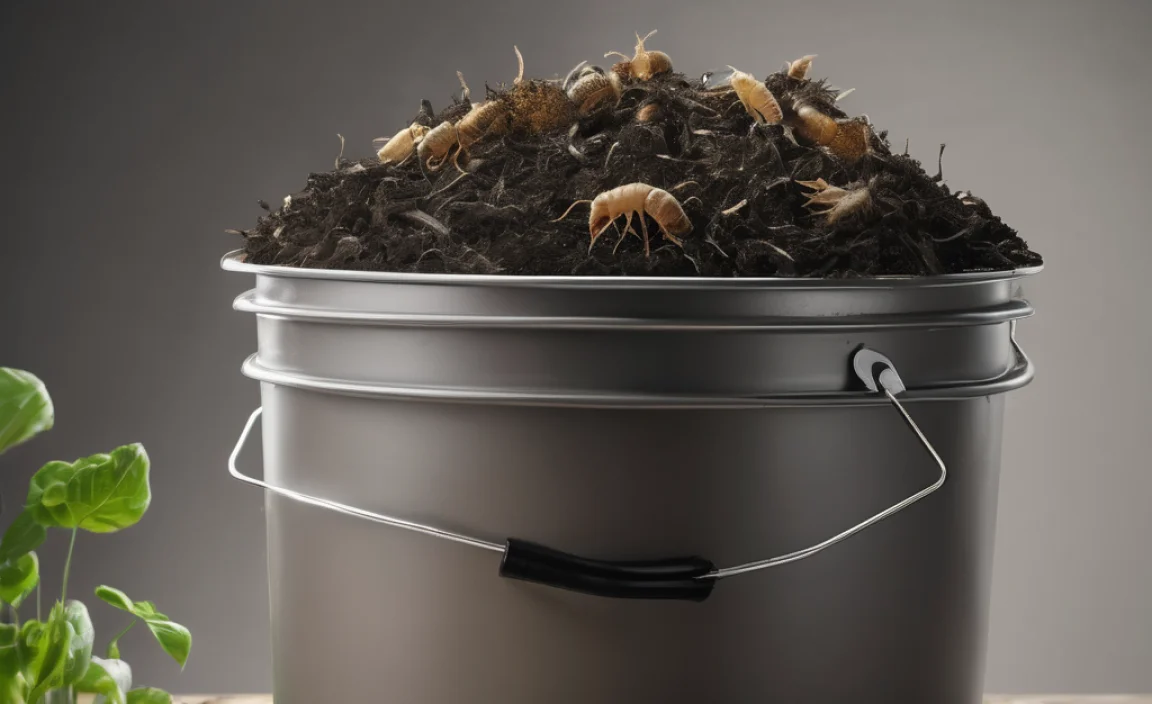
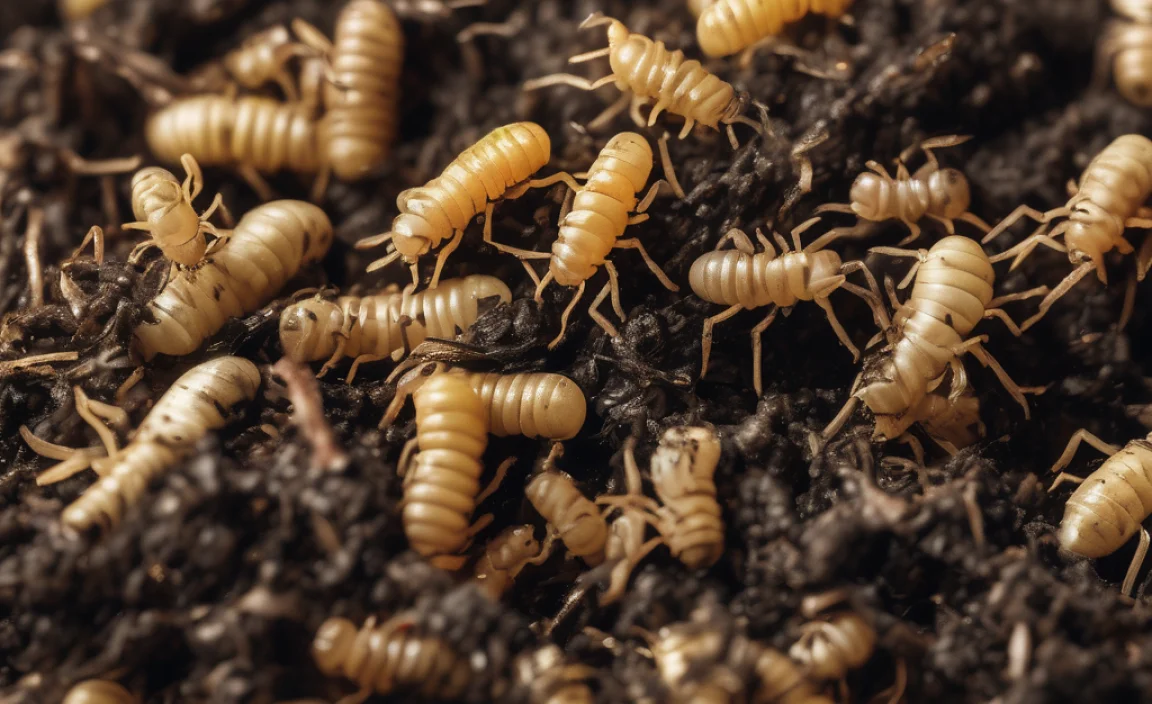
Seeing maggots in your compost pile can certainly give you a bit of a jolt. It’s completely normal to feel a little squeamish or worried about pests. Before you panic, let’s break down why they show up. Maggots are the larval stage of flies, and they are attracted to moist, decaying organic matter. Your compost bin, full of food scraps and yard waste, is basically a buffet for them. This is especially true during warmer months when flies are more active and reproduce quickly. Think of them as tiny, efficient helpers in the decomposition process. They eat a lot of the same materials that your compost microbes do, just in a more visible way. So, while they might not be the most picturesque part of composting, they are a natural part of nature’s recycling system.
The truth is, maggots in your compost aren’t inherently bad for the composting process itself. In fact, they can speed up the breakdown of certain types of organic waste. They consume soft, moist materials like fruit and vegetable peels, and even some meat and dairy scraps if you happen to have added those (though it’s generally recommended to avoid those in home compost bins to prevent odors and attracting unwanted animals). However, the issue often arises not from the maggots themselves, but from the underlying conditions that attract them in the first place, and the potential for them to become a nuisance or attract other pests.
Here’s a quick look at what attracts them:
- Moisture: Overly wet compost creates an ideal breeding ground.
- Food Source: Exposed food scraps are a direct invitation.
- Warmth: Warmer temperatures encourage fly activity and egg-laying.
- Lack of Aeration: Stagnant, moist conditions are perfect for flies to lay eggs.
- Smell: Strong odors from overly wet or unbalanced compost can draw flies.
So, while maggots aren’t the enemy, understanding why they appear is the first step to solving the problem and maintaining a healthy compost system. We’ll get into the solutions right after we understand the science behind it all.
Understanding the Maggot Life Cycle: A Gardener’s Friend or Foe?

To effectively manage maggots, it helps to know a little about their life cycle. Flies lay tiny eggs, often in clusters, on decaying organic matter. These eggs hatch into larvae – that’s the maggot stage we see. Maggots are essentially eating machines. Their primary job is to consume and break down organic material, turning it into nutrient-rich compost. They eat, grow, and then typically pupate, transforming into adult flies which then repeat the cycle. This life cycle is incredibly efficient and, in a balanced ecosystem, plays a vital role in nutrient cycling.
In a well-managed compost pile, the high temperatures generated by microbial activity can often kill off fly eggs and maggots. However, if the pile isn’t hot enough, or if conditions are too moist and attract flies, the life cycle can thrive. Understanding this cycle helps us see that addressing the conditions that allow the cycle to flourish is key, rather than trying to eliminate the maggots themselves.
Here’s a simplified look at the fly-maggot life cycle:
- Egg: A fly lays tiny eggs on moist organic matter.
- Larva (Maggot): Eggs hatch into maggots, which feed voraciously.
- Pupa: Maggots then burrow into drier material or soil to pupate.
- Adult Fly: The pupa transforms into an adult fly, ready to reproduce.
This cycle highlights why managing moisture, temperature, and surface materials are crucial. When these factors are out of balance, the maggots can become more prevalent than we’d like, turning a beneficial process into a slightly unsettling one.
Signs Your Compost Has “Too Much of a Good Thing” (Like Maggots)
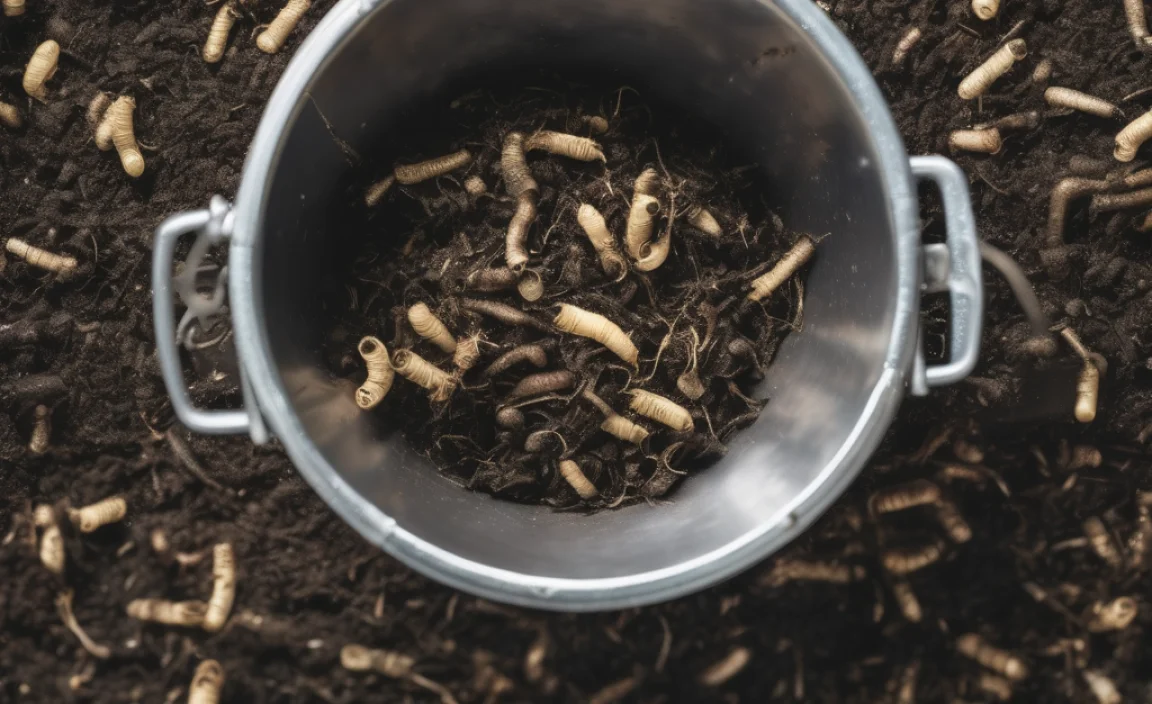
While maggots themselves are decomposers, a large, undeniable population of them can indicate that your compost isn’t quite balanced. Think of it like any ecosystem – when one element becomes overly dominant, it signals that other components might be off. A few maggots are fine, but a writhing carpet of them, especially if accompanied by strong odors, means it’s time for intervention.
Here are some tell-tale signs that your compost might be a little too inviting for maggots:
- Visible Worms Everywhere: If the surface is teeming with maggots, it’s a clear sign.
- Foul Odors: A truly working compost pile has an earthy smell. A strong, rotten smell often means it’s too wet or has anaerobic (oxygen-deprived) pockets.
- Slimy or Wet Surface: Excess moisture is a prime attractant for flies and their eggs.
- Uncovered Food Scraps: If you can easily see fresh food scraps on the surface, they are an open invitation.
- Attracting Other Pests: If you notice fruit flies, house flies, or even larger critters hanging around, it’s a clue something’s unbalanced.
These signs aren’t a cause for alarm, but rather helpful indicators that your compost needs a little adjustment to get back into a sweet spot for efficient decomposition without overwhelming maggot populations.
Step-by-Step Guide: How to Solve Compost Has Maggots

Alright, let’s roll up our sleeves and tackle this! You’ve identified maggots, and you want to manage them. The good news is, it’s usually straightforward and involves adjusting your composting practices. We want to make your compost bin less attractive to flies laying eggs and create an environment where decomposition happens efficiently without becoming a maggot buffet.
Step 1: Assess Your Compost Bin and Its Contents
First things first, let’s take a good look. Gently poke through the top layer of your compost. What do you see? Are the maggots concentrated in one area? Are there a lot of fresh, wet food scraps exposed on the surface? Is the entire pile soaking wet, or just the top? You’re looking for clues about the underlying conditions.
- Too Wet? Feel the compost material. If it’s soggy and dripping, it’s definitely too wet.
- Too Greener? Is there an overwhelming amount of food scraps without enough “browns”?
- Exposed Scraps? Are your kitchen scraps sitting on top, easily accessible to flies?
This initial assessment will guide the next steps. Don’t worry if it’s not perfect; that’s what composting adjustments are for!
Step 2: Bury Fresh Food Scraps Properly
This is one of the most crucial steps. Flies are attracted to exposed food scraps. When you add your kitchen waste, commitment to burying it deep within the compost pile or bin. Dig a small hole in the existing compost, drop in your scraps, and then cover them completely with more compost material. The goal is to create a barrier that prevents flies from getting to the fresh food, and also to help it start decomposing faster, away from the surface.
Pro Tip: Aim to bury scraps at least 6-8 inches down. If you have a lot of scraps and are worried about smell or pests, consider chopping them into smaller pieces before adding them. Smaller pieces break down faster.
Step 3: Balance Your Greens and Browns
Maggots thrive in situations where there’s an abundance of moisture-rich “green” materials (like fruit and vegetable scraps, coffee grounds, grass clippings) and not enough carbon-rich “brown” materials (like dried leaves, shredded cardboard, straw, sawdust). Balancing this ratio is key. If your compost is too “green,” it can become dense, wet, and smelly – an open invitation for flies.
What to Add:
- Browns: Shredded newspaper, cardboard (non-glossy), dry leaves, straw, wood chips, sawdust.
- Greens: Fruit and vegetable scraps, coffee grounds, tea bags, grass clippings (in moderation).
General Rule of Thumb: Aim for roughly 2-3 parts Browns to 1 part Greens by volume. If you see a lot of maggots and your pile feels wet, add a generous layer of browns. This helps absorb excess moisture and reduces odors.
Step 4: Improve Aeration (Add Air!)
Compost needs oxygen to break down efficiently. When compost is too wet and compacted, it becomes anaerobic, leading to foul odors and creating an environment where flies love to lay eggs. Introducing air helps the beneficial microbes do their job and can also help dry out the pile slightly.
How to Aerate:
- Turn Your Compost: Use a pitchfork or compost aerator tool to turn and fluff up the pile regularly. Try to mix the outer layers into the center and vice versa. If you have a tumbler, give it a good spin.
- Add Bulking Agents: When you add browns, they also help create air pockets within the pile. Straw or wood chips are great for this.
- Avoid Compacting: Try not to stomp down on your compost, as this can reduce air flow.
Regular turning (once every week or two, or more often if needed) is one of the best ways to keep your compost healthy and prevent issues like excessive maggots.
Step 5: Manage Moisture Levels
Too much moisture is the nemesis of a balanced compost pile and a magnet for flies. While you want your compost to be damp (like a wrung-out sponge), not soaking wet, you need to address sogginess directly.
What to Do If It’s Too Wet:
- Add More Browns: This is your go-to solution for excess moisture. Cardboard, leaves, and sawdust are excellent absorbers.
- Improve Drainage: If you have a bin with a solid bottom, ensure it has drainage holes. If it’s sitting on compacted soil, try to loosen the soil underneath or elevate it slightly.
- Cover the Pile: During prolonged rainy periods, you might consider loosely covering your compost bin with a tarp or piece of plywood. Ensure air can still get in.
Conversely, if your pile is too dry, it will slow down decomposition. In dry spells, you might need to add a little water when you turn it. The goal is that “wrung-out sponge” dampness.
Step 6: Consider “Hot Composting” (Optional but Effective)
Hot composting is a method that aims to heat the compost pile up to temperatures between 130-160°F (54-71°C). These high temperatures are lethal to weed seeds, pathogens, and, importantly, fly eggs and maggots. Achieving hot composting requires a careful balance of greens and browns, adequate moisture, and regular turning to ensure oxygen is circulating.
While it takes more effort, a “hot finished” compost is usually pest-free and ready in a matter of weeks to a few months. It’s a great way to quickly process large volumes of material and eliminate pests simultaneously. For more information on achieving these temperatures, resources from university extension offices, like those found at University of New Hampshire Extension, offer excellent insights.
Step 7: Natural Pest Deterrents (If Needed)
If you’ve tried the above steps and still have persistent maggot issues, or are concerned about other pests, there are some natural deterrents you can use sparingly:
- Diatomaceous Earth (Food Grade): This fine powder made from fossilized aquatic organisms can dehydrate insects. Sprinkle a thin layer lightly over the affected area, but avoid breathing it in. It’s not a long-term solution and can harm beneficial worms too, so use with caution.
- Mint or Neem Powder: Some gardeners find that sprinkling dried mint or neem powder around the edges of the bin can deter flies.
- Lime: A light dusting of agricultural lime can help neutralize odors and raise the pH, making the pile less attractive to flies. Use sparingly, as too much can harm beneficial microbes.
Remember, the goal is to create a balanced compost environment, not to use harsh chemicals. These are supplementary measures.
What NOT to Do When You Find Maggots
It’s easy to overreact when you see maggots, but some common reactions can actually make the problem worse. Here’s a quick rundown of what to avoid:
- Panicking and Discarding the Whole Pile: Unless it’s completely overrun and unsalvageable (which is rare), this is a waste of perfectly good compost material.
- Adding Pesticides or Chemical Insecticides: This will kill off the beneficial microbes and worms that are crucial for composting, and can contaminate your finished compost, making it unsuitable for your garden.
- Ignoring the Problem: While a few maggots are fine, a large infestation won’t go away on its own and might smell or attract other nuisance pests.
- Over-watering to “Wash them Away”: This will likely make the problem worse by creating even wetter, more anaerobic conditions.
- Leaving Food Scraps Exposed: This is like leaving out a welcome mat for flies. Always bury them!
Focus on the fundamental principles of good composting: balance, aeration, moisture, and turning. These are your best tools.
Compost Ingredients: A Quick Reference for Balance
To help you maintain that perfect balance, here’s a handy chart to categorize common compostable items. The key is to have a good mix of “Greens” and “Browns” to ensure your compost pile is airy, has the right moisture, and doesn’t become overly attractive to flies.
| Category | Examples | Role in Compost | Notes |
|---|---|---|---|
| Greens (Nitrogen-rich) | Fruit & vegetable scraps, coffee grounds, tea bags, fresh grass clippings, plant trimmings, manure (herbivore) | Provide nitrogen, essential for microbial growth, heat generation, and moisture. | Add in moderation; too many can lead to wetness and odor. |
| Browns (Carbon-rich) | Dry leaves, shredded newspaper/cardboard, straw, hay, wood chips, sawdust, eggshells (crushed) | Provide carbon, essential for energy for microbes, create air pockets, help with drainage, and absorb excess moisture. | Crucial for balancing greens and preventing a soggy mess. |
| Avoid/Limit | Meat, fish, dairy products, oily foods, diseased plants, pet waste (dog/cat), weeds gone to seed, treated wood, coal ash | Can attract pests, create strong odors, spread disease, or introduce toxins. | Best to compost these only in specialized systems if at all. |
Using this as a guide when adding materials will significantly help in preventing issues like excessive maggots and unpleasant smells. The more you practice, the better you’ll get at eyeballing the right ratio.
Frequently Asked Questions About Compost Maggots
Here are some quick answers to common questions beginner composters have about maggots in their bins.
Q1: Are maggots in my compost bin bad for my garden?
No, maggots themselves are not bad for your garden. They are decomposers, and the finished compost they help create is beneficial. The problem is really about the conditions that attract them, which can lead to odors and a higher population of flies.
Q2: How quickly can I get rid of maggots?
You can significantly reduce maggot populations within a few days to a week by implementing the steps above, primarily by burying food scraps, adding browns, and turning the pile. Complete elimination might take a little longer as new eggs hatch, but you’ll see a difference quickly.
Q3: I have worms (red wigglers) in my compost. Will the maggots harm them?
In a worm bin (vermicomposting), a large number of maggots can sometimes outcompete worms for food and may indicate the bin is too wet or has too many food scraps. In a traditional hot compost pile, the higher composting temperatures should kill off both maggots and fly eggs. If you have a large infestation in a
Related Posts

I am passionate about home engineering. I specialize in designing, installing, and maintaining heating, ventilation, and air conditioning systems. My goal is to help people stay comfortable in their homes all year long.